Are you struggling to hang heavy items on your walls without worrying about them falling? Molly wall anchors could be the simple solution you need.
These clever tools give you strong support in drywall and hollow walls, making your projects safer and more secure. In this guide, you’ll learn exactly how to use a Molly wall anchor step-by-step, so you can tackle your next home improvement task with confidence.
Keep reading to discover tips and tricks that will make your walls stronger than ever.

Credit: www.youtube.com
Choosing The Right Molly Wall Anchor
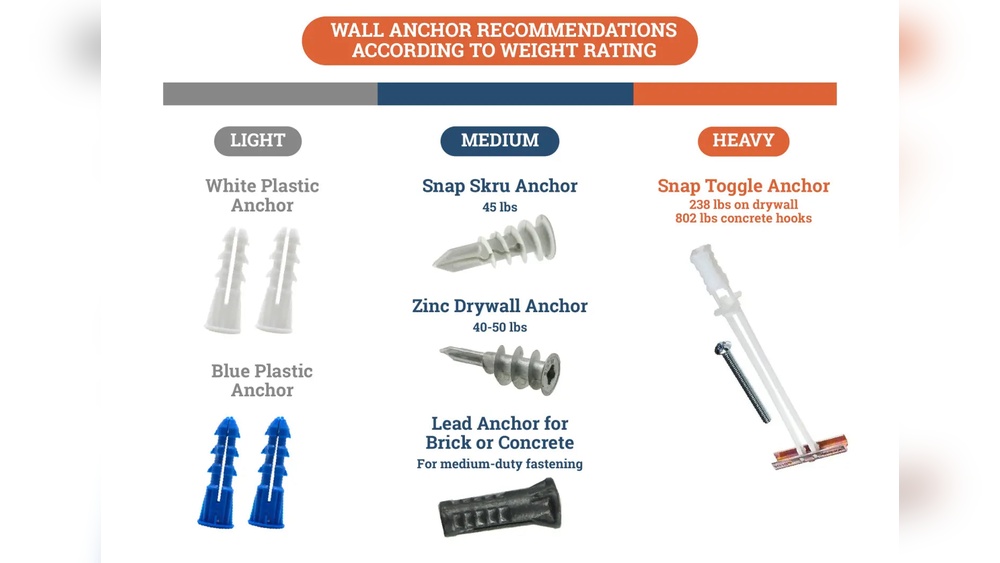
Choosing the right molly wall anchor is key for strong and safe mounting. Different projects need different anchors. Picking the correct type helps hold your items firmly. Avoid damage to walls and ensure your fixture stays put.
Consider the type, weight capacity, and wall material. These factors guide your choice. Understanding them makes installation easier and more secure.
Types Of Molly Anchors
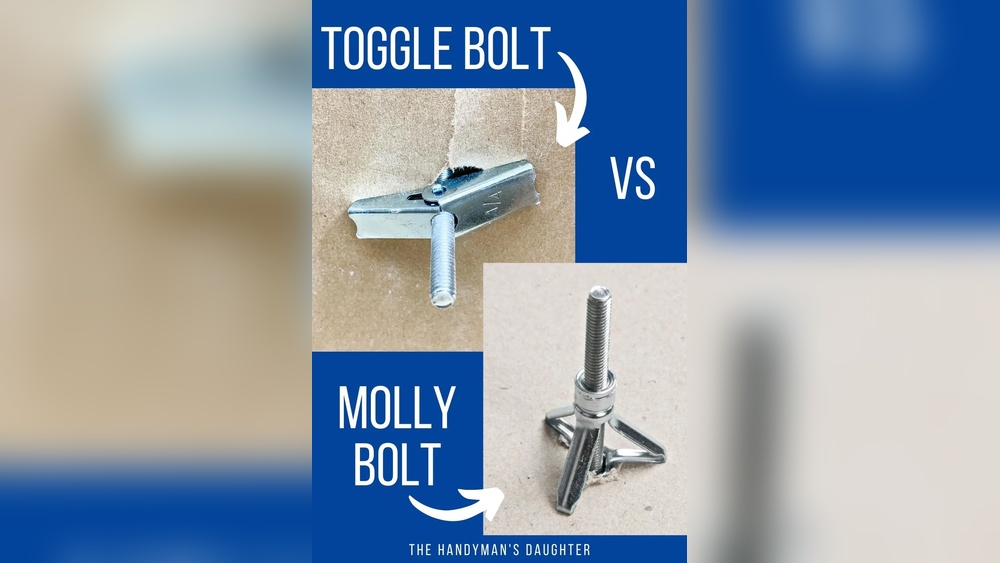
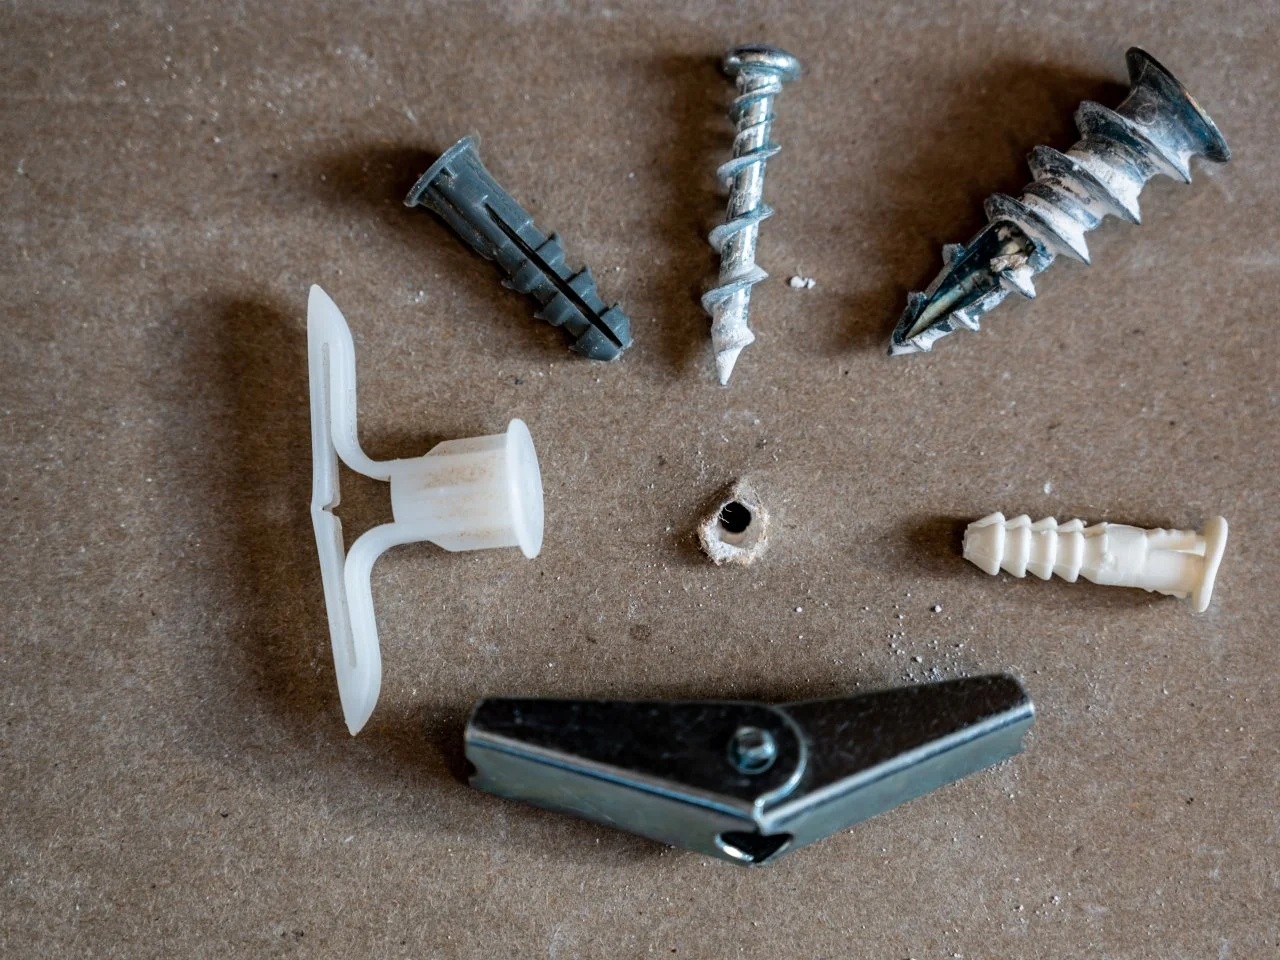
Molly anchors come in various shapes and sizes. Some have a sleeve that expands inside the wall. Others have wings that spread out for extra grip. Choose based on the wall type and object you want to hang. Some anchors work better in drywall, others in plaster or hollow walls.
Weight Capacity And Size
Each molly anchor has a weight limit. Check the package to see the maximum load it can hold. Use a bigger anchor for heavier items. Small anchors are fine for light pictures or shelves. Correct size prevents the anchor from pulling out or breaking.
Materials Compatibility
Wall materials vary. Drywall, plaster, and concrete all need different anchors. Some molly anchors work only in drywall. Others fit better in solid walls. Match the anchor material to the wall type. This ensures a tight and safe fit. Avoid anchors that can rust or corrode in your wall type.
Credit: www.hgtv.com
Tools Needed For Installation
Installing a Molly wall anchor requires a few basic tools. These tools help you drill holes, secure the anchors, and ensure the installation is precise. Having the right tools makes the process easier and safer.
Gather these tools before starting your project. Each tool plays an important role in the installation.
Drill And Drill Bits
A drill is essential to create holes in the wall. Use a drill bit size that matches the Molly anchor diameter. A proper hole ensures the anchor fits snugly and holds firmly.
Choose a drill bit designed for drywall or the wall type you have. This prevents damage and keeps the hole clean.
Screwdriver And Screws
You need a screwdriver to tighten the screws into the Molly anchor. A Phillips head screwdriver works best for most anchors.
Select screws that match the anchor size. This ensures a strong hold for your items.
Measuring Tools
Measuring tools help mark the right spot on the wall. Use a tape measure or a ruler for accuracy.
A pencil or marker is useful to mark drill points. Proper measurements prevent mistakes and keep your installation neat.
Preparing The Wall
Preparing the wall is the first step to use a Molly wall anchor correctly. It ensures the anchor fits well and holds firmly. Take time to do this right. A well-prepared wall makes your project safe and strong.
Marking The Spot
Find the exact place where you want to fix the anchor. Use a pencil to mark a small dot. Check the spot twice before marking. This helps avoid mistakes and keeps things neat.
Drilling The Pilot Hole
Choose a drill bit that matches the anchor size. Drill straight into the marked spot. Drill slowly and carefully to avoid wall damage. The hole must be clean and the right size.
Cleaning The Hole
Remove dust and debris from the hole. Use a small brush or blow air inside. A clean hole helps the anchor grip the wall tightly. This step improves the anchor’s holding power.
Installing The Molly Wall Anchor
Installing the Molly wall anchor is a straightforward process. It offers strong support for hanging items on drywall or hollow walls. The key steps involve inserting, expanding, and securing the anchor. Each step ensures the anchor holds firmly without damage to the wall. Follow these simple instructions for a reliable installation.
Inserting The Anchor
Start by drilling a hole in the wall. The hole size should match the anchor diameter. Push the Molly anchor into the hole gently. Tap it lightly with a hammer until it is flush with the wall surface. Avoid forcing the anchor, as this can damage the wall.
Expanding The Anchor
Use a screwdriver to turn the anchor’s screw slowly. This action expands the anchor inside the wall. The metal legs spread out behind the drywall, creating a strong grip. Stop turning when you feel resistance. Over-tightening can weaken the hold or break the anchor.
Securing The Anchor
Once expanded, tighten the screw firmly but carefully. The anchor should feel secure and stable in the wall. Remove the screw if needed to hang your item. The anchor stays in place, ready to support weight. Check the anchor’s hold before adding heavy objects.
Attaching Items To The Wall
Attaching items to the wall with Molly wall anchors makes the job easier and safer. These anchors hold strong in drywall and hollow walls. They help support heavy objects without damage. Follow simple steps to secure your items firmly. Use the right screws and techniques to avoid slips and falls.
Choosing The Right Screws
Select screws that fit the Molly anchor size. Too short or thin screws won’t hold well. Use screws recommended on the anchor package. Match screw length to the thickness of your object. Proper screws keep the anchor tight and secure.
Mounting The Object
Align your item’s holes with the anchors in the wall. Insert screws through the object into the anchor gently. Tighten screws slowly to expand the anchor behind the wall. Stop when the item feels firmly attached. Avoid over-tightening to prevent damage.
Ensuring Stability
Check the mounted item by applying light pressure. Make sure it does not wobble or shift. Tighten screws a bit more if needed. For very heavy items, use multiple anchors spaced evenly. Confirm the wall and anchors hold the weight safely.

Credit: www.youtube.com
Tips For Stronger Wall Support
Strong wall support is important when using Molly wall anchors. Proper use keeps your items safe and stable. Follow these tips for the best results.
They help your anchor hold tight and prevent damage to the wall or item.
Avoiding Overloading
Do not hang items heavier than the anchor’s limit. Too much weight can pull the anchor out. Check the weight rating on the package. Spread heavy loads across several anchors if needed.
Checking Wall Material
Know the type of wall you have before installing. Molly anchors work best in drywall or plaster. Avoid using them in brick or concrete walls. The anchor may not hold well in the wrong material.
Using Multiple Anchors
Use more than one anchor for larger items. This spreads the weight and adds safety. Space anchors evenly to balance the load. Multiple anchors reduce stress on each point.
Troubleshooting Common Issues
Troubles with Molly wall anchors can slow down your project. Knowing common problems helps fix them fast. Here are some easy tips to solve typical issues. Keep your walls safe and your anchors strong.
Anchor Spins In Hole
Sometimes the anchor spins inside the hole. This happens if the hole is too big. Use a smaller drill bit next time. Push the anchor firmly before you screw it. Hold the anchor steady with pliers if needed.
Loose Anchor
A loose anchor cannot hold heavy items. Check the hole size and wall type first. Make sure the anchor fits tightly. Tap it gently with a hammer to set it well. Tighten the screw slowly to avoid loosening.
Wall Damage Prevention
Wall damage is common with wrong anchor use. Drill the right size hole for your anchor. Avoid using too much force when inserting anchors. Use anchors made for your wall material. Place a piece of tape over the hole before drilling to stop the wall from cracking.
Frequently Asked Questions
What Is A Molly Wall Anchor Used For?
A Molly wall anchor secures heavy items on drywall or hollow walls. It expands inside the wall, providing strong support and preventing damage or pull-out.
How Do You Install A Molly Wall Anchor Properly?
First, drill a hole matching the anchor size. Insert the anchor, then tighten the screw. The anchor expands inside the wall, locking firmly in place.
Can Molly Wall Anchors Support Heavy Objects?
Yes, Molly anchors support heavy items like shelves and mirrors. They distribute weight evenly and provide strong, reliable fastening on hollow walls.
Are Molly Wall Anchors Reusable After Removal?
No, Molly anchors usually cannot be reused. Removing them damages the anchor’s expansion mechanism, reducing holding strength and stability.
Conclusion
Using a Molly wall anchor makes hanging items easy and secure. Drill the right hole size and insert the anchor carefully. Tighten the screw to expand the anchor inside the wall. This holds heavy items firmly without damage. Take your time and follow each step well.
You will get strong support for shelves, mirrors, or hooks. Simple tools and clear steps help anyone do the job right. Now, you can hang things with confidence and safety.