Are you struggling with uneven floors or tricky flooring projects? Knowing how to make a flooring jack can save you time, money, and frustration.
This simple tool gives you the power to lift and level your floorboards with ease. Imagine fixing those squeaky or sagging spots without calling in expensive help. In this guide, you’ll discover step-by-step instructions to build your own flooring jack using basic materials.
By the end, you’ll have a handy tool that makes your flooring work smoother and more efficient. Ready to take control of your flooring projects? Let’s get started!
Credit: www.classiccarrestorationclub.com
Tools And Materials Needed
Gathering the right tools and materials is the first step to making a flooring jack. The right supplies ensure your project is safe and effective.
Each tool and material has a specific role. Using quality items makes the process smoother and the result stronger.
Basic Tools Required
You will need a hammer, wrench, and screwdriver. These tools help assemble and adjust the jack parts.
A drill with bits is useful for making holes in wood or metal. A measuring tape ensures precise cuts and fits.
Materials Needed
Strong wood or metal beams form the main structure. Choose materials that can hold heavy weight without bending.
Bolts, nuts, and washers fasten the parts securely. Using the right size prevents slipping or loosening.
Safety Equipment
Wear safety glasses to protect your eyes from dust and debris. Gloves guard your hands during cutting and assembly.
A sturdy workbench or surface keeps your project steady. Keep a first aid kit nearby for minor injuries.

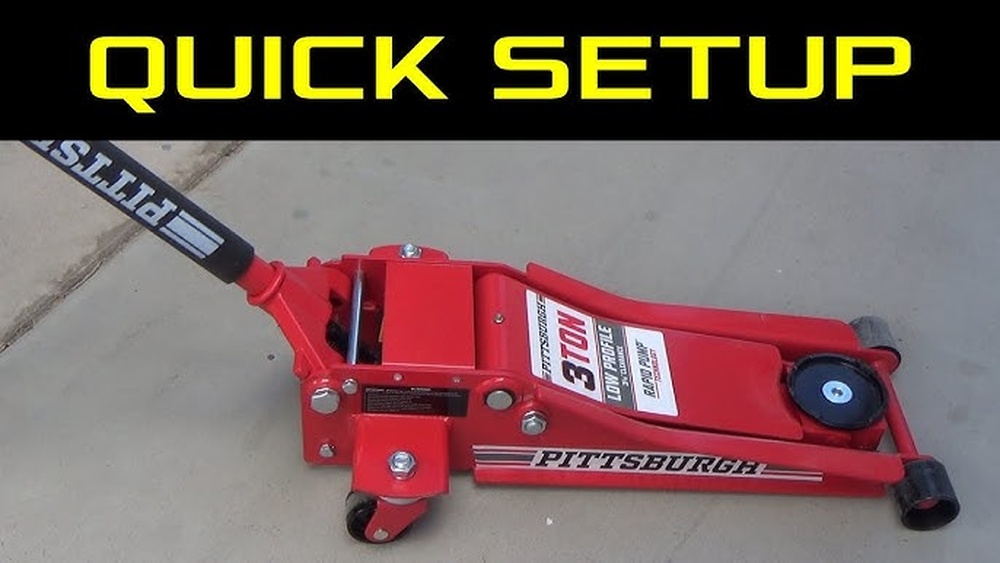
Credit: www.youtube.com
Choosing The Right Flooring Jack Type
Choosing the right flooring jack type is important for a smooth project. The right jack helps lift and hold floorboards safely. Different jobs need different jacks. Picking the best one makes the work easier and safer.
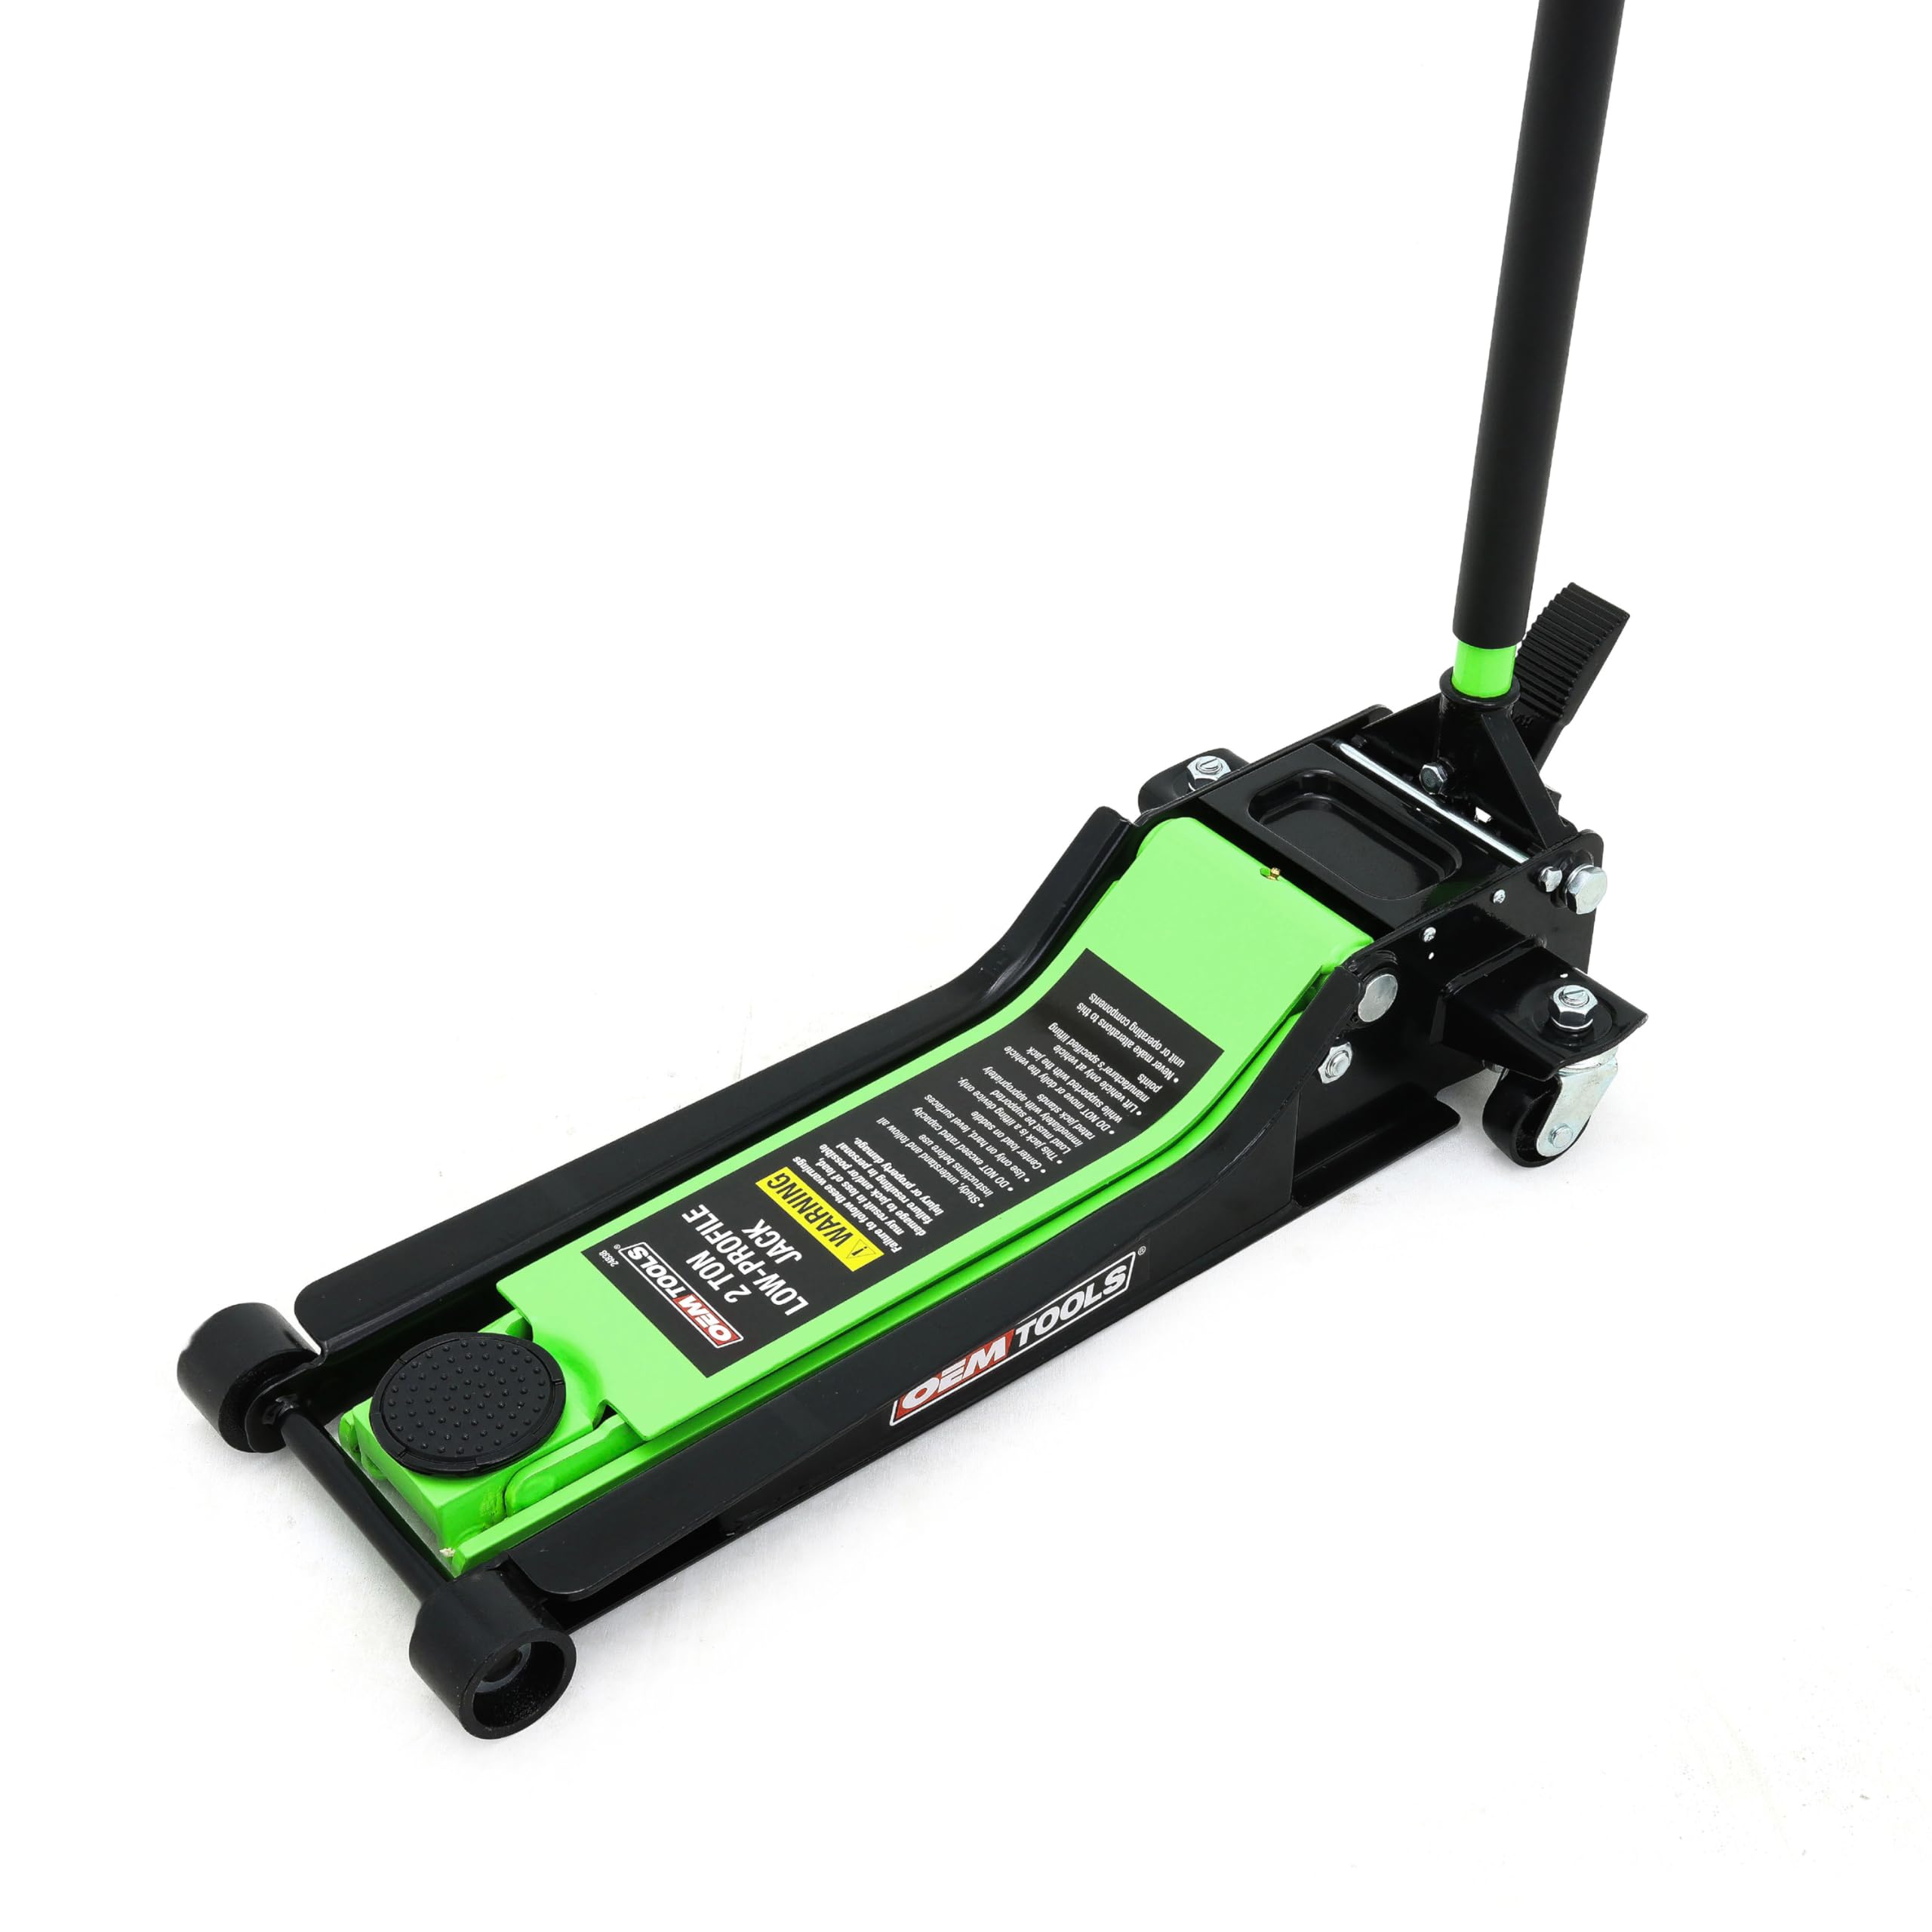
Hydraulic Flooring Jacks
Hydraulic jacks use fluid pressure to lift heavy floors. They work well for thick or hardwood floors. These jacks lift smoothly and hold weight steadily. They are good for bigger jobs that need strong support.
Mechanical Flooring Jacks
Mechanical jacks use gears and screws to lift floors. They are simple and easy to use. These jacks are best for small jobs or tight spaces. They need more effort but cost less than hydraulic jacks.
Toe Jacks
Toe jacks lift from very low points near the floor. They fit under tight spaces where other jacks cannot reach. These are great for lifting floorboards near walls or cabinets. Toe jacks are small but strong.
Step-by-step Assembly Instructions
Assembling a flooring jack may seem hard, but the process is simple. Follow each step carefully. This guide breaks down the assembly into clear parts. You will build the base frame, attach the lifting mechanism, and secure the handle and controls. Each step has detailed instructions to help you work safely and efficiently.
Building The Base Frame
Start with a flat, clean workspace. Lay out all the base frame parts. Connect the two side rails using the crossbars. Use bolts and nuts to secure them tightly. Make sure the frame is square and level. This stable base supports the entire jack.
Attaching The Lifting Mechanism
Next, prepare the lifting mechanism. Align it with the mounting points on the base frame. Insert the pivot pins and secure them with cotter pins. Check for smooth movement by lifting and lowering the mechanism. Tighten any loose parts to avoid wobbling during use.
Securing The Handle And Controls
Attach the handle to the lifting mechanism’s control arm. Use screws to fix it firmly in place. Connect any control cables or levers as per the design. Test the handle by moving it to lift and lower the jack. Adjust the controls for smooth operation before final use.
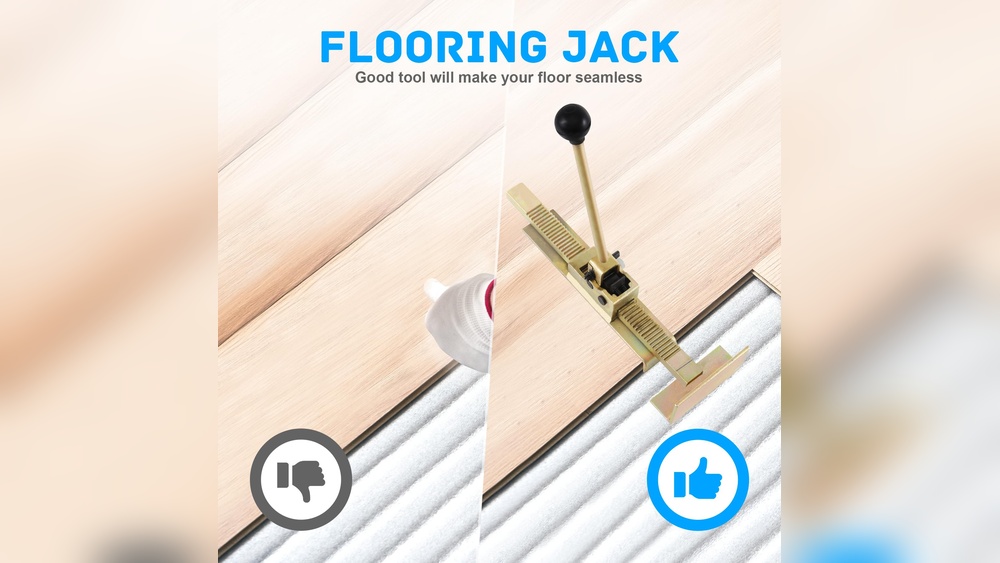
Credit: soleditalia.dk
Safety Tips For Using A Flooring Jack
Using a flooring jack can make lifting and adjusting floors easier. Safety is very important when using this tool. Small mistakes can cause big injuries or damage. Follow these safety tips to protect yourself and your work.
Wear Proper Safety Gear
Always wear safety glasses to protect your eyes from dust or debris. Use gloves to keep your hands safe from splinters and sharp edges. Wear sturdy shoes to prevent foot injuries if the jack slips or drops.
Check The Jack Before Use
Inspect the flooring jack for cracks, rust, or damage. Make sure all parts move smoothly and are not loose. Never use a jack that looks broken or weak. A faulty jack can fail and cause accidents.
Use The Jack On A Stable Surface
Place the jack on a flat, solid floor before lifting. Avoid uneven or soft surfaces that can cause the jack to tip over. Stability keeps the jack steady and reduces the risk of falls.
Lift Slowly And Steadily
Raise the jack slowly to avoid sudden movements. Quick lifts can make the floor or jack slip. Slow lifting gives you control and lets you stop if something feels wrong.
Do Not Overload The Jack
Follow the weight limit of your flooring jack. Overloading can bend or break the jack. Know the weight of the floor section before lifting to avoid accidents.
Keep Hands And Feet Clear
Keep fingers and toes away from the jack’s moving parts. Pinching or crushing injuries happen if your body parts get caught. Stay focused and watch where you place your hands and feet.
Store The Jack Safely
After use, clean the jack and store it in a safe place. Avoid leaving it where people can trip over it. Proper storage extends the jack’s life and prevents accidents.
Testing And Adjusting Your Flooring Jack
Testing and adjusting your flooring jack ensures it works safely and efficiently. This step is vital to avoid damage to floors or injury during use. Take your time to check every part carefully. Make small adjustments for the best results.
Testing The Jack’s Stability
Place the jack on a flat, solid surface. Slowly raise the jack to see if it holds steady. Watch for any wobbling or slipping. The jack must stay firm under pressure. If it moves, tighten the screws or bolts. Stability is key for safe flooring work.
Checking The Lifting Mechanism
Operate the lifting handle several times. It should move smoothly without sticking. Listen for unusual sounds like grinding or squeaking. These may signal problems with the mechanism. Lubricate moving parts if needed. Make sure the jack lifts and lowers evenly.
Adjusting The Height And Pressure
Measure the height of the jack at its highest point. Adjust the screw or bolt to reach the needed height. Test the pressure by lifting a small weight or board. The jack should hold the weight without slipping. Fine-tune the pressure to avoid damage to floorboards.
Maintenance And Storage Advice
Maintaining and storing your flooring jack properly keeps it working well. Good care extends its life and saves money. Simple steps help avoid damage and ensure safety.
Cleaning Your Flooring Jack
Wipe down the jack after every use. Remove dust, dirt, and wood chips. Use a dry cloth or soft brush for cleaning. Avoid water or harsh chemicals that cause rust.
Lubricating Moving Parts
Apply oil to all moving parts regularly. Focus on screws, hinges, and the lifting mechanism. Lubrication keeps the jack smooth and prevents wear. Use light machine oil for best results.
Checking For Wear And Damage
Inspect the jack before each use. Look for cracks, bent parts, or loose screws. Replace or fix damaged parts immediately. Safe tools prevent accidents and work better.
Proper Storage Tips
Store the flooring jack in a dry place. Avoid damp or humid areas that cause rust. Keep it off the ground to prevent dirt buildup. Cover with a cloth to protect from dust.
Frequently Asked Questions
What Materials Are Needed To Make A Flooring Jack?
You need steel pipes, a hydraulic bottle jack, welding tools, and nuts and bolts. These materials ensure a strong, durable flooring jack for lifting floor joists safely.
How Does A Flooring Jack Work?
A flooring jack uses hydraulic pressure to lift floor joists. It supports and stabilizes floors during repairs by providing adjustable height and strong load capacity.
Can I Make A Flooring Jack At Home?
Yes, with basic welding skills and the right materials, you can build a flooring jack at home. Follow safety guidelines to ensure it’s secure and functional.
What Safety Tips Should I Follow When Using A Flooring Jack?
Always check the jack for damage, use it on a stable surface, and avoid overloading. Wear protective gear and never work under a lifted floor without support.
Conclusion
Making a flooring jack can save time and money on your projects. Follow each step carefully for safety and success. Use basic tools and materials you can find easily. This simple device helps lift and hold flooring securely. Practice patience and double-check your work as you build.
Soon, you will have a useful tool made by your own hands. Try it out and see how it helps with your flooring tasks. A homemade flooring jack is practical and rewarding to create.