Are you wondering if mounting tape can hold up on wood surfaces? Whether you want to hang pictures, decorate your space, or secure something quickly, knowing how well mounting tape works on wood is key.
You don’t want your items falling down or leaving marks behind. You’ll discover the real truth about mounting tape’s strength on wood, tips to get the best results, and when it might not be the right choice. Keep reading to make sure your next project sticks perfectly!
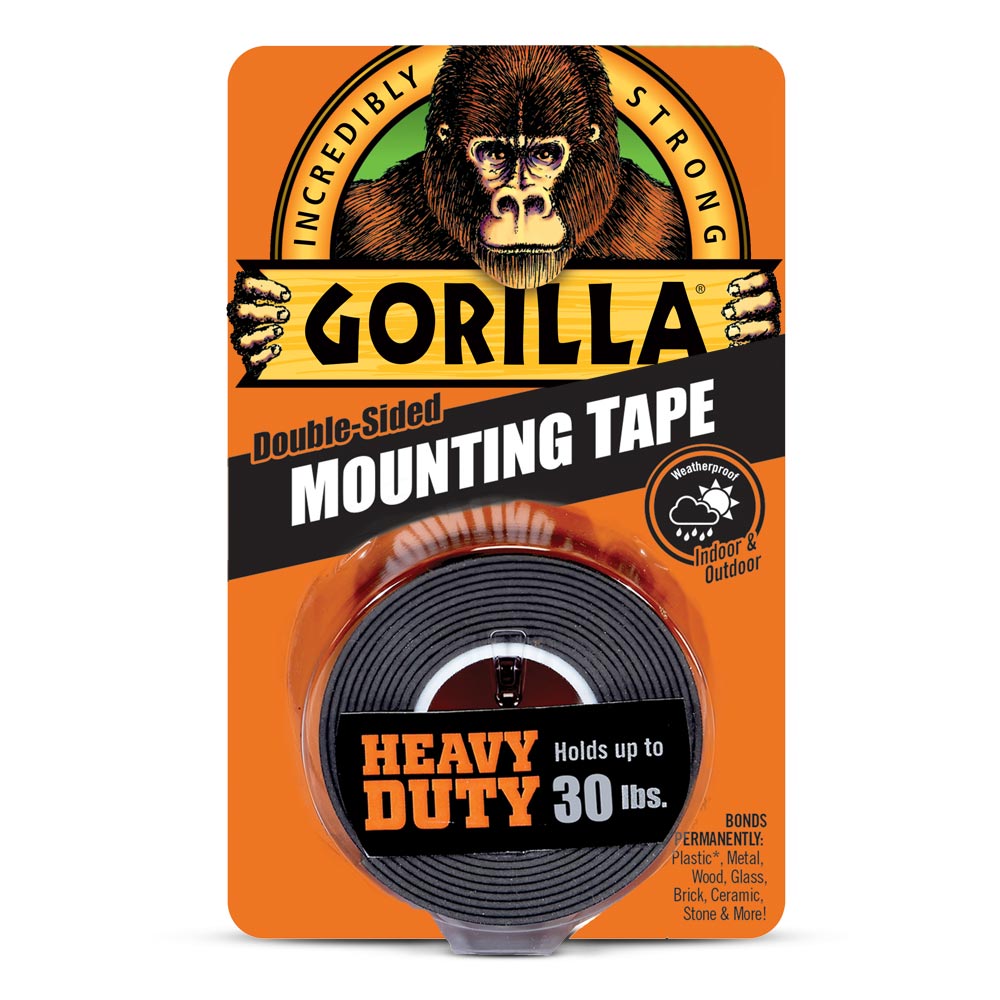
Credit: gorillatough.com
How Mounting Tape Adheres To Wood
Mounting tape sticks to wood through a mix of materials and surface contact. It uses pressure-sensitive adhesives that form bonds with the wood’s surface. The strength of this bond depends on the type of tape and the wood’s texture. Understanding how mounting tape works on wood helps choose the right product for your project.
Types Of Mounting Tape
There are different types of mounting tape. Double-sided foam tape offers strong grip and some cushioning. Clear acrylic tape is thin and less visible. Some tapes are designed for heavy objects, while others suit light decorations. Each type uses different adhesives for various surfaces.
Wood Surface Factors
The wood’s surface affects how well tape sticks. Smooth, clean wood provides better adhesion. Rough or dusty wood makes tape less effective. Painted or sealed wood can help or hurt sticking power. Moisture in the wood also changes the bond strength.
Tape Adhesion Mechanism
Mounting tape sticks by creating a close contact with the wood. The adhesive flows into tiny pores and surface bumps. Pressure activates the glue, making a strong hold. Some adhesives harden over time, improving grip. Heat and humidity can change how well the tape sticks.
Choosing The Right Mounting Tape For Wood
Choosing the right mounting tape for wood ensures a strong and lasting hold. Wood surfaces vary. Some are smooth, others rough or porous. This affects tape performance. Picking the right tape helps avoid damage and makes mounting easier. Consider key factors before buying mounting tape for wood.
Strength And Thickness
Mounting tape must support the item’s weight. Thick tape usually holds better on wood. Thin tape may not stick well to rough surfaces. Check the tape’s strength rating. It should match the weight of what you want to mount. Strong tape prevents falling and damage.
Weather Resistance
Wood can expand or shrink with weather changes. Tape exposed to heat, cold, or moisture must resist these conditions. Choose tape labeled weather-resistant or waterproof. This type holds firm outdoors or in humid rooms. It lasts longer and keeps your items secure.
Removability
Some tapes leave residue or damage wood when removed. Select tape designed for easy removal. This tape peels off cleanly without harming the surface. It suits renters or anyone who wants a temporary fix. Good removability keeps wood looking nice.
Preparing Wood Surface For Better Adhesion
Preparing the wood surface helps mounting tape stick better. Wood has natural oils and dust that block tape. Proper preparation improves tape hold and prevents peeling. Follow simple steps to get the best results.
Cleaning And Drying
Start by cleaning the wood surface. Use a soft cloth and mild soap to wipe away dirt and dust. Avoid wetting the wood too much. After cleaning, dry the surface completely. Tape sticks well only on dry wood.
Sanding And Smoothing
Sanding removes rough spots and old finishes. Use fine-grit sandpaper to create a smooth surface. Smooth wood allows tape to grip better. After sanding, wipe off the dust with a dry cloth.
Avoiding Contaminants
Keep oils, wax, and grease away from the wood. These substances stop tape from sticking. Do not touch the cleaned surface with oily hands. Use gloves or clean hands before applying tape. Clean surfaces give the best adhesion for mounting tape.

Credit: uk.gorillaglue.com
Applying Mounting Tape Correctly
Applying mounting tape correctly is key to making it stick well on wood surfaces. The right steps help the tape hold heavy or light items without falling off. Small errors can weaken the bond, causing the tape to fail.
Understanding how to cut, place, and press the tape improves its strength. Also, giving the tape time to set will make the bond last longer. Follow these simple steps for best results.
Cutting And Positioning
Cut the mounting tape into the size you need. Use scissors or a sharp blade for clean edges. Avoid stretching the tape while cutting.
Place the tape on a clean, dry wood surface. Dirt and moisture reduce stickiness. Press the tape down firmly to avoid air bubbles.
Pressing Techniques
Apply strong, even pressure along the tape. Use your fingers or a flat tool. Press for at least 30 seconds to activate the adhesive.
Focus on the edges to prevent peeling. Do not rush this step. Proper pressing helps the tape grip tightly.
Curing Time
Let the tape cure before hanging or attaching objects. Wait at least one hour for medium strength. For heavier items, wait up to 24 hours.
During this time, avoid moving or stressing the tape. Curing improves the bond and ensures long-lasting hold.
Common Challenges With Mounting Tape On Wood
Mounting tape offers a quick way to attach items to wood surfaces. Yet, it faces several challenges that can affect its strength and durability. Understanding these common issues helps ensure better results and fewer frustrations.
Wood is a natural material with unique properties. These properties can make it tricky for mounting tape to stick well and hold items securely over time.
Surface Porosity Issues
Wood often has a porous surface filled with tiny holes. These pores absorb the adhesive from the tape, reducing its grip. Rough or unfinished wood absorbs more adhesive than smooth, sealed wood. This makes the tape lose stickiness quickly. Cleaning and sanding the wood surface can help, but porosity remains a challenge for strong adhesion.
Temperature And Humidity Effects
Wood expands and contracts with changes in temperature and humidity. This movement can weaken the bond between the tape and wood. High humidity can also cause the tape to lose adhesion. Extreme cold or heat affects the tape’s sticky quality. These environmental factors often cause mounting tape to fail on wood surfaces.
Weight Limitations
Mounting tape has a limited weight capacity. Wood’s texture and porosity reduce the tape’s strength. Heavy items can pull the tape away from the wood. Overloading the tape leads to falls and damage. It is best to use mounting tape only for light objects on wood surfaces.
Tips To Improve Tape Performance On Wood
Mounting tape sticks well to many surfaces, but wood can be tricky. Wood is porous and rough, which makes tape lose grip faster. Improving tape performance on wood needs smart steps. These tips help tape stick better and last longer on wood surfaces.
Using Primer Or Sealant
Apply a primer or sealant before using mounting tape. These products create a smooth, sealed surface on wood. This stops wood from absorbing the tape’s adhesive. A sealed surface helps the tape stick more firmly. Let the primer or sealant dry fully for best results.
Double-sided Tape Options
Choose double-sided tapes made for wood or rough surfaces. These tapes use stronger adhesives. They have thicker cores to fill wood’s texture. Look for tapes labeled for outdoor or heavy-duty use. These last longer on wood and hold heavier items better.
Combining With Mechanical Fasteners
Use mounting tape together with screws or nails. Tape helps hold items in place while you fasten them. Mechanical fasteners add extra strength and security. This method works well for heavier or valuable items. It reduces the chance of things falling off the wood.
Safe Removal Of Mounting Tape From Wood
Removing mounting tape from wood requires care to keep the surface safe. Wood can scratch, peel, or stain if handled roughly. The right steps help keep the wood’s finish intact while cleaning tape residue. This section explains how to remove mounting tape safely and cleanly.
Avoiding Surface Damage
Start by pulling the tape slowly at a low angle. Quick or sharp pulls can peel the wood’s finish. Use your nails or a plastic scraper to lift the tape edge gently. Avoid metal tools, which may scratch or dent the wood. Test a small hidden spot before any cleaning to check for damage.
Using Heat Or Solvents
Apply gentle heat with a hairdryer to soften the tape’s adhesive. Hold the dryer a few inches away and move it evenly. Heat makes the tape easier to peel off. For sticky residue, use a small amount of rubbing alcohol or a mild adhesive remover. Dab it with a soft cloth and avoid soaking the wood. Wipe the area dry after treatment.
Cleaning Residue
Remove leftover adhesive with a soft cloth and warm, soapy water. Use mild dish soap and avoid harsh chemicals. Rinse with a damp cloth and dry immediately to prevent water damage. Lightly buff the wood with a clean, dry cloth to restore its shine. Regular care keeps wood surfaces looking fresh and clean.
Alternative Methods To Mount Items On Wood
Mounting items on wood can be tricky. Mounting tape may not always hold well on wooden surfaces. It is helpful to know other ways to attach things securely and safely. These methods suit different weights and types of wood. They also protect the wood from damage.
Hooks And Nails
Hooks and nails are classic options for wood. They hold heavy items firmly. Use small nails for light objects and bigger hooks for heavier ones. Nails leave small holes but are easy to fix. Hooks allow hanging items without taking much space. Always choose the right size for your item.
Adhesive Strips
Adhesive strips work well on smooth wood surfaces. They come with strong glue that sticks tightly. These strips are easy to apply and remove. They do not damage the wood if removed carefully. Ideal for pictures or light decorations. Not recommended for rough or porous wood.
Velcro And Magnetic Solutions
Velcro strips offer a flexible mounting option. Attach one side to the wood, the other to your item. You can remove and reattach items quickly. Magnetic solutions need metal parts on the item or wood. Magnets hold items firmly without holes or glue. Best for lightweight objects and frequent use.

Credit: gorillatough.com
Frequently Asked Questions
Does Mounting Tape Stick Well To Wood Surfaces?
Mounting tape generally adheres well to smooth, clean wood surfaces. Rough or dusty wood may reduce its effectiveness. Always clean and dry the wood before application for best results.
Can Mounting Tape Hold Heavy Items On Wood?
Mounting tape can support light to medium-weight items on wood. For heavy objects, stronger adhesives or mechanical fasteners are recommended to ensure safety and stability.
Is Mounting Tape Safe For All Types Of Wood?
Mounting tape works on most wood types but may damage delicate finishes. Test on a small area first to check for any discoloration or residue before full application.
How Long Does Mounting Tape Last On Wood?
Mounting tape can last several months to years on wood, depending on weight and environmental conditions. Humidity and temperature changes may affect its longevity.
Conclusion
Mounting tape can stick well to wood if the surface is clean and dry. It holds light to medium items firmly. Rough or dusty wood may need extra preparation for best results. Avoid using tape on very heavy or rough wood surfaces.
Test a small area first to check how strong the bond will be. Choosing the right tape type matters too. Overall, mounting tape offers a quick and easy way to attach things to wood without nails or screws. Simple and effective for many small projects.