Are you tired of struggling to keep your device steady while driving? Mounting your device to the windshield using both-sided tape is a simple and effective solution you can easily do yourself.
Imagine having your phone or GPS securely in place, right where you need it, without any distracting slips or falls. In this guide, you’ll discover step-by-step how to mount your device quickly and safely with both-sided tape. Keep reading, and you’ll learn tips that save you time and frustration, making your driving experience smoother and safer.
Choosing The Right Tape
Choosing the right double-sided tape is key to mount your device on the windshield properly. The tape must hold the device firmly without leaving residue. It should also resist heat, cold, and sunlight. Picking the correct tape ensures your device stays safe and stable.
Types Of Both-sided Tape
There are many types of double-sided tapes. Foam tapes offer cushioning and grip. Acrylic tapes provide strong adhesion and last longer. Gel tapes are flexible and easy to remove. Each type fits different surfaces and weights. Choose one that matches your device and windshield.
Tape Strength And Durability
Strength matters to hold your device tightly. Check the tape’s thickness and adhesive power. Thicker tapes usually hold heavier devices better. Durability means the tape keeps sticking over time. Good tape won’t peel off after days or weeks. Strong, durable tape protects your device from falling.
Weather Resistance Factors
Windshields face many weather changes. Heat from the sun can melt weak tape. Cold makes some tapes hard and brittle. Moisture and rain can weaken adhesive. Select tape that resists heat, cold, and water. Weather-proof tape stays firm in all conditions. This keeps your device secure every day.
Preparing The Windshield Surface
Preparing the windshield surface is a crucial step before mounting a device with both-sided tape. This step ensures the tape sticks firmly and holds the device securely. A clean and dry surface improves the bond and prevents the device from falling off.
Proper preparation also extends the life of the mount. Dirt, oil, and moisture can weaken the tape’s grip. Taking time to prepare the surface carefully saves effort later.
Cleaning Techniques
Start by wiping the windshield with a clean cloth. Use glass cleaner or rubbing alcohol for best results. Avoid oily or greasy cleaners. They can leave residue that blocks adhesion.
Apply the cleaner to the cloth, not directly on the glass. Wipe in circular motions to remove dust and grime. Repeat if the glass still looks dirty.
Drying And Inspection
After cleaning, dry the windshield completely with a dry cloth. Any moisture can reduce tape strength. Check the area under good light to spot leftover dirt or streaks.
Look for fingerprints, dust, or smudges. These tiny particles can stop the tape from sticking well. Clean again if needed, then dry once more.
Avoiding Surface Contaminants
Keep the windshield free of contaminants after cleaning. Avoid touching the cleaned area with your fingers. Oils from skin can transfer and weaken the tape bond.
Do not spray air fresheners or sprays near the mount spot. These contain chemicals that may affect adhesion. Mount the device soon after cleaning for best results.
Preparing The Device
Preparing your device properly is important before mounting it to the windshield. This step helps the tape stick well and keeps the device safe. A clean and suitable surface ensures a strong bond. Follow simple steps to get your device ready for mounting.
Cleaning Device Contact Area
Start by cleaning the part of the device that will touch the tape. Use a soft cloth with rubbing alcohol or mild soap and water. Remove all dust, oil, and dirt. Let the area dry completely before applying the tape. A clean surface helps the tape stick better and last longer.
Selecting Mounting Position
Choose a spot on the windshield that does not block your view. Pick a flat area to ensure the tape sticks well. Avoid curved or textured parts, as the tape may peel off. Also, consider where the device’s screen or buttons will be easy to reach and see.
Ensuring Device Compatibility
Check if your device works well with both-sided tape mounts. Some devices have uneven surfaces or vents that stop the tape from sticking. Make sure the device is light enough for the tape to hold. Confirm the tape size fits the device’s contact area. Proper compatibility keeps the device secure during use.

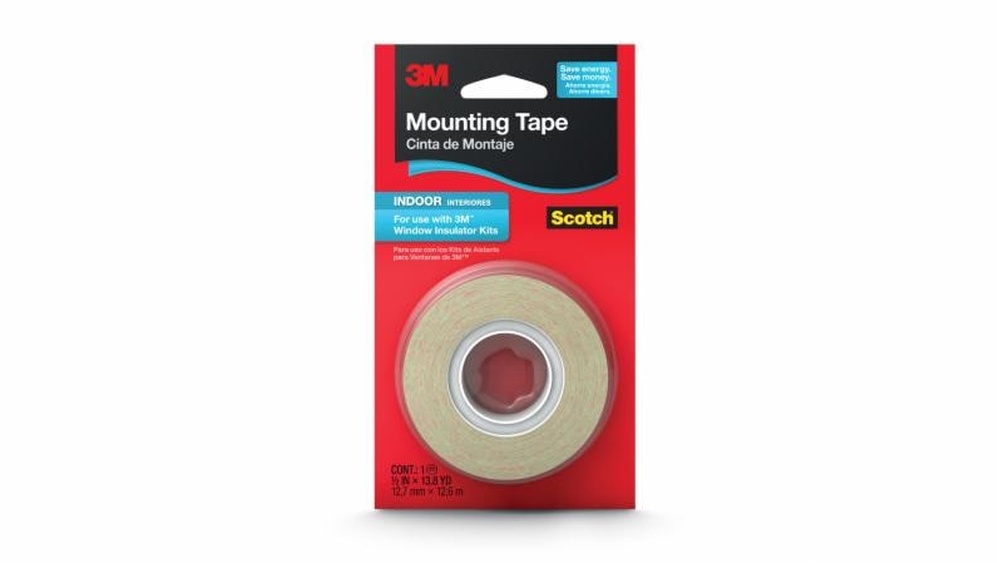
Credit: www.walmart.com
Applying The Tape
Applying double-sided tape correctly is key to mounting your device securely on the windshield. This process needs care and attention to make sure the tape sticks well. A strong bond prevents the device from falling off while driving. Follow these steps to apply the tape perfectly and keep your device in place.
Cutting Tape To Size
Measure the base of your device before cutting the tape. Cut the tape into small pieces that fit the mounting area well. Avoid using too much tape to prevent mess. Keep the tape size balanced for even pressure and better hold.
Positioning The Tape
Clean the windshield and device surface before applying tape. Peel off one side of the tape and stick it to the device. Align the tape pieces carefully on the device base. Avoid touching the sticky side to keep it clean and sticky.
Pressing And Securing Tape
After placing the tape, press firmly on each piece. Use your fingers to press all edges and corners. Hold the device against the windshield for a few seconds. This helps the tape bond tightly and supports the device well.
Mounting The Device
Mounting a device to your windshield with both-sided tape is simple. It needs care and the right steps to hold well. Follow these steps for a strong and secure mount.
Proper mounting keeps your device stable. It also makes sure it stays in place during driving. Take your time to set it up correctly.
Aligning Device On Windshield
Place the device near the windshield first. Check the view and position from the driver’s seat. Make sure it does not block your sight.
Move the device slowly until you find the best spot. The surface should be smooth and clean. Dirt or dust can stop the tape from sticking well.
Applying Firm Pressure
Once aligned, press the device firmly against the glass. Hold pressure for about 30 seconds. This helps the tape stick tightly to the windshield.
Use your palm or fingers to press evenly on all sides. Avoid sliding the device after pressing. This can weaken the adhesive bond.
Allowing Adhesive To Set
Wait at least one hour before using the device. The tape needs time to bond with the glass fully. This makes sure it will not fall off easily.
Keep the device still during this time. Avoid touching or moving it. A strong bond means safer driving with your mounted device.
Testing Stability And Safety
After attaching your device to the windshield with both-sided tape, testing its stability and safety is key. This step ensures your device stays in place while driving. It also helps avoid distractions or accidents caused by a falling device.
Checking Device Security
Gently shake the device to check if it moves or feels loose. Press firmly around the edges of the tape to improve the hold. Look for any gaps between the tape and the windshield. Make sure the device does not wobble or slide.
Adjusting If Necessary
If the device feels unstable, remove it carefully. Clean the windshield surface with alcohol before reapplying new tape. Press the device firmly for at least 30 seconds to secure it. Let the tape set for a few hours before driving.
Safety Tips For Driving
Place the device where it does not block your view of the road. Avoid placing it near airbags or moving parts. Check the device’s position before every trip. Stop and adjust if the device moves during driving.
Removing And Replacing Tape
Removing and replacing the tape on your windshield device mount keeps it secure and clean. Over time, tape loses stickiness or collects dirt. Replacing it ensures a strong hold for your device. Follow simple steps to remove old tape safely and prepare the surface for new tape.
Safe Removal Techniques
Start by gently peeling the tape from the windshield. Avoid pulling too fast to prevent glass damage. Use a plastic scraper or your fingernail to lift the tape edge. Warm the tape slightly with a hairdryer. Heat softens the adhesive, making removal easier. Remove any tape bits carefully to avoid scratches.
Cleaning Residue
Sticky residue can block new tape from sticking well. Use rubbing alcohol or an adhesive remover on a soft cloth. Wipe the glass surface gently until clean. Avoid harsh chemicals that can damage the windshield. Let the surface dry fully before applying new tape. A clean surface improves tape strength.
Choosing Replacement Tape
Select double-sided tape made for windshield mounting. Look for strong adhesive and weather resistance. Thicker tapes often provide better grip. Check tape size matches your device mount base. Avoid cheap tapes that lose stickiness quickly. Using quality tape keeps your device secure while driving.

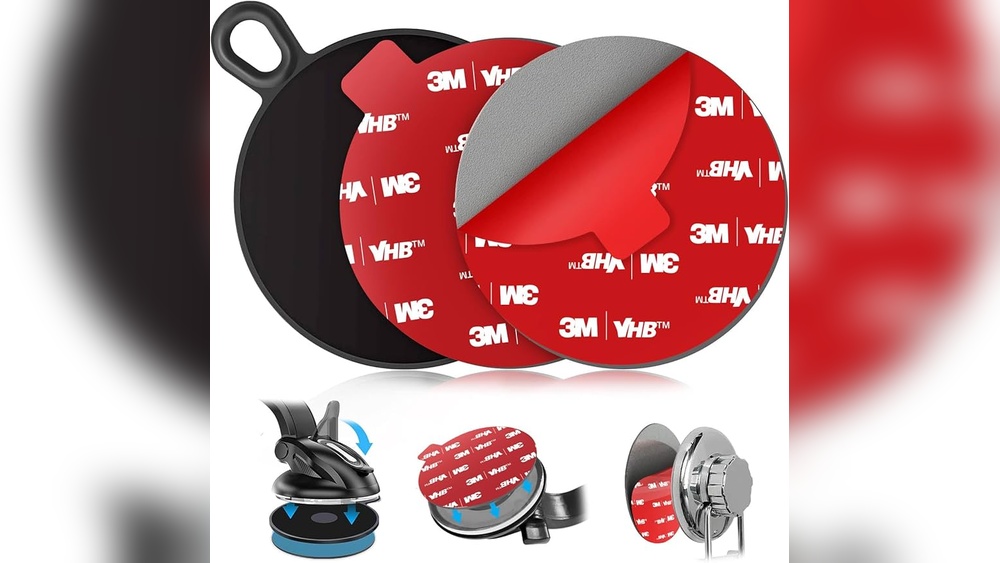
Credit: www.amazon.com

Credit: www.walmart.com
Frequently Asked Questions
How Do I Prepare The Windshield Before Applying Double-sided Tape?
Clean the windshield thoroughly using alcohol wipes. Remove dust, oil, and moisture for better tape adhesion. Let it dry completely before mounting the device.
What Type Of Double-sided Tape Works Best On Windshields?
Use automotive-grade, weather-resistant double-sided tape. It ensures strong bonding and withstands heat and moisture. Avoid cheap tapes that may fail quickly.
Can I Remove The Device Without Damaging The Windshield?
Yes, carefully heat the tape with a hairdryer. Gently peel off the device to avoid glass damage. Clean any leftover adhesive with rubbing alcohol.
How Long Does Double-sided Tape Hold A Device On A Windshield?
High-quality tape can hold devices securely for months to years. Adhesion strength depends on surface preparation and environmental factors like heat and humidity.
Conclusion
Mounting a device to your windshield with double-sided tape is simple and quick. Clean the surface well before applying the tape for strong hold. Press firmly to avoid the device falling while driving. Choose tape made for glass and heat resistance.
Check your device often to ensure it stays secure. This method saves space and keeps your view clear. Follow these steps for a safe, neat setup every time.