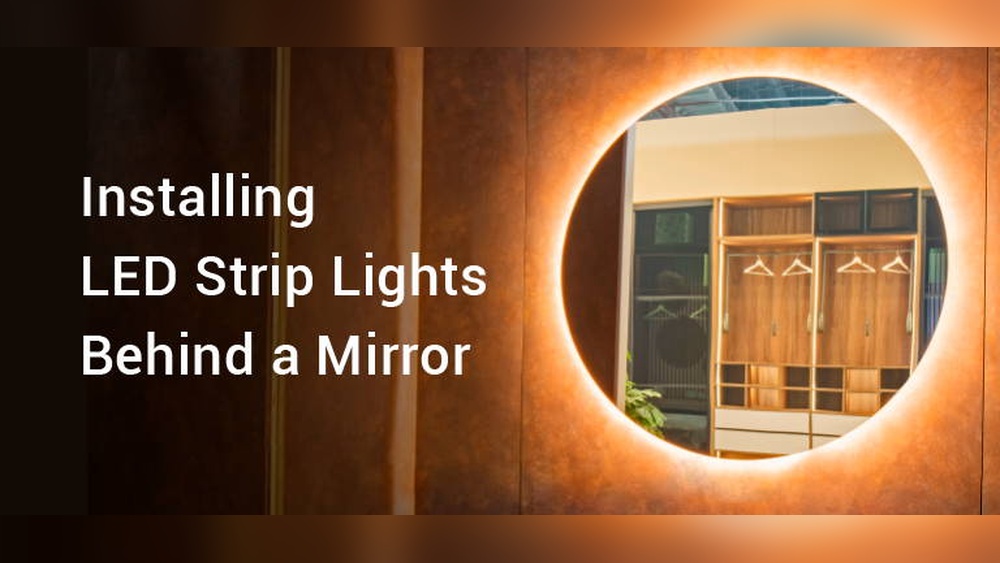
Looking to brighten up your space with LED strips but worried that tape won’t hold them securely? You’re not alone.
Many people struggle with LED strips falling off or leaving sticky marks behind. But what if there was a better way to mount your LED strips that lasts longer and looks cleaner? You’ll discover simple and effective methods to mount your LED strips besides tape.
These tips will help you achieve a neat, professional look without the hassle. Keep reading to find out how you can upgrade your lighting setup with ease and confidence.

Credit: www.aidot.com
Choosing The Right Mounting Method
Choosing the right mounting method for LED strips is important for a clean, secure look. Tape is common but not always the best choice. Different surfaces and needs call for different methods. Knowing these options helps keep your LED strips safe and bright.
Factors To Consider
Think about how long the LED strips will stay in place. Some methods hold better over time. Consider weight and thickness of the strips too. Heat and moisture can affect the mounting choice. Easy removal or repositioning might also matter. Choose a method that matches your specific needs.
Surface Types And Compatibility
Different surfaces need different mounting methods. Smooth walls work well with clips or brackets. Rough or uneven surfaces may need screws or nails. Wood can hold screws tightly, while drywall may need anchors. Glass or metal might require special adhesives or magnets. Match the method with the surface for best results.
Using Mounting Clips
Using mounting clips is a great way to secure LED strips without relying on tape. Clips hold the strips firmly in place and prevent them from falling. They work well on many surfaces, especially where tape might not stick well. Mounting clips also make it easy to remove or reposition the LED strips later.
Types Of Clips
There are several types of mounting clips for LED strips. Plastic clips snap over the strip and hold it tightly. Metal clips offer stronger support and are good for outdoor use. Some clips come with screws for extra security. Others use adhesive backing for quick installation. Choose clips based on the surface and how permanent you want the setup.
Installation Tips
Clean the surface before attaching clips. Dirt or dust can weaken the hold. Space clips evenly to keep the strip straight and secure. Avoid bending the LED strip too sharply near clips. Use screws or nails only if the surface allows it. Press clips firmly but gently to avoid breaking them. This method keeps LED strips neat and safe.
Applying Adhesive Mounting Channels
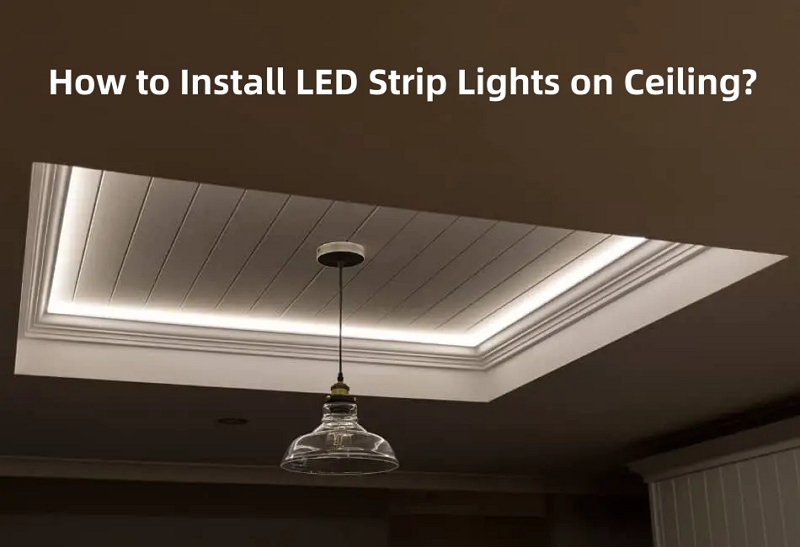
Applying adhesive mounting channels is a smart way to install LED strips without relying solely on tape. These channels provide a secure base and protect the LED strips from damage. They keep the strips straight and help with heat dissipation, which can extend the strip’s life.
Mounting channels also create a clean, professional look. They hide the wires and allow easy access for maintenance or replacement. This method works well on uneven or rough surfaces where tape might not stick well.
Benefits Of Channels
Adhesive mounting channels improve LED strip durability by reducing stress on the strips. They hold the strips firmly in place, preventing peeling or sagging. The channels also help spread heat away from the LEDs, making them last longer.
The clean lines of the channels give a polished finish to your lighting project. They protect the strips from dust and accidental bumps. Using channels makes it easier to change or adjust the LED strips without damage.
Step-by-step Installation
First, clean the surface where you will attach the channels. Remove dust, grease, or dirt for better adhesion. Next, measure and cut the mounting channels to fit your LED strips.
Peel off the backing from the adhesive on the channels. Press the channels firmly onto the surface, applying even pressure. Wait a few minutes to ensure the adhesive sticks well.
Place the LED strips inside the channels carefully. Press the strips down so they stick to the channel base. Attach any diffusers or covers that come with the channels to protect the LEDs.
Finally, connect the LED strips to power and test the lighting. Adjust the position if needed by sliding the strips inside the channels. This method keeps your LED setup tidy and secure.

Credit: www.wikihow.com
Mounting With Velcro Strips
Mounting LED strips with Velcro strips offers a flexible and reusable option. This method allows easy removal and repositioning of the lights. Velcro strips provide a strong hold without damaging surfaces. This makes them a popular choice for temporary or adjustable lighting setups.
Selecting Velcro For Led Strips
Choose Velcro with adhesive backing for easy installation. The adhesive should be strong enough to hold the LED strip’s weight. Look for Velcro strips that are thin and flexible. This helps keep the LED strip close to the surface. Consider Velcro with a peel-and-stick feature for simple use. Ensure the Velcro length matches your LED strip length.
Pros And Cons
Velcro strips allow quick removal and repositioning of LED lights. They do not leave sticky residue or damage walls. Velcro works well on smooth and clean surfaces. It also supports LED strips in tight or awkward spots.
On the downside, Velcro may not hold well on rough or dusty surfaces. Over time, the adhesive can weaken, especially in humid areas. Velcro can add slight thickness behind the LED strip. This may affect lighting appearance on very flat surfaces.
Using Silicone Adhesive
Using silicone adhesive is a strong and reliable way to mount LED strips. It holds well on many surfaces and resists heat and moisture. This makes it perfect for both indoor and outdoor LED installations. The adhesive also stays clear and flexible, so it does not damage the LED strips over time.
Choosing The Right Silicone
Pick a clear, neutral-cure silicone for LED strips. Neutral-cure silicone does not release strong acids that could damage electronics. Check if the silicone is waterproof and heat resistant. These features protect your LED strips in kitchens, bathrooms, or outdoor areas. Avoid acidic silicones that can cause corrosion or discoloration.
Application Techniques
Clean the surface before applying silicone. Use rubbing alcohol or soap and water to remove dust and grease. Let the surface dry completely. Apply a thin, even layer of silicone on the LED strip or the mounting surface. Press the LED strip gently into place. Hold it for a few seconds to ensure good contact. Let the silicone cure for 24 hours before turning on the lights. This ensures a strong, lasting bond.
Credit: www.aidot.com
Securing With Screws And Brackets
Securing LED strips with screws and brackets offers a strong and lasting hold. This method suits areas where tape might fail. It prevents the strips from falling off over time. Screws and brackets provide extra support on rough or uneven surfaces. They also allow for neat, straight installation along corners and edges.
This approach works well for outdoor use or in places with heat or moisture. The hardware keeps the LED strips firmly in place, ensuring steady lighting. It is a simple way to improve durability and avoid frequent reattachment.
When To Use Screws
Use screws when tape does not stick well. Rough, textured, or dusty walls need screws. Areas exposed to water or heat benefit from screw mounting. Long LED strips require brackets and screws to avoid sagging. Outdoor setups also need extra security to resist wind and rain.
Screws work best on wood, drywall, or metal surfaces. Avoid screws on delicate materials that can crack or break easily. Choose this method for permanent installations where you want the strips to stay for a long time.
Installation Guide
Gather the tools: screws, brackets, a drill, and a screwdriver. Mark the positions where you want to place the LED strips. Attach the brackets along the marked line, spacing them evenly. Align the LED strip with the brackets carefully. Secure the strip inside the brackets, then tighten the screws.
Check that the strip is straight and firmly held. Connect the LED strip to power and test the lights. Adjust the brackets if needed to avoid any gaps. This method keeps your LED strips stable and well-organized.
Magnetic Mounting Options
Magnetic mounting offers a strong and flexible way to install LED strips. It avoids damage from tape and allows easy repositioning. This method suits metal surfaces well and keeps the strips secure without mess.
Magnets hold LED strips firmly while letting you remove or adjust them anytime. This option works great for renters or temporary setups. Magnetic mounting also helps with heat dissipation by not trapping heat under the strip.
Magnetic Tape Vs. Magnetic Clips
Magnetic tape is thin and sticks to the back of LED strips. It lets you attach strips directly to metal surfaces. This option is neat and keeps strips flat against the surface.
Magnetic clips are small holders with magnets. They clip onto the LED strip and hold it without sticking. Clips allow better airflow around the strip and easier removal.
Tape fits better for long, flat surfaces. Clips suit curved or uneven areas where tape may not stick well. Both options provide strong, reliable mounting without glue or screws.
Installation Process
Clean the surface and LED strip before mounting. Dust and grease reduce magnet grip. Cut magnetic tape to strip length or arrange clips evenly.
Stick magnetic tape on the strip’s back or clip magnetic holders onto the strip. Place the strip on a metal surface and press firmly. Check that the strip stays in place.
Adjust position by sliding or lifting the strip gently. Magnetic mounting allows quick changes without damage. Test power and light before finishing installation.
Tips For Long-lasting Led Strip Installation
Installing LED strips correctly extends their life and performance. Simple steps make a big difference. Focus on surface and care for lasting results.
Surface Preparation
Clean the area well before applying LED strips. Use rubbing alcohol to remove dirt and grease. Dry the surface completely to help strips stick better. Avoid rough or uneven surfaces that can reduce adhesion. Smooth surfaces provide better contact and hold.
Maintenance Advice
Check LED strips regularly for dust and dirt. Gently wipe them with a soft cloth to keep brightness. Avoid using water or harsh cleaners that can damage the strip. Inspect connections to prevent loose wires and flickering. Proper care keeps your LED strips working longer and looking great.
Frequently Asked Questions
What Are The Best Alternatives To Tape For Mounting Led Strips?
You can use mounting clips, adhesive hooks, or silicone holders as tape alternatives. These options offer stronger support and are reusable. They prevent LED strips from peeling off and provide a cleaner look for your setup.
How To Mount Led Strips On Uneven Surfaces Without Tape?
Use mounting brackets or clips designed for uneven surfaces. These hold the LED strips securely without relying on sticky tape. They also allow for easy adjustment and repositioning when needed.
Can Led Strips Be Mounted With Screws Instead Of Tape?
Yes, small screws and mounting brackets can secure LED strips firmly. This method is ideal for permanent installations and ensures strips stay in place over time.
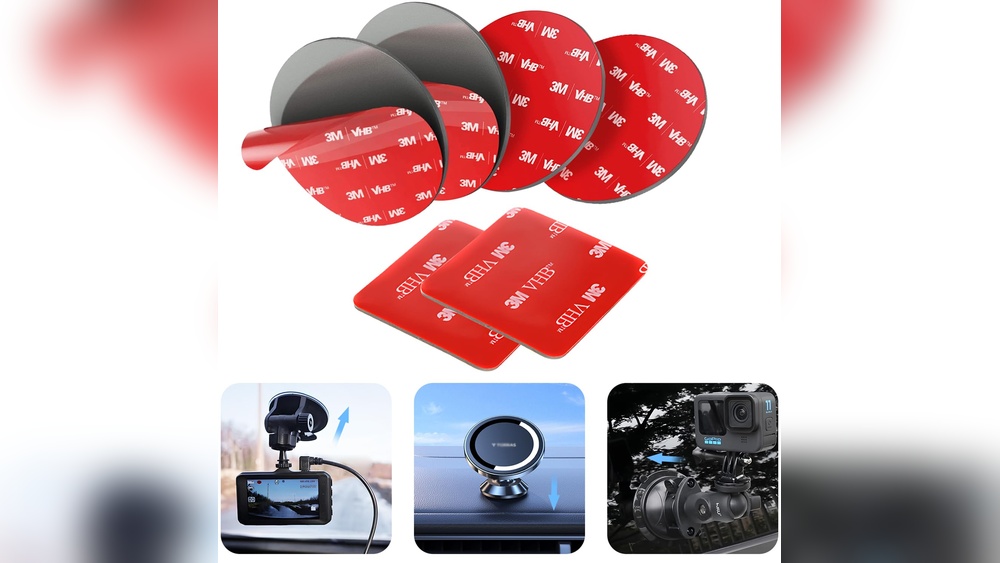
Are 3m Adhesive Pads Better Than Tape For Led Strips?
3M adhesive pads offer stronger bonding and last longer than standard tape. They resist heat and moisture, making them ideal for LED strip mounting in various conditions.
Conclusion
Mounting LED strips without tape gives you more options. Use clips, channels, or hooks to keep strips secure. These methods help avoid sticky residue and improve durability. Choose the way that fits your surface and style best. Trying different ways can make your lighting last longer.
Simple steps lead to great results. Enjoy bright, clean lighting without the mess.