Are you ready to give your outdoor space a sleek, modern upgrade? Installing Trex decking with hidden fasteners is the perfect way to achieve a clean, fastener-free surface that looks stunning and lasts for years.
But how do you get that flawless finish without visible screws or nails? If you’ve ever wondered how to install Trex decking with hidden fasteners, you’re in the right place. In this guide, you’ll discover simple, step-by-step tips that make the process easy—even if you’re a DIY beginner.
Keep reading to learn how to transform your deck with that smooth, professional look everyone admires. Your dream deck is closer than you think!

Credit: www.trex.com
Materials And Tools Needed
Gathering the right materials and tools is the first step to install Trex decking with hidden fasteners. Using proper supplies ensures a smooth and secure installation. This section lists essential items needed for the job.
Trex Decking Boards
Choose high-quality Trex decking boards designed for outdoor use. These boards resist fading, staining, and mold. They come in various colors and sizes. Select boards that match your deck design and size requirements.
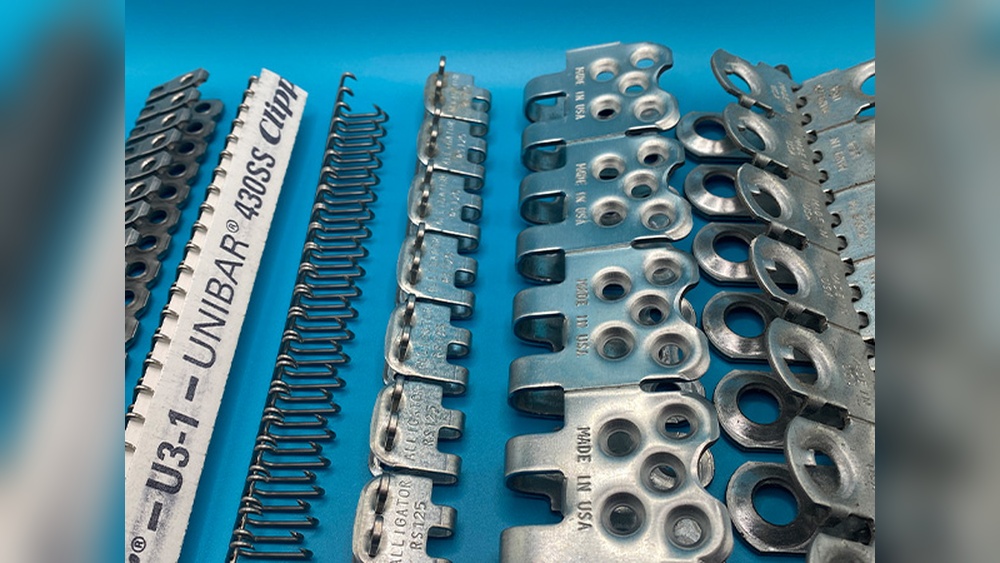
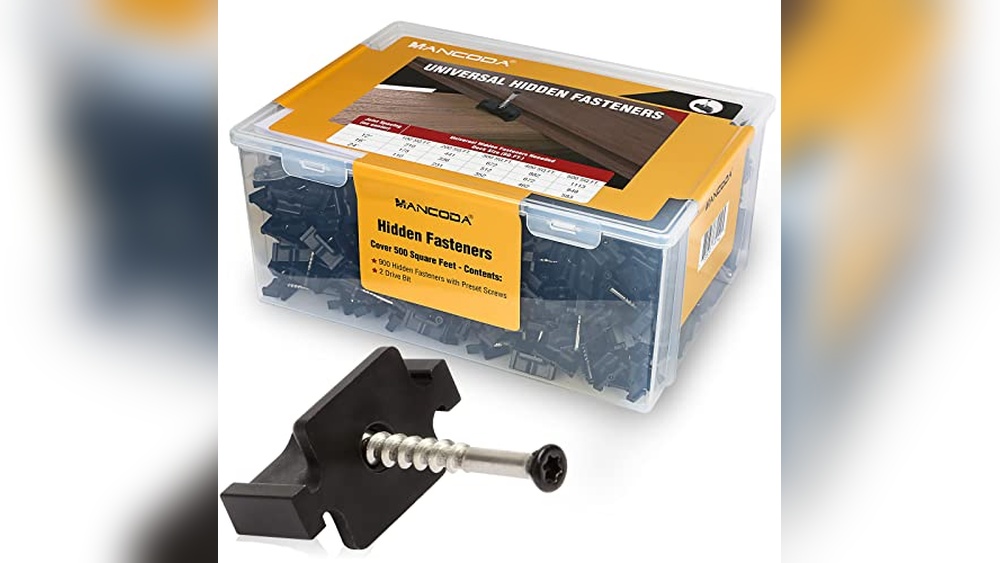
Hidden Fastener Clips And Screws
Hidden fastener clips keep boards tightly secured without visible screws. Use clips recommended by Trex for best results. The screws must be corrosion-resistant to last outdoors. Always have extra clips and screws on hand for replacements.
Drill And Drill Bits
A cordless drill speeds up the installation process. Use drill bits that match the screw size and type. Pre-drilling holes may prevent splitting of the decking boards. Keep drill batteries charged and ready.
Measuring Tools And Chalk Line
Accurate measurements ensure a level and even deck surface. Use a tape measure to check board lengths and spacing. A chalk line helps mark straight lines on the joists for fastener placement. Double-check measurements before drilling.
Safety Gear
Protect yourself with safety glasses and work gloves. Ear protection reduces noise from drilling. Wear sturdy shoes to avoid injuries from dropped tools or boards. Safety first keeps the project running smoothly.

Credit: www.trex.com
Preparing The Deck Frame
Attaching subsequent boards is a key step in installing Trex decking with hidden fasteners. Each board must fit securely and evenly. Proper technique ensures a smooth, clean deck surface without visible screws.
Pay close attention to how you slide boards into place, maintain consistent spacing, and secure clips firmly. This process helps prevent gaps from widening or boards shifting over time.
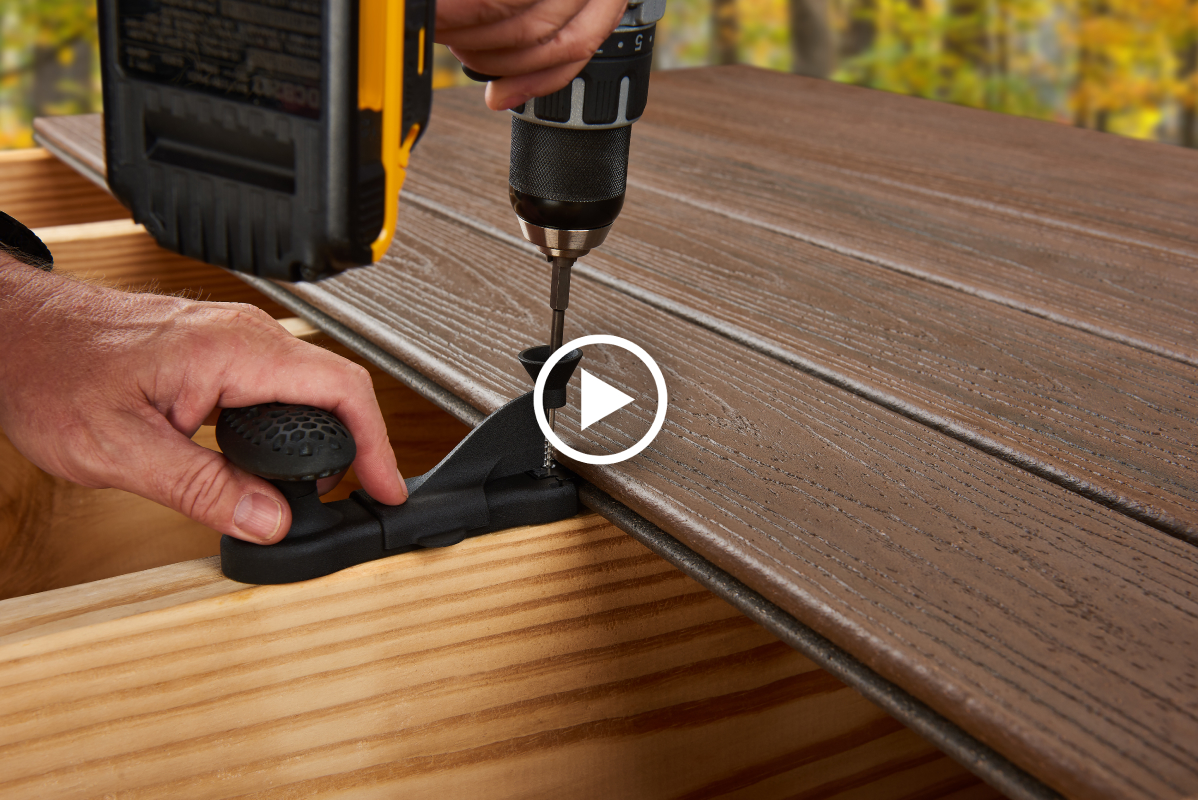
Sliding Boards Into Fasteners
Start by gently sliding the next board into the hidden fasteners already attached. Align the board’s groove with the fastener’s tongue carefully. Avoid forcing the board to prevent damage. The board should slide in smoothly with light pressure. If it feels tight, check the fastener alignment before proceeding.
Spacing Consistently Between Boards
Maintain even spacing between each board to allow for natural expansion. Use a spacer tool to keep gaps uniform. The recommended gap size is usually around 1/8 to 1/4 inch. Consistent spacing prevents buckling and helps water drain properly. Check spacing frequently as you install each board to keep the deck visually appealing and functional.
Securing Clips At Every Joist
Fasten clips securely at every joist to hold boards in place firmly. Use the screws provided with your hidden fastener kit. Do not fully tighten screws until all boards are positioned correctly. Leave screws slightly loose to allow board adjustments. Once all boards are in place, tighten screws to lock the deck securely. Proper clip installation is crucial for deck stability and longevity.
Planning Board Layout
Handling corners and edges during Trex decking installation requires special attention. These areas define the deck’s overall look and ensure long-lasting durability. Proper techniques avoid gaps, sharp edges, and uneven surfaces. This section explains practical ways to manage corners and edges with hidden fasteners.
Cutting Boards To Fit
Measure corners and edges carefully before cutting. Use a miter saw for precise angled cuts. Always cut boards slightly larger and trim to fit perfectly. Smooth the cut edges with sandpaper to prevent splinters. Proper cutting ensures boards align tightly without gaps. This step is key for a clean, professional finish.
Using Trim Or Picture Frame Borders
Add trim or picture frame borders to cover exposed edges. These borders give the deck a polished look. Attach trim using hidden fasteners or screws designed for composite materials. Borders protect the deck edges from damage and moisture. They also help hide any uneven cuts or small gaps, enhancing durability and style.
Applying Edge Coatings
Apply edge coatings to seal and protect board ends. Use sealants made for composite decking materials. Edge coatings prevent water from entering the boards, which reduces warping. Apply coatings evenly with a brush or applicator. Let the coating dry fully before using the deck. This step extends the life of your Trex decking and keeps corners strong.
Credit: www.trex.com
Frequently Asked Questions
How To Install Trex Hidden Deck Fasteners?
Align Trex boards with grooved edges on joists. Insert hidden fasteners into grooves, secure with screws, but don’t fully tighten. Slide next board into place, then fully tighten screws. Repeat for each joist to ensure a clean, fastener-free deck surface.
Do Trex Hidden Fasteners Go On Every Joist?
Trex hidden fasteners should be installed on every joist to securely hold each deck board in place. This ensures stability and proper spacing throughout the deck.
What Is The Gap Between Trex Boards With Hidden Fasteners?
The gap between Trex boards with hidden fasteners is typically 1/4 inch (6 mm). This spacing allows for expansion and contraction. Always follow the specific product’s installation guide for precise measurements and ensure consistent gaps to prevent board buckling or warping.
How Do You Finish The Edges Of Trex Decking?
Finish Trex decking edges using matching fascia boards or edge trim for a clean, polished look. Secure with hidden fasteners or screws. Sand edges lightly if needed. Seal cut ends to protect against moisture and maintain durability. Follow manufacturer guidelines for best results.
Conclusion
Installing Trex decking with hidden fasteners creates a smooth, clean deck surface. Follow spacing and fastening rules carefully for best results. Use the right tools and don’t overtighten screws to allow board movement. Regularly check the alignment as you go for even gaps.
Proper installation keeps your deck strong and looking great for years. Taking your time during each step will pay off in the end. Enjoy your beautiful, durable Trex deck with a hidden fastener finish.