Snap fasteners are everywhere—from your favorite jacket to the baby clothes you cherish. But what happens when one pops off or stops working properly?
You don’t have to toss your garment or bag just yet. Fixing snap fasteners is simpler than you think, and you can do it yourself with just a few tools and easy steps. In this guide, you’ll discover how to repair or replace snap fasteners quickly, saving your favorite items from going to waste.
Ready to bring your snaps back to life? Let’s dive in and make your clothes snap perfectly again!
Tools Needed
Fixing snap fasteners requires the right tools for a clean, secure repair. Having proper equipment makes the task easier and ensures lasting results. These tools help you remove damaged snaps and attach new ones firmly.
Below is a list of the most important tools you need. Plus, tips on how to select the best snap fasteners for your project.
Essential Repair Tools
Start with snap fastener pliers. They press snaps together tightly without damaging fabric. A small hammer and anvil also work well for metal snaps. Use a hole punch or awl to make clean holes for the snaps. Tweezers or small pliers help handle tiny snap parts. A flat screwdriver can remove old snaps carefully. Have a ruler or measuring tape to place snaps precisely.
Choosing The Right Snap Fasteners
Pick snaps that match your fabric type and thickness. Metal snaps suit heavy materials like denim or leather. Plastic snaps are better for light fabrics. Check snap size to fit your project’s needs. Choose rust-resistant snaps for outdoor use. Buy extra snaps to avoid delays during repair. Always match the snap parts to ensure proper fit and function.

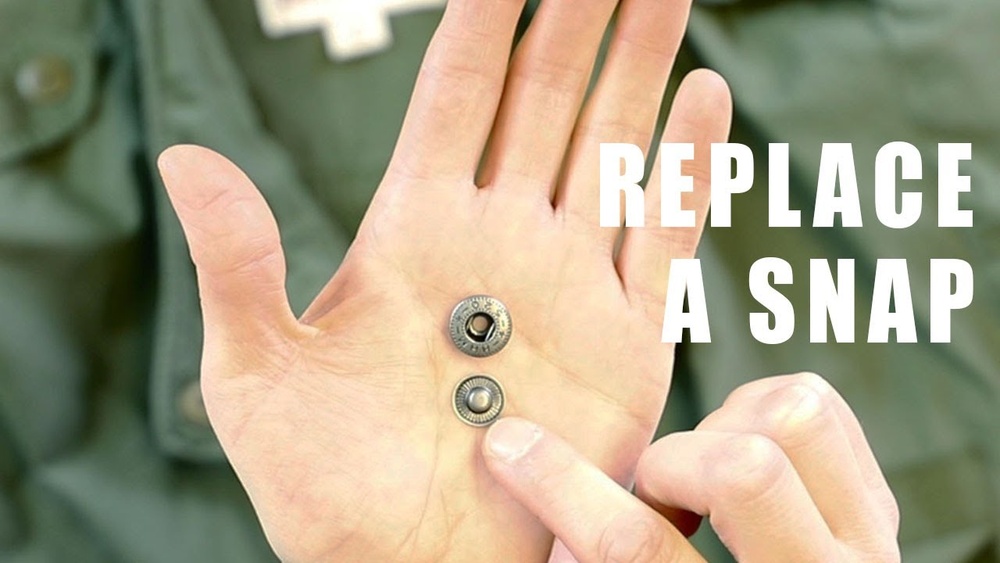
Credit: www.youtube.com
Types Of Snap Fasteners
Snap fasteners come in various types, each suited for different materials and uses. Knowing the types helps to fix them properly and choose the right one for your project. Here are the main types of snap fasteners you may encounter.
Metal Snaps
Metal snaps are strong and durable. They work well on heavy fabrics like denim and leather. These snaps consist of two metal parts that click together securely. Metal snaps resist wear and tear, making them ideal for jackets and bags. Fixing metal snaps often requires special tools or pliers for a tight fit.
Plastic Snaps
Plastic snaps are lightweight and flexible. They suit light fabrics such as cotton or nylon. These snaps come in many colors, perfect for decorative use on children’s clothes. Plastic snaps are easier to install by hand or with basic tools. They may break more easily than metal snaps but are safer for delicate items.
Spring Snaps
Spring snaps use a small spring mechanism inside. They provide a strong hold with easy opening and closing. Spring snaps are common in accessories and outdoor gear. Fixing a spring snap often means replacing the spring or cleaning the parts for smooth action. These snaps combine strength with convenience.
Diagnosing Common Issues
Diagnosing common issues with snap fasteners helps fix them correctly. Identifying the problem saves time and effort. It prevents further damage to your fabric or snaps. Below are the frequent problems you might find.
Loose Snap Buttons
Loose snap buttons do not hold fabric tightly. They often wiggle or fall off easily. Check if the snap halves are properly pressed together. Use pliers to gently tighten the snap without damaging fabric. Test the snap by opening and closing it several times.
Broken Or Missing Parts
Broken or missing parts stop the snap from working. Look for cracked or bent pieces on the snap. Sometimes, the socket or stud falls off completely. Replace missing parts with new snap fasteners. Use a snap kit or buy parts from a craft store. Make sure the new parts match the size and type of the original snap.
Fabric Damage Around Snaps
Fabric damage weakens the area around snap fasteners. Torn or frayed fabric makes snaps hard to fix. Check for holes or loose threads near the snap. Reinforce the fabric with a patch or extra stitching. Avoid pulling the snap too hard to prevent more damage. Fixing the fabric first helps the snap last longer.
Removing Old Snap Fasteners
Removing old snap fasteners is the first step in fixing or replacing them. Careful removal protects the fabric and prepares the area for a new snap. This process requires patience and the right approach to avoid damage. Below are effective methods for removing old snap fasteners.
Manual Removal Techniques
Start by examining the snap fastener closely. Use a small flathead screwdriver or a seam ripper. Gently pry the edges of the snap apart. Work slowly to avoid tearing the fabric. If the snap is metal, wiggle it back and forth. This loosens the snap from the fabric. Pull the snap off once it feels loose. For plastic snaps, cutting the snap may be easier. Use small scissors to carefully snip the snap without cutting the fabric. Clean the area after removal to remove any leftover pieces.
Using Specialized Tools
Specialized snap removal tools make the task easier. These tools fit under the snap and help pry it off cleanly. Use snap pliers with a removal tip for best results. Place the tool under the snap and squeeze gently. The snap should pop off without hurting the fabric. Another option is a pair of small needle-nose pliers. Grip the edge of the snap and pull it away slowly. These tools reduce the risk of fabric damage. Always work on a flat surface to keep control. After removal, check the fabric for holes or weak spots.
Repairing Fabric Damage
Repairing fabric damage is key to fixing snap fasteners properly. Damaged fabric can weaken the snap’s hold. Restoring fabric strength ensures the snap works well and lasts longer.
It is important to mend small tears and reinforce weak areas. These steps prevent further damage and keep your garment or item in good shape.
Mending Small Tears
Start by trimming loose threads around the tear. Use a needle and thread that match the fabric color. Sew small, close stitches along the tear edges. This pulls the fabric together securely. Avoid large stitches that can cause puckering. If the tear is large, use a patch behind it. Iron-on patches work well for quick fixes. Make sure the patch covers the tear fully. Sew around the patch edges to hold it firmly. This method strengthens the area around the snap fastener.
Reinforcing Weak Areas
Weak fabric near snap fasteners can cause snaps to loosen. Add extra fabric or interfacing behind these spots. Cut a small piece of interfacing to fit the area. Iron it on following the product instructions. This adds support without bulk. Another option is to sew a small fabric patch inside. Use strong thread and tight stitches. Reinforcement stops fabric from tearing more. It also helps the snap fastener stay in place firmly.

Credit: www.reddit.com
Installing New Snap Fasteners
Installing new snap fasteners is a simple way to repair or add snaps to your clothing or accessories. This process involves placing each snap part carefully and securing them so they hold well. With the right tools and steps, you can do this at home without any special equipment.
Follow clear steps to align, attach, and secure snap fasteners. This will ensure they work smoothly and last long.
Aligning Snap Components
Start by matching the two parts of the snap fastener. The socket and stud must face each other correctly. Place the fabric between them if you are fixing clothes. Mark the spot to avoid mistakes. Proper alignment helps the snap close and open without trouble.
Using Snap Pliers
Snap pliers make installing fasteners easier. Place the socket in one jaw and the stud in the other. Press the handles firmly to join the parts. The pliers apply even pressure, preventing damage to the snap or fabric. Check the snap works by opening and closing it a few times.
Securing Snap Fasteners Without A Machine
You can fix snaps without a machine using simple tools. Use a hammer and a hard surface like an anvil or block. Position the snap parts correctly on the fabric. Gently tap with the hammer to press them together. Avoid hitting too hard to protect the fabric. Test the snap for a secure fit.
Tightening Loose Snaps
Loose snap fasteners can be annoying and reduce the usefulness of your clothing or accessories. Fixing them is simple and requires minimal tools. Tightening loose snaps restores their grip and extends their life. This section explains easy ways to make your snaps firm again.
Adjusting With Pliers
Use a pair of adjustable pliers to tighten the snap. Hold the snap firmly with the pliers. Gently squeeze the snap in small steps. Move the pliers in a circular motion while squeezing. This helps the snap close evenly and tightly. Avoid pressing too hard to prevent damage.
Testing Snap Strength
After adjusting, test the snap by snapping it open and closed. Check if it holds firmly without slipping. If it still feels loose, repeat the tightening process. Test several times to ensure the snap stays secure. Proper testing helps avoid future problems with the snap.
Preventing Future Issues
Preventing future issues with snap fasteners saves time and effort. Proper care and smart choices keep snaps working well. Small steps can stop snaps from coming loose or breaking again. Focus on quality and correct use for longer snap life.
Choosing High-quality Snaps
Select snaps made from strong materials like stainless steel. Cheap snaps often break or rust quickly. Check reviews or buy from trusted brands. High-quality snaps fit better and hold tight. They resist wear and tear over time. Avoid plastic snaps for heavy-use items.
Proper Use And Care Tips
Fasten snaps gently without forcing them. Rough handling can bend or break parts. Clean snaps regularly to remove dirt and moisture. Dry them well after washing clothes or bags. Store items with snaps in dry places. Avoid pulling snaps sideways or with too much force.

Credit: www.reddit.com
Frequently Asked Questions
How To Fix A Loose Snap Fastener?
Use adjustable pliers to gently squeeze the snap socket in a circular motion. Test the snap, then tighten more if needed. Repeat until the snap feels secure and no longer loose.
How Do I Attach Snap Fasteners?
Place the socket on fabric, mark and pierce for the stud. Align both parts, then press firmly using snap button pliers.
How To Keep Snap Buttons From Popping Open?
Use high-quality snap buttons and ensure proper installation with snap pliers. Tighten loose snaps by gently squeezing them in a circular motion. Choose smaller buttonholes and fasten snaps carefully to prevent popping open. Replace worn snaps promptly for lasting hold.
How To Fix Snap Studs?
Place the stud half into the anvil groove. Align fabric hole over the stud. Use snap pliers to press firmly until secure. Test and adjust tightness as needed.
Conclusion
Fixing snap fasteners does not have to be difficult or time-consuming. With simple tools and clear steps, anyone can restore snaps quickly. Keep your fabric aligned and press firmly for the best hold. Regular checks help prevent snaps from loosening over time.
Practice patience, and don’t rush the process. Snap fasteners will stay secure and functional when handled carefully. This small repair saves money and extends your clothing’s life. Try these tips next time a snap needs fixing—you’ll see good results.