Are you ready to give your sewing projects a professional finish? Installing Sewology snap fasteners is easier than you think, and once you master the technique, you’ll wonder how you ever managed without them.
Whether you’re fixing a favorite jacket or creating a custom bag, these snaps add both style and function. In this guide, you’ll discover simple, step-by-step instructions that make the process quick and stress-free. Keep reading, and you’ll gain the confidence to install snap fasteners like a pro—no special tools or experience needed!

Credit: so-sew-easy.com
Choosing The Right Snap Fasteners
Choosing the right snap fasteners is key for a smooth sewing project. The right snaps make your work look neat and last longer. This choice depends on the type, material, and size of the snaps. Also, using the right tools helps you install them properly.
Types Of Snap Fasteners
There are several types of snap fasteners. Sewology snaps are popular for their ease of use. Some snaps are metal, others are plastic. Metal snaps are strong and durable. Plastic snaps are lighter and good for soft fabrics. Choose snaps that fit your project’s needs.
Materials And Sizes
Snap fasteners come in different materials like brass, stainless steel, and plastic. Brass snaps resist rust well. Stainless steel snaps are very strong. Plastic snaps are gentle on delicate fabrics. Sizes vary from small to large. Small snaps suit light fabrics. Large snaps work well on heavy fabrics.
Tools Needed
Installing Sewology snaps needs a few tools. You need a snap setter or pliers. A hammer helps to press snaps firmly. Some kits include all tools required. Using the right tools keeps snaps secure. Avoid tools that can damage snaps or fabric.
Preparing Your Fabric
Preparing your fabric is the first step to install Sewology snap fasteners. It helps ensure the snaps hold well and look neat. Careful preparation saves time and avoids mistakes during installation. Follow these simple steps to get your fabric ready.
Marking Snap Placement
Start by deciding where you want your snaps. Use a fabric pencil or chalk to mark the exact spots. Mark both sides of the fabric for correct alignment. Keep the marks small and light to avoid visible stains. Double-check the placement before moving forward.
Reinforcing Fabric
Snap fasteners need strong fabric to stay secure. Thin or stretchy fabric may tear easily. Add a small patch of interfacing or extra fabric behind the snap area. Iron-on interfacing works well to strengthen the spot. This step prevents damage and helps snaps last longer.
Gathering Supplies
Collect all tools before starting. You will need Sewology snap fasteners, a snap setter, and a hammer. Keep scissors and a ruler nearby for precision. Having everything ready speeds up the process and keeps you organized.
Step-by-step Installation
Installing Sewology snap fasteners is simple and quick. Follow each step carefully to get strong, neat snaps on your fabric. This guide breaks down the process into easy parts. You will learn how to place the snaps perfectly and use the tools right.
Aligning Snap Components
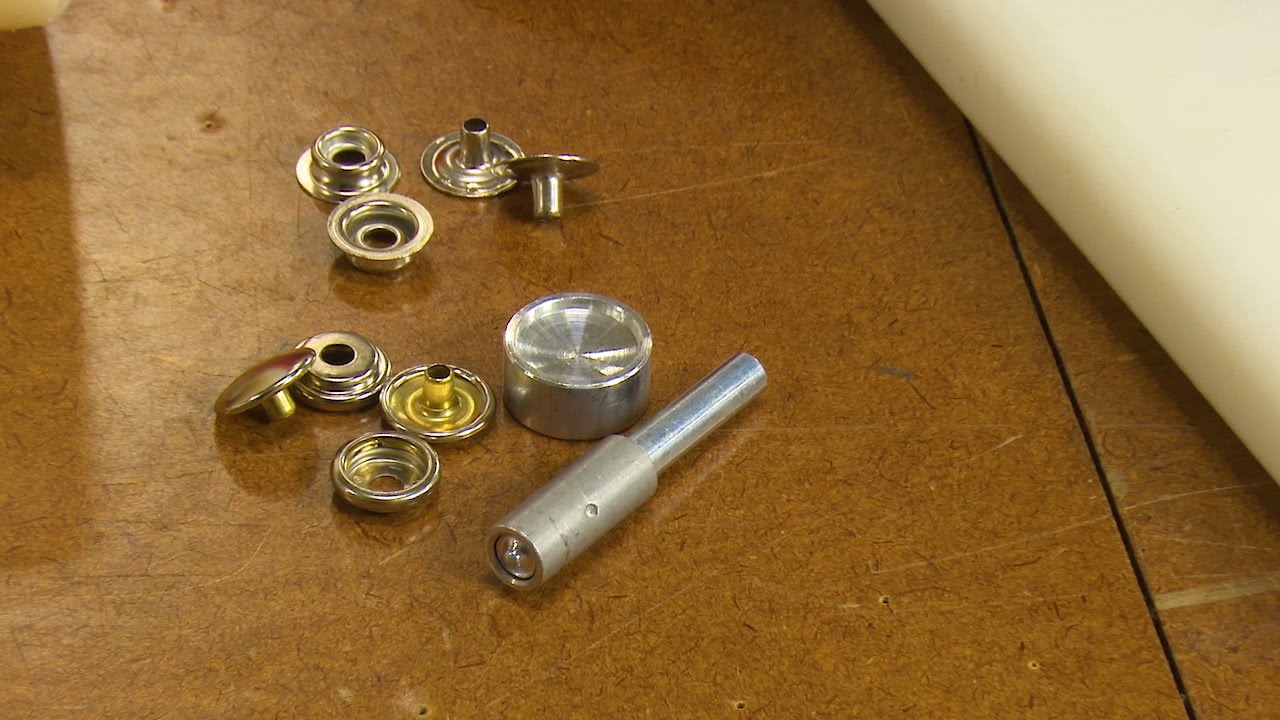
Start by separating the snap parts. You have a cap, socket, stud, and a post. Place the cap on the top side of your fabric. The socket goes on the backside, directly under the cap. For the other side, the stud sits on top and the post underneath. Make sure they match up perfectly before moving on.
Using The Snap Pliers
Hold your snap pliers firmly. Insert the snap parts into the jaws of the pliers. The cap and socket go on one side, the stud and post on the other. Squeeze the pliers slowly and steadily. This action presses the snap pieces together without damaging them. Do not rush. Proper pressure ensures the snap stays secure.
Securing The Fastener
After pressing, check the snap parts. They should be tightly fixed to the fabric. Test by snapping and unsnapping a few times. If the snap moves or feels loose, reposition and press again. A well-secured fastener lasts longer and works smoothly. Repeat for all snaps you want to install.
Tips For Durable Results
Getting Sewology snap fasteners to last long means careful work. Small steps make a big difference. Proper handling protects your fabric and keeps snaps strong. Follow these tips for best results.
Avoiding Fabric Damage
Use a sharp tool to punch holes in the fabric. Dull tools can tear or stretch the material. Place a small piece of cardboard under the fabric to protect it. Press firmly but gently when attaching snaps. Avoid forcing parts together to stop damage.
Ensuring Snap Alignment
Line up the male and female parts before pressing. Check the placement on both sides of the fabric. Mark spots with a pencil or tailor’s chalk. Correct alignment keeps snaps closing smoothly. Misaligned snaps wear out faster and may not hold well.
Testing Snap Strength
After installation, snap and unsnap several times. This checks if the fasteners hold tight. Pull lightly on the snaps to test their grip. Snaps that come loose need reinstallation. Strong snaps keep your project secure for a long time.
Troubleshooting Common Issues
Troubleshooting common issues with Sewology snap fasteners helps keep your projects neat and functional. Problems may occur during installation or after some use. Fixing these issues quickly saves time and materials.
Understanding common problems makes the process easier. You can enjoy smooth snaps that hold well and align properly. Below are solutions for typical snap fastener troubles.
Loose Snaps
Loose snaps do not hold fabric firmly. Check if the snap is pressed tightly enough. Use a strong tool or press firmly by hand. If still loose, try a smaller snap size for better grip.
Make sure the fabric is not too thick or slippery. Thick layers need extra pressure. Slippery fabric might require stabilizer under the snap area.
Misaligned Fasteners
Misaligned snaps cause difficulty snapping or unsnapping. Mark snap placement on fabric before attaching. Use a ruler or fabric chalk for accuracy. Align both snap parts carefully before pressing.
Place the male and female parts directly opposite each other. A small shift can cause misalignment. Remove and reposition if needed before final pressing.
Removing And Replacing Snaps
Removing snaps without damage is possible with the right tools. Use small pliers or a seam ripper to lift the snap edges gently. Avoid tearing fabric by working slowly.
After removal, clean the area of any glue or residue. Replace with a new snap by following the installation steps. Ensure the new snap fits well and aligns properly.
Credit: www.youtube.com

Credit: www.youtube.com
Frequently Asked Questions
What Tools Are Needed For Sewology Snap Fasteners Installation?
You need Sewology snap fasteners, a snap plier tool, fabric, and a small hammer. These tools ensure precise and secure attachment of snaps to fabric.
How Do I Prepare Fabric For Sewology Snap Fasteners?
Mark snap positions clearly on fabric. Use a small hole punch or awl to create holes. This helps in easy and accurate snap placement.
Can Sewology Snap Fasteners Be Installed Without Special Tools?
Special snap pliers are recommended for best results. Using them ensures snaps are secure and fabric isn’t damaged. Alternatives may not provide a firm hold.
How To Ensure Sewology Snap Fasteners Align Correctly?
Measure and mark both fabric sides carefully. Align snap parts before pressing. Proper alignment prevents snaps from being crooked or difficult to close.
Conclusion
Installing Sewology snap fasteners is quick and easy with practice. Follow each step carefully to avoid mistakes. Use the right tools for a strong, lasting hold. Snap fasteners add convenience and style to your sewing projects. Keep your workspace clean and organized for better results.
Try on scrap fabric first to gain confidence. Enjoy the satisfaction of finishing your project neatly. Snap fasteners work well on many fabrics and items. Now, you can add snaps like a pro!