Are you struggling to connect your 3D printed parts in a way that’s strong, reliable, and easy to assemble? Using threaded fasteners might be the simple solution you need.
Imagine creating sturdy joins that hold up under stress, without damaging your prints or wasting time. You’ll discover step-by-step methods to join your 3D printed parts with threaded fasteners, helping you achieve professional results every time. Keep reading to unlock tips and tricks that will make your projects stronger and your assembly process smoother.
Choosing The Right Fasteners
Choosing the right fasteners is key for strong 3D printed assemblies. The wrong fastener can cause parts to break or come loose. Understanding types, materials, and sizes helps pick the best fit. This ensures a secure and lasting connection.
Fasteners must match the printed part’s material and design. Proper selection saves time and improves the final product’s quality. Let’s explore the main factors in choosing threaded fasteners.
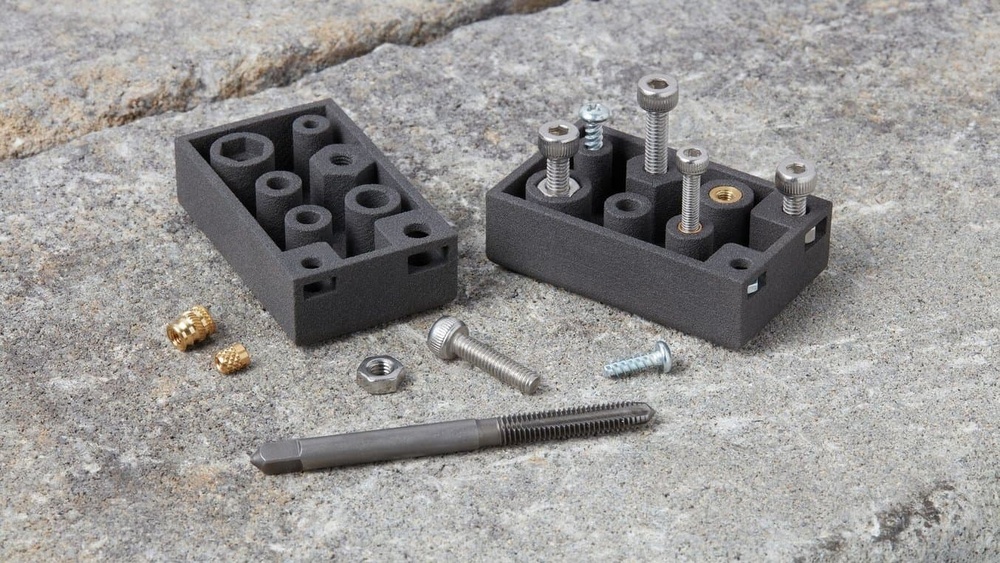
Types Of Threaded Fasteners
Common fasteners include screws, bolts, and nuts. Screws often thread directly into plastic or metal parts. Bolts need nuts to hold parts together. Choose fasteners that suit the design and load requirements. Self-tapping screws work well for softer 3D printed materials.
Material Compatibility
Fastener material affects strength and corrosion resistance. Stainless steel resists rust and works with most plastics. Brass is softer and suits delicate parts. Avoid metals that can damage or react with the printed material. Match materials to prevent wear and ensure durability.
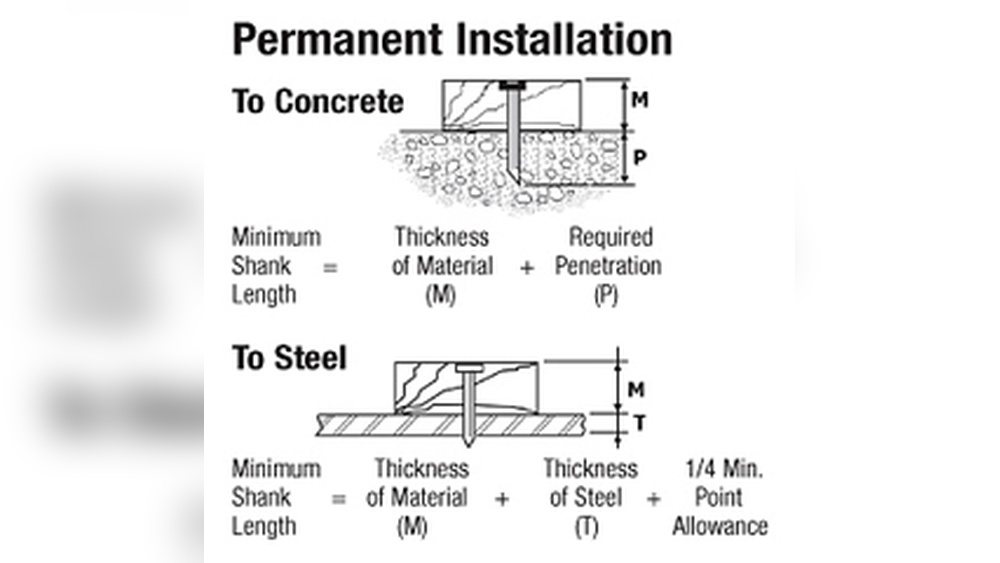
Size And Thread Pitch Selection
Size must fit the hole and part thickness precisely. Too large fasteners can crack printed parts. Thread pitch determines how tightly the fastener grips. Coarse threads hold better in plastic materials. Use charts or tools to find the correct size and pitch for your design.
Credit: www.fictiv.com
Preparing 3d Printed Parts
Preparing 3D printed parts is a key step before joining them with threaded fasteners. Proper preparation ensures strong, lasting connections. It helps avoid common problems like cracking or loose fits. This section covers designing parts, post-processing, and drilling methods. Each step improves the fit and strength of threaded inserts and screws.
Designing For Threaded Inserts
Design parts with space for threaded inserts. Make holes slightly larger than the insert size. Add extra material around holes to support inserts. Use chamfers to guide inserts during installation. Plan for heat-set or press-fit inserts based on your print material. Good design reduces stress and improves joint strength.
Post-processing Techniques
Clean parts after printing to remove debris and support marks. Sand hole edges to smooth rough surfaces. Apply heat to soften plastic for heat-set inserts. Avoid overheating which can deform parts. Use a small file to refine hole shape if needed. Proper post-processing helps inserts fit tightly and hold screws well.
Drilling And Tapping Methods
Drill holes carefully using the right drill size for inserts. Use a slow drill speed to avoid melting plastic. Keep drill straight to prevent uneven holes. For threaded holes, tap gently with a matching tap size. Use lubrication to ease tapping and reduce plastic stress. Accurate drilling and tapping create secure, reliable threads.
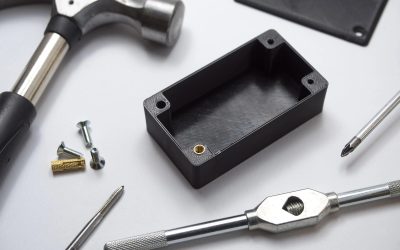
Installing Threaded Inserts
Installing threaded inserts is a common method to join 3D printed parts securely. These inserts provide strong threads in plastic parts, improving durability and assembly. Choosing the right type of insert and installation method ensures a tight fit and long-lasting connection.
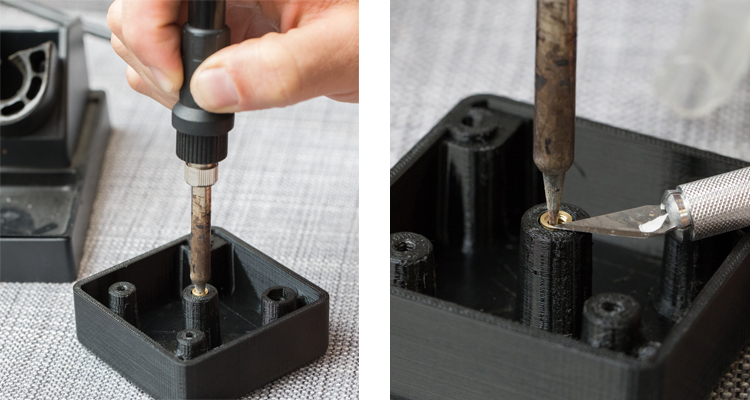
Heat-set Inserts
Heat-set inserts are metal cylinders with internal threads. Heat melts the plastic around the insert, allowing it to sink in. Use a soldering iron to heat the insert gently. Push it slowly into the 3D printed hole. Let the plastic cool and solidify around the insert. This method creates a strong bond and precise fit.
Press-fit Inserts
Press-fit inserts are designed to fit tightly in holes without melting the plastic. Choose a hole size slightly smaller than the insert. Press the insert firmly into the hole using a vise or press tool. The friction holds the insert in place securely. This method works well for parts that may not handle heat.
Ultrasonic Installation
Ultrasonic installation uses high-frequency vibrations to insert threaded fasteners. The vibrations soften the plastic locally without melting it. The insert moves into place as the plastic flows around it. This technique provides strong, clean, and fast installation. It requires special ultrasonic equipment but offers precise control.
Assembly Best Practices
Joining 3D printed parts with threaded fasteners needs care and precision. Good assembly practices help create strong, lasting connections. Follow key steps to protect your parts and achieve the best results.
Torque Specifications
Applying the right torque is crucial. Too much force can crack or deform parts. Too little torque causes loose joints. Use a torque wrench for accuracy. Check manufacturer guidelines for recommended torque values. Adjust torque based on the material and part design.
Avoiding Part Damage
3D printed parts are often delicate. Avoid overtightening fasteners to prevent cracks. Use washers to spread the load evenly. Hand-tighten bolts before using tools. Inspect parts regularly for signs of stress or wear. Replace damaged parts immediately to keep assemblies safe.
Using Thread Lockers
Thread lockers keep fasteners secure. They prevent bolts from loosening due to vibration. Choose low-strength lockers for plastic parts to avoid damage. Apply a small amount on the threads before assembly. Let the locker cure fully for best results.
Troubleshooting Common Issues
Joining 3D printed parts with threaded fasteners can face some common problems. These issues can slow down your work or weaken the joint. Troubleshooting helps fix these problems fast. It saves time and improves the strength of your connections.
Stripped Threads
Stripped threads occur when the fastener spins without tightening. This often happens if the hole is too large or the thread is weak. Use a smaller drill bit for the hole to create tighter threads. Heat-set inserts can also protect threads from stripping. Avoid over-tightening screws to keep threads intact.
Insert Pull-out
Insert pull-out happens when the threaded insert comes loose from the plastic. The insert might not have bonded well with the part. Make sure to heat the insert properly before pushing it in. Choose inserts made for 3D printed materials. Let the plastic cool fully before use to secure the insert.
Alignment Problems
Misaligned holes cause fasteners to bind or fail to fit. Check holes carefully during the design phase. Drill holes after printing if needed to improve accuracy. Use guides or jigs to keep parts aligned during assembly. Proper alignment ensures a strong, stable joint every time.
Credit: www.hubs.com
Enhancing Joint Strength
Enhancing the strength of joints in 3D printed parts is key for reliable assembly. Threaded fasteners provide solid connections, but the design and material choices greatly impact joint durability. Small changes can lead to stronger, longer-lasting joints.
Reinforcing Designs
Adding ribs or gussets near the fastener holes boosts joint strength. Thicker walls around threads reduce stress and prevent cracking. Designing with fillets helps spread load evenly. Avoid sharp corners close to fasteners to reduce weak points.
Choosing Stronger Materials
Select materials with higher tensile strength for parts needing tough joints. Nylon, ABS, and PETG are common choices for durable prints. Some composites contain carbon fiber to increase stiffness. Stronger materials resist wear from screw tightening and loosening.
Layer Orientation Effects
Print layers aligned with the fastener direction improve joint strength. Layers perpendicular to stress can cause splitting under load. Vertical layer stacking near holes offers better thread grip. Plan print orientation to match the forces your joint faces.

Credit: www.youtube.com
Frequently Asked Questions
What Are The Best Threaded Fasteners For 3d Printed Parts?
Steel or brass threaded inserts work best for 3D printed parts. They provide strong, durable threads and prevent wear. Heat-set inserts are ideal for thermoplastics like PLA or ABS.
How Do You Install Threaded Fasteners In 3d Prints?
Heat-set inserts are installed by heating and pressing them into pre-made holes. Screw-in inserts can be twisted in. Both methods create secure, reusable threads in plastic parts.
Can Threaded Fasteners Damage 3d Printed Parts?
Yes, overtightening can crack or deform 3D printed parts. Use inserts to distribute load and avoid direct screwing into plastic. Apply moderate torque for safe fastening.
Why Use Threaded Fasteners Instead Of Glue For 3d Parts?
Threaded fasteners provide stronger, removable joints compared to glue. They allow easy assembly, disassembly, and maintenance. Fasteners also avoid chemical damage from adhesives.
Conclusion
Joining 3D printed parts with threaded fasteners ensures strong and reliable connections. It saves time and allows easy disassembly if needed. Choosing the right fastener size and type matters most. Drilling accurate holes helps parts fit perfectly. Tightening screws steadily prevents damage to prints.
This method works well for many projects and materials. Practice makes the process smoother and more precise. Try it yourself to improve your 3D printing builds. Small steps lead to better and lasting results.