Replacing a light switch cover might seem like a small task, but it can instantly refresh the look of your room and improve safety. If you’ve ever wondered how to do it yourself, you’re in the right place.
This simple step-by-step guide will help you replace your light switch cover quickly and safely, even if you’re not a DIY expert. By the end, you’ll feel confident handling this easy upgrade on your own. Ready to give your space a fresh touch?
Let’s get started!
Credit: hydrangeatreehouse.com
Tools And Materials Needed
Basic tools like a screwdriver and a new light switch cover are needed. Make sure the power is off before starting. A flashlight or small mirror may help in tight spaces.
Basic Tools
Start with a screwdriver. A flat-head or Phillips screwdriver works well. It helps remove and install the switch cover screws. A flashlight is useful too. It provides extra light in dark areas.
Safety Equipment
Safety is important. Use insulated gloves to protect your hands. Turn off the power at the circuit breaker before starting. A voltage tester checks if the power is off.
Materials For Replacement
Buy a new light switch cover. Choose the right size and style. Plastic and metal covers are common options. Pick one that fits your room’s look.
Additional Supplies
Keep a cloth handy. It cleans the wall around the switch. Use painter’s tape to hold wires if needed. This keeps things tidy and safe during work.
Safety Precautions
Safety is the top priority when replacing a light switch cover. Electrical work can be risky without proper care. Following basic safety steps reduces the chance of shock or injury. This section explains key precautions to keep you safe during the task.
Turn Off Power At The Circuit Breaker
Always switch off the power at the main circuit breaker. This stops electricity from flowing to the switch. Never rely on just the wall switch being off. Use a circuit tester to confirm power is off before touching wires.
Use Insulated Tools
Choose tools with insulated handles made for electrical work. Insulated tools protect your hands from electric shocks. Avoid using metal tools without insulation around wires or terminals.
Wear Safety Gear
Wear rubber-soled shoes and gloves to reduce shock risk. Safety glasses protect your eyes from dust and debris. Keep your workspace dry and clean to prevent accidents.
Handle Wires Carefully
Do not touch bare wires or terminals with your bare hands. Use a voltage tester to check wires before working. Keep wires separated and avoid bending them sharply.
Work In A Well-lit Area
Good lighting helps you see small parts clearly. It reduces mistakes and accidents during the replacement. Use a flashlight or portable lamp if needed.
Turning Off The Power
Turning off the power is the first and most important step before replacing a light switch cover. It keeps you safe from electrical shock. Even if the switch looks off, the wires can still carry electricity. Always make sure the power is completely off before starting any work.
Safety must come first in every electrical task. Taking a few minutes to shut off power can prevent serious injuries. This part is simple but critical. Never skip it or assume the switch is safe to touch.
Locate The Circuit Breaker
Find your home’s circuit breaker panel. It is usually in the basement, garage, or utility room. Look for the label that matches the room or area where the light switch is. This helps you turn off the right breaker.
Turn Off The Correct Breaker
Flip the breaker switch to the off position. This cuts power to the light switch you want to work on. Do not guess. Make sure you switch off the exact breaker to avoid any danger.
Test The Light Switch
Go back to the light switch and try to turn it on. The light should not come on. Use a voltage tester if you have one. It confirms that no electricity is running to the switch.
Double Check For Safety
Always check twice before touching wires. If the light still works, turn the breaker off again. Do not rush this step. Your safety depends on it.
Removing The Old Switch Cover
Removing the old switch cover is the first step to replace it safely and easily. This task requires a few simple tools and careful handling. Taking your time ensures you don’t damage the wall or the switch itself. Follow these steps to remove the switch cover smoothly.
Turn Off The Power
Safety comes first. Switch off the power at the circuit breaker. This stops any chance of electric shock. Double-check by flipping the light switch to see if the light goes off.
Gather Your Tools
Use a flathead or Phillips screwdriver, depending on the screws. Having a flashlight helps if the area is dark. Keep a small container to hold the screws safely.
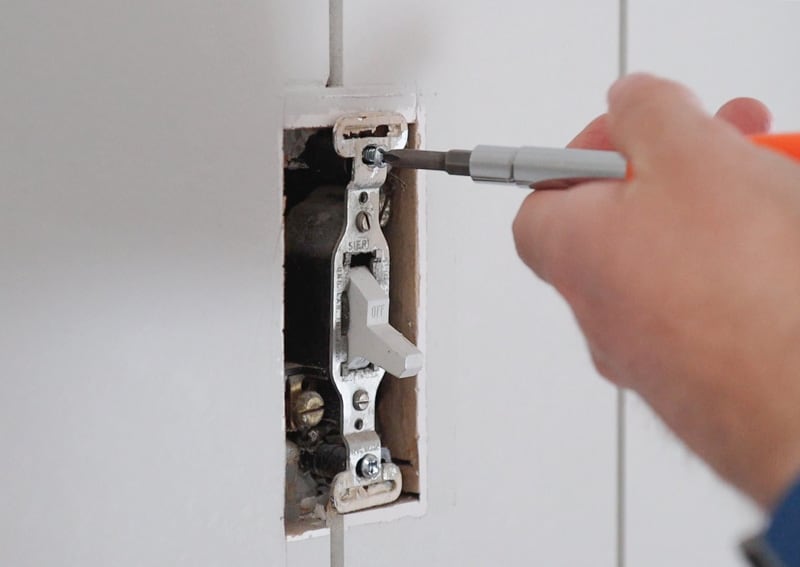
Unscrew The Old Cover
Locate the screws on the switch cover. Turn them counterclockwise with your screwdriver. Keep steady pressure to avoid stripping the screws. Remove each screw fully before lifting the cover.
Carefully Remove The Cover Plate
Gently pull the cover plate away from the wall. Avoid bending or cracking the plastic. Set the old cover aside carefully for disposal or reuse.
Cleaning The Area
Cleaning the area around the light switch is an important step before placing the new cover. Dirt, dust, and grime can build up over time. This makes the switch look old and can affect how well the new cover fits.
A clean surface helps the new cover sit flush and look neat. It also prevents any damage to the switch or wall. Take time to clean carefully for the best results.
Gather Cleaning Supplies
Start by collecting simple cleaning tools. You will need a soft cloth, mild soap, water, and a small brush like an old toothbrush. Avoid harsh chemicals that can damage paint or plastic.
Turn Off Power And Remove Old Cover
Switch off the power at the circuit breaker to stay safe. Use a screwdriver to take off the old cover. Wipe the switch and wall lightly to remove loose dust.
Clean Around The Switch Plate
Dampen the cloth with soapy water. Gently scrub the wall and switch plate edges. Use the brush to clean tight spots and corners. Avoid soaking the area to protect electrical parts.
Dry The Area Thoroughly
Use a dry cloth to wipe away moisture. Let the area air dry for a few minutes. Ensure no water stays near the switch before installing the new cover.

Credit: www.youtube.com
Choosing The Right Replacement Cover
Choosing the right replacement cover for your light switch is important. It protects the wiring and keeps the switch looking neat. The right cover fits well and matches your room’s style. Pick a cover that is safe and easy to install. This guide helps you find the perfect match.
Identify Your Switch Type
First, know what type of switch you have. Common types include single-pole, three-way, and rocker switches. Each needs a specific cover shape and size. Check your current cover or switch to find the type. This ensures the new cover fits correctly.
Choose The Material
Switch covers come in different materials. Plastic is common, affordable, and easy to clean. Metal covers are sturdy and offer a modern look. Wood covers add warmth but need more care. Pick a material that matches your room’s style and use.
Select The Color And Finish
Color affects your room’s look. White or beige covers blend with most walls. Bright colors or metallic finishes make a statement. Matte finishes hide fingerprints better than glossy ones. Choose a color and finish that suit your space.
Check For Safety Features
Safety is key when replacing switch covers. Look for covers that are flame-retardant and durable. Avoid covers with sharp edges or loose parts. Proper fit prevents dust and moisture from entering. This protects your home and family.
Consider Special Features
Some covers have extra features. Screwless covers offer a smooth, clean look. Covers with built-in night lights add convenience. Weather-resistant covers work well for outdoor switches. Pick features that fit your needs and lifestyle.
Installing The New Cover
Installing the new light switch cover is a quick and simple task. It protects the wiring and improves the look of your switch. Follow easy steps to fit it correctly and safely.
Preparing The Switch Area
Make sure the power is off before starting. Clean the switch and wall surface gently. Remove any dust or dirt. This helps the cover fit well and stay in place.
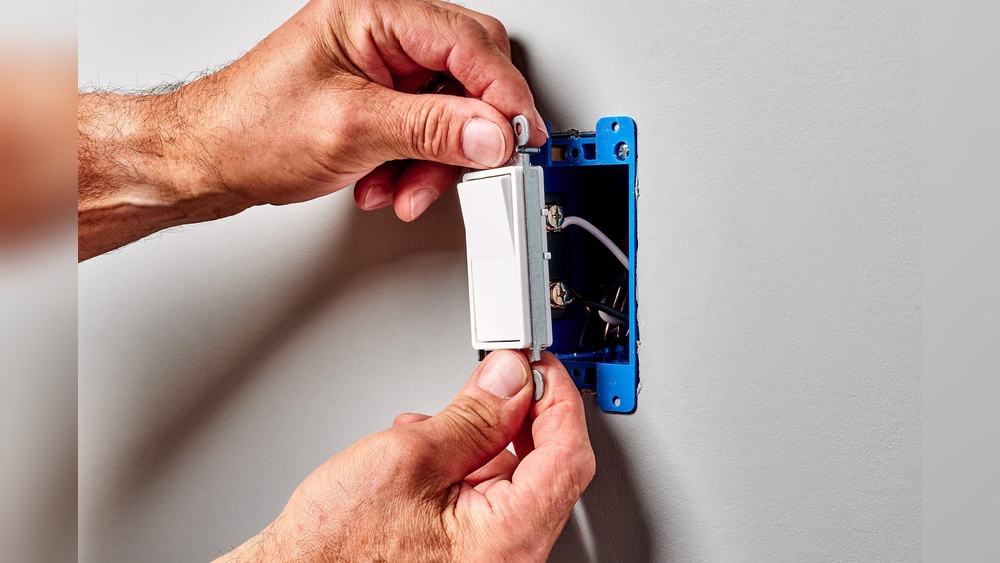
Aligning The New Cover
Hold the new cover over the switch. Match the screw holes with those on the switch. Check that the cover fits flush against the wall. Avoid forcing the cover if it does not sit right.
Securing The Cover With Screws
Insert the screws into the holes carefully. Use a screwdriver to tighten them gently. Do not overtighten to avoid cracking the cover. The cover should feel firm but not strained.
Checking The Final Fit
Look closely to ensure the cover is even. The edges should be smooth and tight against the wall. Switch the power back on and test the switch. Confirm the cover does not block switch movement.
Testing And Final Checks
Testing and final checks are important steps after replacing a light switch cover. These steps make sure the switch works safely and correctly. Taking time for testing avoids electrical problems later.
Check the switch carefully before putting the cover back on. Confirm that the wiring is secure and there are no loose parts. This helps prevent sparks or shorts.
Testing The Light Switch Function
Turn the power back on at the circuit breaker. Flip the switch to see if the light turns on and off. Test the switch several times to confirm smooth operation. If the light flickers or does not respond, turn off power and check wiring again.
Inspecting The Cover Fit
Place the new cover on the switch plate. Ensure it fits flush against the wall without gaps. Tighten screws evenly but do not overtighten. A well-fitted cover looks neat and protects the wiring.
Safety Precautions During Final Checks
Keep your hands dry while working near the switch. Use a non-contact voltage tester to confirm no electricity is flowing before touching wires. Never force the cover or switch. Safety comes first in electrical tasks.
Tips For Maintaining Switch Covers
Switch covers protect the wiring and keep your home safe. They also add to your room’s look. Keeping them clean and in good shape helps them last longer. Simple care can prevent damage and avoid frequent replacements.
Here are some easy tips to maintain your switch covers. These steps save time and money. They keep your switches working well and looking nice.
Cleaning Switch Covers Regularly
Use a soft cloth to wipe dust and dirt off the cover. Avoid harsh chemicals that can damage the plastic or paint. Mild soap and water work best. Clean covers look fresh and help prevent grime build-up.
Checking For Cracks Or Damage
Inspect switch covers every few months. Look for cracks, chips, or loose screws. Damaged covers can expose wires and cause safety problems. Replace any cover that shows signs of wear or damage quickly.
Avoiding Excessive Force
Do not press or pull switch covers hard. Rough handling can break or loosen them. Handle gently when cleaning or replacing. This prevents cracks and keeps the cover snug on the wall.
Using The Right Size Cover
Ensure the switch cover fits your switch box perfectly. Covers that are too small or too big can fall off or leave gaps. A good fit protects wires and gives a neat look to your switch area.
Keeping Covers Dry
Moisture can damage switch covers and internal wiring. Avoid using wet cloths on covers or placing them near water sources. Dry covers help prevent rust and electrical hazards.
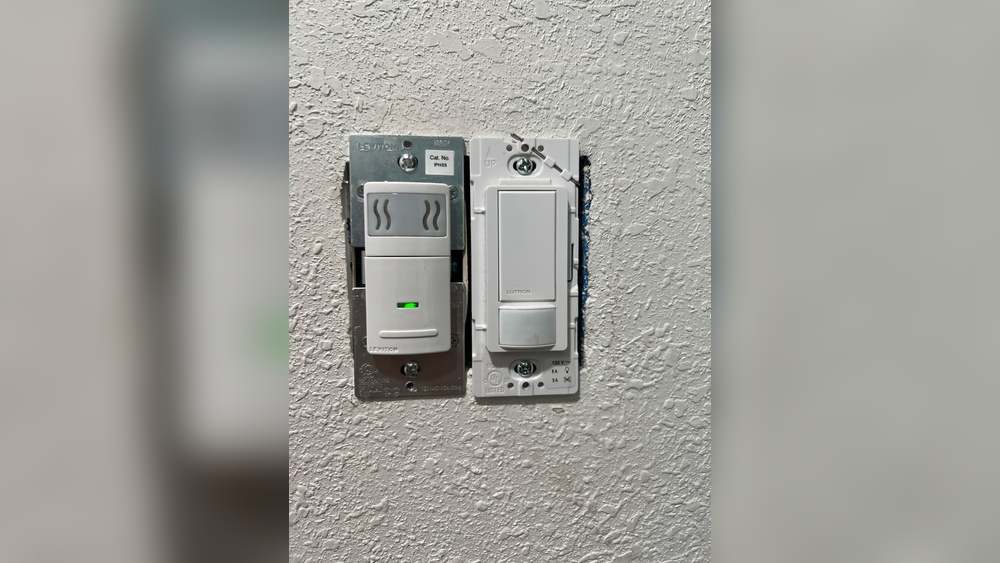
Credit: www.reddit.com
Frequently Asked Questions
How Do I Remove A Light Switch Cover Safely?
Turn off the power at the circuit breaker first. Use a screwdriver to remove the screws holding the cover. Gently pull the cover away from the wall without forcing it. This prevents damage and ensures your safety.
What Tools Do I Need To Replace A Light Switch Cover?
You only need a flathead or Phillips screwdriver. Sometimes, a voltage tester is useful for safety checks. These simple tools make the replacement quick and easy.
How Do I Choose The Right Size Light Switch Cover?
Measure the existing cover’s width and height. Check the switch type (single, double, or rocker). Match the new cover size and style to your switch for a perfect fit.
Can I Paint A Light Switch Cover?
Yes, but use plastic-friendly spray paint or primer. Remove the cover before painting and let it dry completely. This personalizes your room while keeping the cover functional.
Conclusion
Replacing a light switch cover is simple and quick. Turn off the power first for safety. Remove the old cover with care. Align the new cover properly before tightening screws. No special tools are needed. This small task can improve your room’s look instantly.
Try it yourself and feel proud of the job done. Small fixes like this make a big difference at home. Give it a go—you might enjoy the process more than expected.