Are you ready to take control of your home lighting with ease? Learning how to program a Leviton light switch can transform your daily routine, giving you the power to customize your lights exactly how you want.
Whether you want your lights to turn on automatically at sunset or create the perfect mood for movie night, programming your Leviton switch is simpler than you think. Keep reading, and you’ll discover step-by-step instructions that anyone can follow—no tech experience needed.
By the end, you’ll have full control over your lighting at your fingertips. Let’s get started!
Choosing The Right Leviton Switch
Choosing the right Leviton switch is key to a smooth installation and great performance. Picking the correct switch depends on your needs and your home’s wiring. This section helps you understand different types of Leviton switches and their compatibility with home wiring. It makes your choice easier and your installation faster.
Types Of Leviton Switches
Leviton offers many switch types for different uses. Standard switches turn lights on and off. Dimmer switches adjust light brightness. Smart switches connect to Wi-Fi for remote control. Some models include motion sensors or timers. Choose a type that fits your daily routines and lighting needs.
Compatibility With Home Wiring
Check your home wiring before buying a switch. Some Leviton switches need a neutral wire. Older homes may not have this wire. Switches without a neutral wire work in simpler setups. Make sure your wiring matches the switch requirements. This avoids installation problems and keeps your home safe.
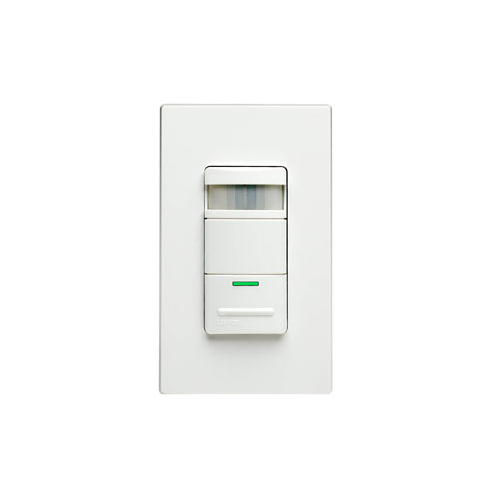
Credit: leviton.com
Tools And Materials Needed
Before programming a Leviton light switch, gather all tools and materials. Having the right items makes the job faster and safer. Prepare everything in one place to avoid interruptions. This section lists the essential tools and safety gear needed.
Essential Tools
- Flathead screwdriver for removing switch plate covers
- Phillips screwdriver for securing screws
- Voltage tester to ensure power is off
- Wire stripper to clean wire ends
- Needle-nose pliers for bending wires
- Smartphone or tablet for app setup
- Wi-Fi connection for programming features
Safety Gear
- Insulated gloves to protect from electric shock
- Safety glasses to guard eyes from debris
- Rubber-soled shoes for better grounding
- Flashlight for clear visibility in dark spaces
Preparing For Installation
Preparing for installation is a key step before programming your Leviton light switch. Proper setup ensures safety and smooth installation. Taking the right precautions protects you and your home.
Follow each step carefully. This helps avoid mistakes and saves time during installation.
Turning Off Power
Safety starts by turning off the power. Find your home’s electrical panel. Switch off the circuit breaker linked to the switch you want to replace. Double-check by flipping the old switch to see if the lights turn off. Use a voltage tester for extra safety. Never work on live wires.
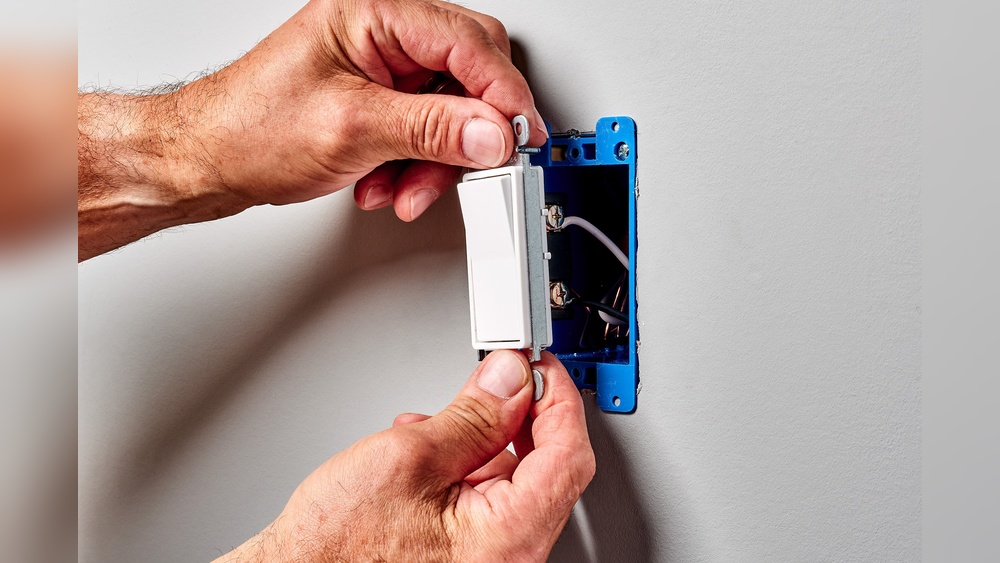
Removing Existing Switch
Remove the cover plate by unscrewing it. Use a screwdriver that fits the screws well. Gently pull out the old switch from the wall box. Note how wires connect to the switch. Take a picture if needed. Carefully disconnect the wires by unscrewing the terminals. Avoid touching wires with bare hands. Keep the wires separated and out of the way for the new switch.
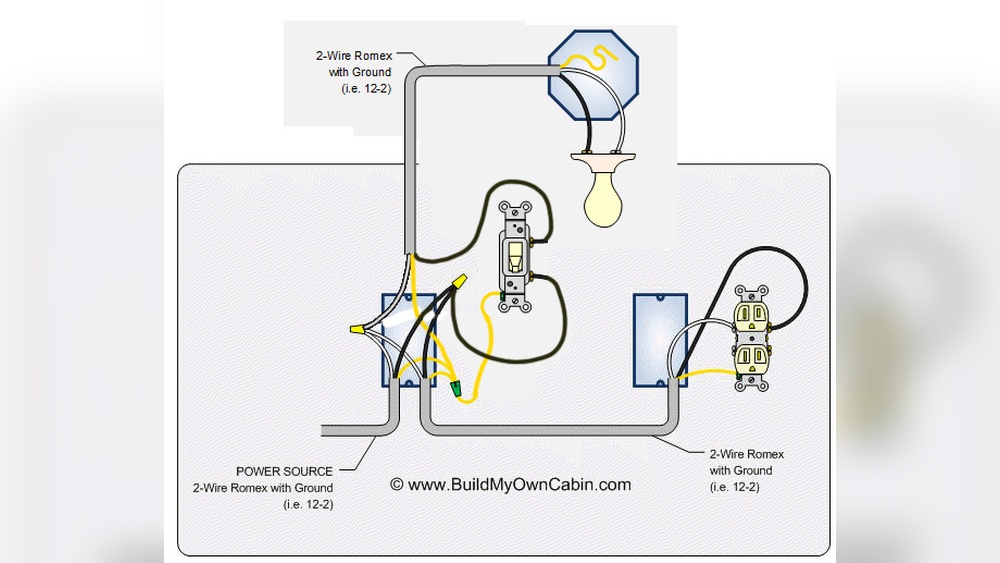
Wiring The Leviton Switch
Wiring the Leviton light switch is a key step in the installation process. It ensures the switch works safely and correctly. Taking time to understand the wires and connections helps avoid mistakes and electrical problems.
Follow clear steps to identify wires and connect them to the switch. This section guides you through the wiring process in a simple way.
Identifying Wires
First, turn off power at the circuit breaker. Use a voltage tester to confirm no electricity flows.
Look for three main wire types: line, load, and ground. The line wire brings power from the breaker. It is usually black or red.
The load wire connects to the light fixture. It may also be black or red. The ground wire is green or bare copper. It protects from electric shock.
Sometimes, you may see a neutral wire. It is white and completes the circuit.
Connecting Wires To Switch
Match each wire to the correct switch terminal. Connect the line wire to the terminal marked “Line.”
Attach the load wire to the terminal marked “Load.” Connect the ground wire to the green screw or ground terminal.
If your switch has a neutral terminal, connect the white neutral wire there. Tighten all screws firmly to ensure a solid connection.
Carefully tuck wires into the electrical box. Avoid pinching or bending them sharply. Secure the switch to the box with screws.
Turn power back on and test the switch to confirm it works well.
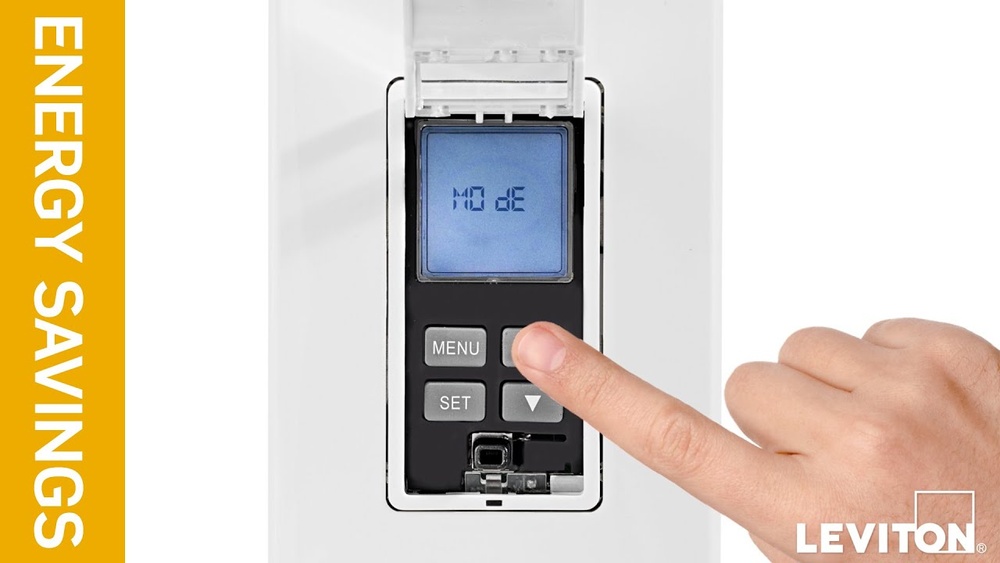
Programming The Switch
Programming a Leviton light switch lets you customize how it works. This process helps you control light settings easily. Simple steps guide you through setting up the switch to fit your needs. Follow these instructions to program your Leviton switch correctly.
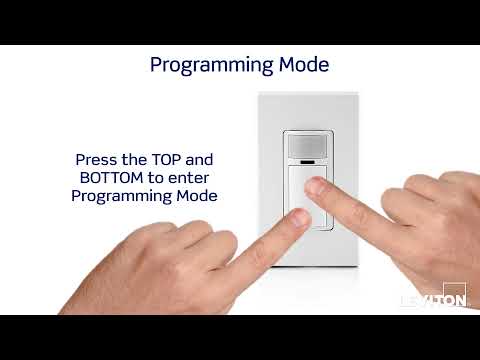
Accessing Programming Mode
Start by turning off the power to the switch. Press and hold the top paddle or button for about 10 seconds. The LED will flash, showing the switch is in programming mode. Release the paddle or button once the light blinks. Your switch is now ready for programming.
Setting Up Features
Choose the features you want to program next. Press the paddle or button to cycle through options. Each option has a different blink pattern to show your choice. Confirm your selection by holding the paddle or button until the LED stays solid. Repeat to set more features or exit programming mode by turning off the power.

Credit: www.youtube.com
Testing The Installation
After installing your Leviton light switch, testing is key. This step confirms the switch works correctly and safely. Without testing, problems might go unnoticed. Follow simple steps to check your installation thoroughly.
Restoring Power
First, turn the power back on at the circuit breaker. Make sure the breaker is fully switched on. This restores electricity to your switch and light fixture. Be cautious and avoid touching wires during this step. Use a voltage tester if unsure about power status.
Verifying Switch Operation
Next, test the switch by pressing it on and off. The light should respond immediately to each press. Try dimming or other functions if your switch supports them. Check for any flickering or delays in the light. If the switch does not work, double-check your wiring connections. Proper testing ensures your switch controls the light as intended.
Troubleshooting Common Issues
Troubleshooting common issues with your Leviton light switch helps keep your home lighting smooth and safe. Small problems can stop the switch from working right. Knowing how to fix these issues saves time and stress.
Switch Not Responding
Check the power first. Make sure the circuit breaker is on. Sometimes the switch is fine, but no power reaches it. Press the switch firmly to test. A loose connection inside may cause no response.
Reset the switch by turning it off and on again. This can fix minor glitches. If the switch still does not respond, test the wiring. Loose or wrong wires can stop the switch from working. Use a voltage tester for safety.
Incorrect Light Behavior
Lights flicker or don’t turn on fully? The bulb may be incompatible with the switch. Use bulbs recommended by Leviton for best results. Dimmer switches need special bulbs to work well.
Check the switch settings. Some Leviton switches have modes for different light types. Adjust the settings using the manual. Incorrect settings cause flickering or weak light.
Maintaining Your Leviton Switch
Maintaining your Leviton light switch ensures it works well for years. Regular care helps avoid problems and keeps the switch responsive. Proper upkeep also improves safety and energy efficiency. A few simple steps can extend the life of your device.
Regular Checks
Look at your switch often for any signs of wear or damage. Check if the switch feels loose or makes unusual sounds. Clean the switch gently with a dry cloth to remove dust. Avoid using water or harsh chemicals. Test the switch to confirm it controls the lights correctly.
Firmware Updates
Leviton switches may need firmware updates to fix bugs and improve performance. Use the Leviton app or website to check for updates. Follow the instructions carefully to install new firmware. Keep the switch connected to Wi-Fi during updates. Updating firmware keeps your switch running smoothly and securely.
Credit: leviton.com
Frequently Asked Questions
How Do I Reset A Leviton Light Switch?
To reset, press and hold the switch’s top and bottom buttons together for 10 seconds. The LED will flash, indicating a reset. This restores factory settings and clears previous programming.
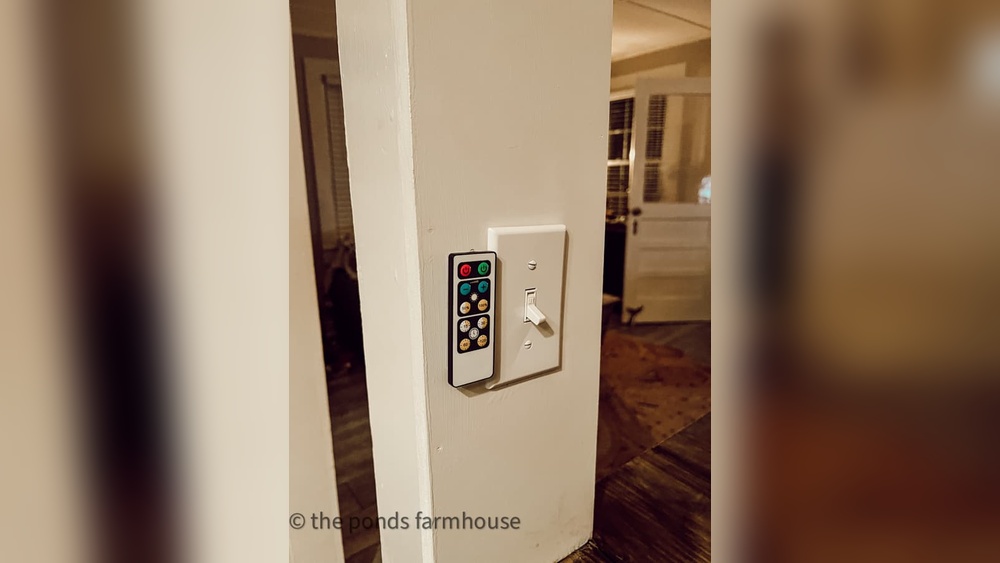
What Tools Are Needed To Program Leviton Switches?
You typically need a smartphone or remote control compatible with Leviton. Some models require the Leviton app for easy programming. A ladder and screwdriver might be needed for installation and setup.
Can I Program Multiple Leviton Switches Simultaneously?
Yes, using the Leviton app or remote, you can group switches. This allows synchronized control and easy automation of multiple devices at once.
How Do I Set Schedules On A Leviton Light Switch?
Use the Leviton app to create on/off schedules. Select your switch, choose times, and save settings. This automates lighting based on your daily routine.
Conclusion
Programming a Leviton light switch is simple with clear steps. Follow the instructions carefully for safety and success. Test the switch after programming to ensure it works right. You can now control your lights easily and save energy. This guide helps you feel confident with your new switch.
Enjoy the convenience and comfort it brings to your home. Keep this guide handy for future reference. Programming your light switch adds smart control to everyday life.