Is your light switch acting up, flickering, or not working at all? Don’t let a simple problem leave you in the dark or cost you a costly electrician visit.
You can fix your light switch yourself with just a few easy steps. Imagine saving time and money while gaining the confidence to handle basic home repairs. Keep reading, and you’ll learn how to quickly and safely bring your lights back to life—no special skills needed.
Ready to take control of your home’s lighting? Let’s get started.
Identify Common Light Switch Issues
Identifying common light switch issues is the first step to fixing them. Knowing what to check saves time and effort. You can often spot problems by simple visual and manual tests. This helps avoid unnecessary replacements or calls to an electrician.
Check For Loose Connections
Loose wires cause flickering or no power. Turn off the power before opening the switch cover. Gently pull the wires to see if they move. Tighten any loose screws holding the wires. Ensure all wires are secure in their terminals.
Look For Signs Of Damage
Damaged switches show cracks or burn marks. These signs mean overheating or electrical faults. Check for discoloration or melted plastic. A damaged switch can be unsafe. Replace it if you notice any of these signs.
Test The Switch Functionality
Flip the switch on and off several times. Notice if the light flickers or doesn’t respond. Use a voltage tester to check power flow. No power means the switch or wiring may be faulty. A working switch should control the light smoothly.
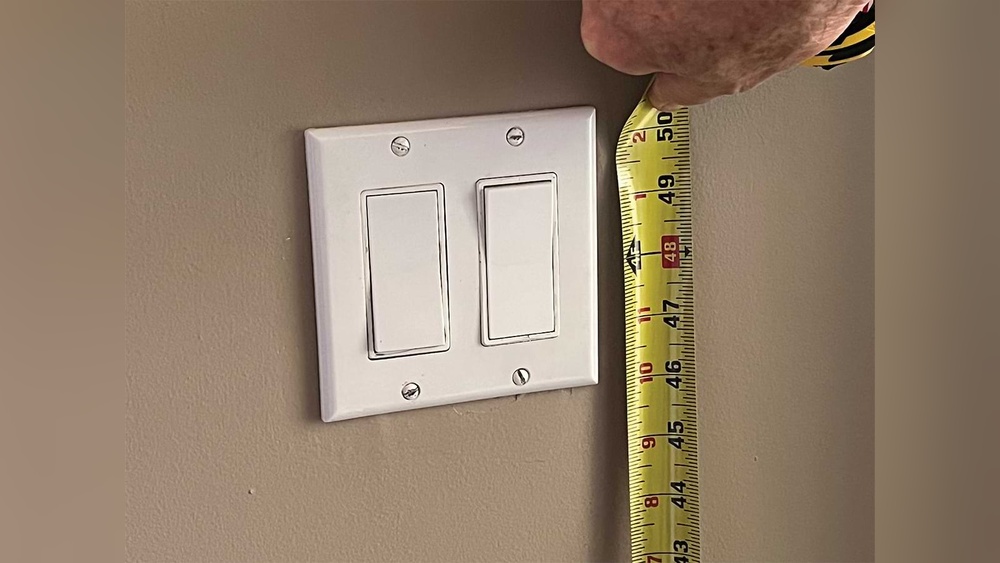
Credit: www.homeserve.co.uk
Gather Necessary Tools And Materials
Gathering the right tools and materials is the first step to fix a light switch safely and quickly. Having everything ready helps avoid delays and mistakes. It also makes the task less stressful. Below are the essential tools and safety gear you need.
Basic Tools Needed
You need a few simple tools to fix a light switch. A screwdriver set is essential. Both flathead and Phillips screwdrivers work best. A voltage tester helps check if the power is off. Wire strippers are useful for removing insulation from wires. Needle-nose pliers help grip and bend wires. Keep electrical tape handy to cover exposed wires. These tools cover most light switch repairs.
Safety Equipment
Safety comes first when working with electricity. Wear insulated gloves to protect against shocks. Safety goggles keep dust and debris out of your eyes. Use a sturdy ladder if the switch is high on the wall. Make sure your work area is dry and well-lit. Turn off the power at the circuit breaker before starting. This gear and care reduce the risk of injury.
Turn Off Power Safely
Turning off power safely is the first step to fix a light switch. Electricity can cause serious harm. Always take safety seriously before touching wires or switches. Follow clear steps to avoid accidents and injury.
Locate The Circuit Breaker
Find the main electrical panel in your home. It is usually in the basement, garage, or utility room. Open the panel door carefully. Look for the circuit breaker that controls the light switch you want to fix. It will be labeled or grouped by room or area. Flip the switch to the OFF position to cut power.
Confirm Power Is Off
Check that the power is really off before you start working. Use a non-contact voltage tester or a simple lamp. Turn on the tester near the light switch wires. No light or beep means no power. If unsure, test again or get help. Safety first.
Remove The Old Light Switch
Removing the old light switch is the first step in fixing it. This task requires care and attention to avoid any electrical issues. Follow the steps below to safely take out the old switch. Make sure the power is off before you start.
Taking out the old switch gives you a clear way to install a new one. Do it slowly and carefully to protect the wires and wall.
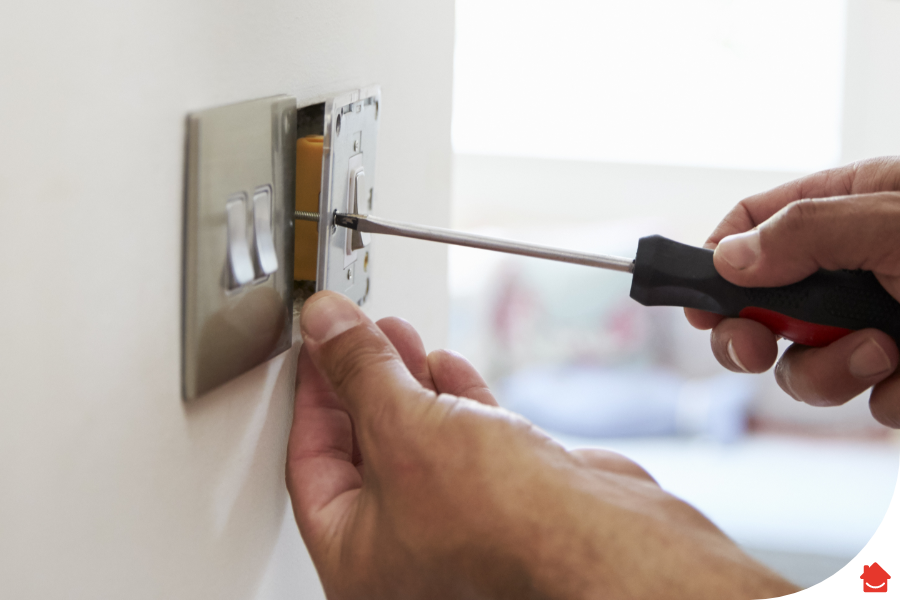
Unscrew The Switch Plate
Start by unscrewing the switch plate cover. Use a screwdriver to remove the screws holding it in place. Keep the screws safe for later. The plate will come off easily once the screws are removed. This exposes the switch inside the wall box.
Disconnect Wires Carefully
Look at the wires connected to the switch. They usually have screws or clips holding them. Loosen the screws or release the clips gently. Pull the wires off one by one. Remember where each wire was connected. This helps when you install the new switch. Avoid pulling wires too hard to prevent damage.
Install The New Light Switch
Installing a new light switch is a simple task that anyone can do safely. This step replaces the old switch and restores power to your lights. Follow the instructions carefully for a smooth process.
Connect Wires To The New Switch
First, identify the wires from the wall. Usually, there are two or three wires: black (hot), white (neutral), and green or bare (ground). Attach the black wire to the brass screw on the switch. Connect the white wire to the silver screw if your switch has one. Attach the green or bare wire to the green grounding screw.
Make sure each wire is secure and tight around the screw. Loose wires can cause problems later. Use a screwdriver to tighten the screws firmly. Check that no bare wire is exposed outside the screws.
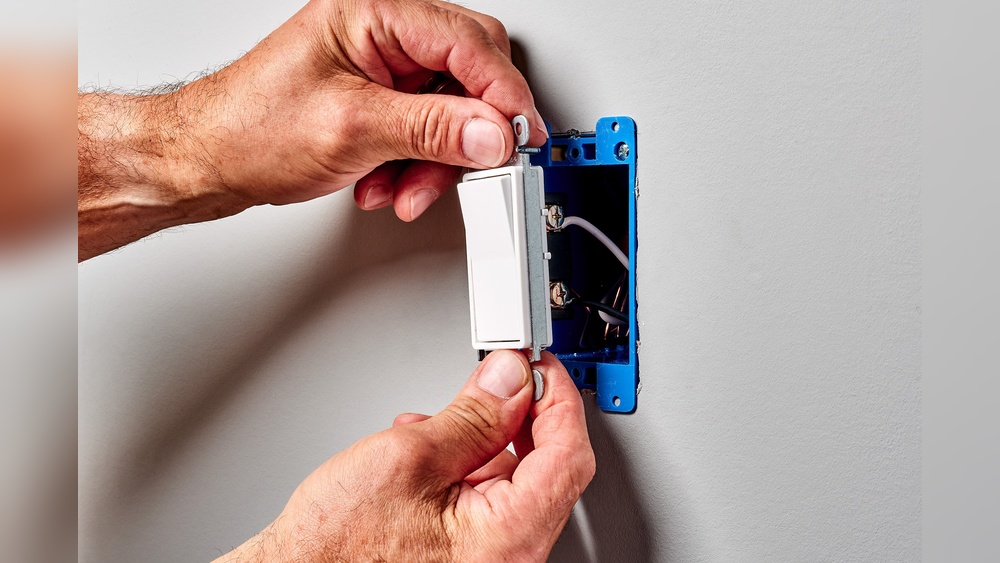
Secure The Switch In Place
Once the wires are connected, gently push the switch back into the electrical box. Be careful not to pinch the wires. Align the switch so the screw holes match the box holes. Use the screws provided to fasten the switch to the box.
Do not over-tighten the screws. The switch should be snug but not forced. After securing the switch, attach the faceplate with its screws. This completes the installation, making the switch look neat and ready to use.

Credit: www.youtube.com
Restore Power And Test
After fixing the light switch, restoring power is the next step. This lets you check if the repair worked. Testing the switch confirms the success of your work. Follow these steps carefully to avoid any hazards and ensure the switch functions properly.
Turn Circuit Breaker Back On
Go to your home’s electrical panel. Find the breaker that you turned off earlier. Flip the switch back to the “on” position. This restores power to the light switch circuit. Make sure it stays in the “on” position. If it trips again, there might be a deeper problem. Do not force it back on if it trips immediately.
Check Switch Operation
Go back to the light switch. Flip the switch on and off several times. Look at the connected light or device. It should turn on and off smoothly. If the light does not work, check your wiring again. Make sure the switch is firmly attached to the wall. Loose wires can cause failure. Testing helps confirm your repair is complete and safe.
Troubleshoot Persistent Problems
Some light switch problems keep coming back despite fixes. These persistent issues need careful checking. Troubleshooting helps find the root cause. This saves time and prevents further damage.
Start by looking at common problems. Then move to detailed checks. Follow safety steps to avoid hazards. Troubleshooting can solve many switch problems at home.
Inspect Wiring Issues
Turn off the power before touching wires. Loose or damaged wires often cause switch problems. Check wires for cuts, burns, or corrosion. Tighten any loose wire connections carefully.
Use a voltage tester to check if wires get power. Faulty wiring can cause flickering lights or no response. Replace damaged wires with the right type and size. Always follow electrical codes for safety.
When To Call A Professional
Call an electrician if you find complex wiring problems. Avoid risks if you feel unsure or unsafe. Professionals have tools and skills for tricky jobs.
Also call a pro if the switch causes sparks or smells burnt. Electrical fires start from small problems. Better safe than sorry with electrical work.

Credit: www.wikihow.com
Frequently Asked Questions
How Do I Safely Fix A Light Switch?
Turn off power at the circuit breaker first. Use a voltage tester to confirm no electricity flows. Remove the switch cover carefully. Follow wiring diagrams to reconnect wires properly. Replace the switch and cover, then restore power. Always prioritize safety and consult a professional if unsure.
Why Is My Light Switch Not Working?
A light switch may fail due to loose wiring, a faulty switch, or a tripped breaker. Check connections and wiring for damage. Replace the switch if it shows wear. Reset the circuit breaker if needed. Testing with a voltage tester helps identify electrical issues.
Can I Replace A Light Switch Myself?
Yes, with basic electrical knowledge and safety precautions. Always turn off the power before starting. Use appropriate tools and follow wiring instructions. If unsure, consult a licensed electrician. DIY replacement saves cost but demands care and precision to avoid hazards.
What Tools Do I Need To Fix A Light Switch?
You need a screwdriver, voltage tester, wire stripper, and electrical tape. A flashlight helps in dim areas. These tools ensure safe removal, inspection, and replacement of the switch. Proper tools make the job efficient and reduce electrical risks.
Conclusion
Fixing a light switch can save time and money. Always turn off the power before starting work. Use basic tools and follow simple steps carefully. If you feel unsure, ask for help from a professional. Regular checks help keep switches safe and working well.
Small repairs keep your home comfortable and bright. Taking action early can prevent bigger problems later. Stay safe and enjoy the satisfaction of fixing things yourself.