Have you ever noticed your brake lights staying on or not lighting up at all? This common issue can be both frustrating and dangerous.
The problem often lies in the brake light switch, a small but essential part of your car’s safety system. Knowing how to adjust your brake light switch can save you time, money, and stress. You’ll learn simple, step-by-step tips to fix the problem yourself, even if you’re not a car expert.
Keep reading to make sure your brake lights work perfectly every time you hit the brake.
Signs Of A Faulty Brake Light Switch
The brake light switch plays a key role in car safety. It turns on the brake lights when you press the brake pedal. A faulty switch can cause problems that affect your driving safety. Recognizing the signs of a bad brake light switch helps you fix the problem early. Here are common issues to watch for.
Brake Lights Not Turning On
Brake lights that do not turn on are a clear warning. This problem often means the brake light switch is not working. Pressing the brake pedal does not activate the lights. This can be dangerous, especially at night or in traffic. It may cause accidents because other drivers cannot see your stop signals.
Brake Lights Staying On
Sometimes brake lights stay on even when you do not press the pedal. This issue drains the car battery quickly. It also confuses other drivers, making them think you are braking. A stuck or damaged brake light switch often causes this problem. It needs quick attention to avoid further trouble.
Intermittent Brake Light Issues
Brake lights that work sometimes but fail at other times are signs of a faulty switch. This problem makes it hard to trust the brake lights. The switch may have loose connections or internal damage. Intermittent light issues need a careful check and adjustment. Ignoring them risks safety on the road.
Tools Needed For Adjustment
Adjusting a brake light switch is a simple task with the right tools. Having these tools ready makes the process faster and safer. Prepare your workspace and gather the necessary items before starting the adjustment.
Basic Hand Tools
You will need a few basic hand tools for this job. A screwdriver is essential to remove any panels blocking the switch. Usually, a Phillips head or flathead screwdriver works best. A wrench or socket set helps loosen or tighten nuts and bolts. Sometimes, pliers are useful for gripping small parts. Keep these tools within reach to avoid interruptions.
Safety Equipment
Safety is important even for small tasks like this. Wear safety glasses to protect your eyes from dust or debris. Gloves can protect your hands from sharp edges and dirt. Ensure the car is turned off and the keys are out of the ignition. This prevents accidental electrical shocks or the brake lights turning on unexpectedly.
Locating The Brake Light Switch
Locating the brake light switch is the first step in adjusting it properly. The switch controls the brake lights, turning them on when the pedal is pressed. Finding the exact position of this switch saves time and makes the adjustment easier.
Position Near The Brake Pedal
The brake light switch is usually placed close to the brake pedal. It sits where the pedal arm moves. This spot helps the switch detect when the pedal is pressed or released.
Look under the dashboard, near the top of the brake pedal. The switch is often attached to a bracket or the pedal assembly. It may be small and hard to see at first.
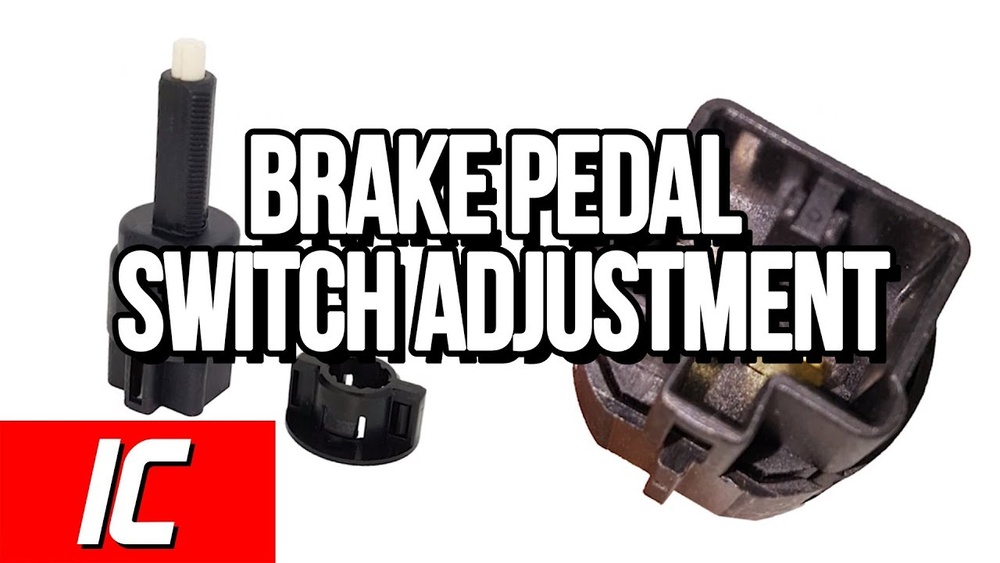
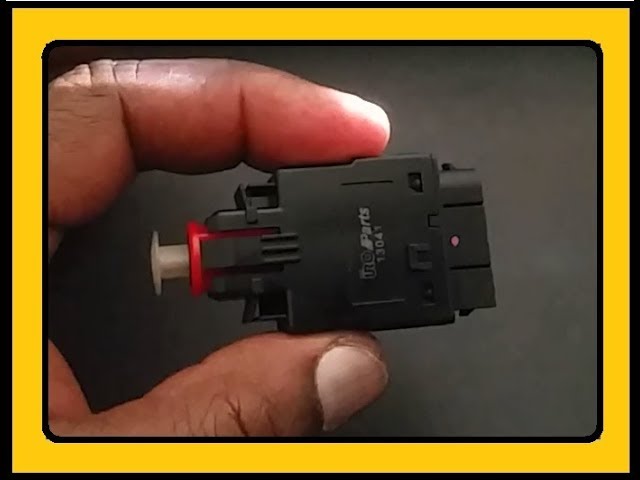
Identifying The Switch Type
Brake light switches come in different types. The most common are plunger-style and lever-style switches. A plunger switch has a button that the pedal presses in. A lever switch uses a small arm that moves with the pedal.
Knowing the type helps in finding how to adjust or replace it. Check if the switch has wires connected to it. This confirms it controls the brake lights.
Preparing For Adjustment
Preparing to adjust a brake light switch is important for a safe and smooth process. Taking the right steps before starting helps avoid accidents and damage. This preparation saves time and ensures the adjustment works correctly.
Safety comes first. Follow simple but important actions before you touch the brake light switch. This section covers two key steps to get ready.
Ensuring Vehicle Safety
Park the vehicle on a flat surface. Use the parking brake to keep it still. Turn off the engine and remove the key from the ignition. These steps prevent the car from moving while you work. Wear safety gloves and glasses for extra protection. Clear the area under the dash to access the brake light switch easily.
Disconnecting The Battery
Locate the car battery under the hood. Use a wrench to loosen the negative terminal first. Disconnect it carefully to avoid sparks. Disconnecting the battery stops electrical current flow. This action protects you from shocks and stops short circuits. Wait a few minutes before proceeding. This pause lets the car’s systems reset fully.
Step-by-step Adjustment Process
Adjusting a brake light switch is a simple task that anyone can do. It helps keep your car safe by making sure the brake lights work properly. Follow these clear steps to adjust the brake light switch yourself. This guide shows each step in an easy way.
Loosening The Switch
Start by locating the brake light switch near the brake pedal. Use a wrench or screwdriver to loosen the switch’s mounting nut or screws. Do not remove it completely. Loosen it just enough to move the switch up or down. This step prepares the switch for adjustment.
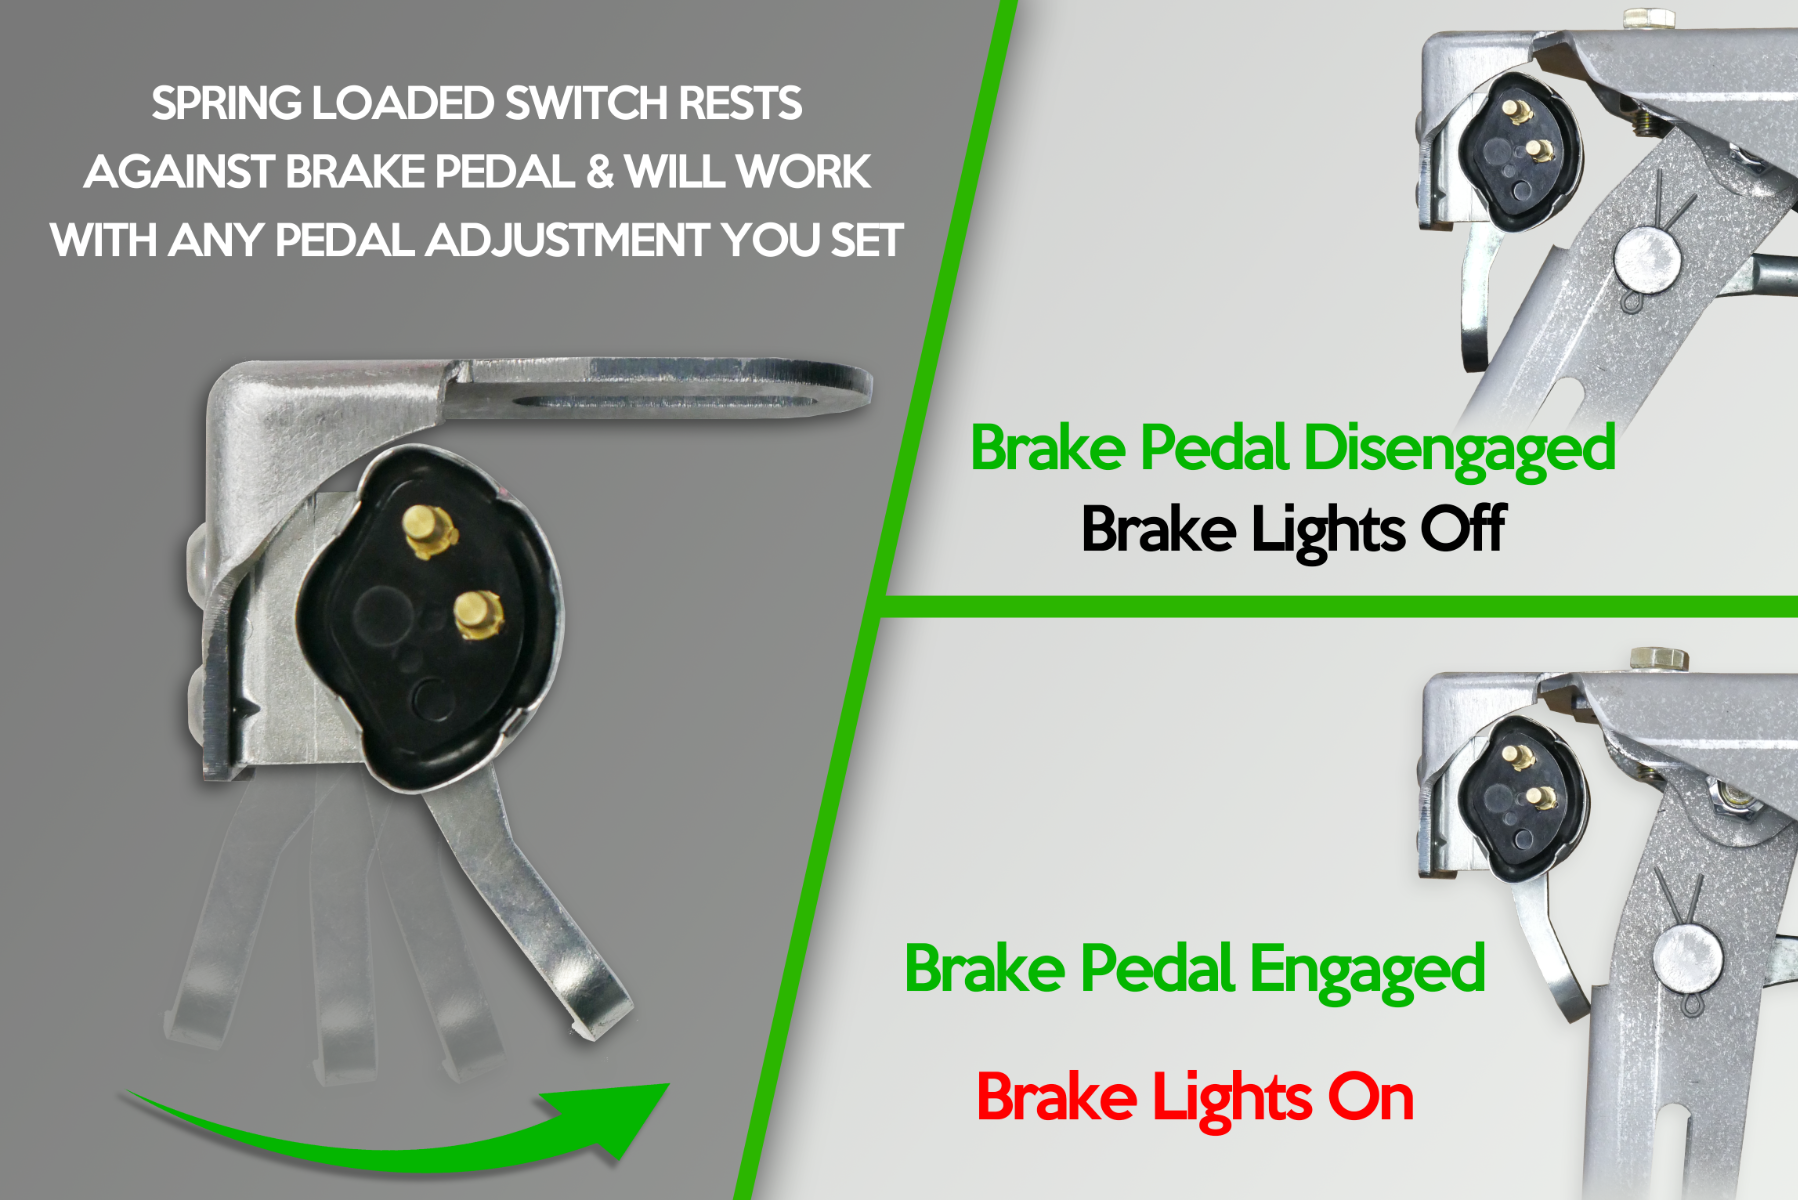
Aligning The Switch Properly
Press the brake pedal lightly. Move the switch so it touches the pedal arm or moves slightly away, depending on your vehicle’s design. The switch should activate when the pedal is pressed and turn off when released. Adjust the position until the brake lights respond correctly.
Securing The Switch
Hold the switch in the correct position. Tighten the mounting nut or screws carefully. Make sure the switch does not move but is not too tight to damage it. Secure the switch to keep it in place during driving.
Testing The Brake Lights
Ask a friend to watch the brake lights while you press the brake pedal. Check if the lights turn on immediately and turn off after releasing the pedal. Test several times to confirm the adjustment is correct. Ensure the brake lights work safely before driving.

Credit: www.africatwinforum.com
Common Mistakes To Avoid
Adjusting a brake light switch might seem simple, but many people make mistakes. These errors can cause brake lights to fail or stay on all the time. Avoiding common mistakes saves time and ensures safety on the road. Here are key errors to watch out for.
Over-tightening The Switch
Turning the switch too tight can damage its threads. This damage may cause the switch to stop working. Tighten the switch just enough to hold it firmly in place. Use gentle force and stop as soon as it feels secure.
Misalignment Issues
The brake light switch must line up correctly with the brake pedal. If it is too far or too close, the lights may not activate properly. Check that the switch moves freely and triggers the lights when the pedal is pressed.
Ignoring Safety Precautions
Always disconnect the car battery before adjusting the switch. This avoids electric shocks and short circuits. Wear gloves and eye protection to prevent injuries. Work in a safe, well-lit place to see clearly.
When To Replace The Brake Light Switch
Knowing when to replace the brake light switch is important for safety. This small part controls your brake lights. If it fails, other drivers may not see your braking. It also affects your car’s ability to start in some models. Watch for signs that the switch no longer works well.
Signs Of Permanent Damage
The brake lights stay on all the time or do not light up at all. This is a clear sign the switch is broken. The brake pedal may feel different or stuck. The engine might not start when the brake is pressed. These problems mean the switch needs replacement. Simple fixes will not work here.
Cost And Replacement Tips
Brake light switches cost between $10 and $50 depending on the car. Labor may add extra charges if a mechanic does the job. Replacing the switch yourself can save money. Make sure the new switch matches your car model. Test the brake lights after installation. Proper adjustment ensures the lights work correctly.
Credit: www.youtube.com
Credit: www.wideopendesign.com
Frequently Asked Questions
How Do You Know If A Brake Light Switch Needs Adjustment?
If brake lights stay on or don’t light up, the switch may need adjustment. Check for delayed or non-functional brake lights.
What Tools Are Required To Adjust A Brake Light Switch?
You typically need a wrench or screwdriver. Some switches also require pliers or a socket set for proper adjustment.
Can I Adjust The Brake Light Switch Myself Safely?
Yes, adjusting the brake light switch is safe with the right tools. Follow your vehicle’s manual and ensure the car is off.
How Long Does It Take To Adjust A Brake Light Switch?
Adjusting a brake light switch usually takes about 10 to 20 minutes, depending on your vehicle and experience level.
Conclusion
Adjusting a brake light switch keeps your car safe on the road. It stops brake lights from staying on or not lighting up. You only need simple tools and some patience. Check the switch regularly to avoid problems. A well-set switch helps other drivers know when you slow down.
Take time to do it right. It saves you money and stress later. Remember, safety starts with small steps like this. Keep your vehicle’s brake lights working perfectly every time.