Are you ready to upgrade your home security with an electronic deadbolt? Installing one might sound complicated, but it’s easier than you think.
Imagine never fumbling for your keys again and having full control over who enters your home—all from your phone. In this guide, you’ll find simple, step-by-step instructions that anyone can follow. By the end, you’ll have a reliable, high-tech lock protecting your door.
Keep reading to discover how you can take charge of your home’s safety today.
Choosing The Right Deadbolt
Choosing the right electronic deadbolt is key to securing your home. It affects safety and ease of use. This choice depends on several factors like type, door compatibility, and desired features. Understanding these helps pick the best lock for your needs.
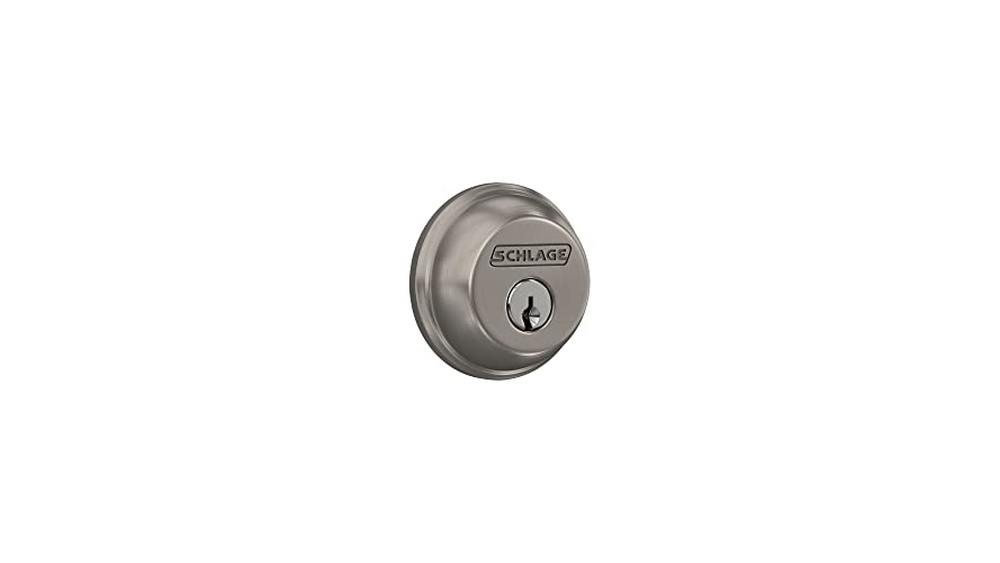
Types Of Electronic Deadbolts
Electronic deadbolts come in various types. Keypad locks use a code to unlock. Some models have fingerprint scanners for quick access. Others connect to your smartphone for remote control. Choose the type that fits your lifestyle and comfort.
Compatibility With Your Door
Check your door’s thickness and material before buying. Most deadbolts fit standard doors 1 3/8 to 2 inches thick. Wooden and metal doors may need different models. Measure your door carefully to ensure the lock fits well. Proper fit improves security and ease of installation.
Features To Consider
Look for features that match your security needs. Auto-locking adds safety by locking after a set time. Some deadbolts offer temporary access codes for guests. Battery life is important; choose locks with long-lasting batteries. Also, consider easy installation and user-friendly design.

Credit: www.youtube.com
Gathering Necessary Tools
Before installing an electronic deadbolt, gather all tools needed. Having the right tools ready helps the job go smoothly. It saves time and prevents frustration. This section lists both basic tools and optional accessories.
Basic Tools Required
Start with a drill to make holes in the door. Use drill bits that match the lock’s size. A screwdriver is necessary to fasten screws securely. A tape measure helps check the correct placement. A pencil marks spots for drilling. A hammer may be needed for minor adjustments. Lastly, a level ensures the lock sits straight.
Optional Accessories
Consider using a chisel to clean door edges for a perfect fit. A power screwdriver speeds up screwing tasks. Safety glasses protect your eyes from dust and debris. A utility knife helps trim excess material. A magnetic pick-up tool finds dropped screws easily. These extras are not always needed but can help.
Preparing Your Door
Preparing your door is the first step in installing an electronic deadbolt. This step ensures the lock fits well and works properly. Taking time here prevents problems later.
Start by clearing the door of any old hardware. Then measure carefully for the new lock. Accurate marking helps keep the lock secure and aligned.
Removing Existing Lock
Use a screwdriver to remove screws from the old lock. Take off the door handle or knob if needed. Remove the latch and deadbolt parts from the door edge. Keep screws and parts in case you need them later. Clean the door surface before installing the new lock.
Measuring And Marking
Measure the backset distance from the door edge to the center of the lock hole. Most deadbolts fit backsets of 2 3/8 or 2 3/4 inches. Use a pencil to mark where the new holes will go. Check the height matches your old lock or your preference. Double-check all marks before drilling or cutting. Correct measurements make installation smooth and secure.

Credit: www.amazon.com
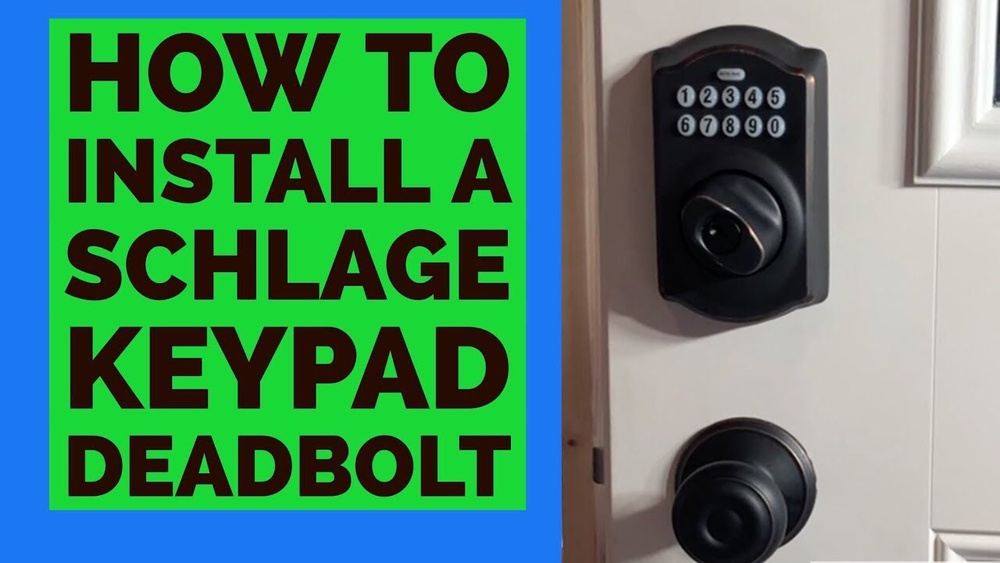
Installing The Deadbolt
Installing the deadbolt is a key step to improve your door’s security. This process involves placing the lock parts on both sides of the door. Follow each step carefully for a strong, reliable fit.
Mounting The Exterior Assembly
Start by placing the exterior part of the deadbolt on the outside of the door. Align the tailpiece with the hole in the door. Make sure the keypad or keyhole faces outward. Hold it steady while you move to the next step.
Installing The Interior Assembly
Next, fit the interior assembly onto the inside of the door. Align it with the tailpiece and screw holes. Press it firmly against the door surface. Insert and tighten the screws to hold it in place.
Securing The Deadbolt
Check that the deadbolt moves smoothly by turning the thumb turn. Tighten all screws without overdoing it. Test the lock with the key or keypad. Your deadbolt should lock and unlock easily now.
Wiring And Power Setup
Setting up power for an electronic deadbolt is a key step in installation. The lock needs a steady power source to work correctly. Some locks use batteries, while others connect to the home’s wiring. This section explains both battery installation and wiring connections.
Battery Installation
Most electronic deadbolts run on batteries. Start by opening the battery compartment on the lock. Use the type of batteries the manufacturer recommends. Insert the batteries in the right direction, following the plus and minus signs. Close the compartment tightly to avoid power loss. Check the lock’s indicator light to confirm power.
Connecting Wires If Required
Some deadbolts need to connect to home wiring for power. Turn off the main power before starting any wiring work. Locate the wires from the lock and your home. Match wire colors carefully according to the instructions. Use wire nuts or connectors to join the wires securely. Once connected, restore power and test the lock’s function.
Configuring The Lock
Configuring the electronic deadbolt is an important step after installation. It makes sure your lock works properly and keeps your home safe. This process includes setting up access codes, linking the lock to mobile apps, and testing the lock’s functions.
Setting Up Access Codes
Start by creating unique access codes for family or friends. Most locks allow multiple codes for different users. Choose easy-to-remember numbers but avoid obvious combinations like 1234. Enter the codes following the lock’s instruction manual. This helps control who can enter your home without sharing physical keys.
Using Mobile Apps
Many electronic deadbolts come with a mobile app for easy control. Download the app on your smartphone and connect it to your lock via Bluetooth or Wi-Fi. The app lets you lock or unlock the door remotely. You can also manage access codes and receive notifications about lock activity. This adds convenience and extra security.
Testing The Lock
After setup, test the lock several times. Use your access codes and the app to lock and unlock the door. Check if the lock responds quickly and correctly each time. Make sure the door closes securely and the deadbolt extends fully. Testing ensures your lock works well and protects your home effectively.
Maintenance Tips
Proper maintenance keeps your electronic deadbolt working smoothly. Regular care prevents malfunctions and extends its life. Learn simple steps to maintain your lock effectively.
Battery Replacement
Check the battery level often. Low power can cause the lock to fail. Use the correct battery type suggested by the manufacturer. Replace batteries at least once a year. Always carry spare batteries for quick changes.
Troubleshooting Common Issues
Start by cleaning the lock’s keypad and sensor. Dirt can block signals and cause errors. Reset the lock if it does not respond. Follow the user manual for reset instructions. Check battery contacts if the lock won’t power on. Tighten loose parts to avoid mechanical problems. Contact support if issues persist after basic fixes.

Credit: device.report
Frequently Asked Questions
What Tools Are Needed To Install An Electronic Deadbolt?
You need a screwdriver, drill, measuring tape, pencil, and the deadbolt kit. These tools ensure accurate and efficient installation.
How Long Does It Take To Install An Electronic Deadbolt?
Installation typically takes 30 to 60 minutes, depending on experience and door type. Following instructions carefully speeds up the process.
Can I Install An Electronic Deadbolt Myself?
Yes, most electronic deadbolts are designed for DIY installation. Basic tools and careful reading of instructions are essential for success.
What Batteries Power An Electronic Deadbolt?
Most electronic deadbolts use AA or 9V batteries. Always check your model’s manual for the correct battery type and replacement guidelines.
Conclusion
Installing an electronic deadbolt is simple with clear steps. Follow the instructions carefully and take your time. Double-check all parts fit well before finalizing. Test the lock several times to ensure it works smoothly. This upgrade adds security and convenience to your home.
Enjoy the peace of mind from your new lock. Keep the manual for future reference. You now have a stronger, smarter door lock.