Are you struggling with a stubborn Multi Lock deadbolt that just won’t budge? Removing it might seem tricky, but you’re closer to solving the problem than you think.
Whether you want to replace it, fix a jam, or upgrade your security, knowing the right steps can save you time and frustration. In this guide, you’ll discover simple, clear instructions that anyone can follow—even if you’re not a DIY expert.
Keep reading, and you’ll soon have that deadbolt out of your way, making your next move easier than ever.
Tools Needed
Removing a Multi Lock deadbolt requires specific tools. Having the right tools makes the job easier and faster. Each tool serves a clear purpose in the removal process.
Gather these tools before starting. They help prevent damage to your door and lock.
Phillips Screwdriver
A Phillips screwdriver is essential. It removes the screws holding the deadbolt in place. Use the correct size to avoid stripping screws.
Flathead Screwdriver
A flathead screwdriver helps pry off covers and plates gently. It also assists in loosening parts that are stuck.
Allen Wrench (hex Key)
Some deadbolts use hex screws. An Allen wrench fits these screws perfectly. Keep different sizes ready for various locks.
Needle-nose Pliers
Needle-nose pliers grip small parts during removal. They help pull out pins or clips carefully without breaking them.
Lubricant Spray
Lubricant spray loosens stuck screws and parts. It reduces friction, making removal smoother and quicker.
Flashlight
A flashlight brightens dark areas inside the lock. It helps see screws and hidden components clearly.

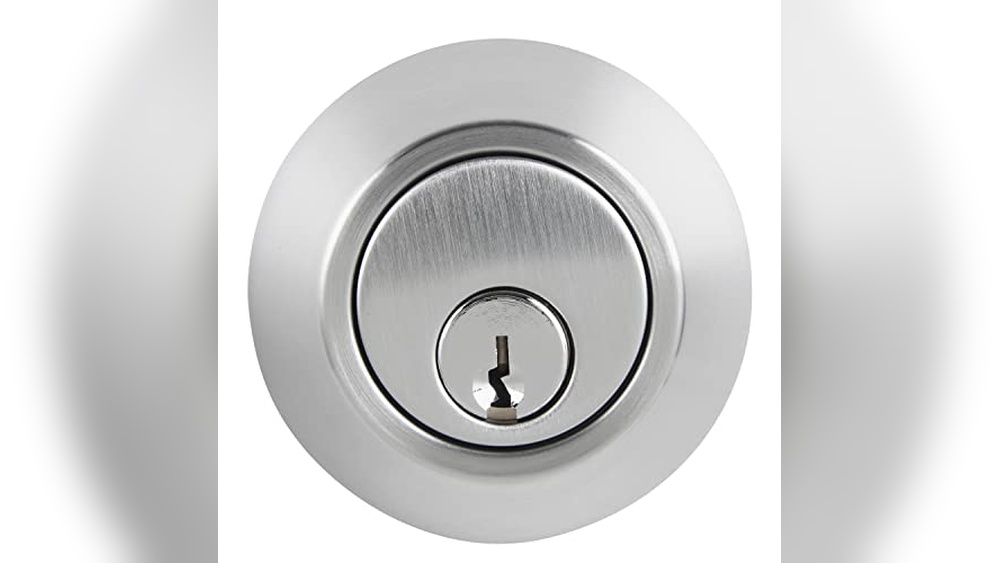
Credit: www.mul-t-lock-online.com
Prepare The Door
Preparing the door is the first step in removing a multi lock deadbolt. A well-prepared door makes the removal process smoother and safer. Take time to get everything ready before starting.
Clear the area around the door. This gives you enough space to work without obstacles. Remove any objects that may block your tools or movement.
Check the door’s condition. Look for any damage or warping that might affect the removal. A stable door helps prevent accidents during the process.
Gather Necessary Tools
Collect all tools needed for the job. Common tools include a screwdriver, drill, and pliers. Having tools ready saves time and avoids interruptions.
Turn Off The Doorbell Or Alarm
Multi lock deadbolts sometimes connect to alarms or doorbells. Switch off power to avoid shocks or false alarms. Safety first.
Remove Door Accessories
Take off door handles, plates, or any decorations near the lock. These can get in the way during removal. Keep screws and parts safe for reinstallation.
Inspect The Lock Mechanism
Look closely at the lock to understand how it fits. Notice where screws and bolts are placed. This helps plan the removal steps effectively.
Remove The Interior Cover
Start by unscrewing the screws holding the interior cover. Gently pull the cover away to reveal the lock mechanism inside. Take care to avoid damaging any parts during removal.
Removing the interior cover is the first step to take off a multi lock deadbolt. This cover protects the lock’s inner parts. It also holds screws that keep the lock in place. Careful removal prevents damage to the lock and door.
Start by locating the screws on the interior cover. These are usually small and hidden under a trim or plate. Use a screwdriver that fits well to avoid stripping the screws. Turn the screws counterclockwise to loosen and remove them.
Lift The Cover Gently
After removing screws, gently lift the interior cover. The cover might stick slightly due to paint or dirt. Use a flat tool like a plastic pry tool or a flathead screwdriver. Slide the tool under the cover edge and lift slowly. Avoid forcing it to stop scratches or damage.
Check For Hidden Fasteners
Sometimes, extra clips or fasteners hold the cover. Look closely around the edges. Press or release these clips carefully to free the cover. Missing this step can cause the cover to break or get stuck. Take time to inspect all sides.
Keep Screws And Parts Safe
Store all screws and parts in a small container. This prevents losing any pieces during the removal process. Organize parts for easy reassembly later. Being organized saves time and frustration.
Unscrew The Deadbolt
Unscrewing the deadbolt is the first step to remove a Multi Lock deadbolt. It helps you take apart the lock from the door carefully. This step requires patience and the right tools.
Start by finding the screws that hold the deadbolt in place. These screws are usually on the inside part of the door. Removing them allows you to pull the lock apart safely.
Gather The Right Tools
You need a screwdriver that fits the screws well. Most Multi Lock deadbolts use Phillips head screws. Having the right screwdriver makes the job easier and avoids damage.
Locate The Screws On The Deadbolt
Check the interior side of the door for visible screws. They are often near the lock’s faceplate. Some models may hide screws under a cover plate.
Remove The Screws Carefully
Turn each screw counterclockwise to loosen it. Keep the screws safe for reassembly or replacement. Unscrewing slowly prevents stripping the screw heads.
Separate The Deadbolt From The Door
After all screws are out, gently pull the deadbolt away. It may need a slight wiggle to free it. Avoid forcing it to prevent damage to the door or lock.
Extract The Lock Cylinder
Extracting the lock cylinder is a key step in removing a Multi Lock deadbolt. This part holds the key mechanism and allows the lock to turn. Removing it carefully helps you access the internal parts.
Follow clear steps to avoid damage and make the process smooth. Use the right tools and stay patient.
Locate The Cylinder Retaining Screw
Find the screw that holds the cylinder in place. It is usually on the side of the lock. Use a screwdriver to remove it carefully. This screw keeps the cylinder secure.
Turn The Key Slightly
Insert the key into the cylinder and turn it a little. This action lines up the cylinder with the lock body. It makes pulling the cylinder out easier.
Pull Out The Lock Cylinder
Hold the cylinder firmly and pull it straight out. If it does not move, check the screw is fully removed. Use gentle force to avoid breaking any parts.
Use A Cylinder Removal Tool If Needed
Sometimes, a special tool is needed to remove the cylinder. This tool grips the cylinder tightly for easier extraction. Use it if the cylinder is stuck or hard to pull.
Remove The Exterior Plate
Start by removing the screws holding the exterior plate in place. Gently pull the plate away from the door to expose the lock mechanism. Take care not to damage the door surface during this step.
Understanding The Exterior Plate
The exterior plate covers the lock mechanism on your door.
It holds the deadbolt and key cylinder in place.
Removing this plate is the first step to take out the lock.
Gather The Needed Tools
Use a screwdriver that fits the screws on the plate.
Most exterior plates use Phillips or flathead screws.
Prepare a small container to keep screws safe after removal.
Locate And Remove Screws
Find all screws securing the exterior plate to the door.
Unscrew them carefully to avoid stripping the heads.
Keep the screws in the container for reinstallation or disposal.
Gently Pull Off The Exterior Plate
After removing screws, gently pull the plate away from the door.
It may feel tight due to paint or sealant.
Use slow, steady force to avoid damaging the door.
Check For Additional Security Features
Before removing a Multi Lock deadbolt, check for extra security features. These features can make removal harder. Knowing what to expect saves time and effort. It also helps avoid damage to the lock or door.
Some Multi Lock deadbolts have reinforced plates or extra screws. Others include security pins or anti-drill components. These parts protect the lock from forced entry. They also need special attention during removal.
Identify Reinforced Strike Plates
Reinforced strike plates are thicker metal plates around the door frame. They hold the deadbolt bolt tightly. Removing these plates first makes deadbolt removal easier. Look for extra screws or larger plates.
Check For Security Pins
Security pins inside the lock prevent picking. These pins can also block removal tools. Use the right tools to avoid damage. Take time to understand the pin layout before starting.
Look For Anti-drill Components
Anti-drill components protect the lock cylinder from drilling. They include hardened steel inserts or plates. Be careful when drilling or disassembling. These parts require special drill bits or techniques.
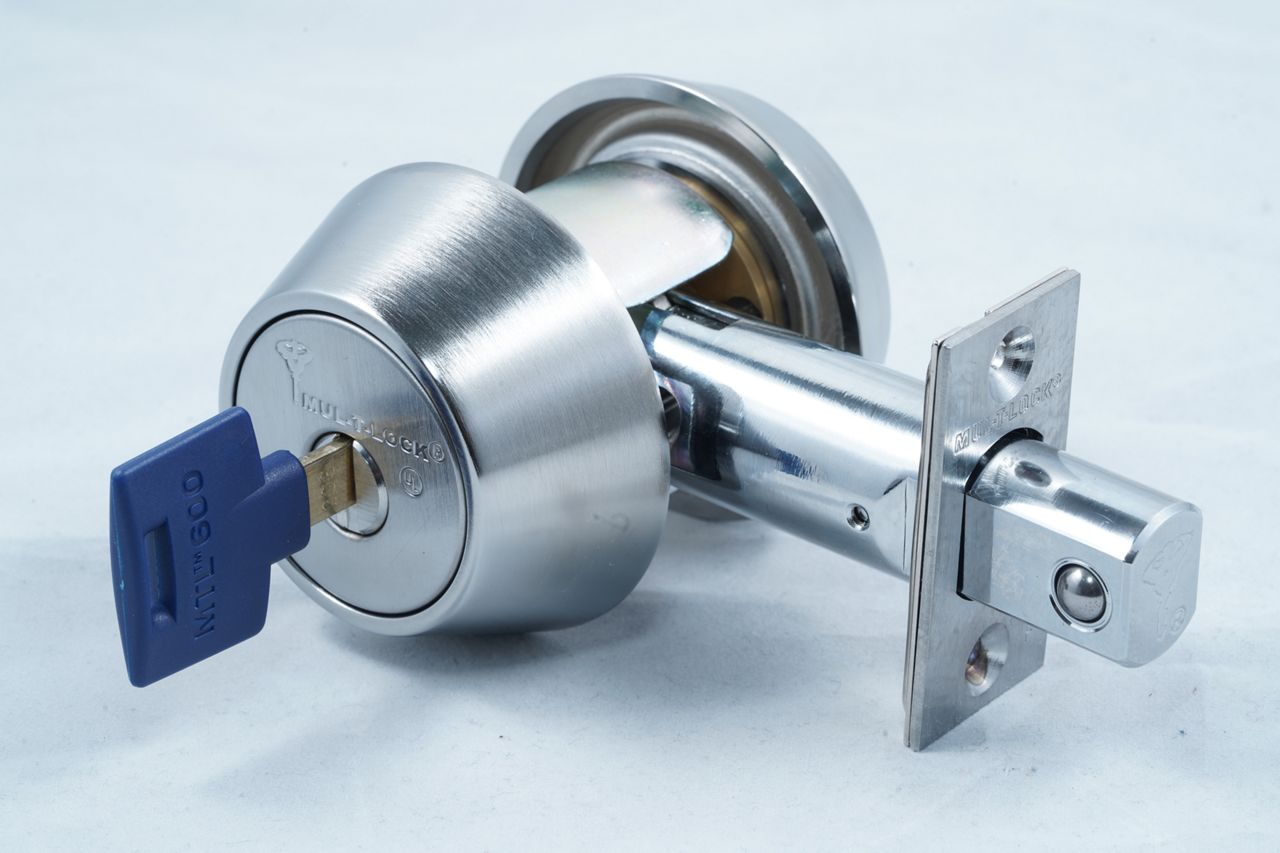
Credit: www.mul-t-lock.com
Troubleshooting Common Issues
Troubleshooting common issues can save time and reduce frustration when removing a Multi Lock deadbolt. Many problems occur due to small details. Fixing these issues helps complete the task smoothly.
Understanding the root causes lets you act quickly. Some problems need simple tools. Others require careful handling. Keeping calm and patient makes the process easier.
Stuck Screws
Stuck screws block deadbolt removal. Rust or dirt often causes this. Use a screwdriver that fits well. Apply a little penetrating oil to loosen screws. Let the oil sit for a few minutes. Turn screws slowly to avoid stripping.
Misaligned Components
Misaligned parts stop the deadbolt from coming apart. Check if the lock and door align properly. Gently wiggle the lock to free it. Tighten or loosen screws to adjust alignment. This step reduces resistance during removal.
Damaged Parts
Damaged parts make removal difficult. Look for cracks or broken pieces. Replace damaged screws or components before continuing. Use spare parts or visit a hardware store. Handling damaged parts with care avoids further problems.
Tips For Safe Removal
Removing a Multi Lock deadbolt needs care and attention. Safety is very important during this task. Follow these tips to protect yourself and your door. Avoid damage and keep the process smooth.
Wear safety glasses to protect your eyes from dust and debris. Use gloves to avoid cuts or scratches. Make sure you have the right tools before starting. This helps prevent accidents and saves time.
Turn Off The Power Supply
Some deadbolts have electronic parts. Always turn off the power before removal. This stops electric shocks and damage to the lock. Double-check that no wires are live before you begin.
Use The Correct Tools
Use screwdrivers that fit screws well. Avoid using too much force to stop stripping screws. A drill with a proper bit helps remove screws faster. Keep all tools close to avoid unnecessary movement.
Work Slowly And Carefully
Take your time during removal. Rushing may cause damage or injury. Remove screws one by one and keep them safe. Handle the lock parts gently to avoid bending or breaking.
Keep The Door Stable
Make sure the door does not move while you work. Use a doorstop or ask someone to hold the door steady. A stable door makes removal easier and safer.
Credit: www.mul-t-lock.com
Frequently Asked Questions
How Do I Remove A Multi Lock Deadbolt?
To remove a Multi Lock deadbolt, first unscrew the interior mounting screws. Then, gently pull off the interior and exterior assemblies. Finally, remove the latch mechanism from the door edge. Use a screwdriver suitable for your deadbolt model for best results.
What Tools Are Needed To Remove Multi Lock Deadbolt?
You need a Phillips screwdriver, flathead screwdriver, and possibly an Allen wrench. A small pry tool may help remove trim pieces. Having the correct tools ensures a smooth, damage-free removal process. Check your deadbolt model instructions for specific tool requirements.
Can I Remove Multi Lock Deadbolt Without Damaging The Door?
Yes, carefully unscrew and gently pull the lock components. Avoid forcing parts or using excessive force. Use appropriate tools and follow step-by-step instructions. This approach prevents damage to the door and lock components during removal.
How Long Does It Take To Remove A Multi Lock Deadbolt?
Removing a Multi Lock deadbolt usually takes 10 to 20 minutes. The time varies depending on your experience and tool availability. Following instructions carefully can speed up the process and ensure proper removal.
Conclusion
Removing a Multi Lock Deadbolt is simple with the right steps. Take your time and follow each instruction carefully. Use the correct tools to avoid damage. This guide helps you save money and effort. You can handle the task without needing a professional.
Remember to keep safety in mind during the process. Practice makes perfect, so don’t rush. Now, you have the confidence to remove your deadbolt safely.