Are you ready to transform your blank walls into a stunning display of your favorite memories and art? Hanging pictures on your wall with hooks is one of the easiest and most effective ways to add personality and warmth to any room.
But if you’re worried about making mistakes, damaging your walls, or ending up with crooked frames, you’re not alone. The good news is, with a few simple tips and the right tools, you can hang your pictures like a pro—quickly and confidently.
Keep reading, and you’ll discover step-by-step guidance that will make your walls look amazing and keep your pictures secure. Your space deserves it!
Choosing The Right Hooks
Choosing the right hooks is key to hanging pictures safely and neatly. The right hook holds your picture firm and protects your wall. Picking the wrong hook can cause damage or make your picture fall. Consider the size, weight, and wall type before buying hooks. This guide explains what to know about hooks for hanging pictures.
Types Of Picture Hooks
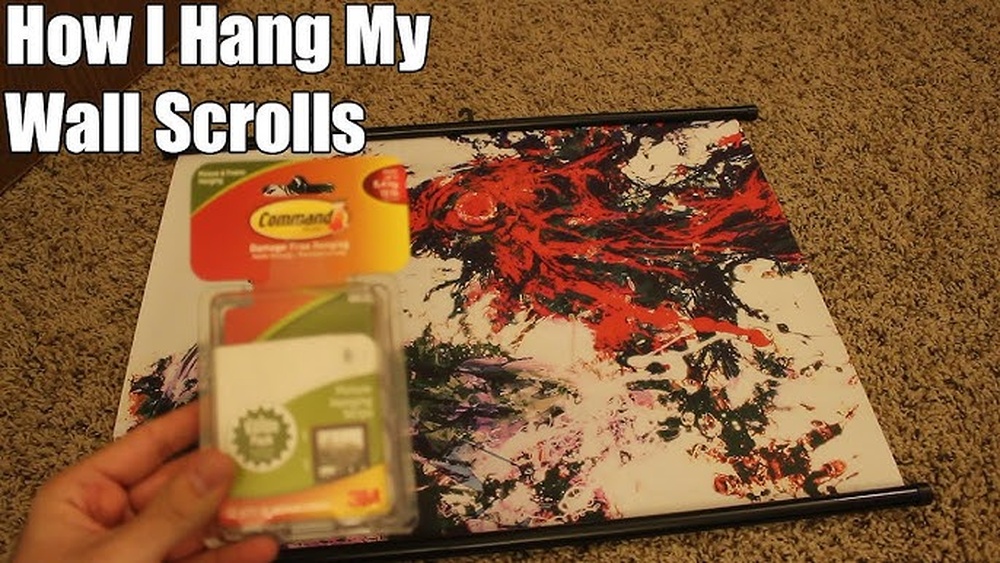
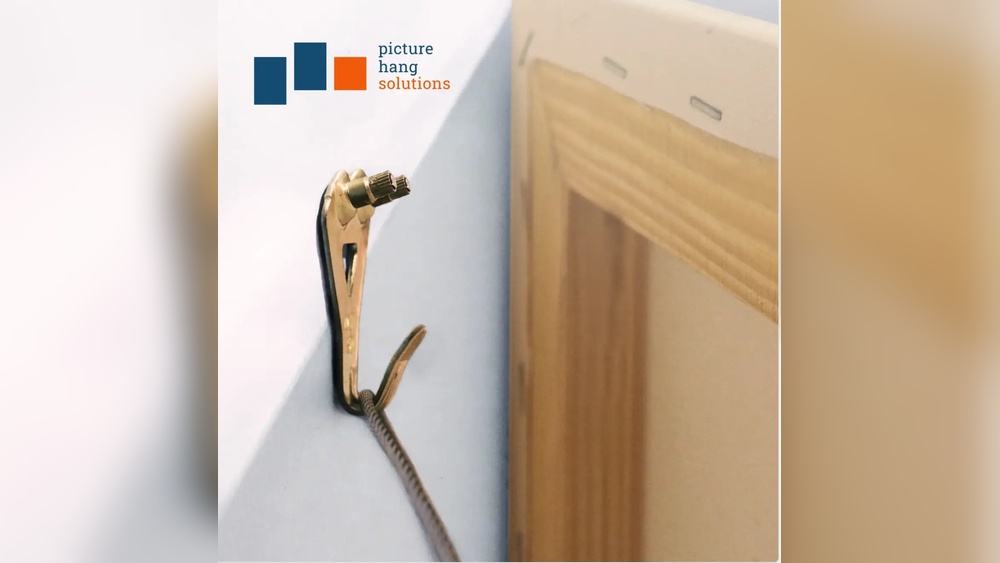
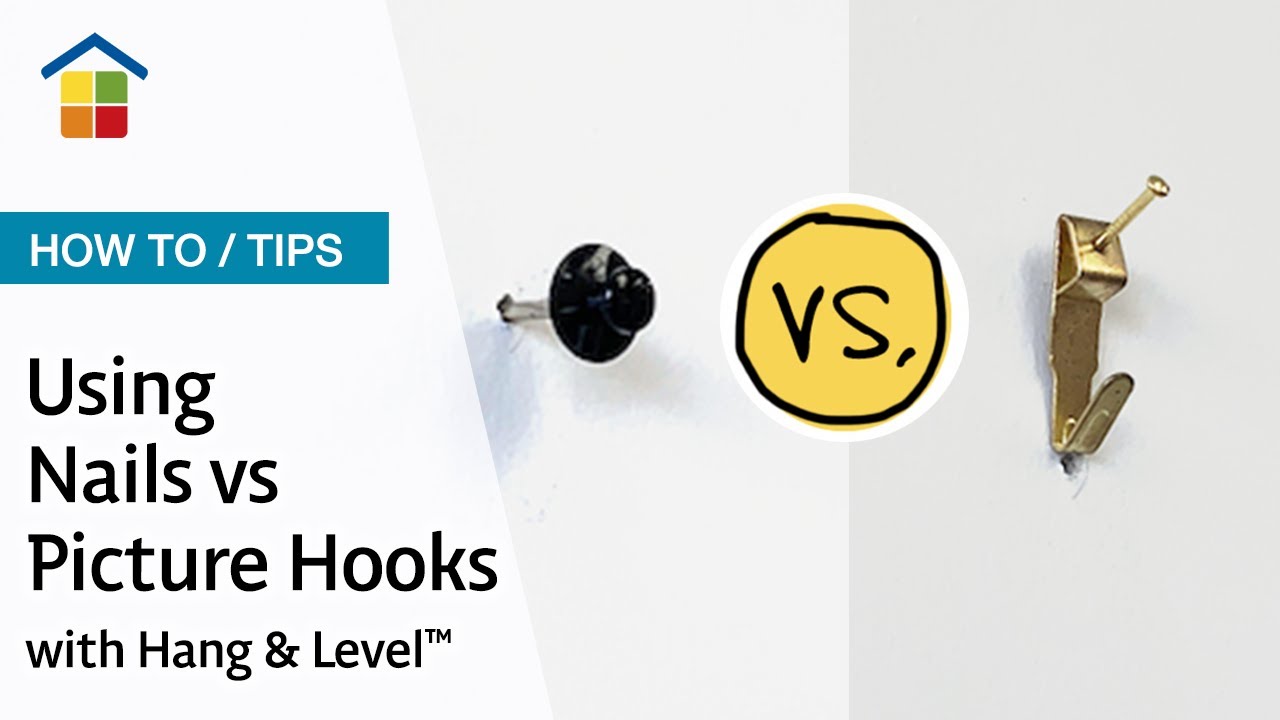
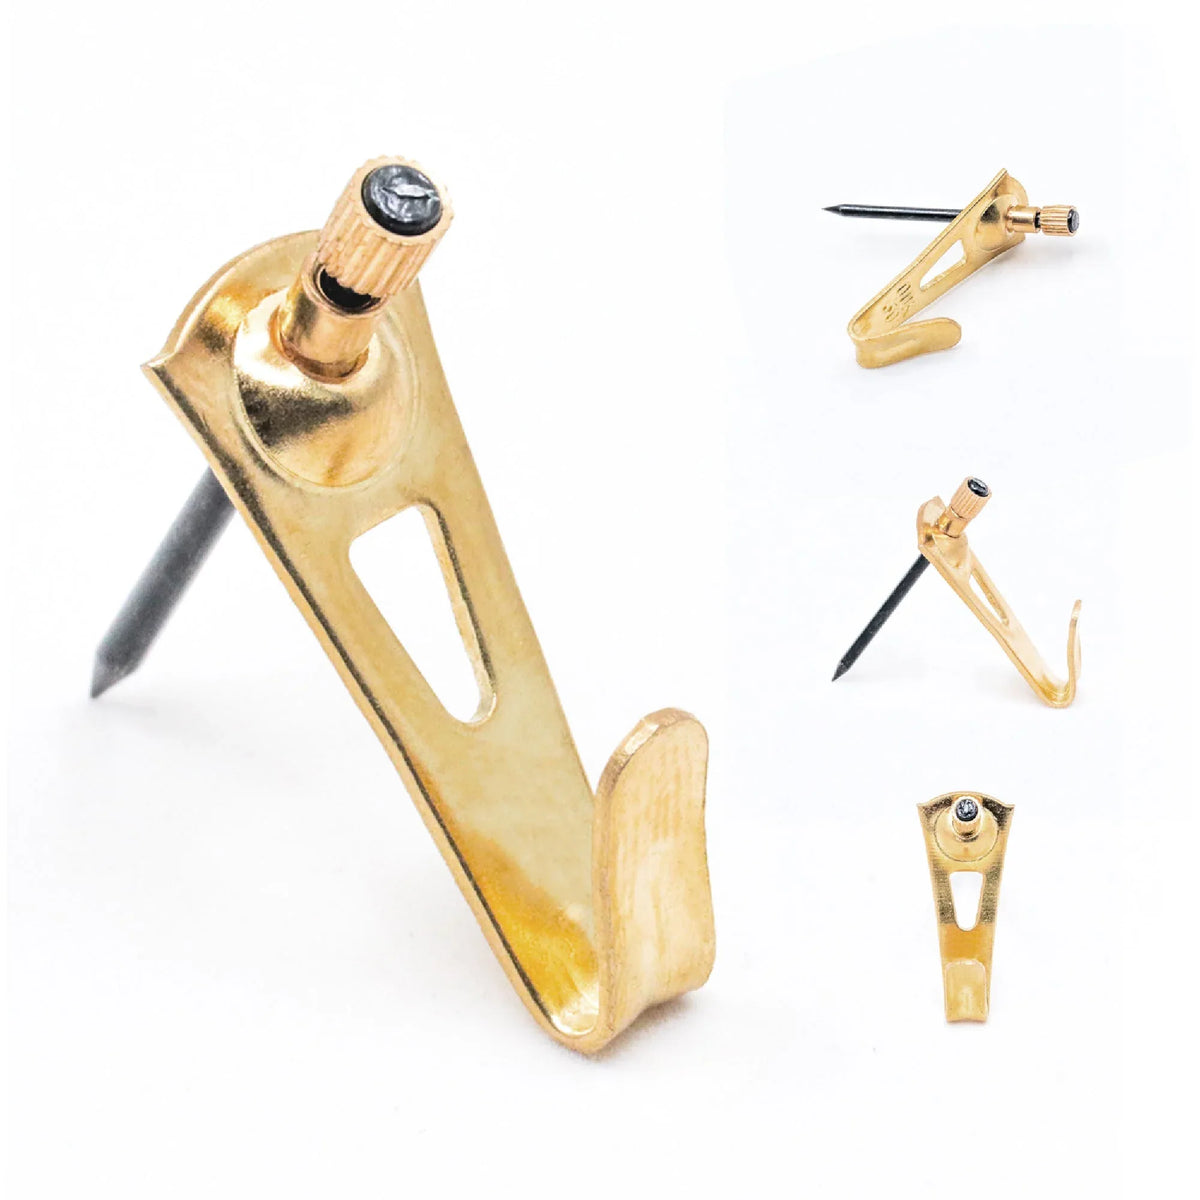
Picture hooks come in many shapes and sizes. Common types include standard hooks, sawtooth hangers, and adhesive hooks. Standard hooks use nails and work well for most walls. Sawtooth hangers attach to the back of the frame for easy leveling. Adhesive hooks stick to the wall without nails, best for light pictures. Choose the type that fits your picture and wall surface.
Weight Limits And Hook Strength
Each hook has a weight limit. This limit shows how much weight the hook can hold safely. Always check the weight of your picture before selecting hooks. Use stronger hooks for heavier frames to avoid falls. Overloading a hook may damage your wall or picture. Pick hooks with a higher weight rating than your picture’s weight for safety.
Material Considerations
Hooks come in different materials like metal, plastic, and wood. Metal hooks are strong and good for heavy pictures. Plastic hooks suit lighter pictures and prevent wall damage. Wood hooks offer a classic look but may not hold heavy frames. Think about your wall type and picture weight to pick the best material. Strong, durable hooks last longer and keep pictures steady.
Preparing Your Wall
Preparing your wall is the first step to hang pictures with hooks properly. It helps ensure your picture stays secure and looks great. Taking time to prepare avoids damage to your wall and keeps your art safe.
Start by choosing the right spot. Then, clean and mark the area. Finally, check the wall material to pick the best hooks and tools.
Selecting The Spot
Pick a spot that suits the picture size and room style. Avoid places with direct sunlight to prevent fading. Check the wall space to make sure the picture fits well. Think about eye level for best viewing.
Cleaning And Marking
Clean the wall area with a damp cloth to remove dust. Dust can stop hooks from sticking properly. Use a pencil to mark where the hooks will go. Measure twice to keep marks straight and even.
Checking Wall Material
Know your wall type: drywall, plaster, brick, or wood. Each wall needs different hooks and anchors. Drywall may need special anchors for heavy pictures. Brick or wood walls require stronger hooks and drills. Use the right tools to avoid damage and hold your picture safely.
Tools You’ll Need
Hanging pictures on the wall with hooks is simple with the right tools. Having these tools ready makes the job faster and neater. Prepare your workspace and gather what you need before starting.
Basic Tools Checklist
- Measuring tape – for accurate placement
- Pencil – to mark spots on the wall
- Hammer – to drive hooks into the wall
- Picture hooks – to hold your frames securely
- Level – to keep pictures straight
Optional Helpful Tools
- Stud finder – to locate wall studs for heavier frames
- Adhesive hooks – for damage-free hanging on smooth surfaces
- Safety glasses – to protect your eyes while hammering
- Rubber mallet – gentle tool for delicate walls
- Step stool – for reaching higher spots safely
Credit: thistlekeylane.com
Step-by-step Hanging Process
Hanging pictures on your wall can change the whole look of a room. The process is simple if you follow clear steps. Using hooks makes the job easier and keeps your pictures safe. This step-by-step guide helps you hang your pictures perfectly every time.
Measuring And Marking Placement
Start by choosing the right spot on your wall. Use a tape measure to find the center point for your picture. Mark the spot lightly with a pencil. Check the height to ensure the picture will hang at eye level. Measure twice to avoid mistakes.
Installing Hooks Correctly
Select hooks that can hold the picture’s weight. Use a level to keep the hook straight. Hammer the hook gently into the wall at the marked spot. Push the hook until it feels secure. Avoid placing hooks near wall studs only; drywall hooks work well too.
Hanging The Picture
Lift the picture carefully and place its wire or frame onto the hook. Step back and check if the picture hangs straight. Use a level to adjust if needed. Press the picture gently against the wall to keep it steady. Your picture is now ready to admire.
Ensuring Picture Stability
Ensuring picture stability is key when hanging pictures with hooks. A stable picture looks good and stays safe on your wall. It prevents damage to both the frame and the wall. Use the right methods to keep your picture steady and secure.
Leveling Techniques
Start with a level tool to keep your picture straight. Place the level on top of the frame. Adjust the picture until the bubble is centered. Use two hooks for larger pictures to avoid tilting. Small adjustments make a big difference in appearance.
Securing Heavy Frames
Heavy frames need stronger support. Use wall anchors or heavy-duty hooks designed for weight. Check the weight limit on hooks before buying. Attach hooks into studs if possible for extra strength. Secure frames tightly to avoid slipping or falling.
Avoiding Wall Damage
Choose the right hooks to protect your walls. Use adhesive hooks for lightweight pictures to avoid holes. For heavier frames, drill small pilot holes to reduce wall damage. Fill holes with spackle if you remove hooks later. Handle frames carefully to keep walls clean and intact.
Credit: www.youtube.com
Creative Display Ideas
Creative display ideas make your wall art stand out and bring life to your space. Hooks help create flexible and stylish arrangements. They let you hang pictures in many ways that fit your style and room size. Explore simple ideas to decorate walls with hooks and pictures.
Gallery Wall Arrangements
Create a gallery wall by grouping many pictures close together. Use hooks to hang frames at different heights and shapes. This style fills a large wall with color and stories. Try arranging frames in a grid or a loose cluster for a fun look. Hooks make it easy to adjust the layout anytime.
Mixing Frame Styles
Combine old and new frames for an interesting display. Use different colors, sizes, and materials to add variety. Hooks allow you to hang mixed frames securely and neatly. This mix adds charm and personality to plain walls. The contrast between frames creates a unique vibe in any room.
Using Hooks For Unique Displays
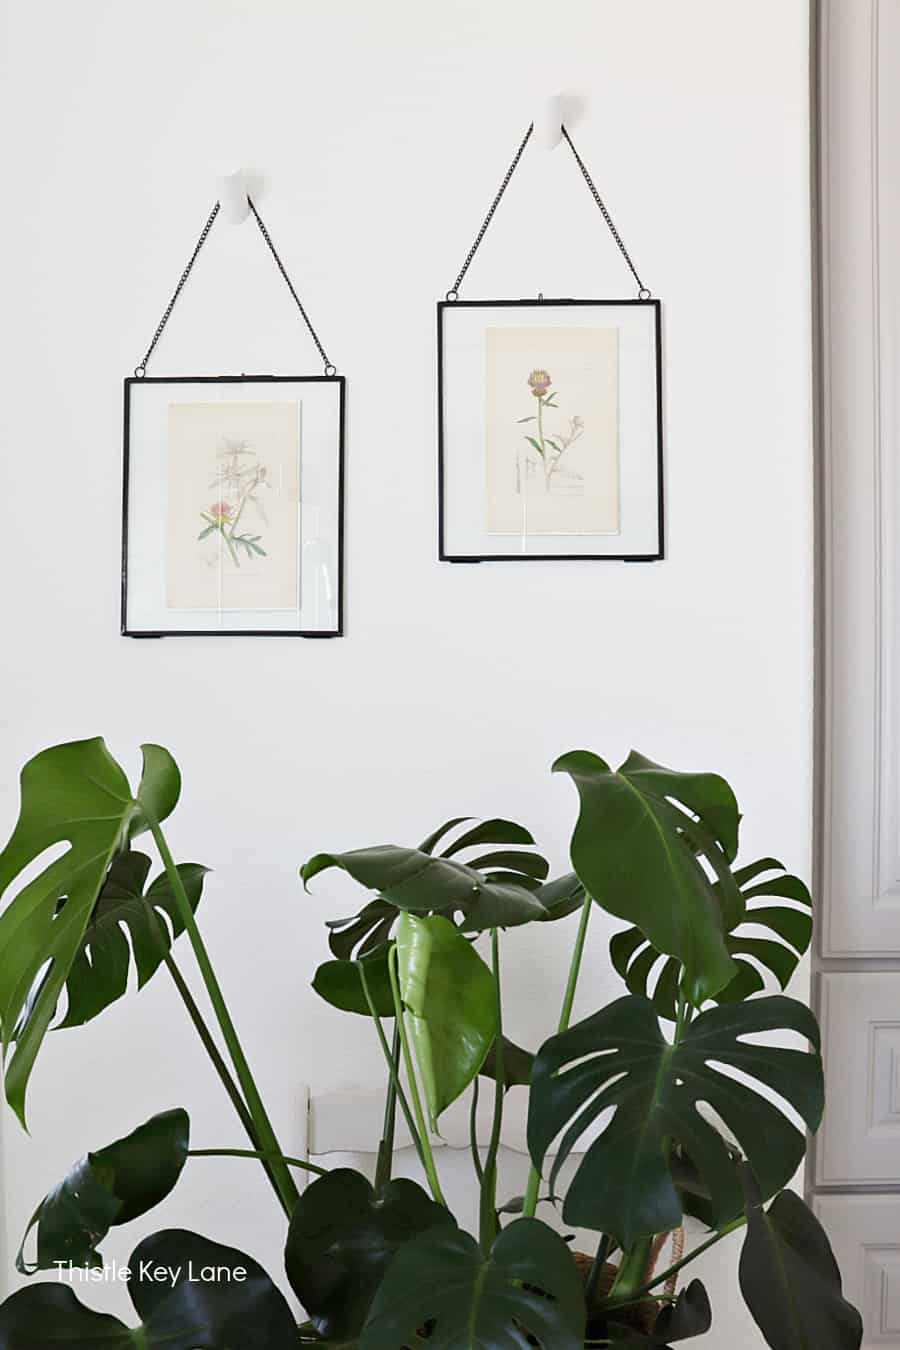
Hooks do more than hold pictures. Use them to hang other items like small shelves or plants with photos. Try layering frames by hanging one in front of another. Hooks help create 3D displays that catch the eye. Think beyond pictures to make your wall a creative focal point.
Credit: www.picturehangsolutions.com
Frequently Asked Questions
What Tools Do I Need To Hang Pictures With Hooks?
You need hooks, a hammer, a measuring tape, a pencil, and a level. These tools help ensure accurate placement and secure hanging.
How Do I Choose The Right Hook For My Picture?
Select hooks based on picture weight and wall type. Use heavier-duty hooks for large, heavy frames for safe support.
Can I Hang Pictures On Drywall Using Hooks?
Yes, use wall anchors with hooks on drywall. Anchors provide extra support and prevent damage or hooks falling.
How High Should I Hang Pictures With Hooks?
Hang pictures at eye level, around 57-60 inches from the floor. This height creates a balanced and visually pleasing display.
Conclusion
Hanging pictures on the wall with hooks is simple and effective. Choose the right hook for your wall type. Measure carefully before placing hooks to keep pictures straight. Use a level to check alignment. Hooks hold pictures securely and prevent damage.
With these tips, your walls will look neat and stylish. Enjoy decorating your space easily and safely. Now, your favorite pictures can brighten any room.