Have you ever faced the problem of an old deadbolt hole in your door that just doesn’t look right anymore? Maybe you’ve removed a lock and now there’s an unsightly gap staring back at you.
Fixing this isn’t as tricky as you might think. In fact, with the right steps, you can make that hole disappear and restore your door’s smooth, clean surface. Keep reading, and you’ll learn exactly how to fill a deadbolt hole quickly, easily, and with results that look professional.
This simple fix could save you money and boost your home’s appearance instantly. Ready to get started?

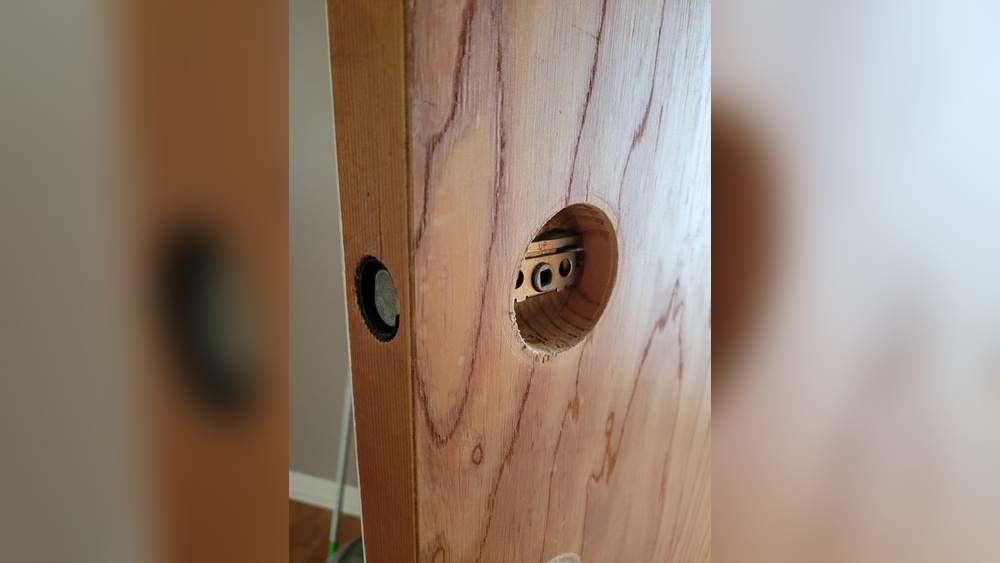
Credit: thehandyhomemaker.com
Tools And Materials Needed
Filling a deadbolt hole in a door requires some basic tools and materials. Having the right items ready makes the job easier and the result better.
This section lists what you need to complete the task smoothly. Prepare these tools and materials before you start.
Essential Tools
- Drill with various drill bits
- Chisel for shaping wood
- Hammer or mallet
- Measuring tape or ruler
- Screwdriver set
- Putty knife or scraper
- Sandpaper or sanding block
Recommended Materials
- Wood filler or epoxy wood repair compound
- Wood glue for extra strength
- Wood patch or dowel rods
- Primer and paint to match the door color
- Painter’s tape for clean edges
- Cleaning cloth to remove dust
Preparing The Door Surface
Preparing the door surface is a key step before filling a deadbolt hole. It helps the filler stick better and last longer. A clean and smooth surface makes repair look neat. This section explains how to prepare the door properly.
Cleaning The Area
Start by removing dirt and dust around the hole. Use a soft cloth to wipe the surface. For stubborn grime, use mild soap and water. Dry the area completely before moving to the next step. Clean surfaces help filler bond well.
Sanding For Smoothness
Lightly sand the edges of the hole using fine-grit sandpaper. This removes rough spots and old paint chips. Sanding creates a smooth surface for the filler. After sanding, wipe away dust with a dry cloth. A smooth door surface ensures a better finish.
Choosing The Right Filler
Choosing the right filler is key to fixing a deadbolt hole in your door. The filler must match the door’s material and hold strong over time. Pick a filler that is easy to work with and dries well. A good choice makes the repair look smooth and lasts long. Here are some common filler types to consider.
Wood Fillers
Wood fillers work well for wooden doors. They come in paste or putty form. Apply the filler into the hole, then smooth it out. After drying, you can sand and paint the area. Wood fillers blend well with the door’s surface. They are simple to use and affordable.
Epoxy Compounds
Epoxy compounds are strong and durable. They bond tightly to wood or metal. Mix the epoxy before applying it to the hole. Epoxy fills large or deep holes perfectly. It hardens quickly and resists cracking. Sand and paint the epoxy for a neat finish.
Alternative Options
Other fillers include polyester putty and auto body fillers. These options work on wood and metal doors. They dry fast and are easy to shape. Some fillers come pre-mixed for quick use. Choose one that suits the door’s material and repair size.

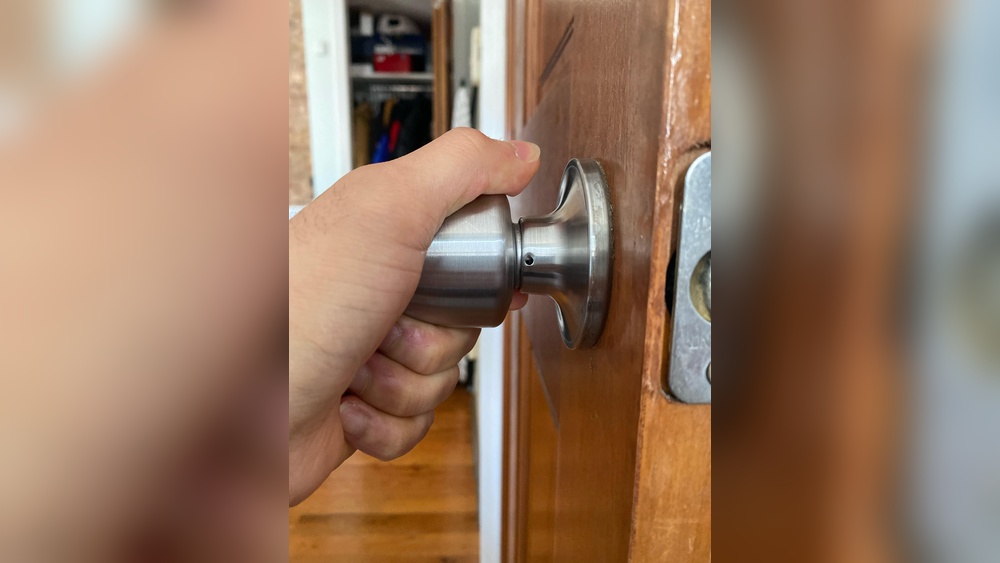
Credit: www.diychatroom.com
Step-by-step Filling Process
Filling a deadbolt hole in a door is a simple task with the right steps. This process restores the door’s surface smoothly and prepares it for painting or finishing. Follow these clear instructions to achieve a neat, strong repair.
Applying The Filler
Start by cleaning the hole and removing loose debris. Use a putty knife to apply wood filler or epoxy into the hole. Press the filler firmly to fill all gaps and voids. Overfill slightly to allow for sanding later. Smooth the surface as much as possible while applying.
Shaping And Smoothing
Let the filler set for a few minutes. Use a sanding block or sandpaper with medium grit to shape the filler. Sand gently until the surface is even with the door. Remove dust with a clean cloth. Check the area for any low spots and reapply filler if needed. Sand again after the new layer dries.
Drying Time
Allow the filler to dry completely before painting or finishing. Drying time depends on the product and room conditions. Usually, it takes a few hours to overnight. Ensure the filler hardens well to avoid cracks. Avoid touching the area during drying to keep it smooth.
Finishing Touches
After filling the deadbolt hole, the final steps make the door look smooth and neat. These finishing touches help the repair blend with the door’s surface. They also protect the wood from damage and wear over time. Follow these simple steps to complete your repair professionally.
Sanding The Repaired Spot
Start by sanding the filled area gently. Use fine-grit sandpaper for a smooth finish. Sand until the patch feels even with the door surface. Avoid sanding too hard to prevent damage. Clean dust with a soft cloth before moving on.
Painting Or Staining
Choose paint or stain that matches your door’s color. Apply thin coats for better control and even coverage. Let each coat dry fully before adding another. This step hides the repair and improves the door’s look. Use a small brush to reach tight spots.
Sealing For Protection
Seal the repaired area with a clear finish. Use polyurethane or varnish for strong protection. This layer guards against moisture and dirt. Apply evenly and let dry as per instructions. Sealing keeps your repair lasting longer and looking good.

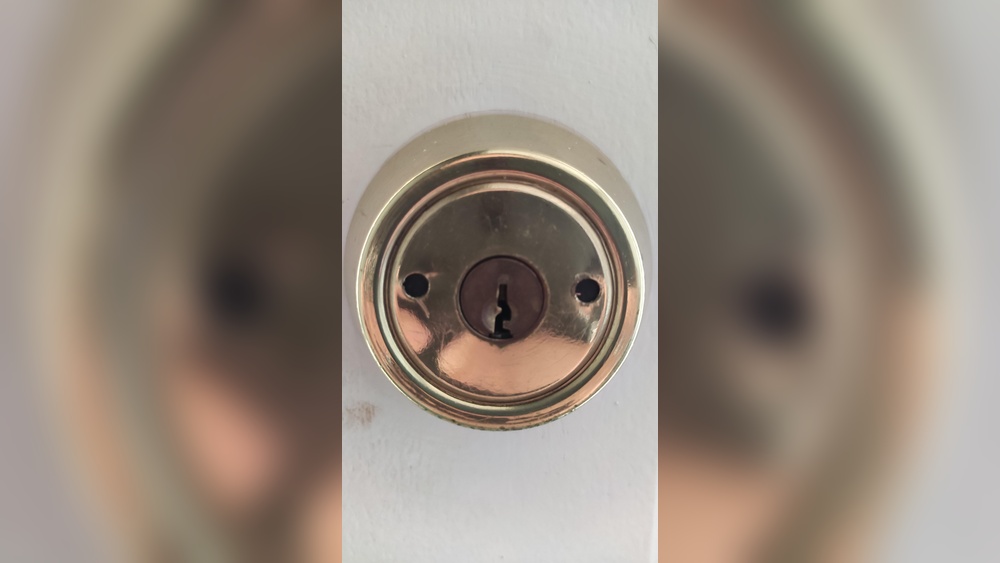
Credit: diy.stackexchange.com
Preventing Future Damage
Preventing future damage to your door after filling a deadbolt hole is very important. A properly fixed door stays strong and secure. Small steps can stop cracks and breaks from happening again. Protecting the door saves money and effort later.
Using Reinforcement Plates
Reinforcement plates add extra strength around the deadbolt area. These metal plates spread the force from the lock over a larger area. They help stop the door from splitting or cracking. Plates come in different sizes and shapes for many door types. Installing one is simple and provides strong support. Using a reinforcement plate protects your repair and the door frame.
Proper Installation Tips
Correct installation is key to avoid future damage. Use the right size screws to secure the lock and plates well. Screws should go deep into the door frame, not just the surface. Make sure the lock fits tightly in the hole to prevent movement. Check alignment so the deadbolt slides smoothly. Take time during installation to ensure all parts fit properly. Careful work means the door will last longer and stay safer.
Frequently Asked Questions
How Do I Fill A Deadbolt Hole In A Wooden Door?
To fill a deadbolt hole in wood, use a wood filler or epoxy. Clean the hole, apply filler, and let it dry. Sand it smooth and paint to match the door. This restores the door’s appearance and prepares it for new hardware.
Can I Fill A Deadbolt Hole Without Replacing The Door?
Yes, filling a deadbolt hole can avoid door replacement. Use wood filler or a dowel plug for wooden doors. For metal doors, use metal filler or welding. This is a cost-effective way to repair the door and maintain security.
What Materials Work Best To Fill Deadbolt Holes?
Wood filler or epoxy works best for wooden doors. For metal doors, use metal filler or welding rods. Choose materials that bond well and match the door’s texture. Proper drying and sanding ensure a smooth, durable finish.
How Long Does It Take To Fill And Repair A Deadbolt Hole?
Filling a deadbolt hole usually takes 1-2 hours including drying time. Wood fillers dry in about 30-60 minutes, epoxy may take longer. Sanding and painting add extra time. Quick repairs restore door function and appearance efficiently.
Conclusion
Filling a deadbolt hole in a door is a simple task anyone can do. Choose the right materials and follow clear steps. Take your time to ensure a smooth finish. A well-filled hole keeps your door strong and looking good.
This small fix can save money and effort later. Try it yourself and see the difference it makes.