If you’ve ever needed to lift your car or heavy equipment safely, you know how important a floor jack is. But what if you just bought one and it arrived in parts?
Putting a floor jack together might seem tricky, but with the right steps, you can have it ready to use in no time. In this guide, you’ll learn exactly how to assemble your floor jack quickly and safely. By the end, you’ll feel confident handling your jack like a pro, saving you time and avoiding costly mistakes.
Ready to get started? Let’s dive in!
Tools And Materials Needed
Gathering the right tools and materials makes assembling a floor jack easier. You need to prepare before starting. This ensures a smooth and safe build process.
Having everything at hand saves time and reduces frustration. It also helps prevent mistakes during assembly.
Basic Tools Required
Start with common hand tools. A wrench set is essential for tightening bolts and nuts. A screwdriver helps secure small screws. Pliers assist with gripping and bending parts if needed. A hammer may be useful for light taps during assembly.
Floor Jack Parts
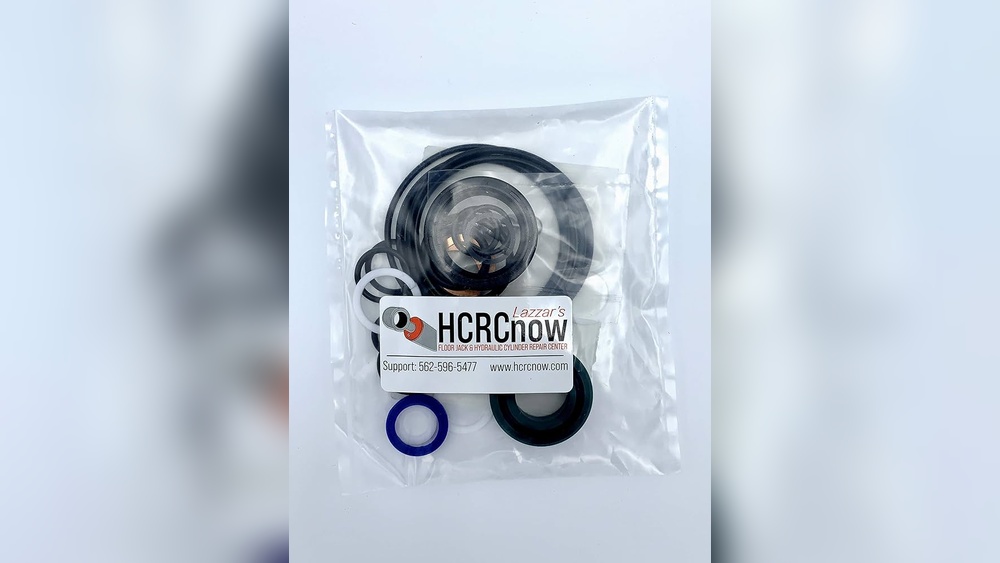
You need all components included in the kit. These usually include the jack frame, lifting arm, hydraulic cylinder, wheels, and handle. Check each part carefully for any damage before starting.
Safety Equipment
Wear safety gloves to protect your hands. Safety glasses shield your eyes from dust or debris. Work in a clean, well-lit area to avoid accidents. Keep a fire extinguisher nearby as a precaution.
Lubricants And Cleaning Supplies
Use grease or oil to lubricate moving parts. This helps the jack work smoothly. Have a cloth or rag ready to wipe away dirt and excess grease. Clean parts prevent damage and improve function.
Identify Floor Jack Parts
Identifying the parts of a floor jack is the first step in putting it together. Knowing each part helps you assemble it correctly and use it safely. This section breaks down the main components of a floor jack. You will learn what each part does and where it fits.
Base Frame
The base frame is the bottom part of the jack. It supports the entire structure. This part must be strong and stable to hold heavy weights.
Wheels
Wheels allow the jack to move easily. Most floor jacks have two fixed wheels and two swivel wheels. They help you position the jack under a vehicle.
Lifting Arm
The lifting arm raises and lowers the saddle. It moves up when you pump the handle. This part carries the weight of the vehicle during lifting.
Saddle
The saddle is the round platform that touches the vehicle. It holds the car’s weight. Make sure it fits well under the lifting point.
Handle
The handle pumps the hydraulic system. You push or pull it to lift the arm. Some handles also release pressure to lower the jack.
Hydraulic Cylinder
The hydraulic cylinder powers the lifting action. It uses fluid pressure to raise the arm. This part is key for smooth and strong lifting.
Release Valve
The release valve controls the lowering of the jack. Turn it slowly to lower the vehicle safely. It prevents sudden drops.
Prepare The Assembly Area
Clear a flat, clean space to work on the floor jack assembly. Gather all parts and tools nearby for easy access. Ensure good lighting to see small pieces clearly.
Choose A Clean, Flat Surface
Start by picking a clean, flat surface to work on. This helps keep all parts stable. Avoid uneven or slippery floors. A flat surface stops the jack parts from rolling or tipping over. It makes assembly easier and safer.
Gather All Necessary Tools
Collect all tools needed for assembly before starting. Common tools include wrenches, screwdrivers, and pliers. Having everything close saves time. It prevents interruptions during assembly. Double-check the floor jack manual for tool requirements.
Ensure Adequate Lighting
Good lighting is important for clear visibility. Choose a well-lit area or use extra lamps. Bright light helps spot small parts. It reduces errors and speeds up assembly. Avoid dim or shadowy spaces.
Clear The Area Of Clutter
Remove any clutter or obstacles from the assembly spot. A tidy space lets you move freely. It prevents losing small parts. Clear surroundings also lower the chance of accidents. Keep the area organized and simple.
Protect The Floor Surface
Place a mat or cardboard under the work area. This protects the floor from scratches or oil spills. It also cushions parts during assembly. A protected surface keeps the space clean and damage-free.

Credit: www.surftherapy.es
Attach The Handle
Attaching the handle is a key step in assembling your floor jack. The handle helps you pump and lift heavy objects with ease. A properly attached handle ensures smooth operation and safety.
Follow these simple steps to fix the handle securely. This makes your floor jack ready for work quickly and without hassle.
Locate The Handle Socket
Find the socket on the floor jack where the handle fits. It is usually near the base or side of the jack. The socket holds the handle firmly in place during use.
Insert The Handle Carefully
Slide the handle into the socket gently. Push it in until it stops or clicks. Do not force it, or the parts may get damaged.
Secure The Handle With A Pin Or Bolt
Most floor jacks use a pin or bolt to lock the handle. Insert the pin through the aligned holes on the handle and socket. Tighten the bolt if your model has one.
Test The Handle Movement
Move the handle up and down slowly. Make sure it moves smoothly and stays firm. If it feels loose, check the pin or bolt again and tighten it.
Install The Hydraulic Cylinder
Installing the hydraulic cylinder is a key step in assembling a floor jack. This part helps lift heavy loads by using hydraulic pressure. Correct installation ensures smooth operation and safety.
Follow each step carefully. The cylinder must fit well with other parts. Tight connections stop leaks and keep the jack strong.
Prepare The Hydraulic Cylinder For Installation
Start by cleaning the cylinder and its mounting area. Remove dust and oil to ensure a tight fit. Check the cylinder for any damage or leaks. Use a cloth to wipe all surfaces dry.
Attach The Cylinder To The Base Frame
Place the cylinder into the base frame carefully. Align the holes in the cylinder with the frame. Insert bolts through the holes. Tighten the bolts with a wrench until secure, but avoid over-tightening.
Connect The Hydraulic Hose To The Cylinder
Locate the hydraulic hose and fitting on the cylinder. Screw the hose fitting into the cylinder port by hand first. Then tighten it with a wrench for a firm seal. Avoid cross-threading to prevent damage.
Test The Cylinder Installation
Pump the handle slowly to check cylinder movement. The jack should lift smoothly without any noise. Look for fluid leaks around the hose and cylinder. Fix any issues before full use.

Credit: www.walmart.com
Secure The Base And Wheels
Securing the base and wheels is a key step in assembling a floor jack. This ensures the jack stays stable and moves smoothly. Without a firm base and properly attached wheels, the jack can tip or get stuck.
Focus on making the base strong. Check that all bolts and screws fit tightly. This creates a solid foundation that supports heavy loads safely.
Attach The Base Frame Correctly
Place the base frame on a flat surface. Align the holes on the frame with the holes on the main body. Use the correct bolts and tighten them firmly. This prevents wobbling and keeps the jack steady.
Secure The Wheels Firmly
Insert the wheel axles into the base frame slots. Push the wheels all the way in. Use washers and nuts to lock the wheels in place. Tighten the nuts but allow the wheels to spin freely.
Test Wheel Movement And Stability
Roll the jack on a smooth floor. The wheels should move easily without any grinding noise. Press down gently on the base. Check for any wobble or loose parts. Fix any issues before using the jack.
Connect The Pump Mechanism
Connecting the pump mechanism is a key step in assembling your floor jack. This part allows the jack to lift heavy objects safely. Proper connection ensures smooth operation and prevents leaks or malfunctions.
Follow the instructions carefully. Take your time to align each part correctly. The pump mechanism includes the handle, cylinder, and release valve. Each piece must fit perfectly for the jack to work well.
Attach The Pump Cylinder To The Base
Start by placing the pump cylinder onto the base of the floor jack. Check for any dirt or debris and clean the surfaces. Align the holes on the cylinder and base. Insert the bolts and tighten them securely. This step ensures the pump stays stable during use.
Connect The Handle To The Pump
Locate the handle and the pump arm. Slide the handle into the pump arm socket. Make sure it fits snugly. Secure the handle with the provided pin or bolt. Test the handle movement to check for smooth pumping action.
Install The Release Valve
The release valve controls pressure inside the jack. Screw the valve into its designated spot on the pump. Use a wrench to tighten it firmly but avoid over-tightening. Check that the valve turns smoothly to release pressure easily.
Check For Proper Alignment And Operation
After assembling, test the pump mechanism. Pump the handle several times to build pressure. Listen for any unusual sounds or leaks. The jack should lift smoothly and hold pressure. Adjust any loose parts before use.
Fill Hydraulic Fluid
Start by opening the hydraulic fluid reservoir carefully. Pour the fluid slowly to avoid spills and ensure proper jack operation. Check the fluid level before sealing the reservoir.
Check The Hydraulic Fluid Level
Start by locating the fluid reservoir on your floor jack. It usually has a small cap or plug. Remove this cap carefully to avoid dirt entering the system. Look inside to see the current fluid level. The fluid should be near the top but not overflowing. Low fluid means the jack won’t lift properly.
Choose The Right Hydraulic Fluid
Select the hydraulic fluid recommended in your floor jack’s manual. Using the wrong fluid can damage the pump and seals. Most jacks need a specific type of hydraulic oil, not motor oil or brake fluid. Pouring the correct fluid helps the jack work smoothly and last longer.
Pour Fluid Slowly And Safely
Use a clean funnel to pour the fluid into the reservoir. Pour slowly to avoid spilling or air bubbles. Air in the fluid can cause the jack to lose pressure. Fill until the fluid reaches just below the fill hole. Do not overfill, as this can cause leaks or damage.
Replace The Cap And Test The Jack
Once filled, securely replace the reservoir cap. Pump the jack handle a few times to spread the fluid inside. Check for smooth lifting and no unusual noises. If the jack still feels weak, check the fluid level again. Repeat the process if needed to ensure full functionality.
Test The Floor Jack
Testing the floor jack is a key step after assembly. It ensures the jack works safely and properly. Skipping this step can lead to accidents or damage. Testing helps find any issues early. It confirms the jack lifts and holds weight as expected.
Check For Leaks And Loose Parts
Start by examining the jack for leaks. Look around the hydraulic cylinder and seals. Tighten any loose bolts or screws. Leaks can cause the jack to lose pressure. Loose parts may affect stability and safety.
Test The Lifting Mechanism
Place the jack under a small, stable object. Pump the handle slowly to lift the load. Watch the jack’s movement. It should lift smoothly without strange noises. Stop if you hear grinding or feel resistance.
Verify The Holding Capacity
Once lifted, check if the jack holds the object steadily. The object should not drop or shake. Hold the load for a few minutes. This confirms the hydraulic system maintains pressure.
Lower The Jack Safely
Release the pressure valve slowly. The object should lower gently and steadily. Avoid sudden drops to prevent damage. If it drops fast, the jack needs repair.
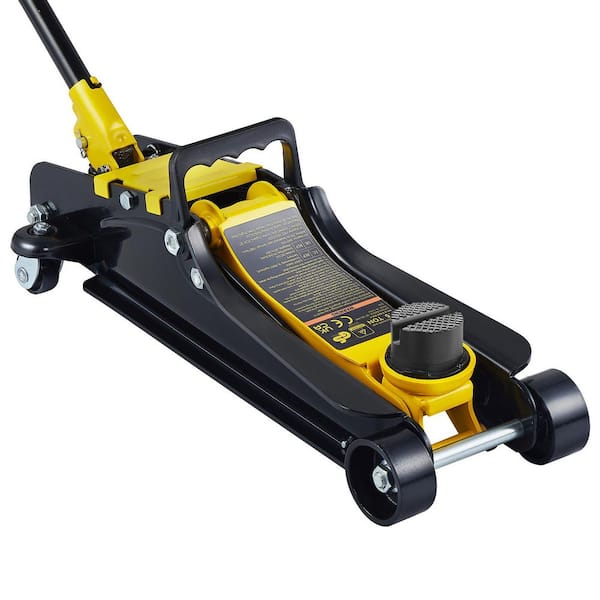
Credit: www.homedepot.com
Safety Checks And Maintenance Tips
Keeping your floor jack safe and in good shape is key. Safety checks and regular maintenance stop accidents and extend the jack’s life. Small steps can protect you and your tools.
Check the jack before every use. Look for damage or leaks. Clean it to remove dirt and grease. Use the right oil and parts for repairs. These habits keep the jack working well.
Inspecting For Leaks And Damage
Look closely at the jack’s body and seals. Oil leaks can cause the jack to fail. Cracks or bends make the jack unsafe. Replace broken parts before use. Never use a damaged jack.
Cleaning The Floor Jack
Wipe the jack with a clean cloth. Remove dust, dirt, and grease. Keep the lifting arm and wheels free. Clean tools last longer and work better. Avoid water near hydraulic parts.
Lubricating Moving Parts
Apply oil to the wheels, hinges, and pump. This reduces friction and wear. Use recommended lubricants only. Too much oil can attract dirt. Lubricate after every few uses.
Checking Hydraulic Fluid Levels
Open the fluid reservoir carefully. Use the correct hydraulic fluid. Low fluid makes the jack weak. Top off fluid if below the minimum mark. Do not overfill the tank.
Testing The Jack’s Lifting And Lowering
Test the jack without load first. Lift slowly and watch for smooth movement. Lower the jack slowly too. Listen for strange sounds or jerks. Stop using if the jack acts wrong.
Frequently Asked Questions
How Do I Assemble A Floor Jack Safely?
Start by reading the manual carefully. Lay out all parts and tools. Follow step-by-step instructions and tighten bolts securely. Test the jack before use to ensure safety and proper function.
What Tools Are Needed To Put A Floor Jack Together?
Typically, you need wrenches, screwdrivers, and pliers. Some models may require specific tools included in the package. Check the manual for exact tool requirements to avoid delays.
How Long Does It Take To Assemble A Floor Jack?
Assembly usually takes 15 to 30 minutes. Time varies by model complexity and your experience. Taking time ensures correct assembly and safe operation.
Can I Assemble A Floor Jack Without Experience?
Yes, most floor jacks come with clear instructions. Beginners should follow the manual carefully. Watching tutorial videos can help build confidence and ensure proper assembly.
Conclusion
Putting a floor jack together is easier than it seems. Follow each step slowly and carefully. Check all parts fit well and move smoothly. Test the jack before using it on a car. Keep it clean and store it safely after use.
This tool helps lift heavy loads with less effort. Practice a few times to feel confident. Safety always comes first when working with heavy tools. You can handle this task with patience and care. Simple tools and clear steps make the job smooth.