Looking for a simple way to organize your space and keep things off the floor? Installing J hooks on your wall might be exactly what you need.
Whether it’s for hanging tools, cables, or decorations, J hooks provide a sturdy and versatile solution. In this guide, you’ll learn easy, step-by-step instructions to install J hooks quickly and securely—even if you’ve never done it before. Keep reading, and by the end, you’ll have the skills to transform your wall into a neat, clutter-free zone.

Credit: www.thepoolfactory.com
Tools And Materials Needed
Installing J hooks on a wall needs the right tools and materials. These help make the job easy and safe. Knowing what you need saves time and avoids mistakes.
Types Of J Hooks
J hooks come in different sizes and materials. Choose plastic J hooks for light cables. Metal J hooks work well for heavy wires or pipes. Pick the size based on the cable thickness.
Essential Tools
You need a drill to make holes in the wall. A screwdriver helps fix the hooks in place. A measuring tape ensures even spacing between hooks. A pencil marks the spots for drilling. A level keeps the hooks straight on the wall.
Safety Gear
Wear safety glasses to protect your eyes from dust. Gloves keep your hands safe from sharp tools. A mask can stop you from breathing dust while drilling. Use earplugs if the drill noise is loud.
Credit: www.homedepot.com
Choosing The Right Location
Choosing the right location for J hooks is essential for a strong and safe installation. A good spot supports the weight and keeps cables neat. Take time to find a place that fits your needs and wall type.
Wall Material Considerations
Check the wall material before installation. Drywall, concrete, and wood each need different anchors or screws. Use anchors for drywall to prevent hooks from falling. For concrete, drill holes and use masonry screws. Wood allows direct screwing into studs for strong support.
Measuring And Marking
Measure the space where you want to install the J hooks. Mark spots clearly using a pencil. Keep equal distances between hooks for a tidy look. Use a level tool to keep marks straight. Accurate marks make installation easier and safer.
Avoiding Obstacles
Look for pipes, wires, or studs inside the wall before drilling. Avoid these to prevent damage or electric shock. Use a stud finder or wire detector to locate hidden obstacles. Choose a spot clear of any blockages for safe drilling and strong holding.
Preparing The Wall
Preparing the wall is the first step to install J hooks securely. A clean, well-marked surface makes the job easier and safer. It also helps the hooks hold strong over time. Follow these steps to get your wall ready.
Cleaning The Surface
Start by wiping the wall with a damp cloth. Remove dust, dirt, and grease spots. Dry the surface with a clean towel. A clean wall helps the J hooks stick better. It also prevents damage to the paint or drywall.
Locating Studs
Use a stud finder to locate the wall studs. Move the tool slowly across the wall. Mark the edges of each stud with a pencil. Installing J hooks on studs gives extra support. Avoid hanging heavy items on drywall alone.
Drilling Pilot Holes
Choose a drill bit smaller than the hook screws. Drill pilot holes into the marked stud spots. This makes screwing easier and prevents the wall from cracking. Keep the drill straight to avoid angled holes. Pilot holes ensure a secure, long-lasting hold.
Installing The J Hooks
Installing J hooks on your wall is a simple task that adds convenience and organization. This process keeps cables, tools, or other items neatly arranged. Follow clear steps to ensure the hooks stay secure and support the weight you need.
Securing Hooks To Drywall
Start by marking the spot on the drywall where you want the hook. Use a pencil to make a small mark. Next, drill a pilot hole slightly smaller than the hook’s screw. Gently screw the J hook into the hole. Tighten until snug but avoid overtightening. This prevents damage to the drywall.
Attaching Hooks To Wooden Studs
Find the wooden stud behind the drywall with a stud finder. Mark the stud location on the wall. Drill a pilot hole into the stud at the marked spot. Screw the J hook directly into the stud. The wood will hold the hook firmly. This method supports heavier items safely.
Using Anchors For Hollow Walls
Choose wall anchors designed for hollow walls. Drill a hole according to the anchor size. Insert the anchor fully into the hole. Tap gently with a hammer if needed. Screw the J hook into the anchor until secure. Anchors prevent the hook from pulling out of the wall.
Testing And Adjusting
After installing J hooks on the wall, testing and adjusting them is important. This step ensures the hooks are strong and in the right place. It helps avoid damage to your wall or items falling. Take your time to check each hook carefully.
Ensuring Hook Stability
Press on the hook gently to check its hold. It should not move or wiggle. Test by hanging a light item first. If the hook feels loose, tighten the screws. A stable hook keeps your items safe and secure.
Adjusting Hook Position
Look at the hook height and spacing. Move the hook slightly if it feels too high or low. Make sure hooks line up evenly on the wall. Proper placement makes hanging items easier and looks neat.
Weight Capacity Tips
Know the weight limit of your J hooks. Do not hang items heavier than the limit. Spread heavy items across multiple hooks for better support. This prevents damage to the wall and keeps your items safe.
Maintenance And Safety Tips
Proper maintenance and safety are key to keeping J hooks strong and reliable. Regular care helps prevent accidents and extends the life of your hooks. Follow simple steps to keep your J hooks safe and functional.
Regular Inspections
Check your J hooks often for any signs of damage. Look for bends, rust, or loose screws. Inspect the wall around the hooks for cracks or weakness. Catching problems early stops bigger issues later. Use a flashlight to see hidden areas clearly.
Cleaning And Care
Clean J hooks with a soft cloth and mild soap. Avoid harsh chemicals that can weaken the metal. Dry hooks fully to stop rust from forming. Clean the wall area too, to keep the surface strong. Regular cleaning keeps hooks looking new and working well.
Preventing Damage
Do not overload J hooks beyond their weight limit. Spread heavy items across several hooks if needed. Avoid sharp impacts or dropping heavy things on the hooks. Use hooks only for their intended purpose. Proper use protects hooks and the wall from damage.

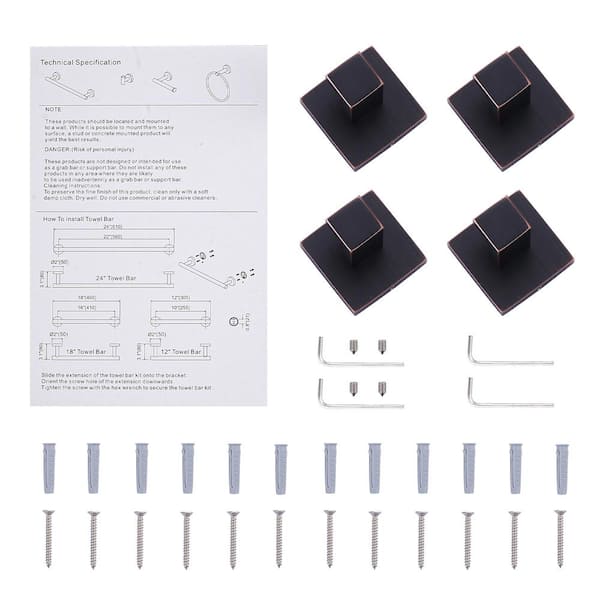
Credit: www.invidiavoices.co.uk
Frequently Asked Questions
What Tools Are Needed To Install J Hooks On A Wall?
You need a drill, screws, anchors, a screwdriver, a pencil, and a level. These tools ensure secure and straight installation of J hooks.
How Do I Find The Right Height For J Hook Placement?
Measure the height based on what you’ll hang. Mark the wall with a pencil. Use a level for accuracy.
Can J Hooks Support Heavy Cables Or Wires?
Yes, J hooks are designed to hold various cable weights. Choose hooks rated for your cable size and weight.
How Do I Install J Hooks On Drywall Safely?
Use wall anchors or toggle bolts for drywall. Drill pilot holes, insert anchors, then screw in J hooks securely.
Conclusion
Installing J hooks on your wall is simple and quick. Use the right tools and follow safety steps. Measure carefully to place hooks where needed. Secure them well for strong support. This helps keep cables and items neat. A tidy space feels calm and organized.
Try this easy method to improve your home or office. Small changes make a big difference.