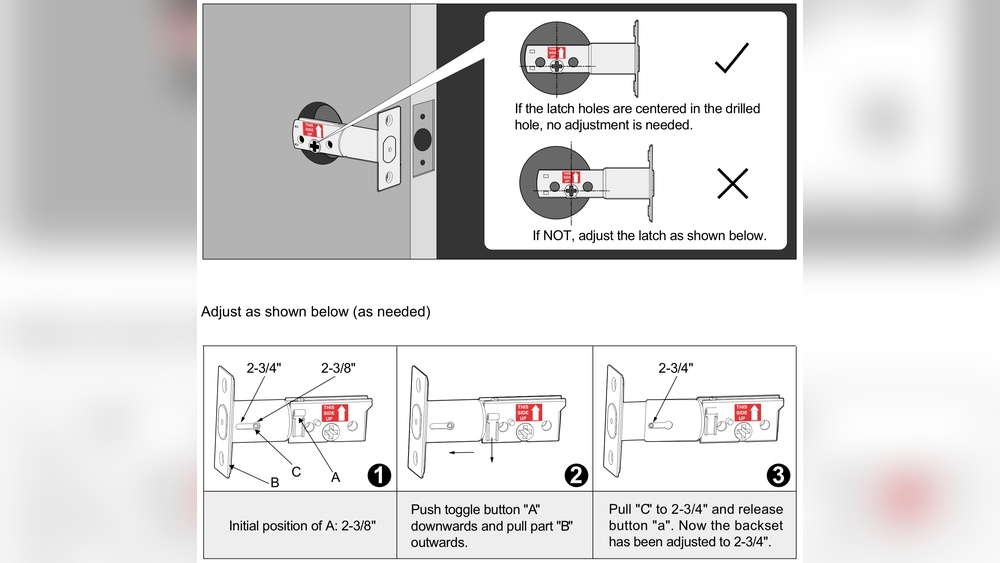
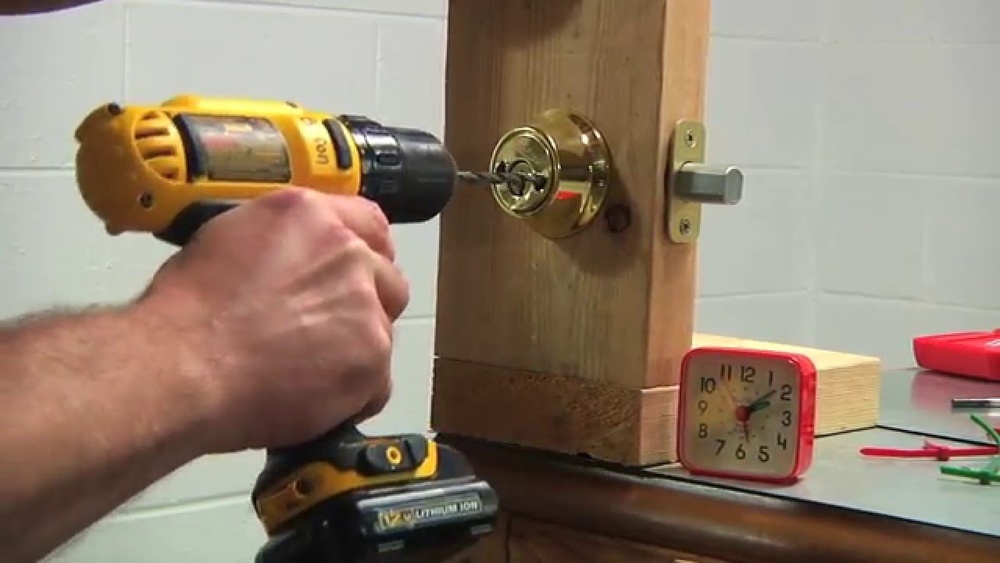
Are you struggling with a Medeco deadbolt lock that won’t come off? Removing this high-security lock might seem tricky, but you’re closer to unlocking the secret than you think.
Imagine saving time, avoiding costly locksmith fees, and gaining the confidence to handle your own lock repairs. In this guide, you’ll discover simple, step-by-step instructions that anyone can follow. By the end, you’ll know exactly how to remove your Medeco deadbolt lock safely and efficiently.
Keep reading—your door’s freedom is just a few steps away.
Tools Needed
Removing a Medeco deadbolt lock needs specific tools. Having the right tools makes the job easier and safer. Prepare everything before starting to save time and avoid frustration.
Phillips Screwdriver
A Phillips screwdriver is essential for removing screws from the lock. Medeco locks usually have Phillips head screws. A medium-sized screwdriver fits most screws well.
Flathead Screwdriver
A flathead screwdriver helps to pry off the lock parts carefully. It can also assist in removing trim plates. Use it gently to avoid damage to the door or lock.
Allen Wrench Set
Some Medeco deadbolts use Allen screws. Keep a set of Allen wrenches ready in different sizes. This tool helps loosen or tighten these special screws.
Lock Cylinder Removal Tool
This tool is useful for pulling out the lock cylinder easily. Not all deadbolts need it, but having one can save effort. It fits around the cylinder and pulls it straight out.
Flashlight
A flashlight helps you see small screws and inner parts clearly. It is useful in low light or dark areas. Bright light reduces mistakes and speeds up the process.
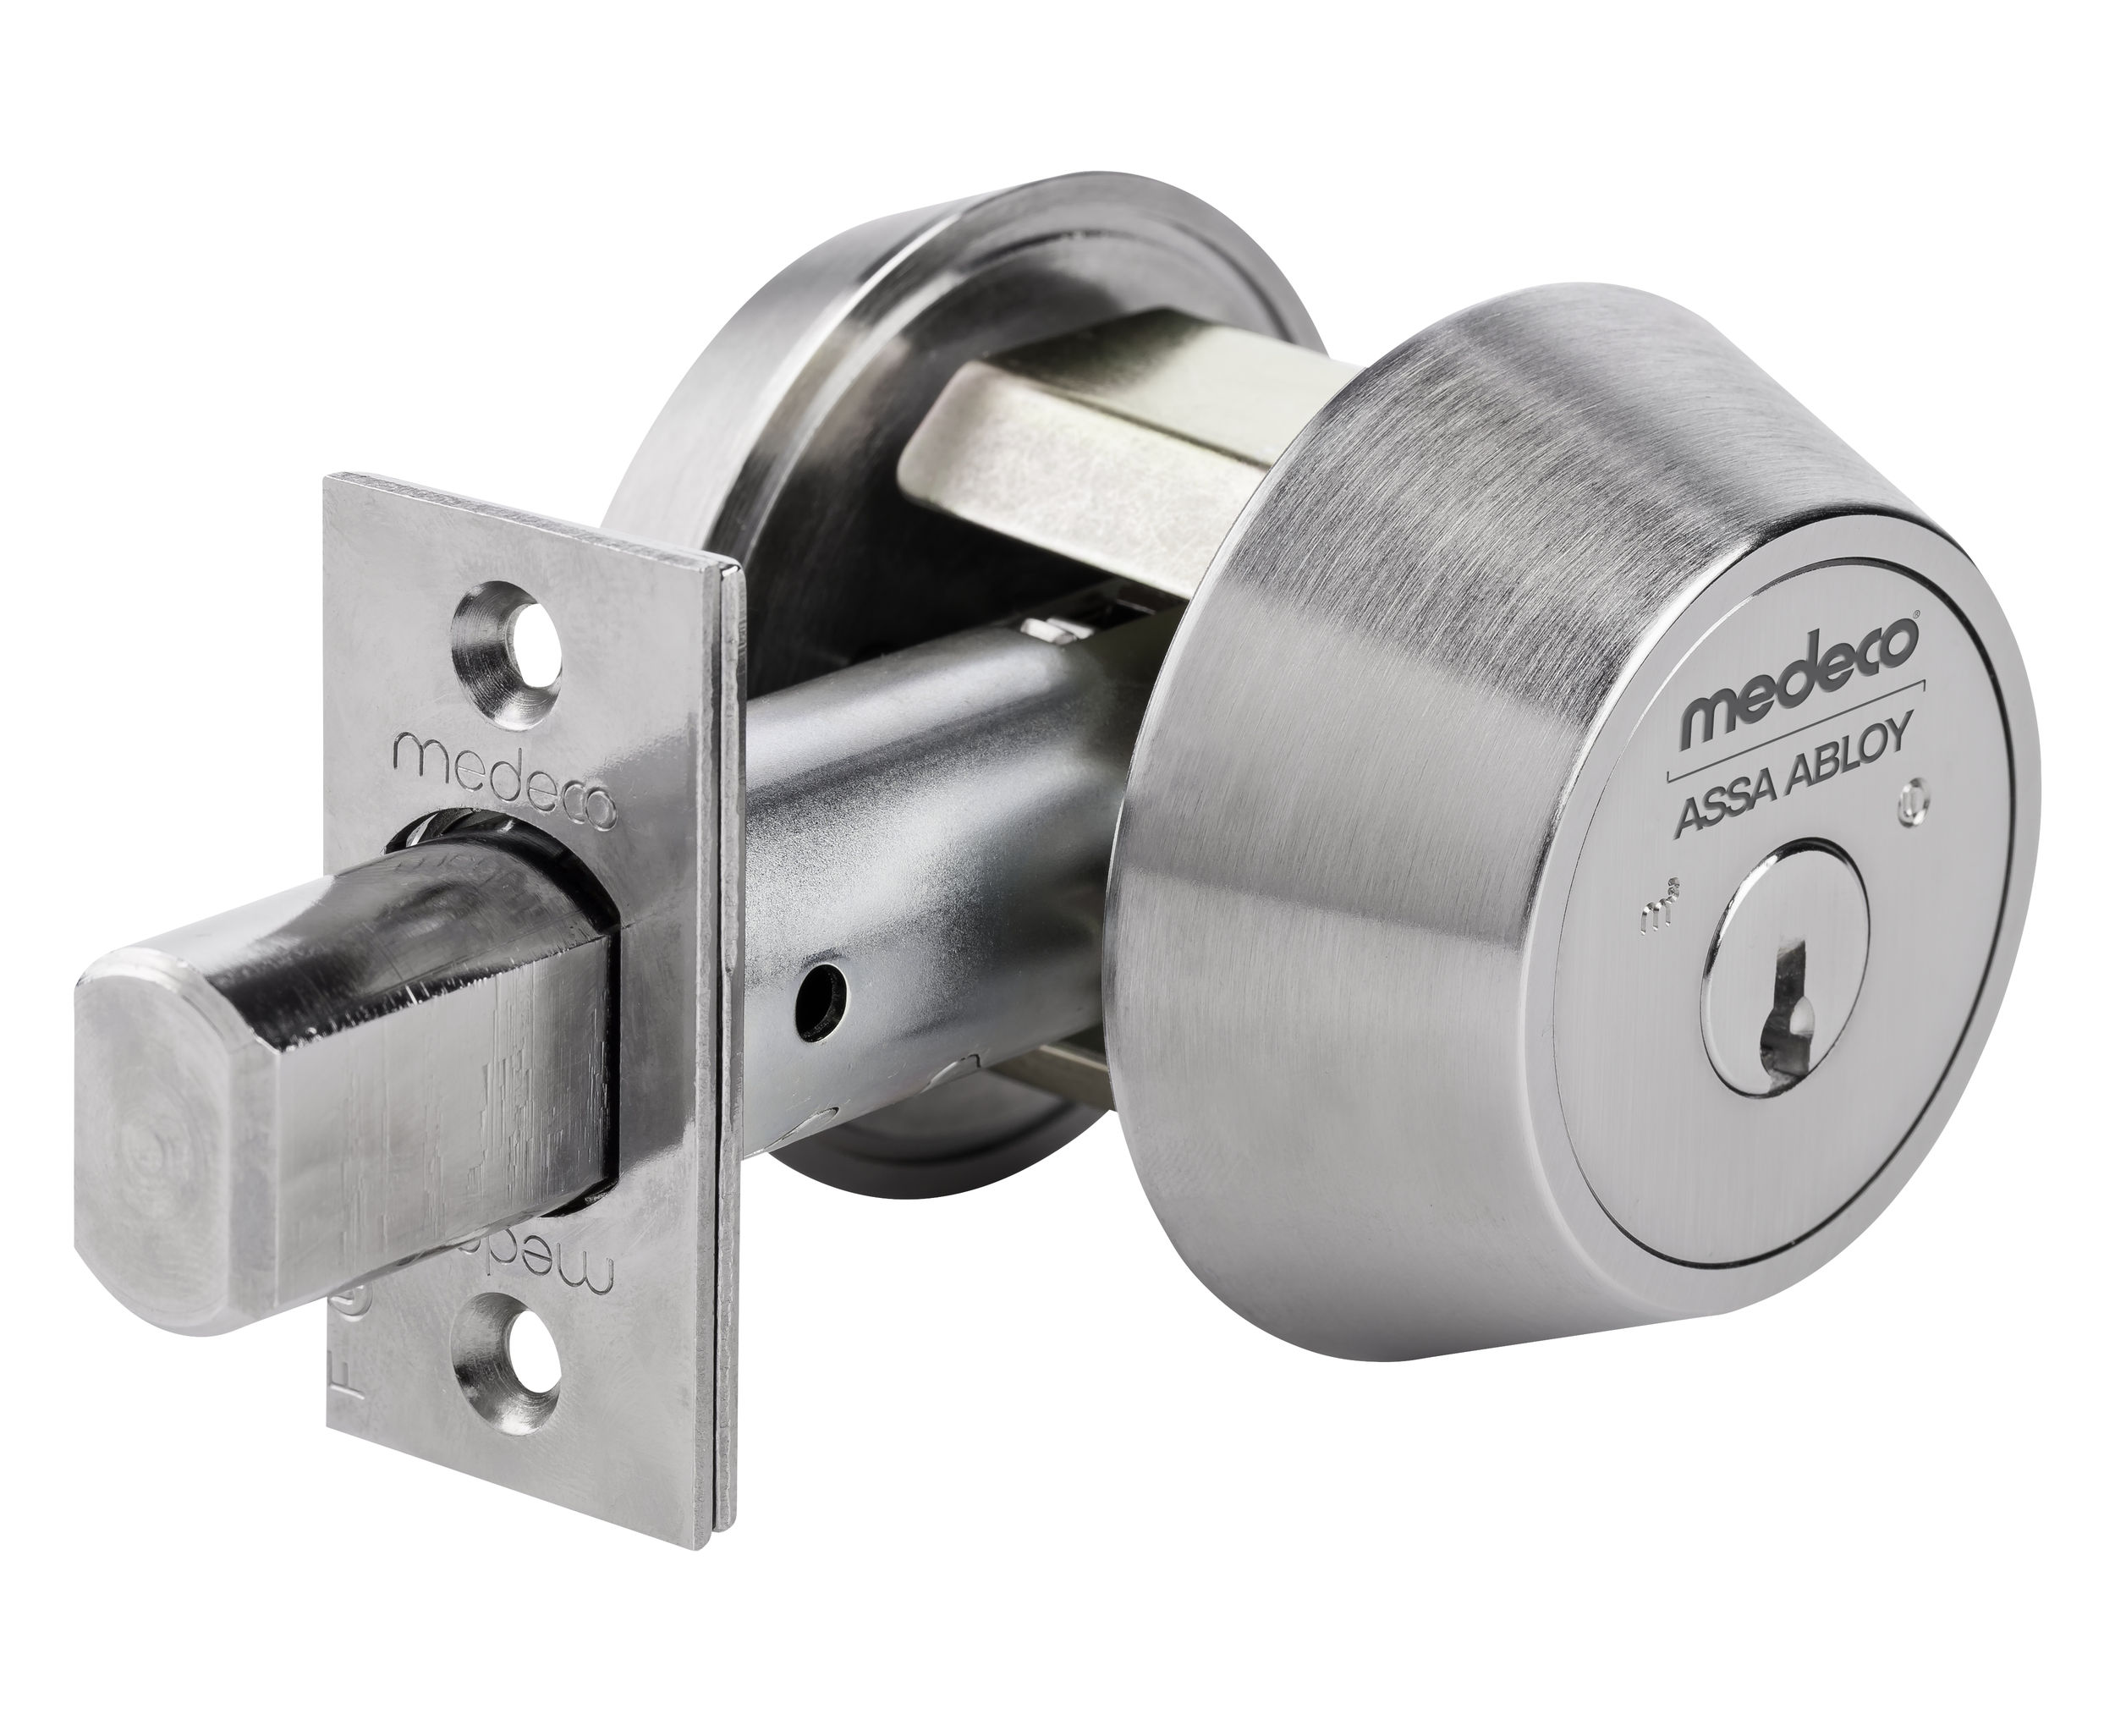
Credit: www.medeco.com
Locate The Lock Components
Before removing a Medeco deadbolt lock, knowing its parts helps a lot. The lock has two main sides and several screws holding it together. Finding these parts makes the removal easier and safer. This section explains how to locate the lock components step by step.
Identify The Interior And Exterior Sides
The deadbolt lock has two sides: interior and exterior. The interior side faces inside your home. It usually has a thumb turn to lock or unlock the door from inside. The exterior side faces outside your home. It has a keyhole for unlocking the door with a key.
Knowing which side is which helps you find the right screws to remove. The interior side often looks simpler and has fewer parts. The exterior side looks more complex with the keyhole visible.
Find The Screw Positions
Look carefully around the lock on both sides. Screws usually hold the lock parts together through the door. Some screws appear on the interior side near the thumb turn. Others may be hidden under small covers or plates.
Use a screwdriver to remove any covers hiding screws. Mark where each screw is. This helps you keep track during removal. Screws on the exterior side are fewer but may be harder to access.
Knowing screw positions is the key to safely taking out the Medeco deadbolt lock. Take your time to spot all screws before starting.
Remove The Interior Cover
Start by removing the screws that hold the interior cover in place. Gently lift the cover away from the door to reveal the lock mechanism. This step is key to accessing the Medeco deadbolt components inside.
Gather Necessary Tools
Start by collecting a screwdriver, usually Phillips head. Check the screws on the interior cover for size. Having the right tool makes removal easier. Avoid using the wrong screwdriver to prevent damage.
Locate And Remove Screws
Find the screws holding the interior cover in place. They are often near the edges or under a small plate. Use the screwdriver to turn each screw counterclockwise. Keep the screws safe for reassembly.
Gently Pry Off The Interior Cover
After removing screws, gently pull the cover away from the door. Use your fingers or a plastic pry tool. Avoid metal tools to prevent scratches. The cover should come off with little force.
Inspect The Inside Mechanism
With the cover removed, look at the lock’s internal parts. Identify the mounting plate and connecting rods. This helps understand the next steps in lock removal. Note any unusual parts or damage.
Unscrew The Deadbolt Assembly
Unscrewing the deadbolt assembly is a key step in removing a Medeco deadbolt lock. This process frees the lock from the door, allowing safe removal. It requires basic tools and careful handling.
Start by locating the screws holding the deadbolt in place. These screws secure the lock on both sides of the door. Removing them carefully prevents damage to the door or lock parts.
Gather The Right Tools
Use a Phillips-head screwdriver for most Medeco deadbolt screws. Check the screw heads before starting. Having the right tool makes the process faster and easier.
Remove The Interior Faceplate Screws
Look inside the door on the lock’s side. Find two or three screws on the faceplate. Unscrew them slowly, keeping the screws safe for later use.
Detach The Exterior Lock Cylinder
Hold the exterior part of the lock firmly. Pull it gently while removing the screws. This step may require a slight wiggle to release the lock cylinder.
Extract The Deadbolt Mechanism
After removing screws and exterior parts, pull out the deadbolt. It slides out from the edge of the door. Keep it steady to avoid dropping or damaging it.
Extract The Cylinder
Extracting the cylinder is a key step in removing a Medeco deadbolt lock. The cylinder holds the lock pins and is the part where the key goes in. Removing it carefully avoids damage to the lock and door. This process requires patience and the right tools.
Prepare The Lock For Cylinder Removal
Start by removing the screws on the inside plate of the lock. These screws hold the cylinder in place. Use a screwdriver that fits well to avoid stripping the screws. Once the screws are out, gently pull off the inside plate.
Turn The Key Slightly To Align The Pins
Insert the key into the cylinder. Turn it slightly to the right or left. This movement aligns the lock pins inside the cylinder. Without this step, the cylinder will not slide out easily.
Use A Cylinder Removal Tool Or Screwdriver
Insert a thin tool or flathead screwdriver into the slot beside the cylinder. Push gently to release the cylinder from the lock housing. Do not force it; a smooth push works best.
Pull The Cylinder Out Carefully
Once the cylinder is loose, pull it straight out. Keep the key in the cylinder during removal. This helps keep the pins in place. Avoid twisting or bending the cylinder to prevent damage.
Remove The Deadbolt From The Door
Removing a Medeco deadbolt from a door requires care and the right steps. This guide breaks down the process into easy parts. Follow each step to remove the deadbolt safely and quickly.
Gather Necessary Tools
Prepare a screwdriver set, usually Phillips or flathead. You may also need an Allen wrench or hex key. Have a small container ready to hold screws.
Locate And Remove The Screws
Open the door to access the lock. Find the screws on the interior side of the lock. Use the screwdriver to remove all visible screws carefully. Keep the screws safe for later use.
Detach The Interior Plate
After removing screws, gently pull the interior plate off the door. This exposes the locking mechanism inside. Avoid forcing it to prevent damage.
Remove The Deadbolt Mechanism
Look inside the door edge for the deadbolt. Unscrew the screws holding the deadbolt in place. Pull the deadbolt straight out from the door edge.
Check For Hidden Fasteners
Some models have extra screws or clips. Inspect around the lock and door edge. Remove any remaining fasteners before attempting removal.
Clean The Door Edge
After removal, clean dust and debris from the door edge. This prepares the door for a new lock or repairs.
Troubleshooting Common Issues
Troubleshooting common problems can make removing a Medeco deadbolt easier. Some issues may slow you down or cause frustration. Knowing how to fix these problems saves time and effort. This section covers two frequent issues people face.
Stuck Screws
Screws may stick due to rust or tight fitting. Use a screwdriver that fits well to avoid stripping screws. Apply a small amount of lubricant to loosen rust. Let it sit for a few minutes before trying again. Tap the screwdriver gently with a hammer to help turn stuck screws. Avoid forcing screws as it may damage them or the lock.
Misaligned Components
Parts inside the lock can shift or misalign during removal. This causes difficulty in removing the deadbolt. Check for any parts that look out of place. Adjust them gently using pliers or a small tool. Keep parts steady to avoid further misalignment. Work slowly to prevent breaking any internal components.
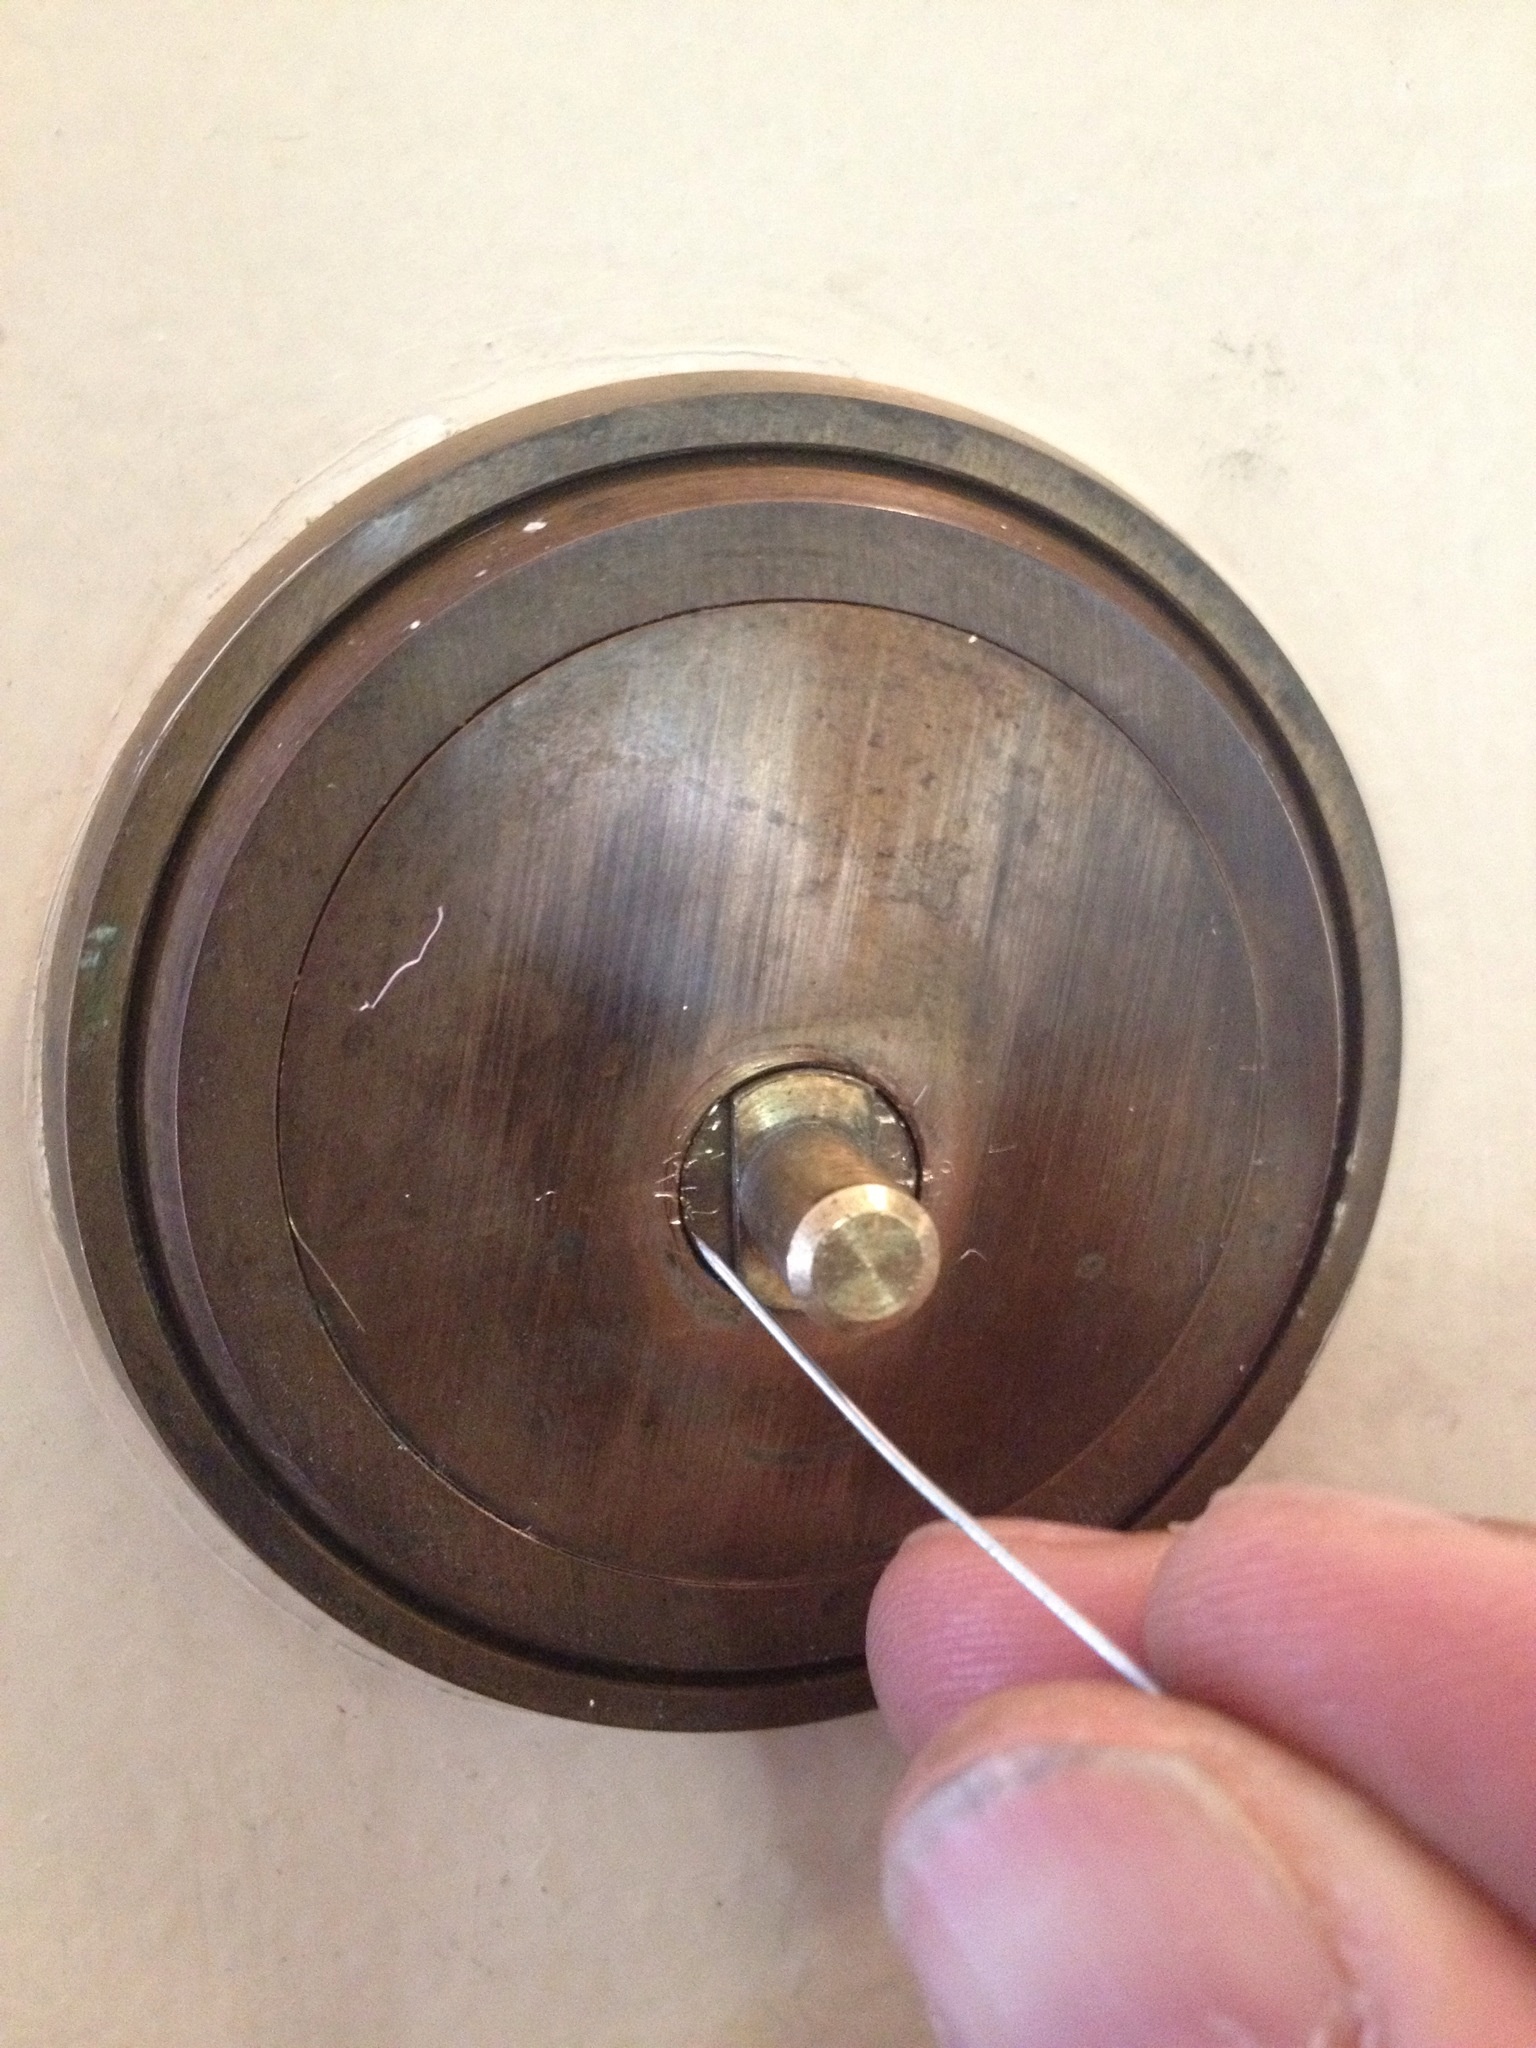
Credit: guides.brit.co
Tips For Replacing Or Upgrading
Replacing or upgrading a Medeco deadbolt lock needs care and planning. The right steps make the process smooth and safe. Choosing the right lock and tools is key. This section offers clear tips to help with the task.
Choose The Right Replacement Lock
Select a lock that fits your door and needs. Check the size and type before buying. Match the finish with your door hardware for a neat look. Consider features like key control and durability.
Gather Proper Tools Before Starting
Have all tools ready to avoid delays. Common tools include screwdrivers, a drill, and a tape measure. Use a flashlight for better visibility inside the lock. Keep a small container for screws to avoid losing them.
Follow Safety Precautions
Wear safety glasses to protect your eyes. Work in a well-lit area to see clearly. Keep fingers clear of sharp tools and moving parts. Take your time to avoid mistakes or injury.
Test The New Lock Before Full Installation
Check the new lock fits and works smoothly. Test the key operation outside the door first. Make sure the bolt extends and retracts easily. Adjust if the lock feels stiff or loose.
Keep Spare Keys Handy
Make extra keys before finishing the project. Store spares in a safe, accessible place. This saves time if you lose a key later. Consider giving a spare to a trusted person.

Credit: www.youtube.com
Frequently Asked Questions
How Do I Remove A Medeco Deadbolt Lock?
To remove a Medeco deadbolt lock, first, unscrew the interior mounting screws. Then, carefully pull off the interior and exterior lock components. Finally, remove the latch mechanism from the door edge.
What Tools Are Needed To Remove Medeco Deadbolt?
You need a Phillips screwdriver and a flathead screwdriver. A drill may be necessary if screws are stripped or painted over. Always have a flashlight handy for better visibility.
Can I Remove Medeco Deadbolt Without The Key?
Yes, but it’s challenging. You must remove the lock from the door first. Picking the lock is difficult due to high security. It’s best to contact a locksmith if you lack the key.
How Long Does It Take To Remove A Medeco Deadbolt?
Removing a Medeco deadbolt typically takes 10 to 20 minutes. Time depends on your experience and whether screws are stripped or painted. Proper tools speed up the process significantly.
Conclusion
Removing a Medeco deadbolt lock is simple with clear steps. Take your time and follow each part carefully. Use the right tools to avoid damage. Stay patient, and don’t rush the process. This guide helps you handle the job yourself.
Save money and gain confidence in home repairs. Keep this method handy for future lock changes. Safety and security start with knowing how to manage your locks. You can do this with practice and care.