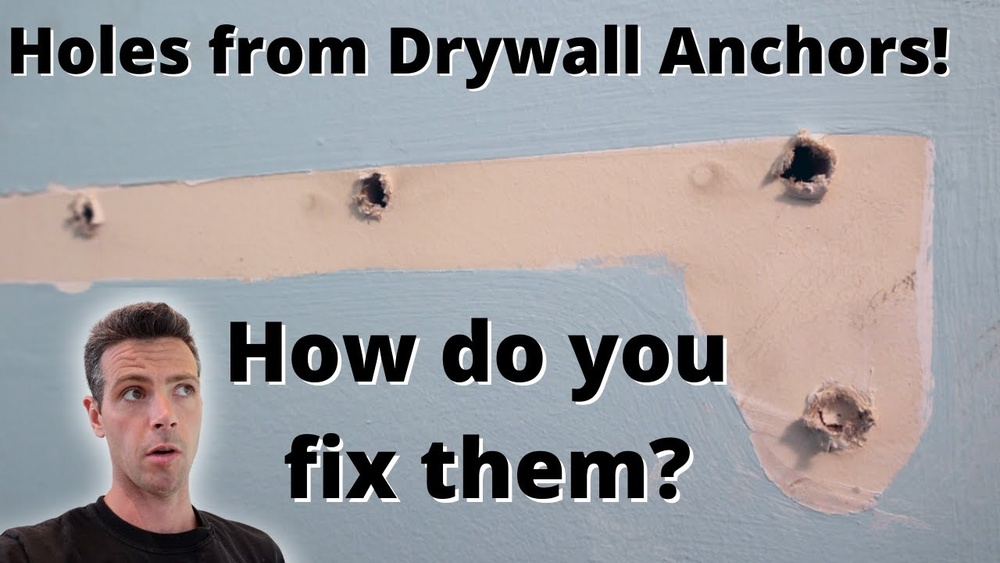
Have you ever removed a wall anchor and been left staring at an ugly hole in your wall? Those small holes might seem harmless, but they can make your walls look worn and unfinished.
The good news is, fixing them is easier than you think. In this guide, you’ll learn simple, step-by-step ways to repair wall anchor holes quickly and effectively. By the end, your walls will look smooth and flawless—like the hole was never there.
Ready to restore your space and boost your confidence in home repairs? Let’s get started!
Tools And Materials Needed
Repairing wall anchor holes requires the right tools and materials. Having these ready makes the process smooth and effective. This section covers what you need to fix those holes properly.
Essential Repair Supplies
Start with basic tools like a putty knife and sandpaper. A utility knife helps to clean the hole edges. You will also need a small container to mix filler if required. Have a damp cloth ready to wipe dust off the wall. Lastly, keep a paintbrush or roller for finishing touches.
Choosing The Right Filler
Selecting the correct filler is key for a strong repair. Spackling paste works well for small holes and cracks. For larger holes, use a joint compound or patching plaster. Some fillers dry quickly, while others take longer. Check the product label to match your wall type and hole size. Good filler ensures a smooth, lasting finish.
Preparing The Wall Surface
Preparing the wall surface is the first step in repairing wall anchor holes. It ensures the repair material sticks well and lasts long. A clean and smooth surface helps avoid cracks and peeling later.
Taking time to prepare the area makes the repair stronger. It also makes the wall look neat after fixing.
Cleaning The Hole Area
Start by wiping the hole area with a dry cloth. This removes dust on the surface. Use a small brush to clean inside the hole. Clean walls help the filler stick better. Avoid using water as it can weaken the wall.
Removing Loose Debris
Check for any loose pieces around the hole. Gently scrape off any flaking paint or plaster. Use a putty knife or a similar tool. Remove all debris to create a solid base. Loose bits can cause the repair to fail.
Filling The Anchor Hole
Filling the anchor hole is a key step in fixing wall damage. The right materials help hide the hole and prepare the wall for painting. Small holes need simple fixes, while larger holes require stronger patching. Choose the right method for a smooth, clean wall surface.
Applying Spackle Or Putty
Spackle or putty works well for small anchor holes. Use a putty knife to press the spackle into the hole. Smooth the surface by spreading the spackle evenly. Let it dry completely before sanding it flat. This method is quick and leaves a nearly invisible repair.
Using Patch Kits For Larger Holes
Patch kits are best for bigger holes from wall anchors. They include a mesh patch and joint compound. Place the mesh over the hole and press it flat. Spread the compound over the patch with a putty knife. Allow it to dry and then sand it smooth. Patch kits give extra strength and a clean finish.

Credit: diy.stackexchange.com
Smoothing And Sanding
Smoothing and sanding are key steps in fixing wall anchor holes. They help create a clean, flat surface ready for painting. Proper smoothing removes bumps and uneven spots. Sanding shapes the area to blend with the rest of the wall. This makes the repair invisible and neat.
Leveling The Surface
Start by applying a thin layer of spackle or wall filler. Use a putty knife to spread it evenly over the hole. Press firmly to fill all gaps. Scrape off extra filler to avoid lumps. Let it dry completely before moving on. Check for any raised areas and smooth them down.
Sanding For A Seamless Finish
Use fine-grit sandpaper for the best results. Sand gently in small circles around the patch. Focus on edges to blend the repair with the wall. Avoid sanding too hard to prevent damage. Wipe away dust with a damp cloth. Repeat sanding and wiping until the surface feels smooth. Your wall will look flawless and ready for paint.
Painting And Touch-up
Painting and touch-up are the final steps in fixing wall anchor holes. This step helps your wall look smooth and clean again. It hides any patches and blends them with the rest of the wall. Proper painting also protects the repaired area from damage and dirt.
Matching Wall Paint
Find paint that matches your wall color exactly. Check the paint can for the original color code. If you do not have it, take a small paint sample to a store. They can help you find the closest match. Test the paint on a small spot first. Let it dry and compare. Adjust if needed before painting the whole area.
Applying Primer And Paint
Start by applying a thin coat of primer to the patched hole. Primer helps paint stick well and prevents stains. Let the primer dry fully before painting. Use a small brush or roller for best results. Apply the matching paint in thin, even layers. Let each layer dry before adding the next. Repeat until the patch blends with the wall. Finish by smoothing the edges with light sanding if needed.

Credit: www.thriftydecorchick.com
Preventing Future Damage
Preventing future damage to walls after repairing anchor holes saves time and money. Small mistakes can cause big problems later. Using the right materials and methods helps keep walls strong and neat.
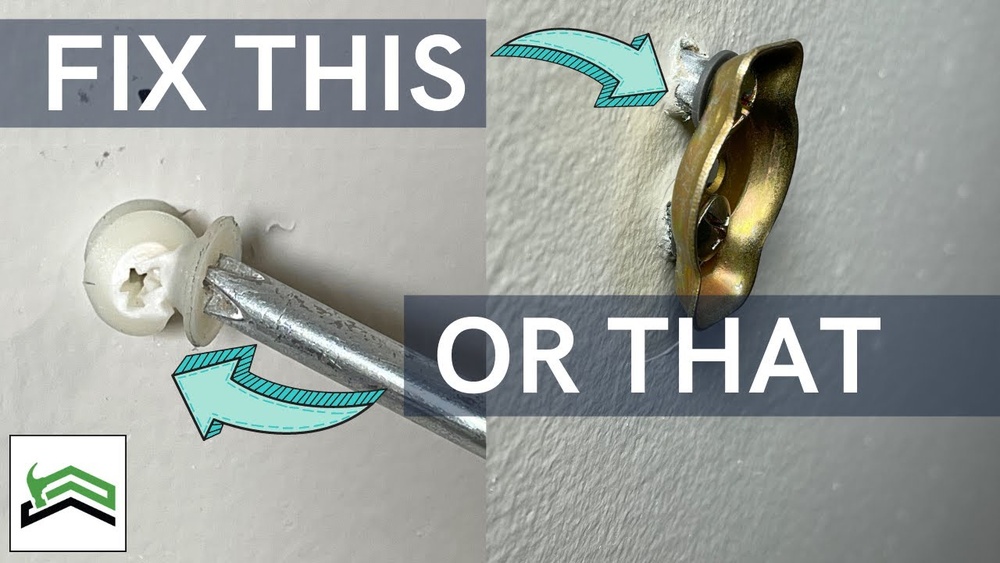
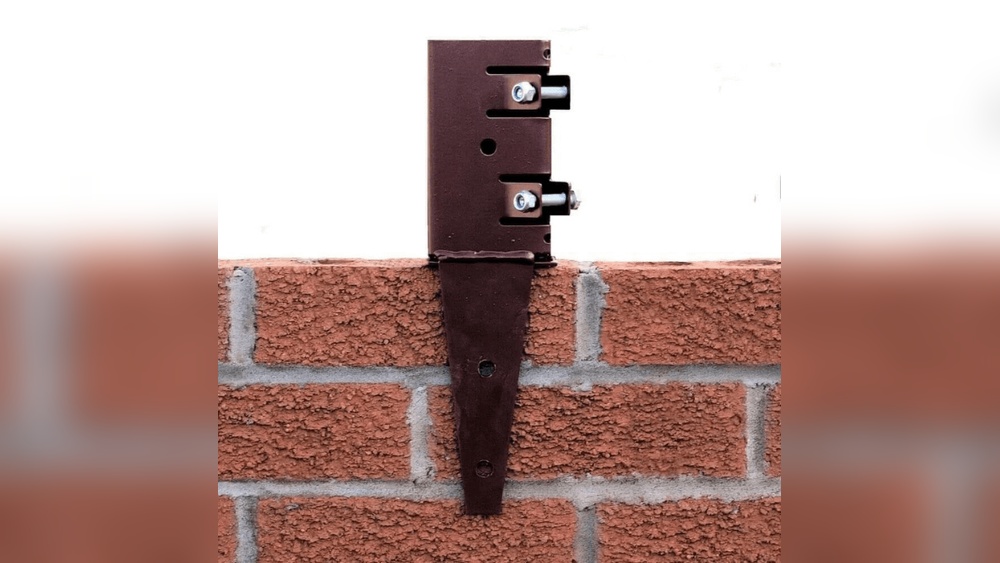
Choosing The Right Anchors
Select anchors based on wall type and weight needs. Drywall requires different anchors than brick or concrete. Use plastic anchors for light items and metal anchors for heavier loads. Pick anchors that fit the screw size perfectly. This ensures a secure hold and avoids wall damage.
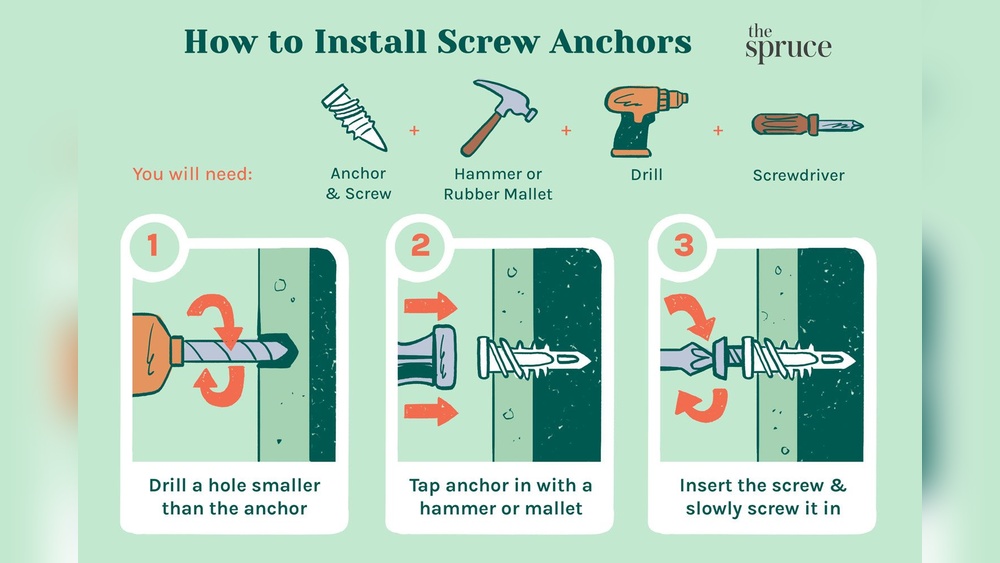
Proper Installation Techniques
Drill a hole that matches the anchor size exactly. Do not make the hole too big or small. Insert the anchor gently without forcing it. Tighten screws slowly to avoid cracking the wall. Check that the anchor feels firm and stable before hanging items.

Credit: www.youtube.com
Frequently Asked Questions
How Do I Fix Wall Anchor Holes Quickly?
Fill the hole with spackle or joint compound. Let it dry, then sand smooth. Finally, paint to match the wall.
Can I Reuse Wall Anchors After Repair?
No, it’s best to use new anchors. Old holes may weaken holding strength. New anchors ensure secure mounting.
What Materials Are Best For Repairing Anchor Holes?
Use spackle or lightweight joint compound. These materials dry fast and are easy to sand. They create a smooth, paint-ready surface.
How Long Does Wall Anchor Hole Repair Take?
Typically, drying takes 1-2 hours. Sanding and painting add 30-60 minutes. Total repair time is usually under 4 hours.
Conclusion
Repairing wall anchor holes is simple and saves money. Fill the holes with spackle or putty. Let it dry fully before sanding smooth. Paint over the patch to match the wall. Small fixes keep walls looking neat and fresh. A little effort makes a big difference.
Try these steps to fix holes quickly. Your walls will look clean and well-kept again. No need to worry about unsightly marks. Everyone can do this with basic tools.