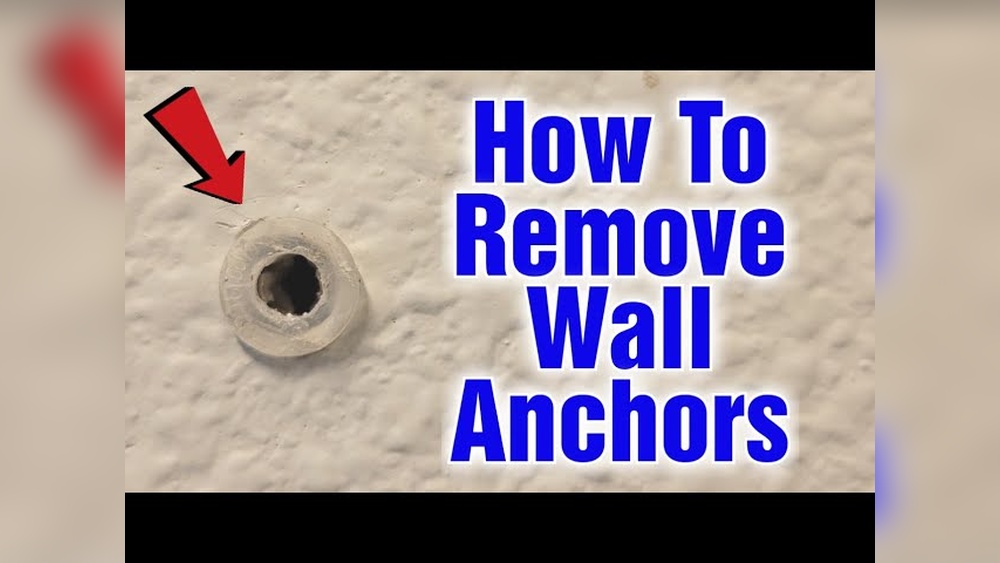
Have you ever tried to remove plastic anchors from your wall and ended up frustrated or damaging the surface? You’re not alone.
Those little anchors can be surprisingly tricky to get out, especially if you want to keep your wall looking smooth and clean. But don’t worry—this guide will show you simple, effective ways to remove plastic anchors without stress or mess.
Keep reading, and you’ll learn how to handle this common home challenge like a pro.
Tools You’ll Need
Removing plastic anchors from a wall can be tricky without the right tools. Having the proper tools makes the job easier and less damaging to your wall. Below are the tools you will need to safely and effectively pull out plastic anchors.
Flathead Screwdriver
A flathead screwdriver helps pry the anchor from the wall. It fits well under the anchor’s lip. Use gentle pressure to avoid wall damage.
Pliers
Pliers provide a strong grip on the anchor. Needle-nose pliers work best for small spaces. They pull the anchor straight out without breaking it.
Utility Knife
A utility knife cuts around the anchor if it is flush with the wall. It helps loosen the anchor from the drywall surface. Use it carefully to avoid cutting the wall.
Drill With A Screwdriver Bit
A drill with a screwdriver bit can twist out anchors that are stuck. It turns the anchor slowly to avoid wall damage. This tool works well for anchors with internal threads.
Spackling Paste And Putty Knife
After removing the anchor, spackling paste fills the hole left behind. A putty knife spreads the paste smoothly. This step prepares the wall for repainting or new anchors.

Credit: www.youtube.com
Identify The Anchor Type
Removing plastic anchors starts with knowing their type. Each anchor design needs a different removal method. Identifying the anchor type saves time and avoids wall damage. It helps you choose the right tools and techniques. This step is crucial for clean and easy removal.
Recognize Expansion Anchors
Expansion anchors spread inside the wall to hold tight. They have a plastic sleeve that expands when a screw is driven in. Look for a small round or ribbed plastic piece. These anchors are common in drywall and plaster walls.
Spot Threaded Anchors
Threaded anchors look like screws but with hollow centers. They have sharp threads that grip the wall. These anchors screw directly into drywall without a pilot hole. The plastic often has a spiral shape for better hold.
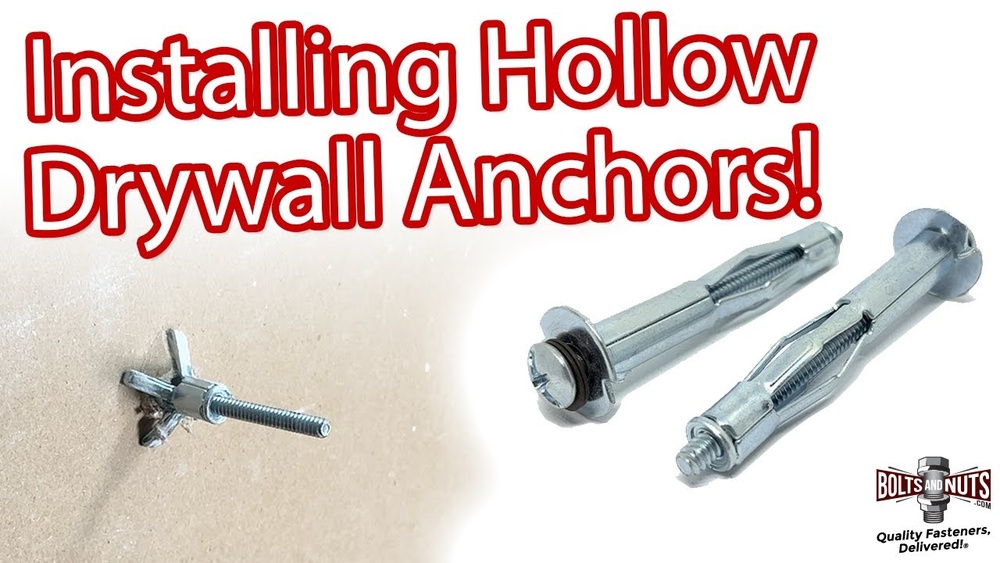
Identify Hollow Wall Anchors
Hollow wall anchors have a metal screw inside a plastic sleeve. The sleeve folds behind the wall when tightened. These anchors are great for hollow walls and ceilings. They may have a wing or toggle design to lock in place.
Distinguish Self-drilling Anchors
Self-drilling anchors cut into drywall without a pre-drilled hole. They have pointed tips and wide threads. The plastic is usually thick and sturdy. These anchors are easy to spot by their screw-like shape.
Remove With Pliers
Removing plastic anchors from walls can be tricky. Pliers offer a simple and effective way to pull them out without much hassle. This method works best for anchors that stick out slightly or are loose inside the wall.
Using pliers gives you better grip and control. It helps avoid damage to your wall surface. The process is quick and requires minimal tools. Let’s explore how to remove plastic anchors with pliers safely and easily.
Choose The Right Pliers
Select needle-nose or slip-joint pliers. They provide a firm grip on small anchors. Avoid large or bulky pliers that might slip or cause damage. Clean the pliers to prevent slipping during removal.
Grip The Anchor Firmly
Open the pliers wide and place them around the anchor’s head. Squeeze gently but firmly. Make sure you have a solid hold before pulling. A loose grip can break the anchor inside the wall.
Pull The Anchor Straight Out
Pull the anchor slowly and steadily. Avoid twisting or jerking motions. Pulling straight out reduces the chance of wall damage. If the anchor resists, try wiggling it slightly while pulling.
Handle Stubborn Anchors
Some anchors may be stuck tight. Use the pliers to wiggle the anchor back and forth gently. This loosens the grip inside the wall. Then, pull straight out with steady pressure.
Patch The Hole After Removal
Once the anchor is out, clean the hole. Fill it with spackling or wall filler. Smooth the surface with a putty knife. Let it dry before sanding and painting for a neat finish.
Use A Screwdriver Method
The screwdriver method is a simple way to remove plastic anchors from walls. It uses tools you likely already have. This method works well for anchors that are stuck but not too deep. It helps you avoid wall damage.
Twisting Out The Anchor
Insert a flathead screwdriver into the anchor’s center. Turn the screwdriver gently left and right. This twisting loosens the anchor grip inside the wall. Keep twisting until the anchor starts to move out. Pull the anchor out by hand once loose.
Prying Gently
Place the screwdriver’s tip under the anchor edge. Lift the screwdriver slowly to pry the anchor out. Use small, careful movements to avoid wall damage. If the anchor resists, try twisting a bit more first. Continue prying until the anchor pops free.
Drill Out Stubborn Anchors
Drilling out stubborn plastic anchors is a useful skill. Sometimes anchors get stuck deep in the wall. Pulling them out by hand can damage the wall. Drilling helps remove these anchors cleanly and quickly. It clears the hole for new anchors or repairs.
Choosing The Right Drill Bit
Select a drill bit slightly smaller than the anchor. This avoids drilling too large a hole. A 1/8-inch or 3/16-inch bit works well for most plastic anchors. Use a standard twist bit designed for wood or metal. Sharp bits cut through plastic smoothly. Avoid large bits that can crack the wall or make the hole too big.
Drilling Safely
Wear safety glasses to protect your eyes from debris. Hold the drill steady and start at low speed. Drill straight into the anchor, not the wall surface. Apply light pressure to avoid cracking the drywall. Stop drilling when you feel less resistance. This usually means the anchor is broken up inside. Remove the drill and pull out the leftover pieces with pliers. Clean the hole before patching or inserting a new anchor.

Credit: www.wikihow.com
Patch And Repair Wall Damage
Removing plastic anchors from the wall often leaves small holes or damage. Fixing these spots helps restore the wall’s smooth look. Patch and repair steps make the wall ready for painting and use. Simple tools and materials can do the job well.
Filling The Hole
Start by cleaning loose debris around the hole. Use a putty knife to apply wall filler or spackle. Press filler firmly into the hole to fill it completely. Smooth the surface with the putty knife for an even finish. Let the filler dry fully before moving to the next step.
Sanding And Painting
Once dry, sand the patched area lightly with fine sandpaper. Sand until the surface feels smooth and matches the wall. Wipe off dust with a clean cloth to prepare for painting. Apply primer first if the patch is large or the wall is glossy. Paint over the patch with matching wall paint using a brush or roller. Allow the paint to dry, then check for any touch-ups needed.
Preventing Future Anchor Issues
Preventing future anchor issues saves time and wall damage. Proper steps make anchors easier to remove later. Careful planning helps keep walls strong and clean.
Simple habits during installation reduce problems. Choose the right anchor for your wall type. Follow instructions to avoid weak holds or tough removals.
Choosing The Right Anchor For Your Wall
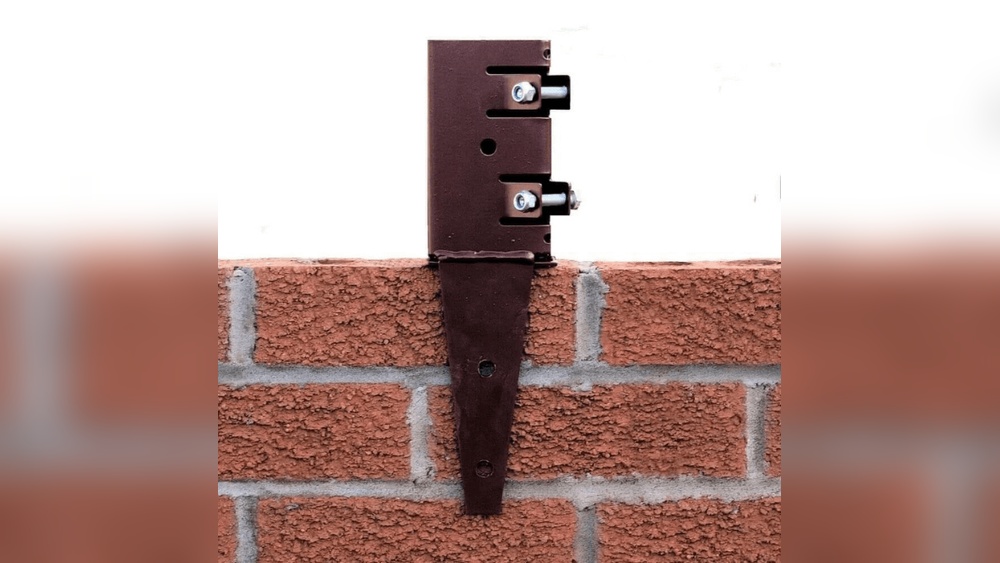
Select anchors designed for your wall material. Drywall anchors suit drywall only. Masonry anchors work best in brick or concrete. Using the wrong type can cause damage.
Using Proper Tools For Installation
Use a drill with the correct bit size. Avoid making holes too big or small. Insert anchors gently to prevent wall cracks. Proper tools protect wall integrity and anchor function.
Avoiding Over-tightening Screws
Tighten screws just enough to hold the item. Over-tightening can crack anchors or walls. Loose screws cause instability. Find a balance to keep anchors secure and walls safe.
Marking Anchor Positions Before Drilling
Measure and mark spots carefully before drilling. Double-check placement to avoid mistakes. Correct marks prevent extra holes and wall damage. Planning saves effort during installation and removal.

Credit: www.wikihow.com
Frequently Asked Questions
How Do I Remove Plastic Anchors From Drywall?
To remove plastic anchors, first unscrew any attached screws. Then, gently pull the anchor out with pliers. If it resists, push it in and patch the hole later.
Can I Reuse Plastic Anchors After Removal?
Plastic anchors usually get damaged during removal. It’s best to use new anchors for a secure hold. Reusing old anchors can weaken wall support.
What Tools Are Needed To Extract Plastic Anchors?
You’ll need a screwdriver, needle-nose pliers, and possibly a utility knife. These tools help unscrew, grip, and remove the anchors safely.
How Do I Fix Holes After Anchor Removal?
Fill holes with spackle or wall filler. Let it dry, sand smooth, and paint to match the wall color for a clean finish.
Conclusion
Removing plastic anchors from walls does not have to be hard. Use the right tools and take your time. Gently pull or twist the anchor to avoid wall damage. Small holes can be fixed quickly with some putty. Patience helps you finish the job cleanly.
Soon, your wall will look smooth and ready for new fixtures. Simple steps make the process safe and easy. Keep these tips in mind for your next project. Success is just a few careful moves away.