Are you ready to boost your home’s security but unsure how to start? Making a hole for a deadbolt might sound tricky, but with the right guidance, you can do it yourself quickly and safely.
Imagine having the confidence to install your own deadbolt lock, saving money and gaining peace of mind. You’ll find simple, step-by-step instructions that anyone can follow. Keep reading, and you’ll soon master the skill that keeps your home safer than ever.

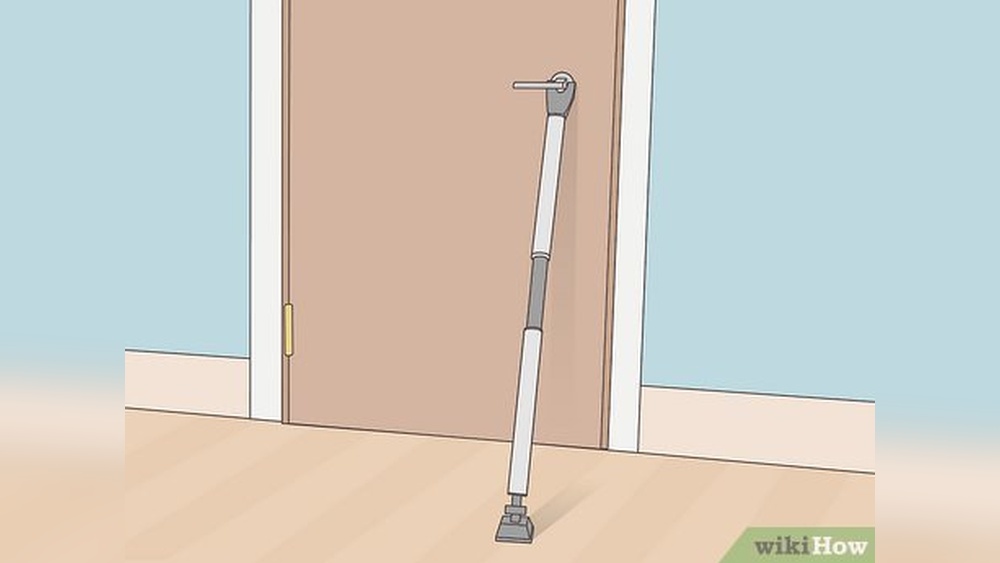
Credit: www.youtube.com
Tools And Materials Needed
Making a hole for a deadbolt requires specific tools and materials. These help ensure the job is done right and safely. Having the correct items makes the process faster and easier.
Prepare all tools and materials before starting. This avoids interruptions and mistakes during work.
Drill
A drill is essential for making holes in the door. Use a power drill with variable speed. It helps control the hole size and depth.
Hole Saw Bit
A hole saw bit fits on the drill. Choose the right size, usually 2 1/8 inches for deadbolts. It cuts the main hole in the door.
Spade Bit
A spade bit drills the smaller hole on the door edge. This hole is for the latch bolt. Common size is 1 inch.
Measuring Tape
Measure door thickness and lock placement. Accurate measurements prevent mistakes. Mark spots clearly before drilling.
Pencil Or Marker
Use a pencil or marker to mark drill points. Clear marks guide drilling and keep holes straight.
Chisel
A chisel shapes the door edge to fit the latch plate. It cleans up rough edges after drilling.
Screwdriver
A screwdriver installs screws for the latch and lock. Choose the right type for the screws provided.
Safety Gear
Wear safety glasses and gloves. Protect eyes from wood chips and hands from sharp tools.

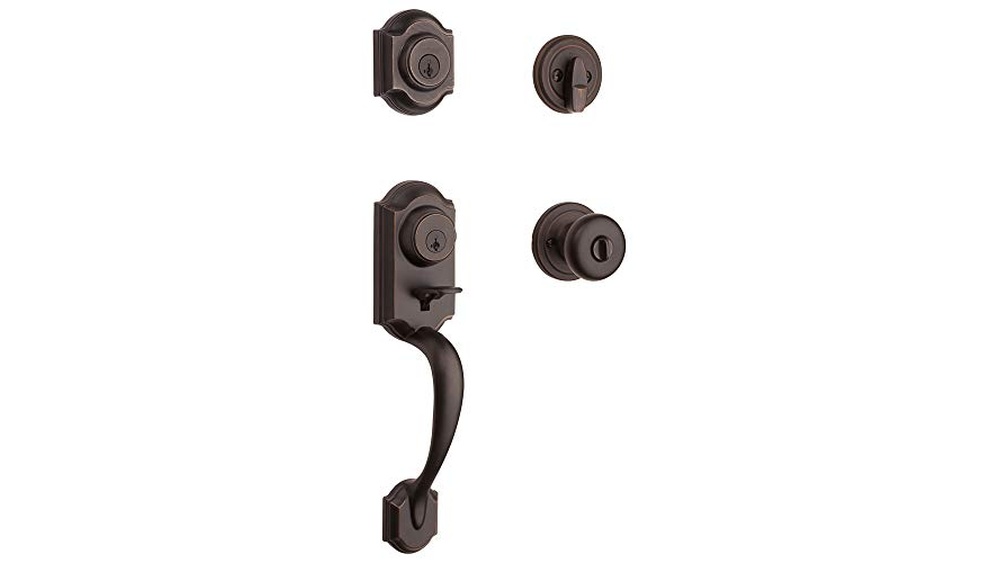
Credit: www.youtube.com
Choosing The Right Location
Choosing the right location for your deadbolt hole is a key step. It ensures your door stays strong and secure. A well-placed hole makes installation easier and the lock more effective.
Measure carefully before drilling. The deadbolt needs to fit perfectly in the door’s thickness and frame. Poor placement can weaken the door or cause the lock to fail.
Assess Door Thickness And Material
Check the door’s thickness to match your deadbolt. Most deadbolts fit doors between 1 3/8 and 1 3/4 inches thick. Thicker or thinner doors may need special locks.
Know the door material too. Wood, metal, or fiberglass each require different tools and care during drilling. Choose the right drill bit for a clean hole.
Position The Deadbolt Height
The deadbolt hole should be about 6 to 12 inches above the door handle. This height offers better security and comfort. Avoid placing it too low or too high for easy use.
Mark the spot clearly. Use a pencil to ensure the hole stays straight and in the right place. Double-check measurements before drilling.
Check The Door Frame Alignment
Align the deadbolt with the door frame’s strike plate. This alignment is crucial for proper locking. Measure the frame thickness and mark the strike plate location.
A misaligned strike plate causes the lock to jam or fail. Ensure the bolt slides smoothly into the frame hole for strong security.
Measuring And Marking
Measuring and marking are the first steps in making a hole for a deadbolt. Accurate marks guide the drilling process. This ensures the deadbolt fits perfectly. Taking your time here saves effort later. Use a pencil and a tape measure. Mark carefully and clearly on the door.
Marking The Door Edge
Start with the door edge. Measure the height where the deadbolt will sit. Usually, this is about 6 to 12 inches above the door handle. Mark this spot with a pencil. Next, measure the backset. This is the distance from the door edge to the center of the hole. Common backsets are 2 3/8 or 2 3/4 inches. Mark this on the door edge as well. These marks show where the hole will begin. Double-check your measurements before moving on.
Marking The Face Of The Door
Now, mark the face of the door. Use the backset mark as a guide. Place the hole saw template or the deadbolt itself against the door face. Align it with the backset mark. Trace around the hole saw or deadbolt cylinder. This outline shows where to drill. Make sure the mark is clear and precise. This step helps avoid mistakes. Confirm the alignment with the edge mark. Correct placement means the deadbolt will work smoothly.
Drilling The Edge Hole
Drilling the edge hole is a key step in installing a deadbolt. This hole allows the bolt to fit securely into the door. It must be drilled precisely to ensure smooth operation of the lock.
The edge hole is usually smaller than the main hole on the door face. Accuracy here prevents the deadbolt from sticking or misaligning. Use the right tools and measure carefully before drilling.
Gather The Right Tools
Use a drill with a spade bit or hole saw matching the deadbolt size. A tape measure, pencil, and square help mark the spot. Safety goggles protect your eyes from wood chips.
Mark The Edge Hole Location
Measure the distance from the door edge to the center of the deadbolt hole. Mark this point clearly on the door edge. Double-check the measurement to avoid mistakes.
Drill The Hole Slowly And Steadily
Hold the drill straight and start at low speed. Drill through the door edge carefully. Stop once the hole reaches the correct depth for the bolt.
Clean The Hole
Remove wood chips and dust from the hole. Use a small brush or compressed air. A clean hole helps the deadbolt fit perfectly and work smoothly.
Drilling The Face Hole
Drilling the face hole is the first step in fitting a deadbolt lock. This hole holds the lock’s main body and needs to be precise. A clean, accurate hole ensures the lock fits well and works smoothly.
Use the right tools and follow safety steps. Take your time to measure and mark the door. Accuracy here makes the rest of the installation easier.
Gathering The Right Tools
Start with a drill and a hole saw bit. Choose a bit size that matches the deadbolt’s face hole diameter. A tape measure and pencil help mark the drill spot. Safety glasses protect your eyes from debris.
Marking The Door
Measure the door’s thickness and height. Mark the center of the hole on the door’s face. Check this mark twice. A small error can cause the lock to misfit. Use a square to ensure the mark is straight across the door.
Drilling The Hole
Hold the drill steady and start slowly. Drill from one side until the hole saw breaks through. Stop and check alignment. Finish drilling from the other side to avoid splintering wood. Keep the drill level to make a clean hole.
Preparing The Door Edge
Preparing the door edge is a key step before drilling a hole for a deadbolt. This step ensures the lock fits well and works smoothly. A clean, even door edge helps the deadbolt lock align perfectly.
Take your time here. A small mistake can make the lock hard to use or even damage the door.
Marking The Door Edge
Start by marking where the deadbolt will sit on the door edge. Use a pencil and ruler for accuracy. Measure carefully from the top of the door to the desired lock height. Mark the center point clearly. This mark guides your drilling and chiseling.
Checking Door Thickness
Measure the door thickness. Deadbolt locks need a minimum thickness to fit properly. Most doors are 1 3/4 inches thick, but check yours. Use a tape measure to get the exact number. This helps you choose the right lock size.
Creating A Mortise For The Deadbolt
Use a chisel to create a shallow mortise on the door edge. This space allows the lock faceplate to sit flush with the door. Start by outlining the faceplate shape with a pencil. Then, carefully chisel out the wood inside the outline. Work slowly to avoid removing too much wood.
Installing The Deadbolt
Installing the deadbolt is the key step for home security. This part fits the lock into the door. It requires careful placement and proper fixing. Follow these steps to install the deadbolt correctly.
Inserting The Bolt
Start by sliding the bolt into the hole on the door edge. The bolt should fit snugly and move smoothly. Check if the bolt extends and retracts without sticking. Adjust the position slightly if the bolt feels tight.
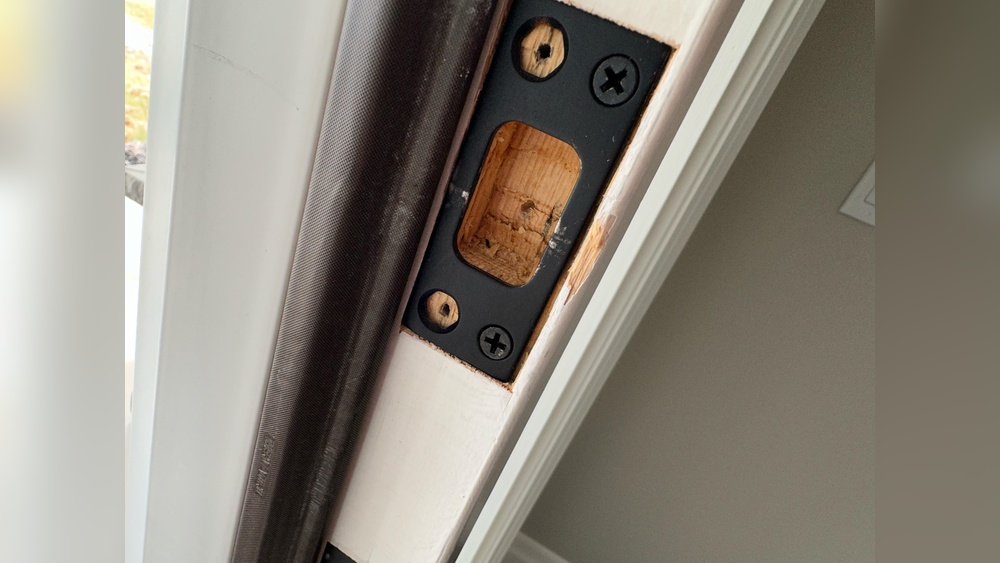
Attaching The Exterior And Interior Plates
Place the exterior plate on the outside of the door. Align it with the bolt and the hole for the key. The interior plate goes on the inside of the door. Make sure both plates line up perfectly with the bolt mechanism.
Securing With Screws
Use screws to fasten both plates firmly to the door. Tighten the screws evenly to avoid misalignment. Ensure the plates do not wiggle or move after securing. Proper tightening helps the deadbolt work smoothly and lasts longer.

Credit: www.familyhandyman.com
Testing The Deadbolt Function
Testing the deadbolt function is a key step after making the hole. It ensures the lock works smoothly and fits perfectly. Without testing, you might face issues with locking or unlocking later.
Check the deadbolt before final assembly. This saves time and avoids mistakes. Testing helps you confirm the hole size and alignment are correct. It also shows if the deadbolt slides easily.
Check The Alignment Of The Deadbolt
Insert the deadbolt into the hole. Make sure it fits without force. The deadbolt should line up with the strike plate on the door frame. Misalignment can cause the lock to jam or not lock at all.
Test The Locking And Unlocking Motion
Turn the key or thumb turn. The deadbolt should move smoothly in and out. There should be no sticking or grinding sounds. Smooth motion means the hole and lock parts fit well.
Adjust If Necessary
If the deadbolt does not move smoothly, check the hole size and shape. Use a file or drill to make small adjustments. Re-test the deadbolt after each adjustment. Repeat until the lock works easily.
Tips For A Clean Finish
Creating a neat hole for a deadbolt is important. A clean finish makes the lock look good and work well. Simple steps help avoid rough edges and splinters. These tips ensure a smooth, professional look on your door.
Choose The Right Drill Bit
Use a drill bit made for wood or metal, based on your door. A sharp bit cuts cleaner holes. Avoid dull bits that tear the material.
Mark The Hole Clearly
Draw the hole outline with a pencil. Use a template or the deadbolt itself. Clear marks guide your drilling and keep the hole straight.
Drill Slowly And Steadily
Start drilling at low speed. Steady pressure prevents splintering. Slow drilling gives you control over the hole size.
Use Painter’s Tape On The Door
Place tape over the hole area. Tape holds wood fibers in place. It reduces chipping around the edges.
Sand The Hole Edges
After drilling, sand the edges with fine sandpaper. This smooths rough spots and splinters. It helps the deadbolt fit snugly.
Keep The Drill Perpendicular
Hold the drill straight to the door. Angled holes cause gaps and poor lock fit. A perpendicular drill creates a neat hole.
Frequently Asked Questions
How Do I Measure For A Deadbolt Hole?
Measure the door thickness and mark the hole center at 6. 5 feet high. Use a template for precise placement and ensure alignment with the latch.
What Tools Are Needed To Drill A Deadbolt Hole?
You need a drill, hole saw, spade bit, chisel, tape measure, and pencil. These tools help create accurate holes for the deadbolt installation.
Can I Install A Deadbolt On A Metal Door?
Yes, but use a metal drill bit and slower drilling speed. Take extra care to avoid damaging the door surface during hole creation.
How Deep Should The Deadbolt Hole Be Drilled?
Drill the hole to the depth specified by the deadbolt manufacturer. Typically, the hole is about 2. 5 inches deep to fit the lock cylinder.
Conclusion
Making a hole for a deadbolt is a simple task with the right steps. Use the correct tools and measure carefully for the best fit. Take your time to avoid mistakes and ensure safety. Practice on scrap wood if unsure.
A well-made hole helps your deadbolt work smoothly and keeps your home secure. Follow these tips and you will do it right the first time.