Are you staring at those stubborn wall anchor bolts and wondering how to get them out without damaging your walls? Removing them might seem tricky, but with the right steps, you can do it quickly and easily.
Whether you’re redecorating, fixing a loose fixture, or just cleaning up, knowing how to remove wall anchor bolts will save you time and hassle. Keep reading, and you’ll learn simple, effective techniques that anyone can follow—even if you’re not a DIY expert.
Let’s get those anchors out and your walls looking perfect again!

Credit: www.youtube.com
Types Of Wall Anchor Bolts
Wall anchor bolts come in different types. Each type serves a special purpose. Knowing these types helps you remove them safely and easily. This section explains common wall anchor bolts.
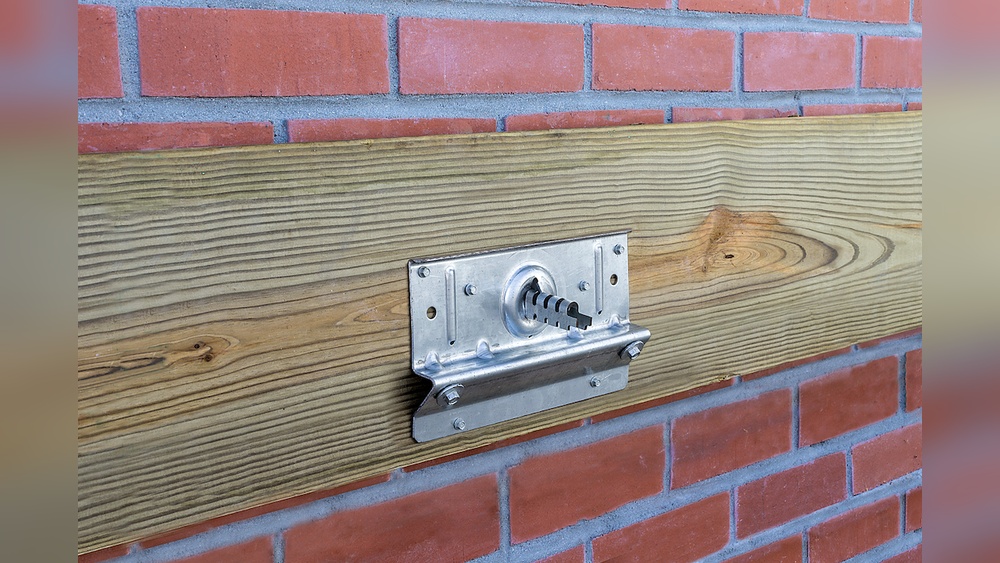
Plastic Expansion Anchors
Plastic expansion anchors are simple and common. They expand inside the wall when a screw goes in. These anchors hold light to medium loads. Removing them may need gentle pulling or pushing.
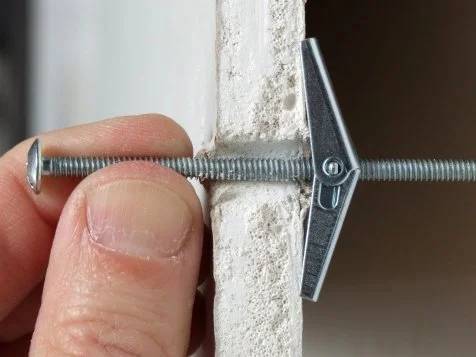
Toggle Bolts
Toggle bolts have metal wings that open behind the wall. They hold heavy items securely. Removing toggle bolts requires unscrewing and carefully pulling out the wings. They need more care than plastic anchors.
Molly Bolts
Molly bolts are metal anchors that spread inside the wall. They provide strong support in drywall. You remove molly bolts by unscrewing the bolt. The anchor may stay inside or come out with it.
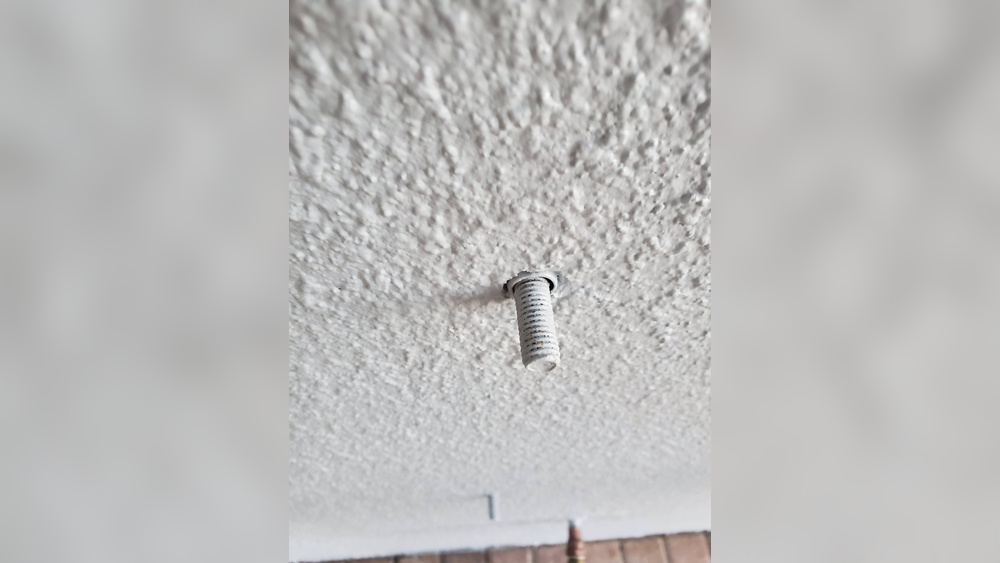
Threaded Drywall Anchors
Threaded drywall anchors screw directly into drywall. They create their own thread for screws. These anchors are easy to install and remove. You can unscrew them by turning counterclockwise gently.
Credit: www.hgtv.com
Tools Needed For Removal
Removing wall anchor bolts requires the right tools. Using proper tools makes the process easier and safer. Having these tools ready saves time and effort.
Screwdriver Options
A screwdriver is essential for removing screws from wall anchors. Choose a flathead or Phillips screwdriver based on the screw type. A good fit prevents stripping the screw head. Manual or electric screwdrivers both work well.
Pliers And Wrenches
Pliers help grip and pull out stubborn anchors. Needle-nose pliers are great for small or tight spaces. Adjustable wrenches can turn bolts if anchors have hex heads. Use firm but gentle force to avoid wall damage.
Drill And Drill Bits
A drill speeds up removing anchors stuck inside the wall. Use a drill bit slightly smaller than the anchor diameter. Drill carefully to avoid harming the wall surface. This tool is handy for tough or metal anchors.
Putty Knife And Spackle
After anchor removal, holes remain in the wall. A putty knife spreads spackle smoothly over holes. Spackle fills gaps and creates a clean surface. Sand the area after drying for a perfect finish.
Preparation Before Removal
Removing wall anchor bolts requires careful preparation. Taking the right steps before you start helps protect your walls and tools. It also keeps you safe during the process. Proper preparation makes the removal smooth and reduces damage.
Clear The Area
Remove furniture and objects near the wall. This prevents accidents and gives you space to work. Clear the floor to avoid tripping over items. A tidy workspace helps you focus on the task.
Protect Surrounding Surfaces
Cover nearby surfaces with drop cloths or old sheets. This guards against dust, paint chips, and scratches. Use painter’s tape on edges to shield trim or baseboards. Protecting surfaces saves time on cleanup later.
Wear Safety Gear
Use safety glasses to protect your eyes from debris. Wear gloves to guard your hands from sharp edges. A dust mask helps you avoid inhaling dust particles. Safety gear keeps you safe and comfortable while working.
Step-by-step Removal Process
Removing wall anchor bolts can seem tricky, but breaking it down helps. The step-by-step process makes it easier to handle different types of anchors. Each type needs a specific approach to avoid damaging your wall. Follow these simple steps to remove anchor bolts safely and cleanly.
Remove The Screw
Start by unscrewing the bolt or screw from the anchor. Use a screwdriver that fits well to avoid stripping the head. Turn the screw counterclockwise until it comes out completely. This step clears the way to remove the anchor itself.
Extract Plastic Expansion Anchors
Plastic expansion anchors usually stay inside the wall after the screw is out. Try to pull them out gently with pliers. If they resist, push them deeper into the wall cavity. This avoids damage to the drywall surface.
Remove Toggle Bolts
Toggle bolts have wings that open inside the wall. After removing the screw, the wings fall behind the wall and stay there. Pull the bolt back carefully while compressing the wings. If they won’t move, push them inside the wall to hide them.
Pull Out Molly Bolts
Molly bolts expand behind the wall for a strong hold. Unscrew the bolt to release the anchor’s grip. Use pliers to pull the metal sleeve out slowly. Wiggle it gently if it feels stuck. Avoid forcing it to prevent wall damage.
Handle Threaded Drywall Anchors
Threaded drywall anchors twist into the wall. Unscrew the bolt first. Then turn the anchor counterclockwise to remove it. If it is tight, use pliers to grip and turn. Keep the wall surface clean by removing all anchor bits.
Fixing Wall Damage
Removing wall anchor bolts often leaves small holes or marks on your wall. Fixing these spots quickly helps keep your wall looking smooth and clean. Proper repair also prevents further damage and prepares the wall for painting or decoration.
Fill Holes With Spackle
Start by cleaning the holes from dust and debris. Use a small putty knife to apply spackle into the holes. Press the spackle firmly to fill all gaps. Overfill slightly to allow for sanding later. Let the spackle dry completely before moving on.
Sanding And Smoothing
Once dry, use fine-grit sandpaper to smooth the spackled area. Sand gently until the surface is level with the wall. Remove any dust with a soft cloth. Check for bumps or rough spots and sand again if needed. The wall should feel even and clean.
Painting Touch-ups
Choose paint that matches your wall color. Use a small brush or roller to cover the repaired area. Apply thin, even coats and let each dry well. Repeat if the patch shows through. Blending the paint makes the repair less visible.
Tips For Preventing Damage
Removing wall anchor bolts can be tricky. Damage to walls happens easily without care. These tips help keep your walls safe. They make the removal process smooth and clean.
Use Correct Tools
Choose the right tools for the job. A screwdriver or pliers often work best. Avoid tools that are too big or sharp. They can make holes larger or crack the wall.
Apply Gentle Pressure
Push or pull the anchor slowly. Strong force can break the wall surface. Gentle pressure helps loosen the bolt without damage. Take time to feel how the anchor moves.
Work Slowly And Carefully
Remove the anchor bit by bit. Rushing causes mistakes and wall cracks. Watch for signs of wall stress. Stop and adjust your method if needed. Patience protects your walls from harm.

Credit: www.youtube.com
Frequently Asked Questions
How Do You Safely Remove Wall Anchor Bolts?
To remove wall anchor bolts safely, first loosen the bolt with a screwdriver or wrench. Then, pull the anchor out gently using pliers. Avoid forcing it to prevent wall damage. If stuck, drill around the anchor carefully to loosen it before removal.
What Tools Are Needed To Remove Wall Anchor Bolts?
You need a screwdriver or wrench, pliers, and sometimes a drill. These tools help loosen and pull out the anchor bolt without damaging the wall. Having a utility knife can also help cut around the anchor if necessary.
Can Wall Damage Be Avoided When Removing Anchors?
Yes, wall damage can be minimized by gentle removal. Use the right tools and avoid forcing the anchor. If the anchor is stubborn, drilling carefully around it helps loosen it. Patch any small holes afterward with spackle or wall filler.
How Do You Remove Stubborn Wall Anchor Bolts?
For stubborn anchors, try wiggling the bolt gently with pliers while pulling. If that fails, drill a small hole around the anchor to loosen it. Using a screw extractor or cutting the bolt flush can also help in difficult cases.
Conclusion
Removing wall anchor bolts can be simple with the right steps. Start by loosening the bolt carefully. Use tools like pliers or a screwdriver for better grip. Pull the anchor out gently to avoid wall damage. Patch the hole afterward for a clean look.
Taking your time helps prevent mistakes and keeps walls intact. Now, your wall is ready for new fixtures or paint. Easy and effective removal saves both time and effort.