Have you noticed your floor sagging or uneven? Lifting a floor might sound like a big job, but with the right steps, you can do it yourself.
Knowing how to jack a floor up can save you money and prevent future damage. In this guide, you’ll learn simple, clear methods to raise your floor safely and effectively. Keep reading, and you’ll gain the confidence to fix this common problem on your own.
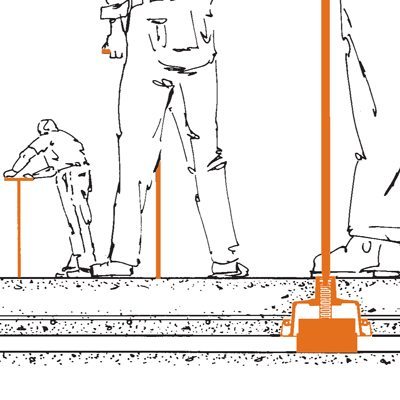
Credit: mason-ind.com
Preparing The Workspace
Preparing the workspace is the first step to jack a floor up safely and effectively. A clean, organized space helps you work faster and avoid accidents. Before starting, make sure the area is ready for the tools and the job ahead.
Clearing The Area
Remove all furniture and items from the workspace. This gives you plenty of room to move and place tools. Clear debris and dirt to prevent slips or trips. A clean floor surface makes the job easier and safer.
Gathering Necessary Tools
Collect all the tools you will need before starting. Common tools include a floor jack, wooden blocks, a pry bar, and a level. Having everything ready saves time and avoids interruptions. Check each tool to make sure it works properly.
Ensuring Safety Measures
Wear safety gear like gloves and safety glasses. Make sure the floor jack is rated for the weight you will lift. Use sturdy wooden blocks to support the floor once lifted. Keep a first aid kit nearby in case of minor injuries.
Choosing The Right Jack
Choosing the right jack is key to safely lifting a floor. The right tool makes the job easier and prevents damage. It also ensures your safety during the process. Understanding the types of jacks and their uses helps pick the best one for your floor.
Types Of Jacks For Floor Lifting
There are several jacks designed for lifting floors. Bottle jacks are compact and strong. They work well in tight spaces. Floor jacks have a wider base and offer stability. Hydraulic jacks lift heavier loads smoothly. Screw jacks provide precise control but take more time. Choose a jack that fits your lifting needs and space.
Selecting Based On Floor Material
Different floors need different jacks. Wooden floors require gentle lifting to avoid cracks. Use a jack with a wide base to spread pressure. Concrete floors need strong, heavy-duty jacks. Check that the jack’s contact point suits the floor surface. Using the wrong jack can cause damage or slip during lifting.
Checking Jack Capacity
Every jack has a weight limit. Always check the jack’s capacity before use. The jack must support the floor and anything on it. Choose a jack with a higher capacity than the estimated weight. Using a weak jack risks collapse and injury. Safety comes first, so never overload your jack.
Locating Jack Points
Finding the right jack points is key to safely lifting a floor. The floor must be supported well to avoid damage or accidents. Knowing where to place the jack helps spread the weight evenly. This section guides you through the steps to locate strong points for jacking up a floor.
Identifying Support Beams
Support beams carry the floor’s weight. They run under the floor and are usually made of wood or steel. Look for these beams by checking the basement or crawl space. You can also tap the floor; a solid sound means a beam underneath. Place the jack near these beams for maximum support.
Avoiding Weak Spots
Some areas of the floor are weak and can break. Avoid spots near cracks, water damage, or holes. Stay away from thin plywood or areas with soft wood. These weak spots can cause the jack to slip or the floor to collapse. Always choose firm and strong points.
Marking Lift Positions
Mark the spots where you will place the jack. Use a pencil or tape to make clear marks. Marking helps keep track and ensures the jack stays in the right place. Double-check the marks before lifting. This step helps you lift the floor evenly and safely.

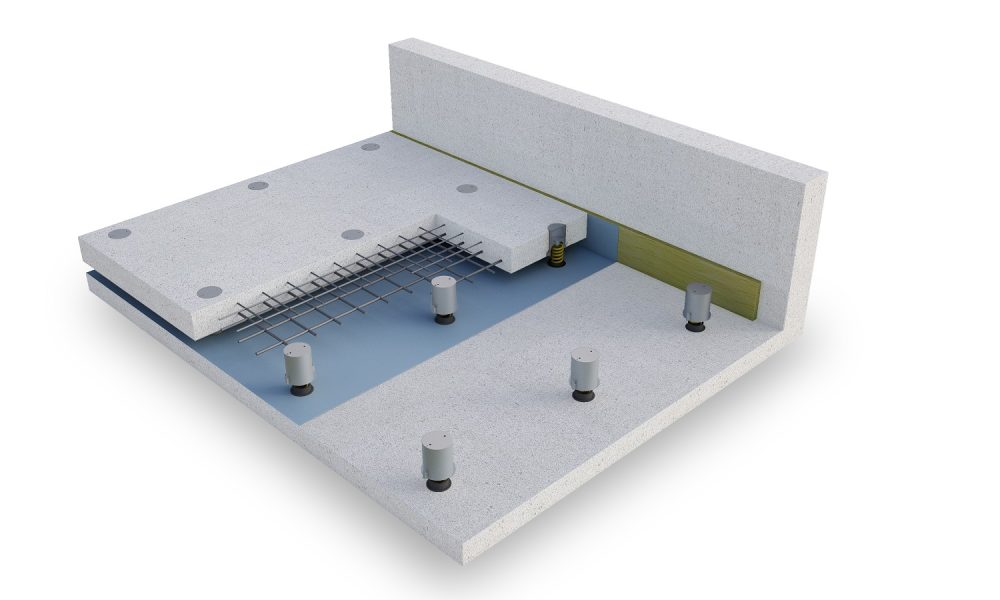
Credit: oldhousecrazy.com
Setting Up The Jack
Setting up the jack is a key step in jacking a floor up safely. Proper setup keeps the process steady and prevents damage. Taking time here helps avoid accidents and makes the job easier.
Focus on positioning the jack well, using support blocks, and adjusting for stability. These steps build a strong base before lifting.
Positioning The Jack Correctly
Place the jack under a solid part of the floor or beam. Avoid weak spots that may break or bend. The jack should be near the area that needs lifting.
Make sure the jack is straight and centered. This helps spread the weight evenly. Check if the jack handle moves freely without hitting anything.
Using Support Blocks
Support blocks add strength and balance under the jack. Use sturdy wood blocks or metal plates. Place them between the jack and the floor or ground.
Stack blocks flat and stable. Don’t use cracked or weak wood. These blocks stop the jack from sinking or tilting.
Adjusting For Stability
Before lifting, test the jack’s stability. Gently push the jack to see if it moves or shifts. Adjust the support blocks if needed.
Check the floor and surrounding area for loose debris. Clear anything that could cause slipping. A stable setup keeps the floor lift safe and smooth.
Lifting The Floor Safely
Lifting a floor needs care and attention. Safety is the top priority. A wrong move can cause damage or injury. Follow the right steps to keep the process safe and smooth. Use the right tools and work slowly. Watch every movement closely to avoid accidents. Balance the jack well to keep the floor steady.
Operating The Jack Slowly
Move the jack handle with slow, steady pressure. Quick or jerky actions can harm the floor or the jack. Slow movement lets you control the lift better. It helps spot problems before they get worse. Take your time to keep the floor safe.
Monitoring Floor Movement
Keep your eyes on the floor as it rises. Look for cracks or sudden shifts. Small changes can mean a big problem ahead. Stop lifting if the floor moves unevenly. Check all areas to ensure even lifting. Constant watching helps prevent damage.
Maintaining Balance
Place the jack on a flat, solid base. Make sure the jack is centered under the floor. Balance stops the floor from tipping or slipping. Adjust the jack position if you feel any tilt. A balanced lift protects both you and the floor.
Securing The Raised Floor
Securing the raised floor is a crucial step after jacking it up. It keeps the floor steady and safe to work on. Without proper support, the floor can shift or fall, causing injury or damage.
Careful attention during this stage ensures the floor stays in place. This step helps maintain balance and prevents accidents.
Installing Temporary Supports
Place strong wooden or metal supports under the raised floor. These supports hold the weight of the floor firmly. Position them close to the jacks for better balance. Use enough supports to spread the load evenly. Make sure each support stands on a solid surface.
Checking For Stability
Test the floor by gently pressing on different spots. The floor should not wobble or move. If it does, adjust the supports or add more. Confirm the jacks stay steady and do not slip. Double-check all areas before starting any work.
Avoiding Overextension
Do not raise the floor higher than necessary. Overextension can cause the jacks or supports to fail. Keep the height low to reduce risks. Use jacks that can handle the floor’s weight safely. Safety comes first to prevent accidents or damage.
Lowering The Floor Properly
Lowering the floor properly is a key step after jacking it up. This process requires care and patience. Doing it right prevents damage and ensures safety.
Take your time. Avoid rushing. The floor must come down slowly and evenly. This helps keep the structure stable and secure.
Releasing The Jack Gradually
Start by loosening the jack slowly. Turn the handle just a little at a time. Watch the floor as it lowers. Stop if you see any sudden movements or shifts.
Never release the jack quickly. A fast drop can cause cracks or breaks. The goal is a steady, controlled descent.
Ensuring Even Descent
Check that the floor lowers evenly across the whole area. Uneven lowering can cause problems later. Use a level to check the floor’s balance.
Adjust the jack or supports if you see one side going down faster. Keep the floor flat and stable during the process.
Removing Supports
Once the floor is fully lowered, remove the temporary supports carefully. Take them out one by one. Make sure the floor stays steady as you do this.
Do not rush. Keep an eye on the floor’s position. If it shifts, stop and adjust before continuing.
Common Mistakes To Avoid
Jacking a floor up is a precise task. Avoiding common mistakes can save time and prevent accidents. Knowing what to watch for helps keep the project safe and smooth.
Ignoring Safety Protocols
Safety should always come first. Not wearing protective gear puts you at risk. Always use gloves, goggles, and sturdy boots. Never skip checking the floor’s stability before jacking it up. Poor safety habits can lead to serious injuries.
Using Incorrect Equipment
Using the wrong tools can cause damage. Choose a jack made for lifting floors, not cars or other heavy objects. Check the jack’s weight limit before starting. Incorrect equipment may fail and cause the floor to drop suddenly.
Rushing The Process
Patience is key when jacking a floor. Moving too fast can damage the floor or supports. Raise the floor slowly and stop often to check stability. Rushing leads to mistakes and unsafe conditions.
Maintenance After Lifting
After lifting a floor, proper maintenance is crucial. It keeps the structure safe and strong. Neglecting this step can cause future problems. Regular checks and care help avoid costly repairs. Follow these simple tasks to maintain your floor well.
Inspecting Floor Integrity
Check the floor for cracks or weak spots. Look closely at joints and support beams. Use a flashlight to see hidden areas. Tap the floor lightly to hear hollow sounds. These signs show if the floor needs more work.
Repairing Damage
Fix any cracks or holes right away. Use wood filler or patching compounds for small damages. Replace broken boards or loose nails. Tighten screws to secure loose parts. Repairing early stops problems from growing worse.
Cleaning Tools And Area
Clean all tools after use to keep them in good shape. Remove dust, dirt, and debris from the floor area. Sweep or vacuum thoroughly to prevent damage. Store tools properly to avoid rust and wear. A clean workspace means safer, easier future work.
Credit: www.mason-uk.co.uk
Frequently Asked Questions
What Tools Are Needed To Jack A Floor Up?
You need a hydraulic jack or bottle jack, wooden blocks, a pry bar, and a level. Safety gear like gloves and goggles is essential. These tools help lift and support the floor safely and accurately.
How Do You Prepare The Floor Before Jacking It Up?
Clear the area and remove any flooring or debris. Locate the floor joists and place wooden blocks under the jack. This prevents damage and ensures an even lift.
How Much Can A Floor Jack Lift Safely?
A standard floor jack can lift between 2 to 12 tons. Always check your jack’s weight capacity and avoid exceeding it to ensure safety.
How Do You Prevent Damage While Jacking A Floor?
Use wooden blocks to distribute pressure evenly. Lift the floor slowly and check for cracks or movement. Stop immediately if you notice any damage.
Conclusion
Jacking a floor up takes patience and careful steps. Always check your tools before starting. Lift the floor slowly and evenly to avoid damage. Keep safety in mind throughout the process. A steady approach helps you fix uneven floors properly.
With practice, the task becomes easier and safer. Remember, taking your time leads to better results. You can handle this with the right care and attention.