If you want to boost your home’s security quickly and easily, installing a deadbolt lock is one of the best steps you can take. But maybe you’re worried it sounds too complicated or requires special tools.
The good news? You don’t need to be a locksmith to do it yourself. In this guide, you’ll discover simple, clear steps to install a deadbolt lock on your door. By the end, you’ll have the confidence and know-how to protect your home and family with a strong, reliable lock.
Keep reading, and let’s make your home safer together.

Credit: m.youtube.com
Choosing The Right Deadbolt
Choosing the right deadbolt is important for your door’s security. The correct deadbolt fits your door and meets your safety needs. It also looks good and lasts long. Understanding the types, materials, and security features helps you pick the best one.
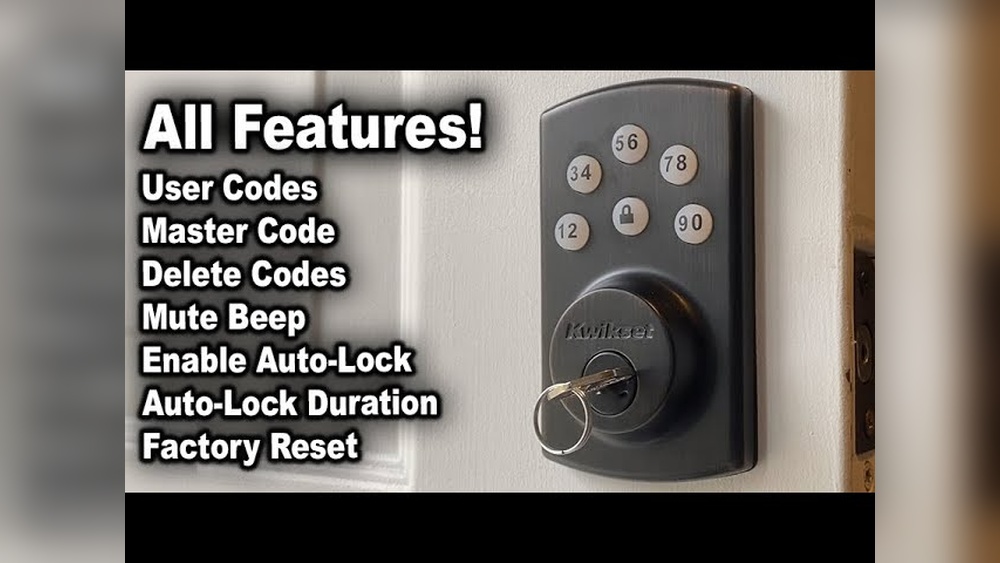
Types Of Deadbolts
Single-cylinder deadbolts use a key outside and a thumb turn inside. They are common and easy to use.
Double-cylinder deadbolts need a key on both sides. They add security but can be tricky in emergencies.
Lockable thumb-turn deadbolts allow locking the thumb turn with a key. This adds extra security and control.
Material And Finish Options
Deadbolts come in brass, stainless steel, and bronze. Brass resists corrosion well. Stainless steel is strong and rustproof.
Finishes include polished brass, satin nickel, and oil-rubbed bronze. Choose one that matches your door style.
Good materials and finishes help the lock last longer and stay reliable.
Security Features To Consider
Look for a deadbolt with a strong bolt at least one inch long. Longer bolts resist forced entry better.
Some deadbolts have anti-drill plates to stop drilling attacks. This feature improves security.
Pick a deadbolt with pick-resistant pins. This makes it harder for thieves to pick the lock.

Credit: support.shopyalehome.com
Tools And Materials Needed
Installing a deadbolt lock requires specific tools and materials. Having the right items makes the process smooth and safe. Prepare everything before starting the installation to avoid delays.
Essential Tools
- Power drill with drill bits
- Hole saw bit (usually 2 1/8 inches)
- Spade bit (typically 1 inch)
- Screwdriver (Phillips and flathead)
- Measuring tape
- Pencil or marker
- Chisel
- Hammer
Additional Supplies
- Deadbolt lock kit
- Wood screws (usually included)
- Wood filler (for adjustments)
- Masking tape (to mark drill points)
- Sandpaper (to smooth edges)
Safety Equipment
- Safety goggles to protect eyes
- Work gloves to protect hands
- Ear protection if using loud power tools
Preparing The Door
Preparing the door is the first important step to install a deadbolt lock. It sets the base for a strong, secure lock. Careful preparation makes the installation easier and helps the lock work well.
This stage involves measuring, marking, drilling, and cleaning the door. Each part must be done carefully to avoid problems later. Let’s look at these steps closely.
Measuring And Marking
Start by measuring the door thickness and the lock size. Use a tape measure for accuracy. Mark the exact spots for the lock hole and the bolt.
Use a pencil to draw clear marks. Check the height of the lock to match your door handle. Double-check measurements to avoid mistakes.
Drilling The Holes
Choose the right drill bit size based on your marks. Drill slowly and steadily to keep the hole clean. Drill through the door face first, then the edge.
Keep the drill straight to avoid angled holes. Use a smaller drill bit for pilot holes if needed. This helps guide the larger bit smoothly.
Cleaning The Area
Remove all dust and wood chips from drilling. Use a brush or cloth to clean the hole and door surface. A clean area helps the lock fit tightly.
Check the hole edges for splinters and sand them smooth. Clean surfaces allow the lock parts to sit flush against the door.
Installing The Deadbolt Mechanism
Installing the deadbolt mechanism is a key step in securing your door. It involves placing the bolt inside the door and fixing all parts correctly. Proper installation ensures smooth locking and unlocking. Follow these steps carefully to set the mechanism right.
Inserting The Bolt
Start by sliding the deadbolt into the hole on the door edge. The bolt should fit snugly inside. Make sure the bolt’s flat side faces the door frame. Push it until it sits flush with the door surface. This step is crucial for proper locking action.
Securing The Bolt With Screws
Use screws to hold the bolt firmly in place. Insert screws into the pre-drilled holes on the bolt plate. Tighten the screws evenly to avoid misalignment. Do not overtighten, as it may damage the door or the bolt. Secure the bolt so it does not move or wiggle.
Aligning The Internal Components
Next, align the internal parts inside the door. Position the latch and bolt mechanisms so they connect smoothly. Check that the bolt moves freely when you turn the thumb turn or key. Adjust the parts if the bolt sticks or feels tight. Proper alignment makes locking easy and reliable.
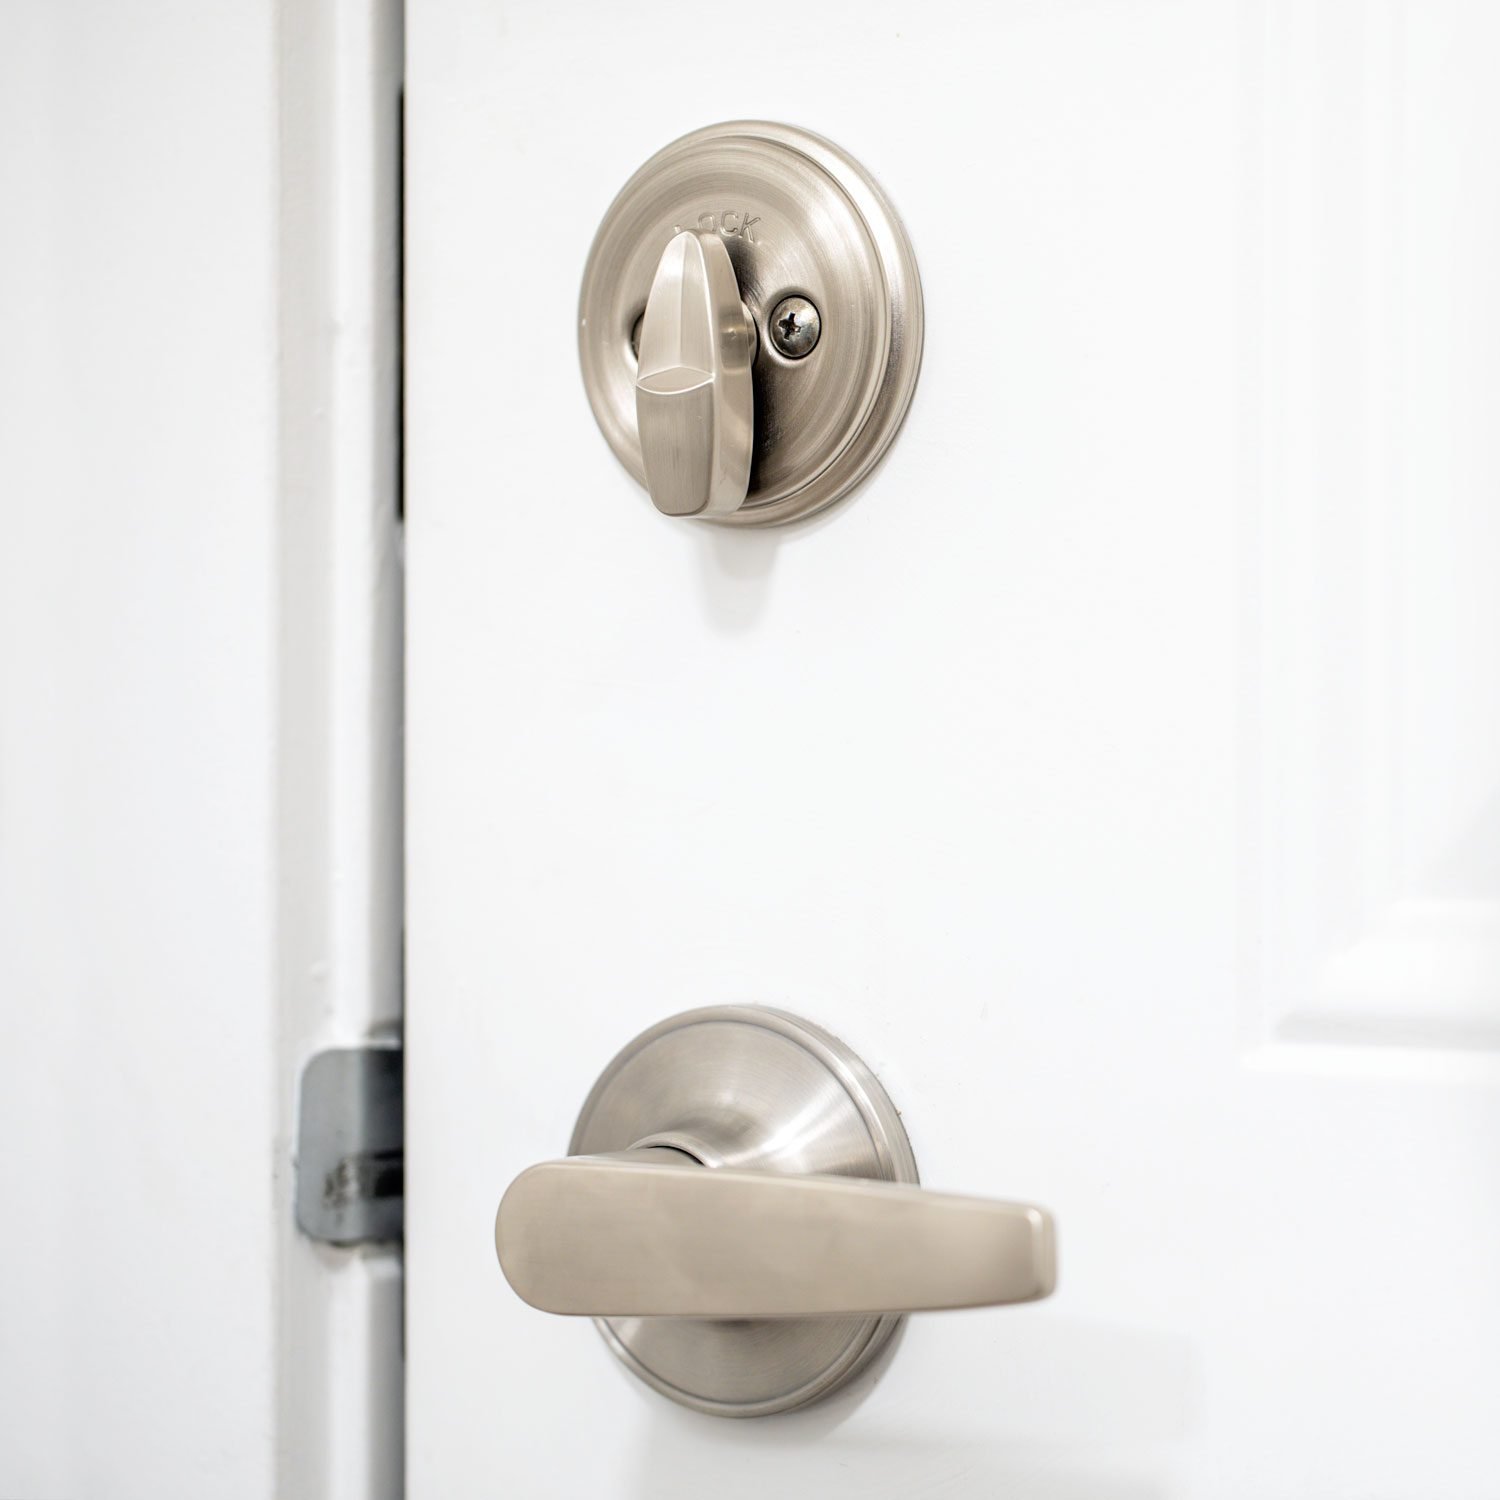
Attaching The Exterior And Interior Plates
Attaching the exterior and interior plates is a key step in installing a deadbolt lock. These plates hold the lock securely on your door. Proper fitting ensures smooth lock operation and enhances security. Follow these steps carefully for best results.
Fitting The Exterior Plate
Start by placing the exterior plate on the outside of the door. Align it with the deadbolt hole. Make sure the keyhole faces the right direction. Hold the plate firmly in place. Insert the screws through the holes. Tighten the screws evenly to avoid shifting. Check that the plate sits flat against the door surface.
Installing The Interior Plate
Next, position the interior plate on the inside of the door. Align it with the exterior plate and the deadbolt mechanism. Insert the connecting screws through the interior plate into the exterior one. Tighten the screws slowly. Ensure the plates stay aligned and flush with the door. Avoid over-tightening to prevent damage.
Testing The Lock Operation
After installing the plates, test the deadbolt lock. Turn the key from the outside. Rotate the thumb turn inside. The bolt should move smoothly without sticking. If the lock is hard to turn, loosen the screws slightly. Adjust the plates until the lock moves freely. Confirm the bolt fully extends and retracts each time.
Installing The Strike Plate
Installing the strike plate is a key step in securing your deadbolt lock. The strike plate holds the bolt firmly in the door frame. Proper installation ensures your door locks tightly and works smoothly.
Locating The Strike Plate Position
Start by aligning the strike plate with the deadbolt latch. Close the door gently to see where the bolt hits the frame. Mark this spot carefully. This mark shows where to place the strike plate.
Check the height and distance from the edge of the door frame. The strike plate should match the bolt’s position exactly. A precise location helps the lock function well and prevents damage.
Chiseling The Door Frame
Use a chisel to carve out a shallow recess in the door frame. The recess must fit the strike plate flush with the frame surface. Measure the plate thickness before chiseling.
Work slowly and carefully to avoid splitting the wood. Remove small amounts of wood bit by bit. The plate should sit evenly without sticking out.
Securing The Strike Plate
Place the strike plate into the recess and align the screw holes. Use screws to fasten the plate tightly to the frame. Do not overtighten, or you may strip the screws.
Test the deadbolt by locking and unlocking the door several times. The bolt should slide smoothly into the strike plate. Adjust if the lock sticks or does not close fully.
Final Adjustments And Tips
After installing your deadbolt lock, some final steps ensure it works smoothly and lasts longer. These small adjustments help avoid common problems like jamming or misalignment. Taking time here saves hassle later.
Checking Lock Alignment
Test the lock by turning the key or thumb turn. See if the bolt slides easily into the strike plate. If it sticks, adjust the strike plate or lock position. Make sure the bolt fits snugly without forcing. Proper alignment helps the lock work quietly and securely.
Lubricating The Lock
Apply a graphite-based lubricant inside the keyhole and moving parts. Avoid oil-based lubricants as they attract dust and dirt. Lubrication keeps the lock smooth and prevents rust. Use a small amount to avoid buildup. Regular lubrication extends the life of your deadbolt.
Maintenance Advice
Check your deadbolt every few months. Clean the keyhole and remove dirt or debris. Tighten any loose screws on the lock and strike plate. Replace worn parts as needed. Regular care keeps your lock reliable and secure over time.
Credit: www.familyhandyman.com
Frequently Asked Questions
What Tools Are Needed To Install A Deadbolt Lock?
You need a drill, screwdriver, tape measure, pencil, chisel, and a deadbolt lock kit. These tools ensure precise installation and secure fitting of the deadbolt on your door.
How Long Does It Take To Install A Deadbolt Lock?
Installing a deadbolt lock usually takes 30 to 60 minutes. The time varies based on door type and your experience level.
Can I Install A Deadbolt Lock On Any Door?
Most wooden and metal doors can support a deadbolt lock. However, very thin or glass doors may require professional advice or special locks.
Is It Necessary To Drill New Holes For A Deadbolt?
Yes, you generally need to drill new holes for the deadbolt and latch. Proper measurements ensure the lock fits securely and functions correctly.
Conclusion
Installing a deadbolt lock adds strong security to your door. It takes some care but is not hard to do. Follow each step slowly and check your work. Use the right tools for a good fit and smooth use. A well-installed lock helps keep your home safe.
Practice makes perfect, so don’t rush the process. Now, your door is more secure and ready to protect. Simple steps, big difference.