If your Weaver floor jack isn’t working the way it should, you’re probably feeling stuck and frustrated. You rely on your jack to lift heavy loads safely, and when it breaks, your projects come to a halt.
But don’t worry—fixing your floor jack might be easier than you think. In this guide, you’ll learn clear, simple steps to repair your Weaver floor jack and get it back in action quickly. Keep reading, and you’ll save time, money, and avoid the stress of replacing your tool.
Your jack will be lifting smoothly again before you know it.
Credit: lepaystchad.com
Common Issues With Weaver Floor Jacks
Weaver floor jacks are useful tools for lifting heavy vehicles. Over time, these jacks can face common problems that affect their performance. Knowing these issues helps you fix the jack quickly and safely. Below are some frequent problems with Weaver floor jacks and how to recognize them.
Hydraulic Fluid Leaks
Hydraulic fluid leaks are a major problem. The jack loses pressure and stops lifting properly. Leaks often come from worn seals or damaged hoses. Check the jack’s base and around the cylinder for wet spots. Low fluid levels cause poor lifting and can damage the jack.
Jack Not Lifting
The jack may not lift at all. This can happen if the release valve is open or faulty. Air trapped inside the hydraulic system also stops lifting. Another cause is worn-out seals inside the cylinder. Inspect the release valve and tighten or replace it if needed.
Slow Lifting Or Lowering
The jack may lift or lower very slowly. This problem usually means dirty hydraulic fluid. Air bubbles inside the system also cause slow movement. Pump the handle several times to remove air. Check and replace old fluid to restore smooth action.
Damaged Wheels Or Casters
Wheels and casters wear out or break over time. Damaged wheels make moving the jack hard and unsafe. Inspect the wheels regularly for cracks or flat spots. Replace broken wheels to keep the jack stable and easy to move.

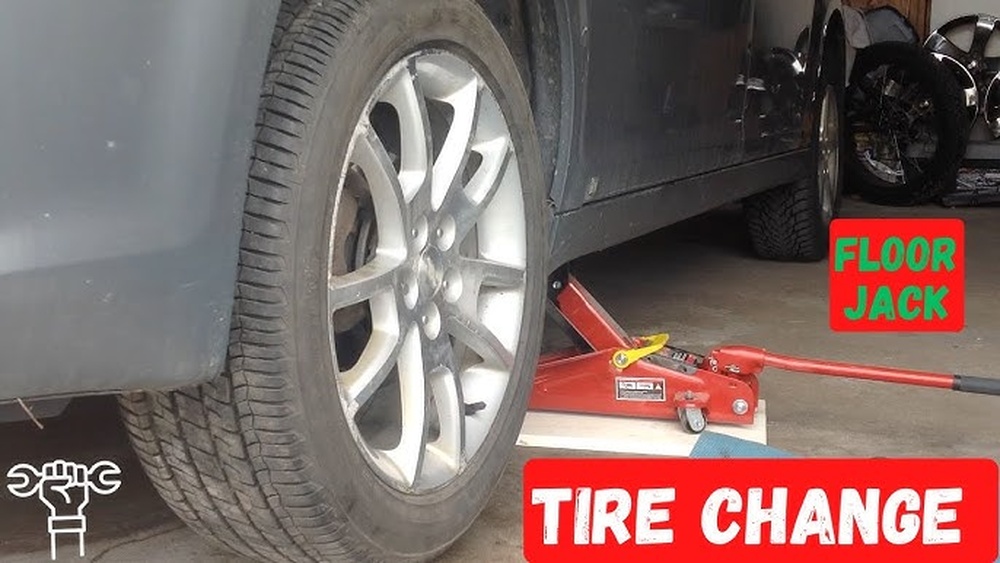
Credit: www.hcrcnow.com
Tools And Materials Needed
Repairing a Weaver floor jack needs the right tools and materials. Having these ready makes the job easier and faster. This section covers all basics for your repair project. Prepare well before starting to avoid delays and problems.
Basic Hand Tools
You need simple hand tools for most repairs. A set of wrenches and screwdrivers is essential. Pliers and a hammer help with small adjustments. A socket set is handy for nuts and bolts. Keep a clean cloth nearby for wiping parts.
Replacement Parts
Some parts wear out and need replacing. Common parts include seals, valves, and springs. Get parts that fit your exact Weaver jack model. Using original parts helps keep the jack safe and strong. Check local stores or online for the right parts.
Hydraulic Fluid Types
Hydraulic fluid powers the jack’s lifting action. Use the fluid recommended by Weaver for best results. Common types are mineral oil or specific jack oil. Avoid mixing different fluids to prevent damage. Clean fluid improves the jack’s smoothness and safety.
Safety Gear
Safety gear protects you during repairs. Wear gloves to avoid cuts and grease. Safety glasses keep dirt and fluid out of your eyes. Use sturdy shoes to protect your feet from heavy parts. Work in a well-lit space for clear visibility.
Preparing The Jack For Repair
Preparing your Weaver floor jack for repair is the first step to a safe and effective fix. Taking time to get the jack ready helps avoid problems during repair. It also keeps you safe from unexpected accidents.
Cleaning The Jack
Start by cleaning the jack thoroughly. Use a cloth to wipe away dirt and grease. Dirt can hide damage and stop parts from working well. Clean parts make it easier to spot issues. Avoid harsh chemicals that might damage the paint or metal.
Inspecting For Visible Damage
Look over the jack carefully for any visible damage. Check for cracks, dents, or bent parts. See if any parts are loose or missing. A close inspection helps find the root cause of the problem. Note down all damage before starting repairs.
Releasing Pressure Safely
Release any pressure in the jack before repair. Use the release valve to lower the jack slowly. Never force the jack down; it can cause injury. Make sure the jack is fully lowered and not under load. Safety is key during every repair step.

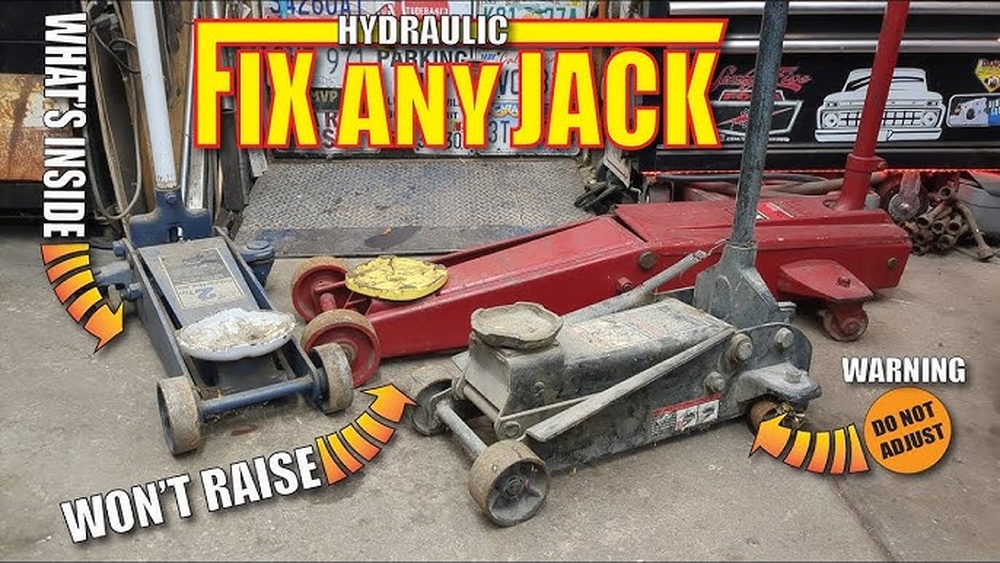
Credit: www.hcrcnow.com
Fixing Hydraulic Fluid Leaks
Fixing hydraulic fluid leaks in a Weaver floor jack is important for safe and smooth operation. Leaks cause the jack to lose pressure and fail to lift properly. Finding the leak and repairing it quickly keeps your jack reliable and extends its life.
Identifying Leak Sources
Start by cleaning the jack to remove dirt and old fluid. Check the hydraulic cylinder, pump, and hoses for wet spots. Look around seals and fittings closely. Leaks often appear as shiny or oily patches. Press the handle down and watch for new fluid spots. Mark all leak areas before starting repairs.
Replacing Seals And O-rings
Hydraulic leaks often come from worn seals or O-rings. Remove the parts covering the leak carefully. Take out old seals and O-rings with a small tool. Match replacements exactly by size and shape. Lubricate new seals lightly before fitting them in place. Reassemble parts tightly to avoid future leaks.
Refilling Hydraulic Fluid
Drain any old fluid from the jack first. Use the recommended hydraulic oil for refilling. Pour fluid slowly to avoid air bubbles. Fill to the correct level shown in the manual. Pump the handle several times to circulate fluid. Check for leaks again and add fluid if needed.
Restoring Lifting Function
Restoring the lifting function of a Weaver floor jack is key to its performance. Over time, the jack may lose strength or stop lifting properly. Fixing this issue involves a few simple steps. These steps bring back smooth and steady lifting power.
Bleeding Air From The System
Air trapped inside the hydraulic system can stop the jack from lifting. To fix this, open the release valve slowly. Pump the handle several times to push air out. Close the valve and test the lift. Repeat if needed until the jack lifts smoothly.
Adjusting The Release Valve
The release valve controls the pressure inside the jack. Sometimes it needs fine-tuning to work right. Use a wrench to turn the valve clockwise to close it. Turn counterclockwise to open it slightly. Test the jack after each adjustment. Stop when the jack lifts without leaks or slipping.
Testing The Lift Mechanism
Check the jack’s lift by raising it under a load. Make sure it moves up steadily and holds weight. Listen for strange noises or slipping. If it fails, recheck bleeding and valve adjustments. Proper testing confirms the jack is safe and fully functional.
Repairing Or Replacing Wheels
Repairing or replacing the wheels of a Weaver floor jack is a key step in maintaining its performance. Worn or damaged wheels can cause instability and difficulty moving the jack. Fixing this issue helps the jack roll smoothly and safely. The process involves removing old wheels, choosing the right replacements, and installing the new ones properly. Follow these simple steps to keep your floor jack in good shape.
Removing Damaged Wheels
Start by placing the jack on a flat surface. Use a wrench to loosen the nuts or bolts holding the wheels. Remove any pins or clips securing the wheels in place. Pull the damaged wheels off the axle carefully. Clean the axle to remove dirt and rust. Check for any other damage before fitting new wheels.
Selecting Suitable Replacements
Choose wheels that match the size and type of the original ones. Check the weight capacity to ensure they support the jack. Pick durable materials like steel or reinforced plastic. Avoid cheap or weak wheels that wear out fast. Buying the right wheels improves safety and extends the jack’s life.
Installing New Wheels
Slide the new wheels onto the clean axle. Secure them with the nuts, bolts, pins, or clips you removed earlier. Tighten all fasteners firmly but avoid over-tightening. Spin the wheels to check for smooth movement. Test the jack carefully before regular use. Proper installation keeps the jack stable and easy to move.
Preventive Maintenance Tips
Preventive maintenance keeps your Weaver floor jack working safely and smoothly. Small efforts now stop big problems later. Regular care extends the life of your jack and saves money on repairs. Follow these simple tips to keep your floor jack in good shape.
Regular Cleaning And Inspection
Clean your floor jack after each use. Remove dirt, grease, and debris with a cloth. Check for cracks, rust, or damage on the frame and parts. Look at the wheels and handle for wear. Early spotting of issues helps avoid serious damage.
Proper Storage Practices
Store your jack in a dry, clean place. Avoid damp areas that cause rust. Keep it covered to protect from dust and moisture. Make sure the jack is lowered fully before storing. Proper storage keeps parts from wearing out fast.
Routine Hydraulic Fluid Checks
Check the hydraulic fluid level regularly. Low fluid causes poor lifting and possible damage. Use the correct fluid type for your jack. Replace old or dirty fluid to keep the system working well. Routine checks prevent hydraulic failure and improve safety.
Frequently Asked Questions
How Do I Fix A Leaking Weaver Floor Jack?
To fix leaks, first identify the hydraulic fluid source. Replace damaged seals or O-rings. Refill with proper hydraulic oil. Regularly check for cracks or worn parts to prevent future leaks.
Why Is My Weaver Floor Jack Not Lifting?
Check the hydraulic fluid level and refill if low. Inspect for air trapped in the system by bleeding it. Also, ensure the release valve is fully closed and not damaged.
How Often Should I Maintain My Weaver Floor Jack?
Maintain your jack every 6 months or after heavy use. Clean it, check fluid levels, and inspect for wear. Proper maintenance ensures safe and efficient performance.
Can I Repair A Broken Handle On A Weaver Jack?
Yes, broken handles can be replaced or repaired. Purchase a compatible handle or use welding for metal handles. Ensure the handle is secure before use to avoid accidents.
Conclusion
Repairing a Weaver floor jack is easier than it seems. Follow each step carefully and take your time. Check all parts for wear and replace what’s broken. Regular maintenance helps the jack last longer. Keep safety in mind during every repair task.
A working floor jack keeps your projects safe and smooth. Trust your skills and tools to fix it right. Practice makes the process faster and less stressful. Your jack will be ready to lift again soon. Simple care makes a big difference in performance.