Have you ever removed a wall anchor and been left with an ugly hole staring back at you? Those small but stubborn holes can ruin the look of any room, making your walls look unfinished and messy.
But don’t worry—you don’t need to be a professional to fix them. You’ll learn simple, step-by-step ways to patch holes from wall anchors quickly and easily. By the time you’re done, your walls will look smooth and flawless again. Keep reading, and discover how to restore your walls like a pro!
Identify Wall Anchor Damage
Before fixing holes left by wall anchors, you need to identify the damage properly. Not all holes are the same. Different anchors cause different types of damage. Knowing the type of anchor and hole size helps you choose the right repair method. This step saves time and effort. It also makes your wall look better after the repair.
Types Of Wall Anchors
Wall anchors come in many types. Plastic expansion anchors are common in light-duty tasks. They leave small, simple holes. Toggle bolts create larger holes. These anchors open behind the wall, causing more damage. Molly bolts are another type. They expand inside the wall, sometimes making rough holes. Each type affects the wall differently. Identifying the anchor type helps to assess the damage accurately.
Assessing Hole Size And Depth
Check the hole size first. Small holes need less filling. Large holes require more care and stronger materials. Depth is important too. Shallow holes are easier to patch. Deep holes might need extra support inside. Use a ruler or a stick to measure depth. Mark the size and depth to plan your repair. Accurate assessment leads to better results.
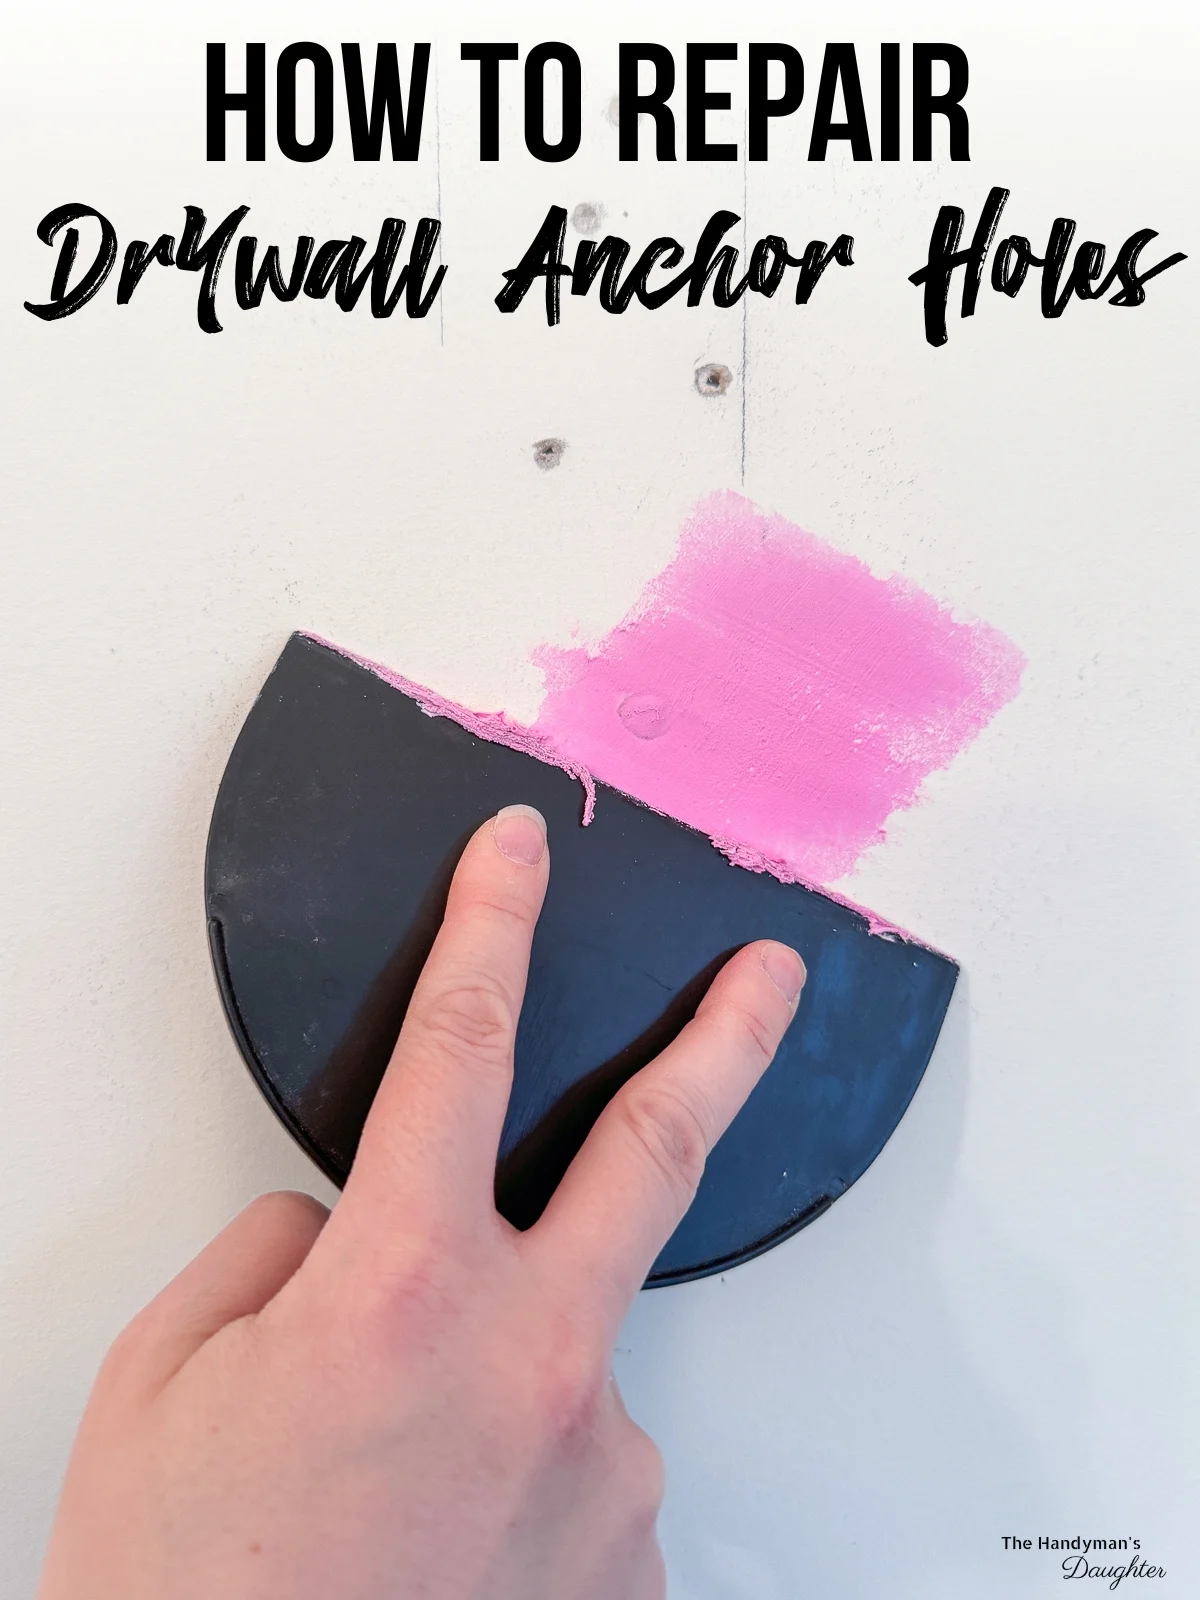
Credit: www.thehandymansdaughter.com
Gather Necessary Materials
Before patching holes left by wall anchors, gather all necessary materials. Having the right tools and compounds ready helps finish the job smoothly. This step saves time and avoids frustration. Prepare your workspace by collecting these essentials.
Tools Needed
You need basic tools for patching wall holes. Start with a putty knife to spread patch compounds evenly. A sanding block or sandpaper smooths the patched area after drying. A utility knife helps clean the hole edges. A damp cloth wipes dust away. Finally, a paintbrush or roller is useful for painting the repaired spot.
Recommended Patch Compounds
Choose patch compounds that match your wall type. Spackling paste works well for small holes and quick fixes. For larger holes, use joint compound for better strength. Lightweight patching compounds dry fast and are easy to sand. Avoid using heavy fillers that crack or shrink over time. Select compounds labeled for interior walls for best results.
Prepare The Damaged Area
Preparing the damaged area is an important first step to patch holes from wall anchors. It ensures the patch sticks well and looks smooth. Taking time here makes the repair last longer and look neat.
Remove Loose Debris
Start by removing any loose pieces around the hole. Use a putty knife or a small brush to clear out broken drywall and dust. Loose debris can stop the patch from bonding properly. Clean edges help the filler stay in place better.
Clean The Surface
Next, wipe the area to remove dust and dirt. Use a damp cloth or sponge for cleaning. Avoid soaking the wall. A clean surface helps the patch material stick tightly. Let the wall dry completely before moving on.
Fill Small Holes
Small holes from wall anchors can be fixed quickly and easily. Filling them makes your walls look neat and smooth again. You need just a few tools and some simple steps.
Start by choosing the right filler. Spackle or putty works best for small holes. These materials dry fast and are easy to sand. After filling, the wall will be ready for painting.
Applying Spackle Or Putty
Use a putty knife to apply spackle or putty into the hole. Press the filler firmly to fill the entire space. Remove any extra material around the hole. Smooth the surface as much as possible. Let the filler dry completely before moving on.
Sanding For Smoothness
After the filler dries, sand the area gently. Use fine-grit sandpaper for the best results. Sand until the surface feels even with the wall. Wipe away dust with a clean cloth. Now, the wall is ready for paint or primer.
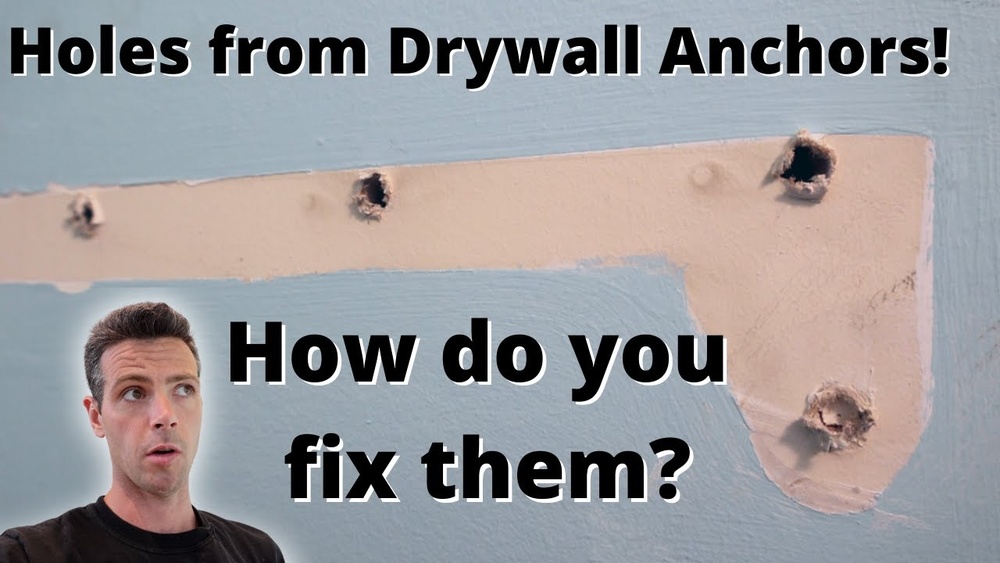
Repair Large Holes
Large holes from wall anchors need careful repair to restore the wall’s look. These holes cannot be fixed with simple spackle. They require stronger materials and a step-by-step approach to ensure a smooth finish. Proper repair prevents cracks and ensures the patch stays secure over time.
Using Mesh Or Patch Kits
Start by cleaning the hole edges. Remove any loose drywall or paint. Apply a self-adhesive mesh patch over the hole. These patches give support and hold the joint compound well. Patch kits often include mesh and compound together. They save time and make the job easier.
Press the patch firmly onto the wall. Make sure it sticks flat and covers the hole completely. This step creates a strong base for the next layers.
Layering Joint Compound
Use a putty knife to spread joint compound over the patch. Apply a thin, even layer to cover the mesh. Let the first layer dry completely. Drying usually takes several hours or overnight.
After drying, sand the surface gently to smooth bumps. Apply a second layer of joint compound. Make this layer slightly wider than the first. Repeat drying and sanding until the patch blends with the wall. Final sanding ensures a seamless look before painting.
Finishing Touches
Finishing touches make your wall repair look clean and smooth. After filling the holes, the surface needs extra care. This step hides the patch and blends it with the rest of the wall. Proper finishing ensures your wall looks like new.
Small details matter for a neat and lasting repair. Follow the right steps to prepare the area for paint. The goal is a seamless look that matches the rest of the wall perfectly.
Priming The Patched Area
Priming seals the patch and helps paint stick better. Use a primer designed for drywall or plaster. Apply a thin, even coat over the patched spot. Let it dry fully before painting. This prevents uneven color and texture differences.
Matching Paint For Seamless Repair
Choose paint that matches your wall color exactly. Test a small area first to check the color. Use the same finish as the rest of the wall, like matte or satin. Apply paint in thin layers, letting each dry before adding more. Blend edges carefully to hide the patch.
Prevent Future Damage
Preventing future damage to your walls starts with smart choices. Small holes from wall anchors can weaken your walls over time. Fixing these holes properly helps keep your walls strong. Choosing the right anchors and installing them well protects your walls from more harm. Follow these simple steps to avoid repeated repairs and save time.
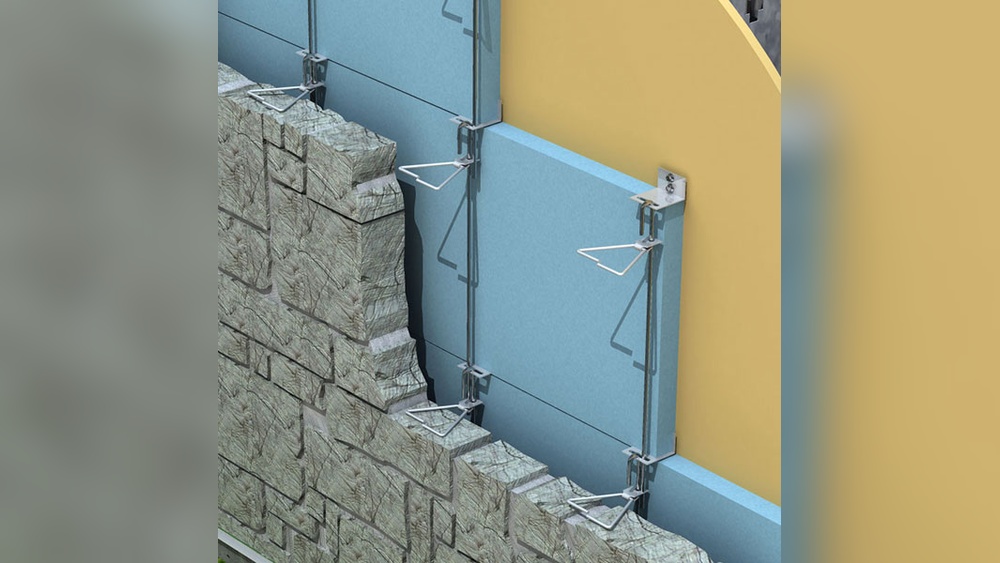
Choosing The Right Anchors
Select anchors based on the wall type and weight load. Drywall anchors work for light items like pictures. For heavier objects, use toggle bolts or molly bolts. Avoid using anchors that are too small or weak. Large anchors can cause bigger holes if pulled out. Match the anchor size to the job for best results.
Proper Installation Tips
Drill holes slightly smaller than the anchor size. This keeps anchors tight and secure. Insert anchors straight into the wall to avoid cracks. Use a level to keep items even and reduce stress on anchors. Do not over-tighten screws; it can damage the wall. Check your work by gently pulling the item after installation.

Credit: diy.stackexchange.com

Credit: www.youtube.com
Frequently Asked Questions
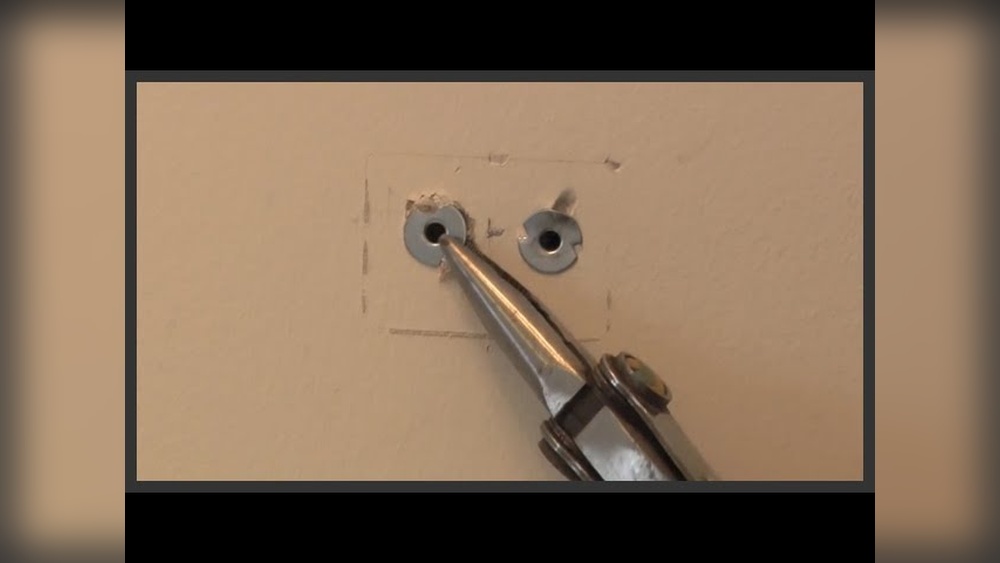
How Do I Remove Wall Anchors Without Damaging Walls?
Gently pry the anchor with pliers or a screwdriver. Avoid excessive force to prevent wall damage. Use steady pressure to loosen and remove the anchor cleanly.
What Materials Do I Need To Patch Holes From Wall Anchors?
You’ll need spackle or joint compound, a putty knife, sandpaper, primer, and paint matching your wall color. These materials ensure a smooth, seamless repair.
How Long Does It Take To Patch Wall Anchor Holes?
Patching usually takes 30 minutes for filling and sanding. Drying time for spackle or joint compound can be 1-4 hours. Painting adds additional time depending on coats needed.
Can I Reuse Wall Anchors After Patching Holes?
No, reusing anchors after patching is not recommended. The repaired area may not hold the anchor securely. It’s safer to use new anchors for stability.
Conclusion
Fixing holes from wall anchors takes just a few simple steps. Clean the hole, apply filler, and smooth it out carefully. Let the filler dry fully before sanding it flat. Finally, paint over the patch to match the wall color.
This process restores your wall’s look and keeps it strong. You can handle this repair yourself with basic tools and patience. Small fixes like these make a big difference in your home’s appearance. Try it today and enjoy a smooth, clean wall again.