If you’re looking to install a deadbolt, drilling the perfect hole is one of the most important steps. But if you’ve never done it before, the idea can feel overwhelming.
You might worry about making mistakes that could damage your door or make your lock less secure. Don’t worry—this guide will walk you through each step clearly and simply. By the end, you’ll have the confidence to drill out the hole for your deadbolt like a pro, ensuring your home stays safe and secure.
Keep reading to learn exactly how to get it right the first time.
Tools And Materials Needed
Before drilling a hole for a deadbolt, gather all tools and materials. Using the right items makes the job easier and safer. This section explains what you need for a smooth drilling process.
Drill And Drill Bits
A power drill is essential for making the hole. Choose a drill with variable speed settings for better control.
Use drill bits designed for wood or metal, depending on your door material. Typically, a hole saw bit and spade bits are needed.
The hole saw bit creates the large hole for the deadbolt. Spade bits help with smaller, precise holes.
Measuring Tools
Accurate measurements are key. Use a tape measure to mark the exact spot for the hole.
A pencil or marker helps to make clear, visible marks on the door surface.
A combination square or ruler ensures the hole is straight and level for proper lock alignment.
Safety Gear
Protect yourself during drilling. Safety glasses shield your eyes from dust and debris.
Wear gloves to protect your hands from sharp edges and splinters.
A dust mask prevents inhaling fine particles, especially when drilling wood or metal.
Additional Supplies
A piece of scrap wood helps support the door while drilling and prevents splintering.
Painter’s tape can cover the drilling area to reduce splintering on the door surface.
A vacuum or brush keeps the work area clean by removing dust and debris after drilling.
Choose The Right Location
Choosing the right location to drill a hole for your deadbolt is key for a secure and functional lock. The spot must fit the deadbolt size and door style. It needs to be strong enough to hold the lock firmly. Careful planning here saves time and avoids damage.
Measure Door Thickness
Measure the thickness of your door first. Use a tape measure for an exact number. Most deadbolts fit doors 1 3/8 to 1 3/4 inches thick. If your door is thicker or thinner, find a lock that matches. This ensures the deadbolt fits tightly and works well.
Mark Deadbolt Height
Decide on the height for your deadbolt. Standard height is about 6 to 8 inches above the door handle. Use a pencil to mark this spot clearly. Keep the mark level and easy to see. This helps you drill the hole straight and in the right place.
Check For Obstructions
Look inside the door near your mark for any obstacles. Metal reinforcements or wiring can block drilling. Use a flashlight or small mirror to inspect. Avoid places with hidden pipes or cables. Clear space makes drilling safer and easier.
Prepare The Door
Preparing the door is the first step before drilling a hole for a deadbolt. This step ensures accuracy and safety throughout the process. Proper preparation makes the job easier and prevents damage to the door.
Secure The Door
Start by keeping the door steady. Use clamps or have someone hold the door firmly. A moving door can cause mistakes or injury. Make sure the door does not swing or shift during drilling.
Mark Drill Points
Use a pencil to mark where the hole will go. Measure carefully to align the hole with the lock’s parts. Double-check the height and distance from the edge. Clear marks guide the drill and keep the hole precise.
Use A Center Punch
Press a center punch on each drill mark. Tap it lightly with a hammer to make a small dent. This dent stops the drill bit from slipping. It helps start the hole exactly where you want.
Drill The Face Bore
Drilling the face bore is the first step in creating a hole for your deadbolt lock. This hole goes through the door’s face, allowing the lock mechanism to fit snugly. Accuracy here is important. A clean, correctly sized hole makes the rest of the installation easier.
Select Correct Drill Bit Size
Choose a drill bit that matches your deadbolt’s specifications. Most deadbolts require a 2 1/8-inch hole. Check the lock instructions for exact size. Using the wrong size can cause a loose or tight fit. A proper fit ensures security and smooth operation.
Drill Straight And Steady
Hold the drill perpendicular to the door surface. Keep your hand steady to avoid angled holes. Drill slowly at first to start the hole cleanly. Once the bit catches, increase speed but maintain control. A straight hole keeps the lock aligned and working well.
Avoid Splintering
Splintering can ruin the door’s appearance and weaken it. Place masking tape over the drilling spot to reduce splinters. Drill from one side until halfway through, then finish from the other side. This technique helps keep edges clean and smooth.
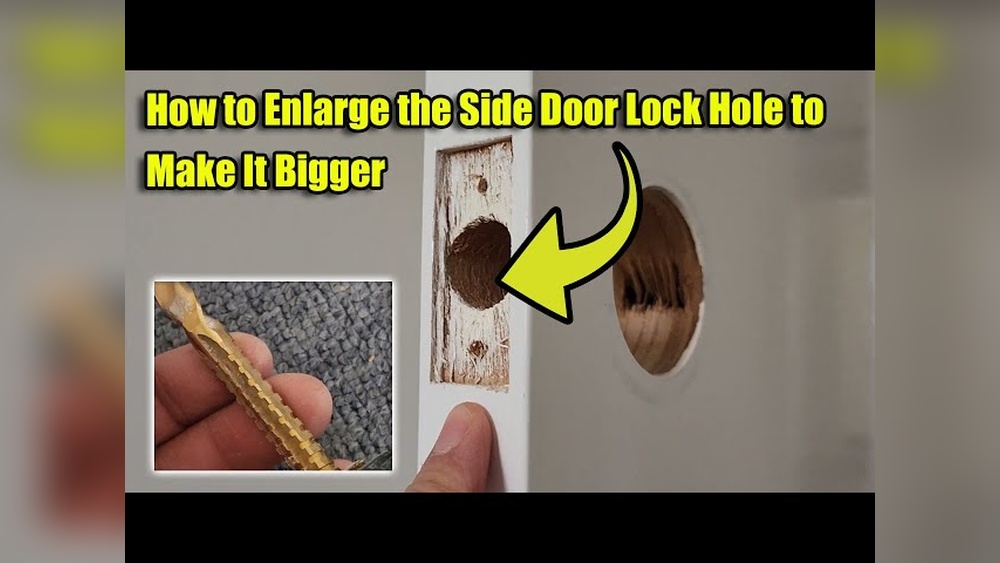
Drill The Edge Bore
Drilling the edge bore is a key step in installing a deadbolt. This hole allows the latch to fit properly into the door edge. Precise drilling ensures the deadbolt works smoothly and stays secure. Follow these steps carefully to get the right size and position.
Mark Deadbolt Latch Position
Begin by marking the exact spot for the latch on the door edge. Use the deadbolt latch plate as a guide. Place it flush against the door edge. Trace around it with a pencil. This mark shows where to drill the edge bore hole.
Drill Edge Hole
Select a drill bit that matches the latch size. Usually, this is a 1-inch spade or hole saw bit. Drill straight into the door edge on the marked spot. Drill deep enough for the latch to fit fully inside. Keep the drill steady to avoid uneven holes.
Clean The Hole
Remove any wood chips or rough edges inside the hole. Use sandpaper or a small file to smooth the inside. A clean hole helps the latch fit snugly. It also prevents the deadbolt from sticking or jamming.

Credit: www.youtube.com
Install The Deadbolt
Installing the deadbolt is the next step after drilling the hole. This process secures your door with a strong lock. Follow each part carefully to make sure the deadbolt works well.
Insert Latch Mechanism
Start by pushing the latch mechanism into the hole on the door edge. Make sure the latch face is flush with the door surface. The slanted part of the latch should face the door frame. Press it firmly until it fits tight.
Attach Faceplate
Place the metal faceplate over the latch on the door edge. Align the screw holes with the holes on the door. Use screws to fix the faceplate tightly. This keeps the latch secure and stable in the door.
Fit Deadbolt Cylinder
Insert the deadbolt cylinder into the large hole on the door face. Match the tailpiece with the latch mechanism inside. Hold the cylinder steady as you screw it into place. Test the key to ensure the deadbolt moves smoothly.
Test The Lock
Testing the lock after drilling out the hole for a deadbolt is very important. This step ensures the lock works properly and fits well in the door. A well-tested lock keeps your home safe and avoids future problems. Spend time to test the lock carefully before finalizing the installation.
Check Smooth Operation
Turn the key in the lock cylinder slowly. The bolt should move smoothly without sticking or resistance. Try locking and unlocking several times. The deadbolt should slide easily into the strike plate. Listen for any unusual sounds like grinding or clicking. Make sure the key does not get stuck or feel loose. Smooth operation means the hole and lock are aligned correctly.
Make Adjustments If Needed
If the lock feels hard to turn, check the hole size and alignment. The deadbolt may need more space or a better angle. Use a file or drill to adjust the hole slightly. Tighten or loosen screws to improve lock fit. Test the lock again after every change. Keep adjusting until the lock works without effort. A good fit makes your door secure and easy to use.

Credit: www.youtube.com
Tips For A Professional Finish
Getting a clean and professional finish when drilling out a hole for a deadbolt makes a big difference. It helps the lock fit perfectly and keeps your door safe. Follow these simple tips to avoid common mistakes and make your work look neat.
Small steps can prevent damage and save time. Use the right tools carefully. Keep your focus on safety and precision to get the best results.
Prevent Door Damage
Protect the door surface by covering the area with painter’s tape. It stops scratches and splinters while drilling. Mark the drill spots clearly before you start. Drill slowly at first to avoid cracking the wood. Hold the drill steady and straight. This keeps holes neat and prevents misalignment.
Use Proper Drill Speed
Choose a slow to medium drill speed for better control. High speed can burn the wood or dull the bit quickly. Slow drilling helps you stay accurate and reduces slips. Use sharp drill bits designed for wood or metal, depending on your door. Change bits if they become dull to keep holes clean.
Maintain Tool Safety
Wear safety glasses to protect your eyes from dust and debris. Keep your hands away from the drill bit while operating. Check that the drill bit is firmly tightened in the chuck. Use clamps to hold the door steady if possible. Always unplug the drill when changing bits or making adjustments.

Credit: doorcorner.wordpress.com
Frequently Asked Questions
How Do I Drill A Hole For A Deadbolt Lock?
Mark the door where the deadbolt fits. Use a hole saw bit for the main hole. Drill slowly to avoid splintering. Then drill the edge hole for the latch. Ensure both holes align perfectly for smooth lock installation.
What Drill Bit Size Is Needed For A Deadbolt?
Typically, use a 2 1/8-inch hole saw bit for the main hole. For the latch hole on the door’s edge, use a 1-inch spade bit. These sizes fit most standard deadbolts and ensure proper installation and security.
Can I Drill A Deadbolt Hole Without A Template?
Yes, but using a template ensures accuracy. Measure and mark carefully. Templates help align the holes for the lock and latch perfectly. Without one, mistakes are common and can affect lock performance and door integrity.
How Deep Should I Drill For A Deadbolt Lock?
Drill the main hole through the entire thickness of the door. The latch hole should be deep enough to fit the latch body fully. Check the deadbolt instructions for exact depth to ensure a secure fit.
Conclusion
Drilling a hole for a deadbolt is simple with the right steps. Take your time and measure carefully before you start. Use the correct tools to make clean, precise holes. Stay safe by wearing protective gear and working slowly. Practice on scrap wood if you feel unsure.
A well-drilled hole helps your deadbolt fit perfectly and work smoothly. Now, you are ready to improve your home’s security with confidence.