Are you ready to take your resistance band workouts to the next level? A wall anchor can make all the difference, giving you more exercise options and better stability.
Building your own resistance band wall anchor is easier than you think, and it can save you money while boosting your workout’s effectiveness. In this guide, you’ll learn simple steps to create a secure, reliable anchor right at home. Keep reading, and discover how to enhance your fitness routine with a tool you build yourself.
Your stronger, more versatile workouts start here.
Materials Needed
Building a resistance band wall anchor needs specific materials. Choosing the right items makes the setup safe and strong. This section explains what you need for a solid anchor.
Types Of Resistance Bands
Resistance bands come in many styles. Tube bands have handles and are easy to grip. Flat bands are long and wide, good for stretching. Loop bands are circular and versatile for legs and arms. Pick a band type that fits your workout.
Anchor Components
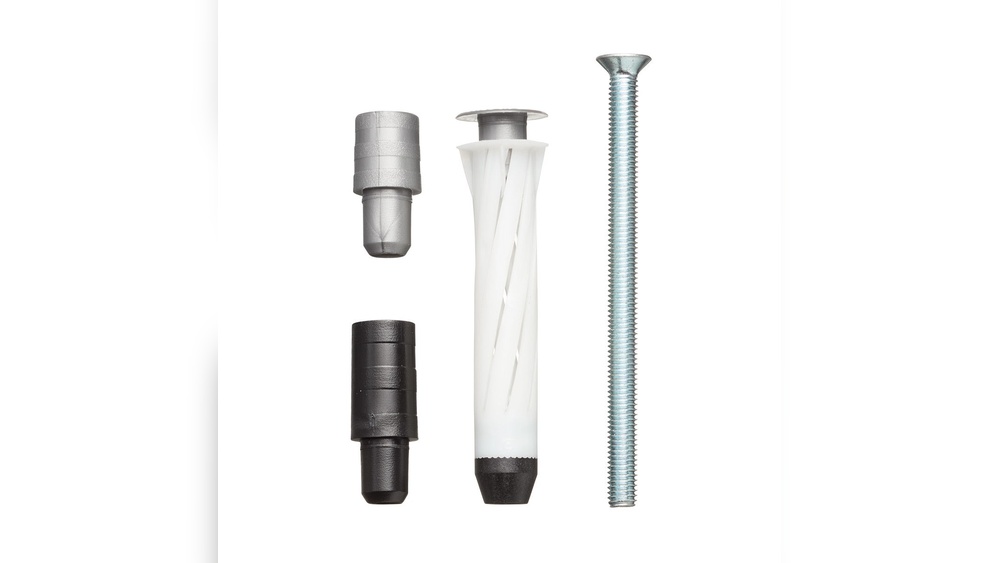
The wall anchor must hold the band firmly. Use a strong metal eye bolt or hook. A heavy-duty wall anchor or toggle bolt helps in drywall. A metal plate can spread the weight for safety. Choose parts that support your band’s tension.
Tools Required
Prepare tools before installation. A power drill makes holes fast and clean. Use a screwdriver to secure bolts tightly. A measuring tape helps place the anchor at the right height. A pencil marks spots on the wall. Safety glasses protect your eyes while drilling.

Credit: www.youtube.com
Choosing The Right Wall
Choosing the right wall is key to building a strong resistance band wall anchor. The wall must hold the anchor firmly and safely. Picking a weak or unsuitable wall can cause damage or injury. Consider the type of wall, its strength, and the best spot for your exercise needs.
Wall Material Options
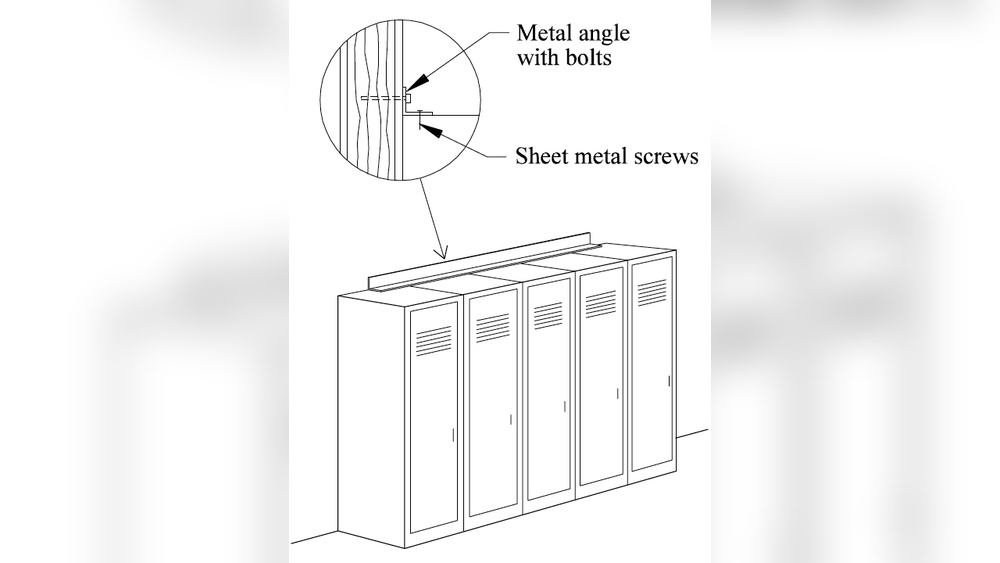
Walls come in different materials like wood, concrete, brick, and drywall. Concrete and brick walls are very strong and hold anchors well. Wood walls can work if you find a solid stud to attach the anchor. Drywall alone is too weak and needs extra support, like a stud or backing plate.
Safety Considerations
Safety is the top priority. Avoid walls with pipes or electrical wiring inside. Use a stud finder to locate safe spots in wood or drywall. Check the wall for cracks or damage before drilling. Make sure the anchor fits tightly and does not move during use.
Ideal Locations
Pick a spot with enough space to move freely. Near a doorway or a sturdy beam often works well. The area should have clear floor space for exercises. Avoid places with furniture or breakable items nearby. Good lighting helps you see and use the anchor safely.
Step-by-step Installation
Installing a resistance band wall anchor is simple with clear steps. Follow these instructions to set it up safely and firmly. A well-installed anchor ensures strong support during workouts. Take your time to complete each step carefully.
Marking Anchor Points
Start by choosing a solid wall surface. Use a pencil to mark the spots for drilling. Check the height is right for your exercises. Make sure the marks align straight for balance. Use a level tool for better accuracy.
Drilling And Mounting
Pick a drill bit that fits your wall plugs. Drill holes at the marked points gently. Clear out dust from the holes using a brush. Insert wall plugs tightly into each hole. Position the anchor base over the plugs.
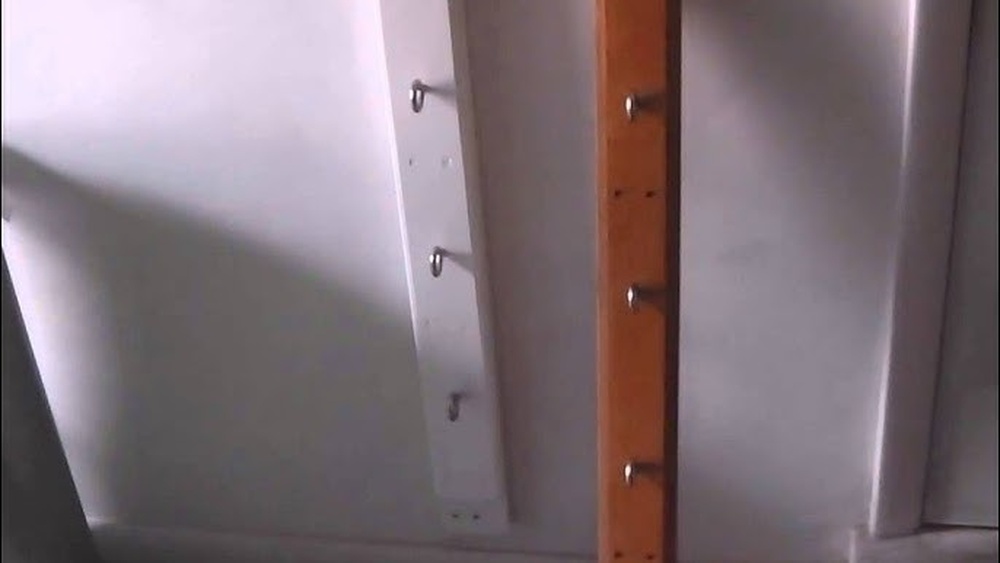
Securing The Anchor
Use screws to fasten the anchor to the wall. Tighten screws with a screwdriver or drill. Check if the anchor feels solid and stable. Pull on the anchor lightly to test strength. Adjust screws if the anchor moves.

Credit: www.esseg.eu
Testing And Adjustments
Testing and making adjustments are key steps after building your resistance band wall anchor. This ensures the setup is safe and works well for your workouts. Testing helps find weak spots or issues before you start using it regularly.
Adjustments make the anchor fit your needs. Small changes can improve comfort and resistance. Pay attention to how the band feels during exercises and adjust accordingly.
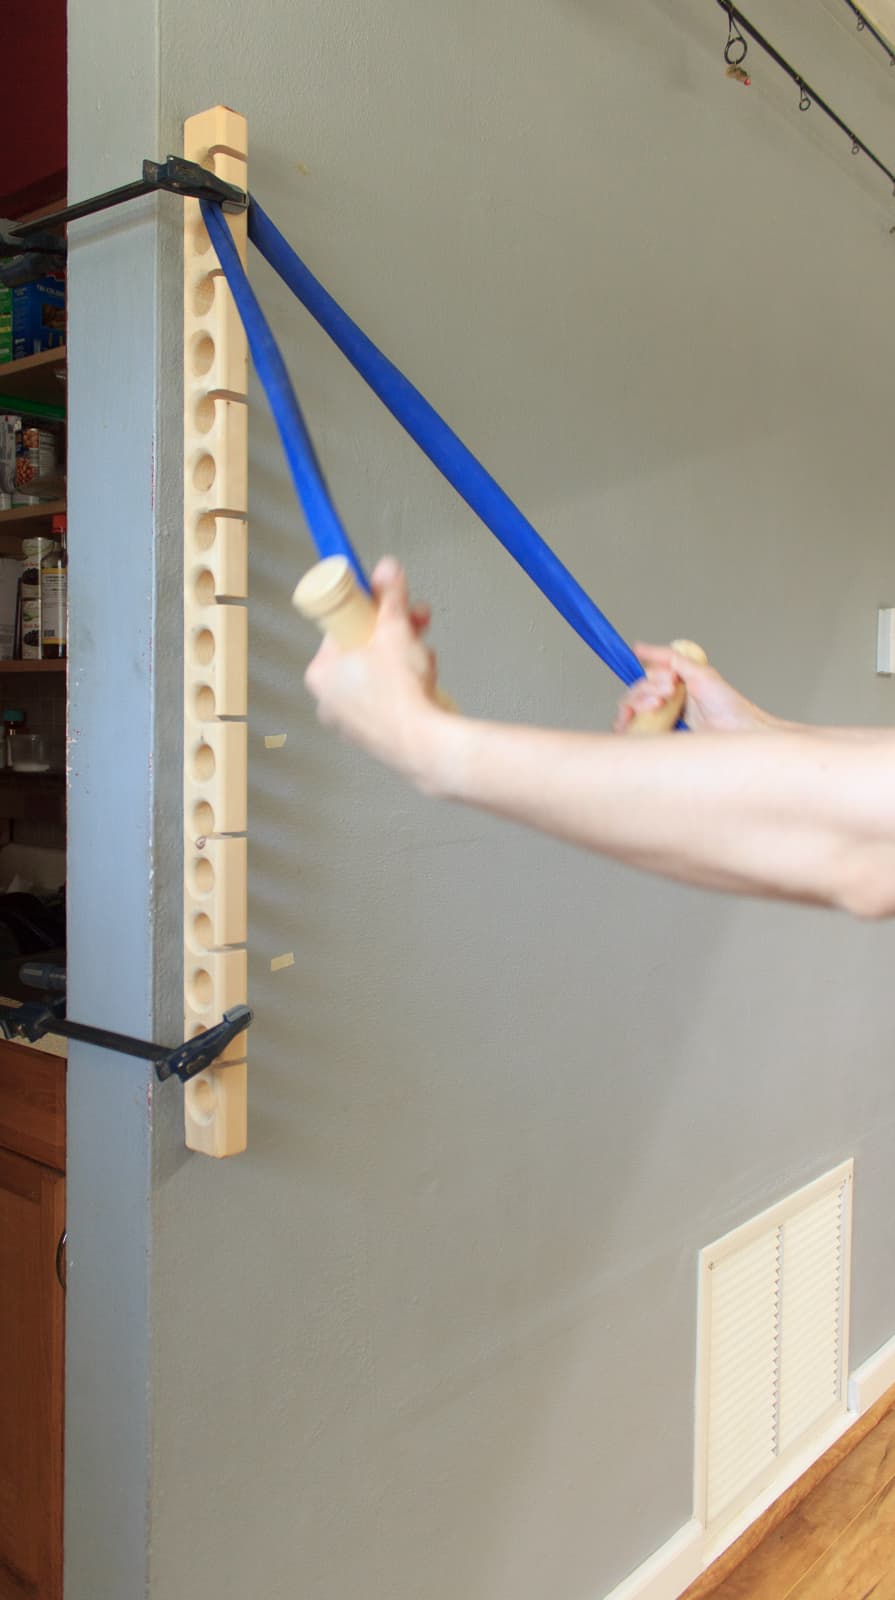
Initial Strength Test
Start by pulling the band gently. Increase force slowly to check the anchor’s hold. Watch for any movement or noise from the anchor point. The wall and anchor should not shift or loosen. If everything stays firm, your anchor is strong enough.
Adjusting Tension
Change the band length or position to adjust tension. Shorter bands mean more resistance. Longer bands give less tension but more range of motion. Try different setups to find what feels best for your workout style. Tighten or loosen the anchor as needed to keep the band secure.
Troubleshooting Common Issues
If the anchor moves, check the mounting hardware. Tighten screws or bolts firmly. If the band slips, replace worn bands or use grips. Noise or creaking may mean loose parts; inspect and fix them. Ensure the wall surface is solid and clean for better grip. Fix problems early to prevent accidents.
Maintenance Tips
Proper maintenance keeps your resistance band wall anchor safe and effective. It helps avoid accidents and extends the anchor’s life. Simple care steps make a big difference.
Regular Inspections
Check the anchor before each use. Look for cracks, loose screws, or signs of wear. Pay attention to the wall and mounting area. Fix problems right away to prevent injury.
Cleaning The Anchor
Keep the anchor clean to avoid dirt buildup. Wipe it with a damp cloth regularly. Avoid harsh chemicals that can weaken the material. Let it dry completely before use.
Replacing Worn Parts
Replace any damaged or worn parts immediately. Use parts that fit your anchor model. Regular replacement ensures the anchor stays strong and secure. Never ignore small damages.
Credit: www.admiralbumblebee.com
Safety Precautions
Safety is the top priority when building a resistance band wall anchor. Proper precautions protect you from accidents and injuries. Taking time to follow safety steps makes your workout safe and effective.
Proper Usage Techniques
Attach the anchor securely to a strong wall or door frame. Check the band and anchor for tears or damage before each use. Pull the band slowly and evenly. Avoid sudden or sharp movements that may cause the band to snap.
Avoiding Injuries
Wear proper workout shoes and comfortable clothes. Keep the workout area clear of obstacles. Use resistance bands that match your strength level. Stop exercising if you feel pain or discomfort. Always warm up before using the bands to prepare your muscles.
Emergency Measures
Have a first aid kit nearby in case of minor injuries. Know how to release the band quickly if it slips. Seek medical help immediately for serious cuts or bruises. Keep a phone close to call for help if needed. Stay calm and assess the situation before acting.
Alternative Anchor Ideas
Resistance band wall anchors help secure your bands safely for effective workouts. Sometimes, a wall anchor might not fit your space or needs. Different anchor ideas can make your setup flexible and easy.
Door Anchors
Door anchors fit between the door and frame. They hold the band securely without damage. Use a strong door that closes tightly. Place the anchor at the top, middle, or bottom. This gives many angles for exercises. Door anchors are easy to install and remove. Perfect for home or travel workouts.
Ceiling Mounts
Ceiling mounts offer a high anchor point. Attach a hook or pulley to a ceiling joist. This setup allows overhead exercises and full range motion. Make sure the ceiling can hold weight safely. Ceiling mounts keep bands out of the way. Great for small rooms or limited wall space.
Portable Options
Portable anchors work anywhere. Some use heavy objects like weights or furniture. Others come with handles or straps for easy use. These anchors suit outdoor workouts or trips. They give freedom to exercise without fixed anchors. Portable options expand your workout spots quickly.
Frequently Asked Questions
What Materials Do I Need To Build A Resistance Band Wall Anchor?
You need a sturdy wall mount, heavy-duty screws, a carabiner, and resistance bands. Choose durable materials for safety and longevity.
How Do I Safely Install A Resistance Band Wall Anchor?
Locate wall studs, drill pilot holes, and securely fasten the mount with heavy-duty screws. Ensure the anchor is stable before use.
Can I Use Any Wall Type For Resistance Band Anchors?
It’s best to use solid walls like wood studs or concrete. Drywall alone is not strong enough for safe anchoring.
How Do I Maintain My Resistance Band Wall Anchor?
Regularly check screws and mounts for wear or looseness. Tighten or replace parts as needed to ensure safety during workouts.
Conclusion
Building a resistance band wall anchor is simple and useful. It saves space and helps you exercise at home. Choose a strong wall and proper tools for safety. Follow steps carefully to avoid damage or injury. With your new anchor, you can do many workouts anytime.
Stay consistent and enjoy your fitness journey. Small effort leads to great results. Keep your bands secure and your workouts effective. You now have a handy tool to boost your strength.