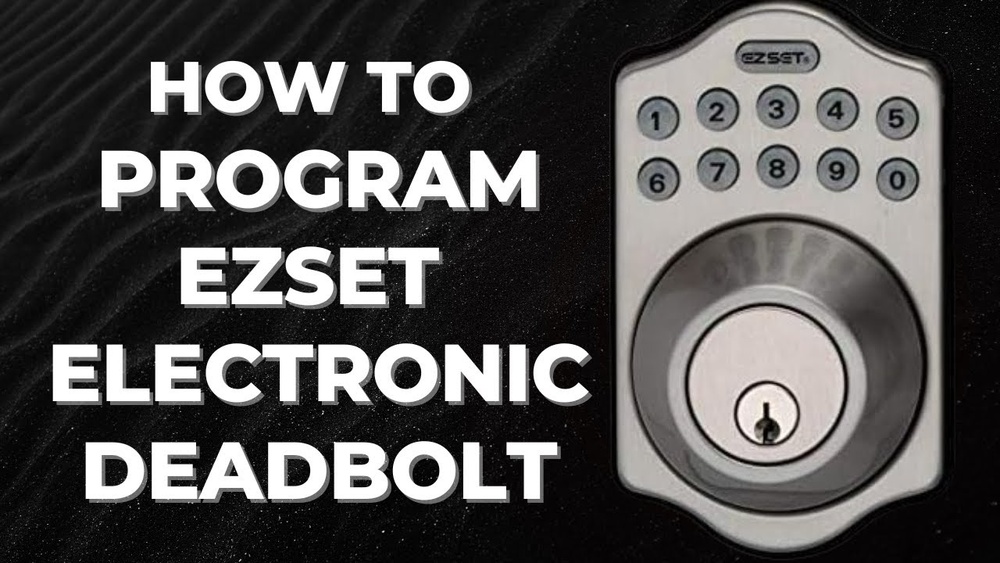
Are you looking to upgrade your home security quickly and easily? Installing an Ezset electronic keypad deadbolt is a smart way to keep your home safe without the hassle of carrying keys.
In this guide, you’ll discover simple, step-by-step instructions that anyone can follow—even if you’ve never installed a lock before. By the end, you’ll have a secure, keyless entry system ready to protect what matters most. Keep reading to unlock the secrets to a smooth installation!

Credit: esales.com.my
Tools And Materials Needed
Installing an Ezset Electronic Keypad Deadbolt is easier with the right tools and materials. Having everything ready saves time and avoids frustration. This section lists all necessary items for a smooth installation.
Essential Tools For Installation
You need a screwdriver, preferably a Phillips head. A drill helps create holes if needed. A tape measure ensures correct placement. A pencil marks important spots. A level keeps the deadbolt straight. A hammer might be useful for minor adjustments.
Materials Included In The Package
The Ezset package includes the keypad, interior assembly, and strike plate. You also get screws and batteries. The instruction manual is crucial for guidance. Keep all parts organized before starting.
Additional Supplies To Have Nearby
Extra batteries might be necessary for future use. Wood filler can fix old holes. Sandpaper smooths rough edges. A flashlight helps in low-light areas. Have a small container for screws to avoid loss.

Credit: www.youtube.com
Preparing The Door
Preparing the door is the first step to install the Ezset Electronic Keypad Deadbolt. A well-prepared door ensures the lock fits perfectly and works smoothly. It also helps avoid damage to the door or the lock.
Start by removing any old lock or deadbolt. This clears the way for the new electronic keypad deadbolt. Next, check the door to make sure it fits the new lock properly. This helps prevent installation issues later.
Removing Existing Lock
Use a screwdriver to remove the screws holding the old lock. Take off the interior and exterior parts carefully. Keep the screws and parts aside in case you need them later. Remove the deadbolt from the door edge. Check the hole for any damage or dirt. Clean the area to prepare for the new lock.
Checking Door Fit
Measure the thickness of your door. The Ezset lock fits doors between 1 3/8 and 2 inches thick. Check the backset, the distance from the door edge to the center of the hole. Most locks fit either 2 3/8 or 2 3/4 inches. Make sure your door’s holes match these sizes. Smooth any rough edges around the holes. This helps the new lock sit tight and work well.
Installing The Deadbolt
Installing the Ezset electronic keypad deadbolt is a straightforward process. It improves your door’s security and adds convenience. Follow the steps carefully to ensure a proper fit and reliable function.
This section covers how to position and secure the deadbolt for the best results. Take your time and check each step as you go.
Positioning The Deadbolt
Start by marking the correct height on your door. The deadbolt should align with your existing latch or at a comfortable reach. Use the template provided with the lock to mark holes for screws and the deadbolt.
Make sure the keypad faces outside. The interior thumb turn must be easy to reach. Drill the holes carefully, following the marks exactly. Avoid drilling too deep or off-center.
Securing The Deadbolt
Insert the deadbolt into the door edge. Check that it slides smoothly before securing. Attach the exterior keypad and interior thumb turn on each side of the door. Connect any cables as shown in the instructions.
Tighten the screws firmly but do not overtighten. This prevents damage and ensures the lock works well. Test the deadbolt by turning the thumb turn and pressing buttons on the keypad. Adjust if necessary for smooth operation.
Attaching The Electronic Keypad
Attaching the electronic keypad is a key step in installing your Ezset deadbolt. This part connects the keypad to the lock mechanism. It must be done carefully to ensure the lock works well. Follow the steps closely for a secure fit and smooth operation.
Aligning The Keypad
Start by placing the keypad on the door exterior. Check that it fits over the mounting plate. The buttons should be facing outward and easy to press. Make sure the keypad sits flat against the door surface. Align the screw holes on the keypad with those on the mounting plate. Proper alignment prevents damage and helps the keypad work correctly.
Connecting Wiring
Next, connect the wires from the keypad to the lock body. Match wire colors as shown in the manual. Push the connectors firmly to ensure a solid connection. Loose wiring can cause the lock to malfunction. Tuck the wires neatly inside the door cavity. This keeps them safe and hidden. Double-check connections before securing the keypad with screws.
Installing The Interior Assembly
Installing the interior assembly of the Ezset electronic keypad deadbolt is a key step. It connects the keypad and battery pack inside your door. This part controls the lock’s functions and powers the keypad. Follow clear steps to ensure a secure and smooth installation.
Focus on correct alignment and secure mounting. Pay close attention to the battery placement for long-lasting use. This process is straightforward and requires only basic tools.
Mounting The Interior Plate
Start by placing the interior mounting plate on the inside of your door. Align it with the holes from the exterior keypad assembly. Make sure the plate sits flat and level against the door surface. Use the screws provided to secure the plate tightly. Avoid over-tightening to prevent damage. Check that the tailpiece from the exterior fits into the interior assembly slot properly.
Inserting Batteries
Open the battery compartment on the interior assembly. Insert four AA batteries in the correct orientation. Follow the positive and negative signs inside the compartment. Use fresh batteries for best performance. Close the compartment cover securely to protect the batteries. Test the keypad to ensure it powers on correctly.
Programming The Keypad
Programming the keypad is a simple step to make your Ezset Electronic Keypad Deadbolt secure. It lets you control who can open your door. This section explains how to set your master code and add user codes. Follow these steps carefully for smooth setup.
Setting Master Code
Start by pressing the “Program” button on the keypad. Enter the default master code, usually “1234”. Press the “” key to confirm. Now, enter your new master code. Make sure it has 4 to 8 digits. Press “” again to save the code. The keypad will beep to confirm the change. Remember your new master code. It controls all programming functions.
Adding User Codes
Press the “Program” button once more. Enter your master code and press “”. Choose the option to add a user code. Enter the new user code with 4 to 8 digits. Press “” to save the code. The keypad beeps to confirm success. Repeat to add more user codes. Each code allows someone else to unlock the door. Manage user codes regularly to keep your home safe.
Testing The Lock
Testing the Ezset electronic keypad deadbolt ensures it works correctly. This step confirms the lock responds to your code and secures your door properly. Skipping this test might cause problems with door security later. Follow the steps below to check the lock’s function and fix issues fast.
Locking And Unlocking
Start by entering your personal code on the keypad. The deadbolt should retract smoothly, letting you open the door. Press the lock button or turn the thumb turn to lock the door. The deadbolt should extend fully and hold tight. Try locking and unlocking several times to confirm consistent operation. Each time, the lock must respond quickly without sticking or delays.
Troubleshooting Common Issues
If the lock does not respond to the code, check the batteries first. Weak batteries often cause keypad failures. Replace with fresh batteries and test again. Make sure the deadbolt is aligned with the strike plate on the door frame. Misalignment can prevent the bolt from moving fully. Tighten any loose screws on the lock and door hardware. Reset the lock following the manual if codes do not work. Repeat the testing process until the lock operates smoothly every time.

Credit: www.amazon.com
Maintenance Tips
Proper maintenance keeps your Ezset Electronic Keypad Deadbolt working well. Simple care extends the lock’s life and ensures smooth operation. Follow these easy tips to avoid common problems.
Battery Replacement
Check the battery regularly to avoid lockouts. Replace batteries every six months or when the keypad dims. Use fresh, high-quality batteries for best results. Open the battery compartment carefully and swap old batteries with new ones. Test the keypad after replacement to confirm power.
Cleaning The Keypad
Keep the keypad clean to maintain clear button response. Use a soft, damp cloth to wipe the surface gently. Avoid harsh chemicals or abrasive tools that can damage the keypad. Clean the keypad once a month or if it gets dirty. Dry the keypad completely before using the lock again.
Frequently Asked Questions
How Do I Install The Ezset Electronic Keypad Deadbolt?
To install, first remove your old deadbolt. Align the Ezset keypad with the door. Secure it using the provided screws. Follow the manual for wiring and programming steps. Test the lock before finalizing the installation.
What Tools Are Needed For Ezset Deadbolt Installation?
You need a screwdriver, drill, measuring tape, and pencil. These tools help remove the old lock and fit the new deadbolt. Having a level can ensure the keypad aligns properly. Always follow the instruction manual for specific tool recommendations.
How Do I Program The Ezset Electronic Keypad Deadbolt?
After installation, enter the default master code. Follow prompts to set a new master code. Add user codes through the keypad menu. Refer to the manual for detailed programming instructions to ensure security.
Can I Install Ezset Deadbolt On Any Door Type?
Ezset deadbolt fits standard wooden and metal doors. Door thickness should be between 1-3/8″ to 2″ for proper fit. Check the product specs before installation to confirm compatibility with your door.
Conclusion
Installing the Ezset electronic keypad deadbolt is simple and quick. Follow each step carefully for the best results. Make sure the batteries work well before starting. Test the lock several times to confirm it functions properly. This lock adds security and convenience to your door.
Keep your code safe and change it when needed. Enjoy the ease of keyless entry every day. Trust the process and take your time. You’ll have a secure door in no time.

