Hanging pictures on your wall might seem simple, but using just one hook can make your artwork tilt or fall. If you want your pictures to stay perfectly straight and secure, using two hooks is the way to go.
You’ll learn easy, step-by-step methods to hang your pictures with two hooks like a pro. Whether you’re decorating your living room or adding a personal touch to your office, these tips will save you time and frustration. Keep reading, and soon your walls will look exactly how you want them—stable, stylish, and straight.
Credit: www.apartmenttherapy.com
Tools And Materials Needed
Hanging pictures on the wall with two hooks needs the right tools and materials. Using correct items makes the job easier and safer. This section covers what you need before starting.
Selecting The Right Hooks
Choose hooks that hold the picture’s weight. Metal hooks offer strong support. Plastic hooks work for lighter frames. Hooks with two points give better balance. Make sure hooks fit your picture frame’s hanging hardware.
Choosing Suitable Nails Or Screws
Pick nails or screws that match the wall type. Use nails for drywall and light frames. Screws work better for heavy pictures or plaster walls. Check the length to avoid wall damage. Use anchors with screws for extra hold.
Additional Tools For Measurement And Marking
Measure the wall space before hanging. A tape measure helps find the right height. Use a pencil to mark hook positions lightly. A level tool keeps pictures straight on the wall. A hammer or screwdriver is needed to fix nails or screws.
Preparing The Wall
Preparing the wall is the first step to hang pictures with two hooks. A clean and smooth surface helps the hooks stick well. Choosing the right spot makes your picture look its best. These simple steps ensure your picture hangs straight and stays secure.
Cleaning The Surface
Start by wiping the wall with a damp cloth. Remove dust, dirt, and grease spots. Use mild soap if needed, then dry the wall completely. A clean surface helps hooks stick better and last longer. Avoid rough scrubbing to keep the wall smooth.
Finding The Ideal Spot
Pick a spot that matches your room’s style. Consider eye level for easy viewing. Use a pencil to mark where hooks will go. Measure the distance between hooks on the picture frame. Check the wall for studs or obstacles before drilling. This step helps your picture hang straight and safe.
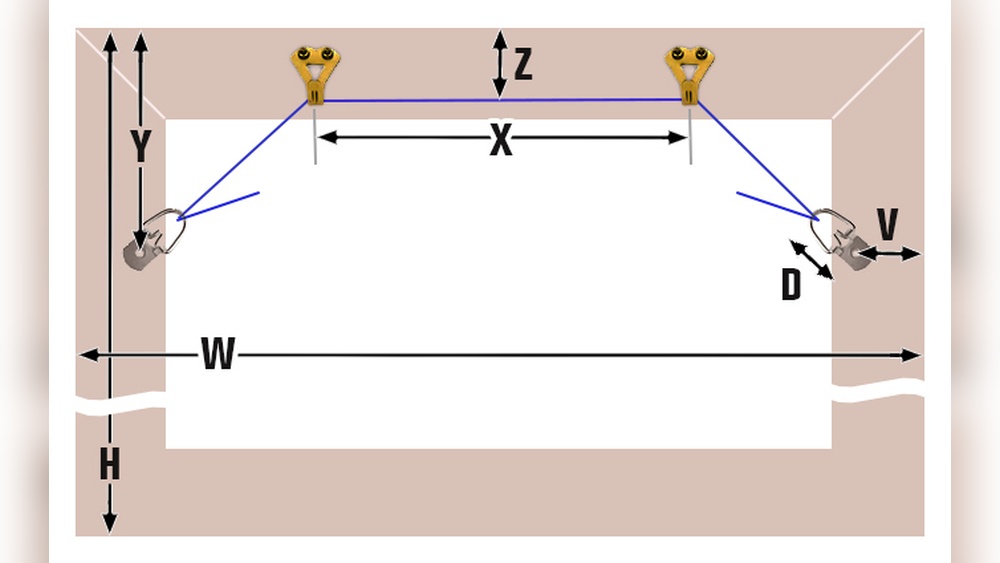
Measuring For Two Hooks
Measuring for two hooks is a key step in hanging pictures securely and evenly. It helps keep your artwork balanced and straight on the wall. Careful measuring prevents crooked or unstable hanging, saving time and effort.
Start by knowing the size and weight of your picture. This guides where to place the hooks. Accurate measuring ensures the picture stays level and looks great.
Determining Hook Placement
First, find the width of the picture frame. Measure the distance between the two hanging points on the back. These points should be where the wire or brackets rest.
Place the hooks on the wall at the same distance apart as the hanging points. Keep them level with each other. Use a tape measure and level tool for accuracy.
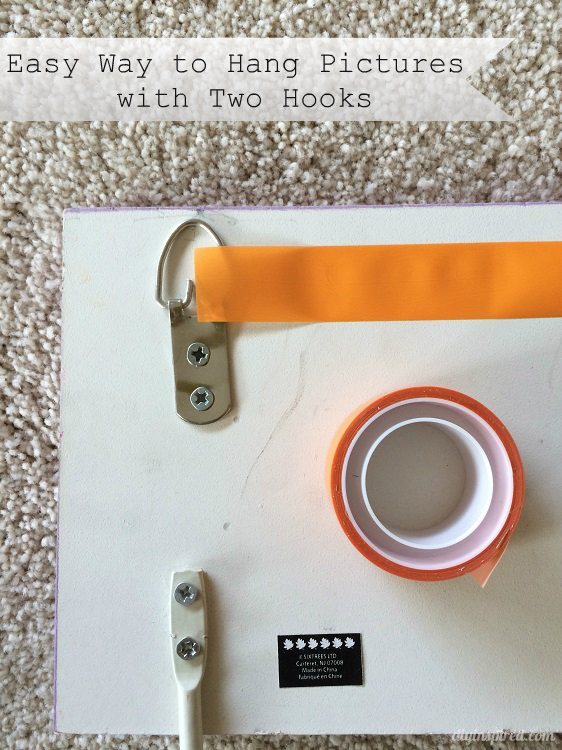
Marking Hook Positions Accurately
Use a pencil to mark the spots for the hooks on the wall. Mark lightly so the marks can be erased later.
Double-check the measurements before making any holes. Measure twice, mark once. This reduces errors and ensures a perfect fit.
Use a level to confirm the marks are even horizontally. This step avoids a tilted picture after hanging.
Credit: diyinspired.com
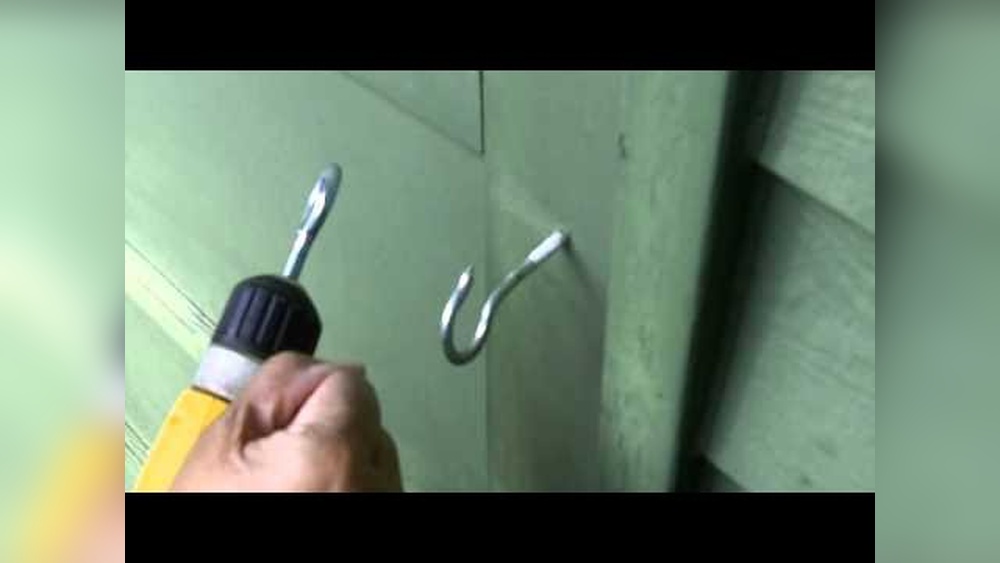
Installing The Hooks
Installing hooks correctly is key to hanging pictures safely. Good installation stops pictures from falling or tilting. Two hooks give better balance and support for heavier frames. Follow the steps below to install hooks firmly and evenly.
Drilling Pilot Holes
Start by marking the spots for the hooks on the wall. Use a pencil to make small marks at equal heights. Choose a drill bit slightly smaller than the hook screws. Drill pilot holes at the marked spots. These holes help screws go in straight and prevent wall damage.
Securing Hooks Firmly
Place the hook screw into the pilot hole. Turn it slowly by hand to get it started. Use a screwdriver to tighten the screw fully. Make sure the hook feels solid and does not wiggle. Repeat for the second hook, keeping the same height and spacing.
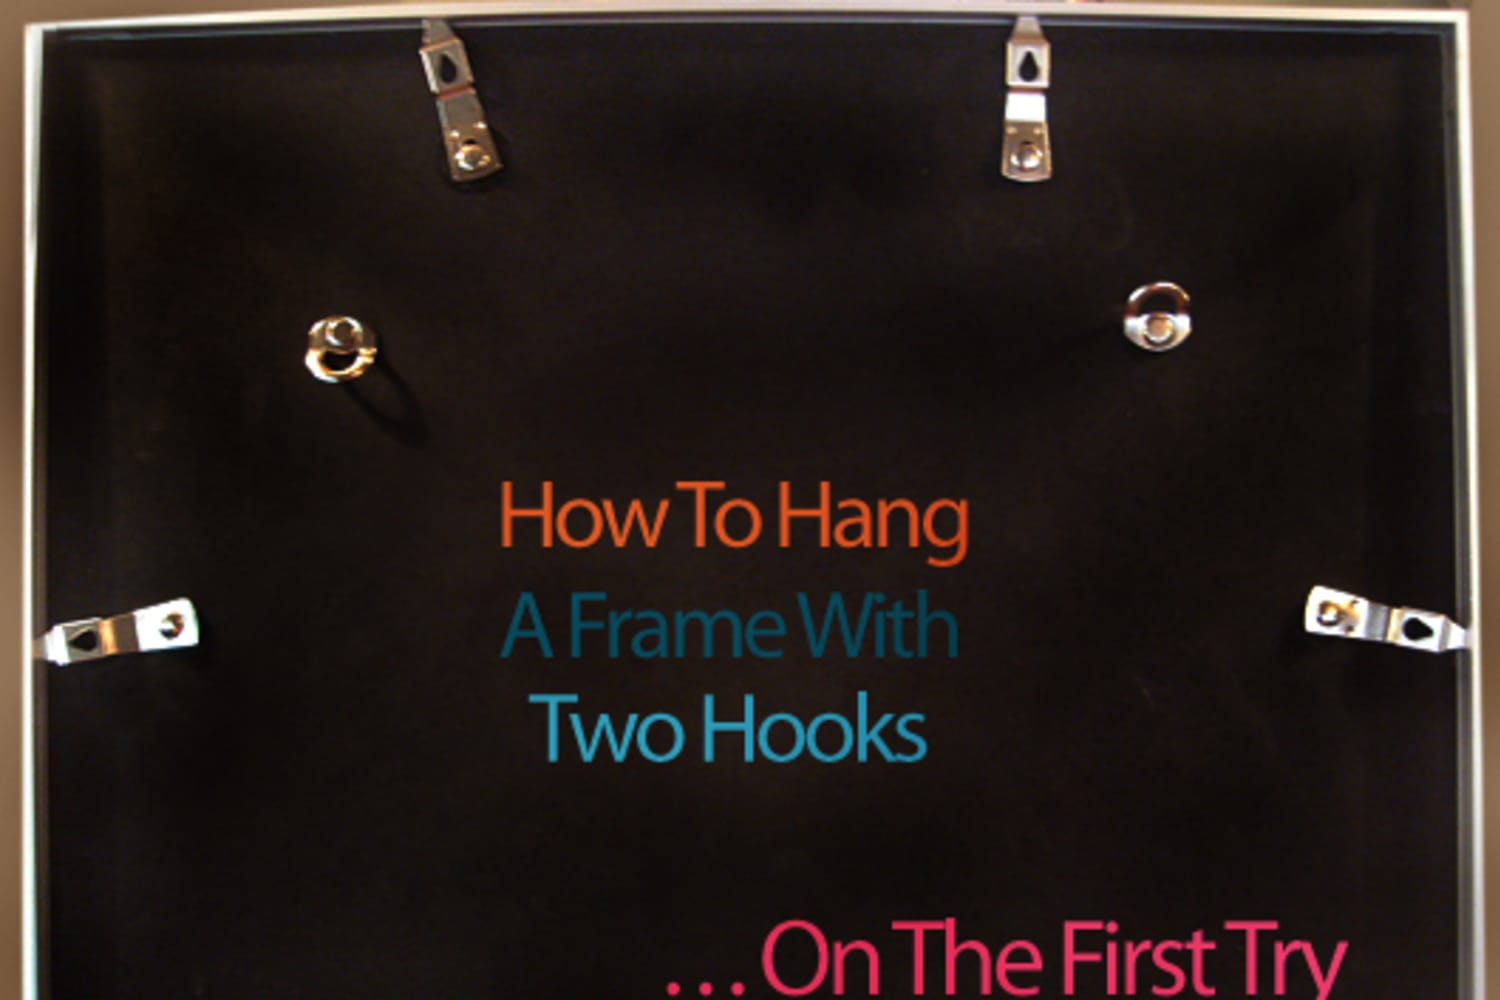
Hanging The Picture
Hanging a picture with two hooks requires care and attention. This method keeps your picture steady and level. Proper hanging prevents damage to your wall and artwork. Follow the steps carefully to place your picture perfectly.
Aligning The Picture Wire Or Hanging Hardware
Check the wire or hooks on the back of your picture. Make sure the wire is tight, not loose. If your picture has two hooks, measure the distance between them. Mark the same distance on the wall where you want to hang it. Align the picture so both hooks fit securely on the wall hooks. This helps the picture sit flat against the wall.
Ensuring Balanced Weight Distribution
Even weight on both hooks keeps the picture stable. Use a level to check if the picture is straight. Adjust the wire or hooks if needed. Balanced weight stops the picture from tilting or falling. This step protects your picture and your wall from damage.

Credit: www.peonylanedesigns.com
Checking Alignment
Checking alignment is a key step when hanging pictures with two hooks. It ensures your picture looks balanced and neat on the wall. Misaligned pictures can spoil the room’s look and cause frustration.
Taking time to check alignment helps you avoid unnecessary holes and repairs. It also saves time by preventing repeated adjustments. Use simple tools and clear steps to get perfect positioning.
Using A Level For Perfect Positioning
A level is a small tool that shows if something is straight. Place the level on top of the picture frame. Watch the bubble inside the level. When the bubble sits in the middle, the picture is straight.
Check both hooks with the level. Make sure they are at the same height. Adjust the hooks slightly until the level shows balance. This step makes the picture hang evenly and look professional.
Adjusting Hooks Or Picture As Needed
After placing the picture, step back and look carefully. Is the picture tilted or crooked? If yes, gently lift and shift it until it hangs straight.
If shifting the picture does not help, adjust the hooks on the wall. Move one hook up or down slightly. Small changes can fix big alignment problems.
Repeat the level check after each adjustment. Keep adjusting until the picture sits perfectly level and balanced.
Tips For Different Wall Types
Hanging pictures with two hooks works well on many walls. Each wall type needs a different approach. Using the right tools and methods keeps your pictures safe and secure. This section shares tips for drywall, brick or concrete, and plaster walls.
Working With Drywall
Drywall is common in most homes. Use wall anchors to hold the hooks firmly. Choose anchors rated for the picture’s weight. Drill small pilot holes first. Push anchors into these holes. Screw hooks into the anchors for a strong grip.
Find studs behind drywall for extra support. Use a stud finder to locate them. Hooks in studs hold heavier frames better. Avoid hanging very heavy pictures only on drywall.
Handling Brick Or Concrete Walls
Brick and concrete walls need special tools. Use a hammer drill with a masonry bit. Drill holes where you want to place hooks. Insert plastic anchors made for brick or concrete. Screw the hooks into these anchors tightly.
Do not force screws directly into brick or concrete. This can crack the wall. Use anchors to spread the weight and protect your wall. This method holds heavy pictures safely.
Considerations For Plaster Walls
Plaster walls can be fragile. Use small nails or picture hooks designed for plaster. Avoid large holes that can damage the wall. Tap nails gently to prevent cracking.
For heavier pictures, locate wooden studs behind plaster. Use anchors made for plaster if no studs are found. Take care to balance the picture evenly on two hooks. This prevents stress on the plaster surface.
Frequently Asked Questions
How Do You Measure For Two Hooks On A Picture?
Measure the width of the picture frame. Mark two points evenly spaced from the center. Space hooks to balance the picture weight and keep it level.
What Tools Are Needed To Hang Pictures With Two Hooks?
You need a tape measure, pencil, level, drill or hammer, wall anchors, and two picture hooks. These tools ensure proper placement and secure hanging.
Can Two Hooks Support Heavier Picture Frames?
Yes, two hooks distribute the weight evenly. This prevents wall damage and keeps heavier frames stable and straight. Always check hook weight limits.
How Far Apart Should Two Hooks Be Placed?
Hooks should be 2 to 3 inches inside the picture frame edges. This spacing provides stability and prevents tilting or sagging over time.
Conclusion
Hanging pictures with two hooks keeps frames steady and balanced. Measure carefully to place hooks evenly on the wall. Use a level to ensure your picture hangs straight. Choose hooks that fit the picture’s weight for safety. This simple method gives your wall a neat, polished look.
With practice, hanging pictures becomes quick and easy. Enjoy decorating your space with confidence and style.