Looking to hang something on your wall but not sure how to put a hook in the right way? You’re in the right place.
Whether it’s a picture frame, a coat, or a favorite decoration, knowing how to install a hook securely makes all the difference. You don’t want it to fall or leave ugly marks behind. You’ll discover simple, step-by-step tips that anyone can follow—no special tools or skills needed.
Keep reading, and you’ll learn how to hang your hooks quickly and confidently, making your space look just the way you want.

Credit: www.wikihow.com
Choose The Right Hook
Choosing the right hook is important for hanging items safely and neatly. The correct hook holds the weight and fits the wall type. Picking the wrong hook can cause damage or make items fall. Consider the hook type and weight capacity before installation.
Types Of Hooks
Hooks come in many shapes and sizes. Some hooks have adhesive backs for light items like pictures. Others need nails or screws for heavy objects. There are metal hooks, plastic hooks, and even decorative hooks. Choose a hook that suits your wall and the item you want to hang.
Weight Capacity
Every hook has a weight limit. This limit shows how much weight the hook can hold safely. Check the weight of your item before picking a hook. Use a hook with a higher capacity than your item’s weight. This prevents the hook from bending or falling out.

Credit: www.wikihow.com
Gather Necessary Tools
Gathering the right tools is the first step to put a hook in the wall safely and securely. Having everything ready makes the job easier and faster. It also helps avoid mistakes or damage to your walls. Here, we list the basic tools you need and some optional ones for stronger support.
Basic Tools Needed
- Hammer – for nails or wall hooks
- Drill with drill bits – for making holes
- Screwdriver – to tighten screws
- Measuring tape – to measure exact spot
- Level – to keep the hook straight
- Pencil – to mark the wall
Optional Tools For Extra Support
- Wall anchors – for heavy items or drywall
- Stud finder – to locate wooden studs inside walls
- Protective gloves – to protect your hands
- Safety glasses – to protect your eyes while drilling
Select The Best Wall Spot
Selecting the best spot on the wall is key before putting in a hook. The right place keeps the hook strong and safe. It also protects your wall and items you hang. Careful choice makes the job easier and the hook lasts longer.
Consider wall type and what you want to hang. Look for places that offer strong support. Avoid spots that can cause damage or are hard to reach. This way, your hook stays steady and your wall stays intact.
Locating Studs
Studs are wooden beams behind drywall. They hold weight better than just drywall. Use a stud finder tool to find them. Move the tool slowly across the wall. It beeps or lights up near a stud. Mark the spot with a pencil. Place your hook on or near this mark for best support.
Avoiding Wall Hazards
Check for wires and pipes inside the wall. Drilling into them can cause injury or damage. Use a wire detector to scan the area. Avoid spots near switches, outlets, or plumbing fixtures. Look for cracks or weak spots on the wall. Choose solid, clean areas free from holes or damage. This keeps your wall safe and your hook secure.
Mark The Placement
Marking the placement is a key step before hanging a hook on the wall. It ensures the hook goes exactly where you want. This step helps avoid holes in the wrong spots.
Take your time to mark carefully. This makes the whole process easier and cleaner. Follow these simple tips to mark the spot perfectly.
Measuring Height
Decide how high the hook should be on the wall. Use a tape measure to find the right height. Mark the spot lightly with a pencil. Check the height twice to be sure.
Choose a height that fits what you will hang. For coats, a higher spot works. For keys, a lower place is better. Measure from the floor for accuracy.
Using A Level
Use a level tool to keep the mark straight. Hold the level against the wall where you measured. Adjust the mark until it lines up perfectly. This stops the hook from being crooked.
A straight hook looks better and holds items safely. Even a small tilt can make hanging objects unstable. Take a moment to check the level before drilling.
Prepare The Wall
Preparing the wall is the first step to hanging a hook securely. A well-prepared wall holds the hook firmly and prevents damage. It ensures the hook stays in place for a long time. Take your time during this stage for the best results.
Drilling Pilot Holes
Start by marking the spot where the hook will go. Use a pencil to make a small mark. Choose a drill bit smaller than the screw or anchor size. Drill a pilot hole gently into the wall at the mark. This hole guides the screw and stops the wall from cracking. Drill straight and avoid pushing too hard. A clean hole helps the hook fit tightly.
Cleaning The Surface
Remove dust and dirt from the wall before installing the hook. Use a dry cloth or brush to wipe the area. Cleaning helps the hook stick better and prevents slipping. A clean surface also improves the look of the wall. Make sure the wall is dry before proceeding to the next step.
Install The Hook
Installing a hook on the wall is simple but needs care. The right method depends on your wall type. This section shows how to install hooks safely and firmly. Follow the steps to keep your items secure.
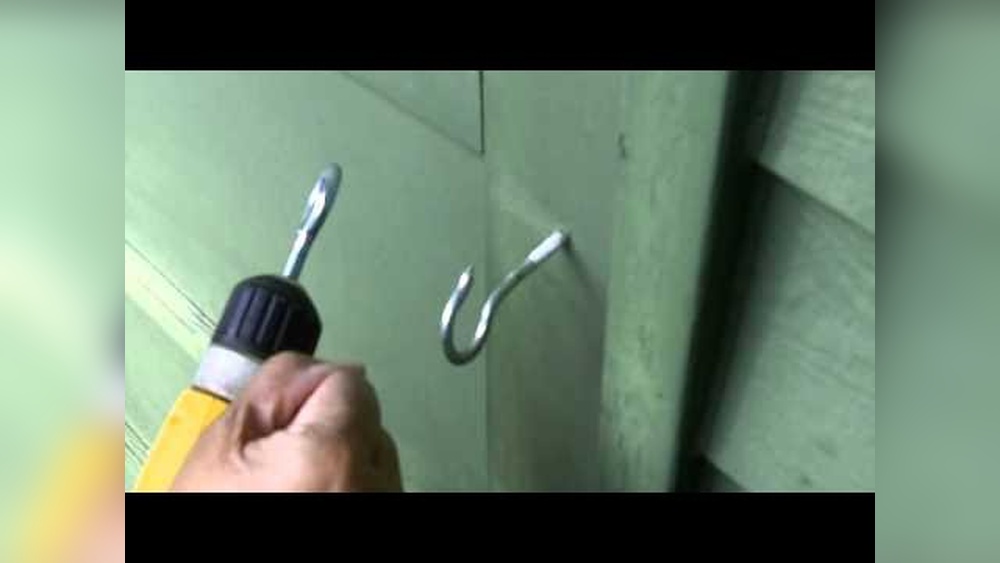
Screwing In The Hook
Start by marking the spot on the wall. Use a pencil to make a small dot. Hold the hook against the mark. Turn the screw into the wall by hand or with a screwdriver.
Turn slowly to avoid breaking the wall. If the hook has a sharp end, push gently first. Keep turning until the hook feels tight and steady. Check if it holds firm by giving it a small pull.
Using Anchors For Drywall
Drywall is soft and may not hold screws well. Use anchors to keep hooks secure on drywall. First, drill a hole where you want the hook. The hole should fit the anchor size.
Push the anchor into the hole gently. Tap it lightly with a hammer if needed. Next, screw the hook into the anchor. The anchor expands inside the wall, holding the hook tight.
Test the hook by pulling lightly. Use anchors for heavier items to avoid damage. This method keeps your hooks steady and safe on drywall surfaces.
Test Hook Stability
Testing the hook’s stability is a key step after installation. It ensures the hook can hold items safely. Without this check, hooks may fall and cause damage or injury. Taking time to test helps avoid accidents and keeps your walls intact.
Try to confirm the hook grips the wall firmly. This step gives confidence in your work and the hook’s strength. A stable hook means your items stay secure and your wall remains unharmed.
Applying Gradual Weight
Start by hanging a light object on the hook. Slowly increase the weight, step by step. This method tests the hook’s hold without sudden pressure. If the hook stays steady, it is ready for heavier items. Gradual weight helps spot weak points early.
Adjusting If Needed
Check the hook after applying weight. Look for any movement or wobbling. Tighten screws or reposition the hook if it feels loose. Make small adjustments and test again. Repeat until the hook feels firm and secure on the wall.

Credit: diy.stackexchange.com
Tips For Maintaining Hook Strength
Maintaining the strength of hooks on your wall is important for safety and durability. Proper care helps hooks hold items firmly without bending or falling. Follow simple tips to keep your hooks strong and reliable.
Avoid Overloading
Do not hang items heavier than the hook’s limit. Heavy weights strain the hook and wall. Even small extra weight can cause damage over time. Use multiple hooks for heavy or large objects. This spreads the weight evenly and protects the hook.
Regular Inspections
Check your hooks often for signs of wear or damage. Look for bending, rust, or loose screws. Tighten screws if they become loose. Replace hooks that show cracks or bending. Regular checks prevent accidents and keep hooks safe to use.
Frequently Asked Questions
How Do I Choose The Right Hook For My Wall?
Select a hook based on wall type and item weight. Use adhesive hooks for light items and screw-in hooks for heavy objects. Match hook size to the item for secure hanging and avoid wall damage.
What Tools Are Needed To Put A Hook In The Wall?
You need a drill, screwdriver, level, pencil, and wall anchors. These tools help ensure accurate placement and secure installation. Using the right tools prevents wall damage and keeps the hook stable.
Can I Put A Hook On Drywall Without Studs?
Yes, use wall anchors or toggle bolts for drywall. These provide extra support when studs aren’t available. Avoid hanging heavy items without anchors to prevent wall damage.
How High Should I Place A Hook On The Wall?
Place hooks at eye level or slightly above for easy access. Consider the item’s height and usage to determine ideal placement. Proper height ensures functionality and aesthetic appeal.
Conclusion
Putting a hook in the wall is simple with the right steps. Choose the correct hook and tools first. Mark the spot carefully for best results. Drill or hammer gently to avoid damage. Check the hook’s hold before hanging anything.
Small efforts keep your walls safe and strong. Practice makes the process easier each time. Now, you can hang items neatly and securely. Try these tips to improve your home’s organization.