Imagine walking into a room and turning on all your lights with just one simple switch. No more fumbling around with multiple switches or getting up to control each light separately.
If you’ve ever wished for an easier way to manage your lighting, you’re in the right place. Controlling multiple lights with one switch isn’t just convenient—it can make your space feel smarter and more organized. Keep reading, and you’ll discover easy steps to take control of your lighting like a pro.
Tools And Materials Needed
Controlling multiple lights with one switch needs some basic tools and materials. Having the right items helps the job go smoothly. It makes the wiring safe and effective. This section lists all essentials for the task.
Essential Tools
Start with a screwdriver set for removing and attaching screws. Use wire strippers to remove insulation from wires. A voltage tester checks if wires carry electricity. Pliers help bend and twist wires easily. A drill can be useful to make holes for new switch boxes.
Required Materials
Buy a single-pole switch to control all lights. Get electrical wires, usually 14 or 12 gauge, for connections. Wire nuts secure and insulate wire joints. Electrical tape adds extra safety to wire nuts. Switch boxes hold and protect the switch inside the wall.
Safety Gear
Wear insulated gloves to protect from electric shock. Safety glasses shield your eyes from dust and debris. A flashlight helps see inside dark switch boxes or closets. Make sure to turn off power at the breaker before starting work.
Safety Precautions
Handling electrical wiring requires care. Safety comes first when controlling multiple lights with one switch. Ignoring safety rules can cause shocks or fire. Taking the right precautions keeps you and your home safe.
Turn Off Power At The Circuit Breaker
Always switch off the power before starting work. Find the correct circuit breaker and turn it off. Use a voltage tester to make sure power is off. Never trust the wall switch alone.
Use Proper Tools And Equipment
Choose tools made for electrical work. Use insulated screwdrivers and pliers. Wear rubber-soled shoes to reduce shock risk. Keep your work area dry and clean.
Check Wiring And Connections Carefully
Inspect wires for damage or wear before connecting. Replace any frayed or broken wires. Tighten all wire nuts and screws firmly. Loose connections can cause sparks or heat.
Follow Local Electrical Codes
Understand and follow your local electrical rules. Codes ensure safe and standard wiring practices. Check if a permit or inspection is needed. This step avoids hazards and legal problems.
Consider Hiring A Professional Electrician
Electricians have training and experience for safe work. They can spot hidden issues you might miss. Hire a pro if unsure about any step. Safety is worth the extra cost.
Types Of Light Switches
Controlling multiple lights with one switch depends on the type of switch you use. Different switches offer various ways to manage lighting in your home. Knowing the types helps you choose the right switch for your needs. Here are the main types of light switches used for controlling lights.
Single-pole Switch
The single-pole switch is the most common switch in homes. It controls one light or a group of lights from a single location. This switch has two terminals and a simple ON/OFF function. It is easy to install and works well for small rooms or single light fixtures.
Three-way Switch
The three-way switch allows control of one light or group of lights from two different locations. It uses three terminals and works in pairs. This switch is perfect for hallways, stairs, or large rooms with two entrances. You can turn the lights ON or OFF from either switch.
Smart Switches
Smart switches connect to Wi-Fi and let you control lights with a phone or voice. They can manage multiple lights at once or separately. These switches offer timers, dimming, and remote control. Smart switches fit modern homes and improve convenience and energy savings.
Planning Your Wiring
Planning your wiring is the first step to control multiple lights with one switch. Good planning avoids mistakes and saves time. It helps you understand what tools and materials you need. Proper wiring ensures safety and efficiency in your lighting setup.
Assessing Your Current Setup
Check your existing electrical system before starting. Identify the number of lights and switches in use. Note the type of wiring already installed. Look for circuit breakers and power sources. This helps decide how to connect multiple lights to one switch safely.
Measure the distance between the switch and each light. This affects the length of wires you will need. Also, check if your switch box has enough space for extra wires. Knowing your current setup makes planning easier and clearer.
Choosing The Right Wiring Method
Select a wiring method based on your setup and lights. The most common methods are series wiring and parallel wiring. Parallel wiring is best for controlling multiple lights separately but with one switch. It keeps each light running independently.
Use the correct wire gauge for safety and efficiency. Thicker wires carry more current and reduce power loss. Follow local electrical codes and standards for wiring methods. Proper wire choice prevents electrical problems and keeps your home safe.
Step-by-step Wiring Process
Controlling multiple lights with one switch is a practical way to simplify your lighting setup. The process involves careful wiring to ensure all lights work correctly. Follow these steps to wire your lights safely and efficiently.
Turning Off Power
Safety is the top priority. Start by turning off the power at the main circuit breaker. Use a voltage tester to confirm no electricity flows to the wires. Never work on live wires. This step prevents electric shocks and accidents.
Connecting Multiple Lights
Identify the wires from each light fixture. Connect the black (hot) wires together with a wire nut. Join the white (neutral) wires in the same way. Attach all ground wires to each other and to the switch box. This setup ensures electricity flows to all lights.
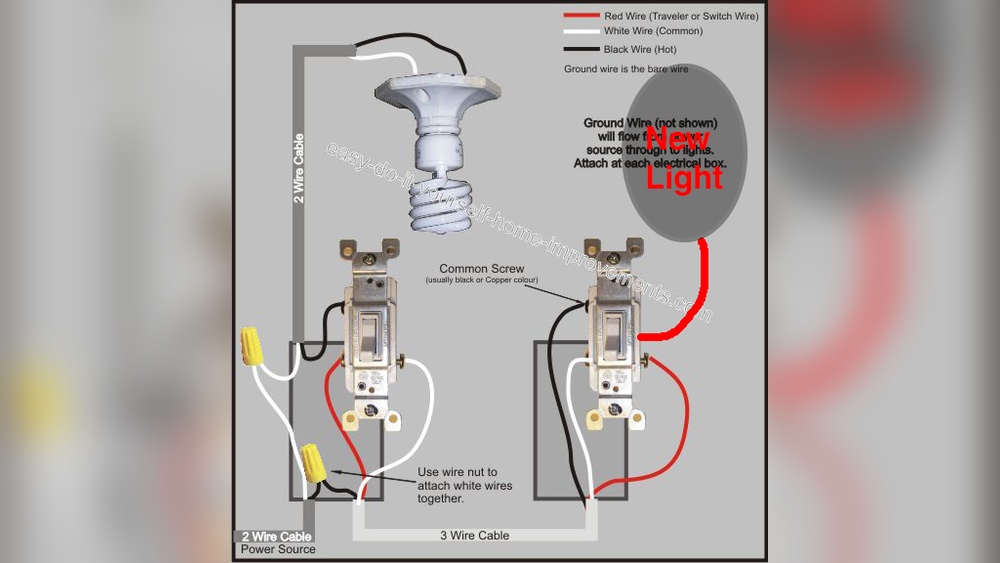
Wiring The Switch
Connect the combined black wires to one terminal on the switch. Attach the incoming power black wire to the other terminal. Secure all wire nuts tightly. Make sure no bare wire is exposed. Proper wiring keeps the switch working smoothly.
Testing Your Connections
Turn the power back on at the breaker. Flip the switch to check if all lights turn on. If some lights do not work, turn off power and recheck connections. Correct any loose or wrong wires. Testing guarantees your setup is safe and functional.

Credit: www.reddit.com
Using Smart Switches For Multiple Lights
Using smart switches to control multiple lights offers great convenience. Instead of flipping separate switches, you manage several lights with one control. This saves time and makes lighting your home simpler.
Smart switches connect to your home Wi-Fi. You can turn lights on or off using an app or voice commands. They also allow for easy customization of how your lights work together.
Setting Up Smart Switches
Start by turning off power to the light circuit. Remove the old switch carefully. Follow the instructions that come with your smart switch. Connect the wires from your wall to the new switch. Use a voltage tester to check connections. Restore power and test the switch with the app. Make sure your phone is connected to the same Wi-Fi network.
Configuring Groups And Scenes
Open the smart switch app. Look for options to create groups. Group lights that you want to control together. Name each group clearly, like “Living Room Lights.” Use scenes to set specific lighting moods. For example, a “Movie Time” scene can dim all lights. Save your groups and scenes for easy access. Control many lights with a single tap or voice command.
Troubleshooting Common Issues
Troubleshooting common problems helps keep your lighting system working well. Small issues with multiple lights controlled by one switch can often be fixed quickly. Understanding these problems saves time and effort.
Check the basics first. Sometimes, the solution is simple and easy to find. Below are common issues and ways to solve them.
Lights Not Turning On
Check if the bulb is burned out or loose. Tighten or replace the bulb if needed. Make sure the switch is properly connected to power. Test the circuit breaker to see if it has tripped. Reset it if necessary. Faulty wiring can also cause this issue. Consult an electrician if unsure.
Flickering Lights
Flickering usually means a loose bulb or bad connection. Turn off power before tightening the bulb. Inspect the switch for damage or wear. Loose wiring in the switch box can cause flickers. Use a voltage tester to check connections. Replace faulty parts to stop flickering.
Switch Not Responding
If the switch does not work, check the power source first. Test if the switch is getting electricity using a tester. A broken switch might need replacement. Loose wires can stop the switch from working. Turn off power before fixing wiring. Call a professional if unsure about safety.

Credit: www.youtube.com
Tips For Energy Efficiency
Controlling multiple lights with one switch can save energy and lower bills. Using energy-efficient tips helps to get the most from your lighting setup. Small changes make a big difference.
Here are simple tips to keep your lighting energy-friendly.
Use Led Bulbs For All Lights
LED bulbs use less energy than traditional bulbs. They last longer and give off the same bright light. Replacing old bulbs with LEDs cuts power use significantly.
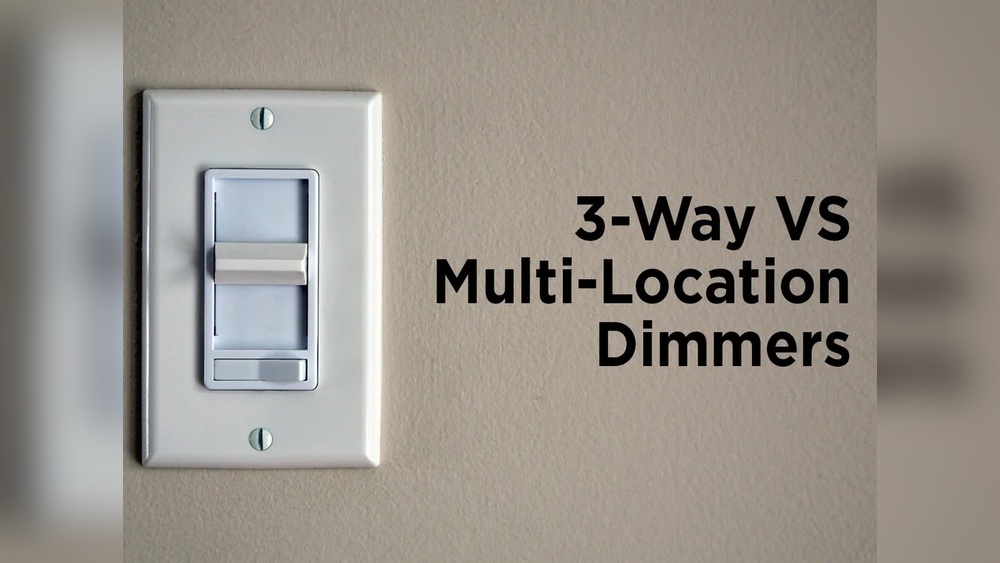
Install Dimmer Switches
Dimmer switches let you lower light brightness. Lower light means less energy used. Adjust lights based on your needs to save power.
Group Lights By Area
Group lights in the same room or area on one switch. Turn off lights not in use easily. Avoid wasting energy on empty spaces.
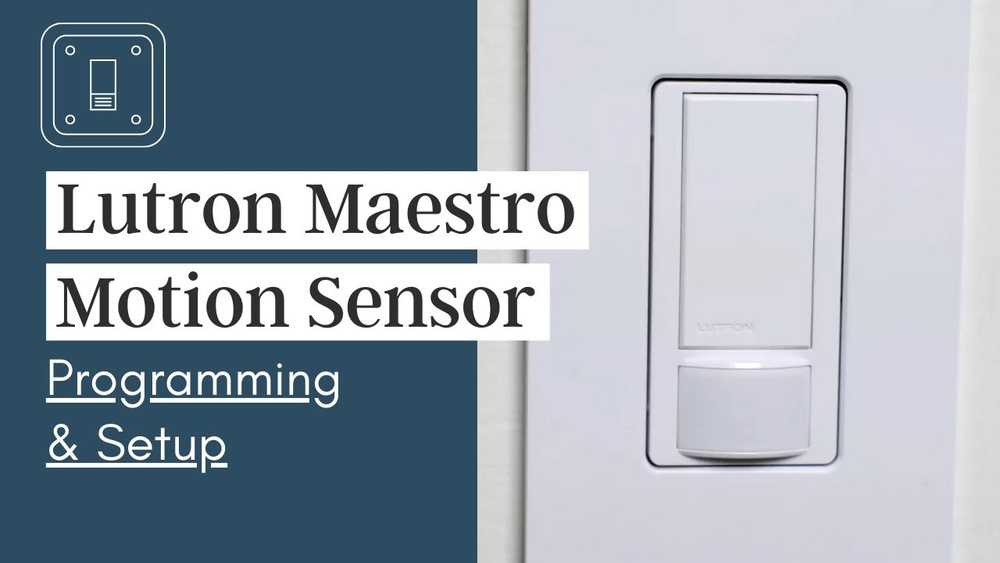
Use Smart Switches With Timers
Smart switches can turn lights off automatically. Set timers so lights only run when needed. This stops lights from being left on by mistake.
Maximize Natural Light
Open curtains and blinds during the day. Use sunlight to light rooms instead of bulbs. This reduces the time lights need to be on.

Credit: www.electrical-online.com
Frequently Asked Questions
How Can I Control Multiple Lights With One Switch?
You can wire multiple lights in parallel to a single switch. This setup allows one switch to power on or off all connected lights simultaneously.
What Wiring Method Is Best For Multiple Lights On One Switch?
Using parallel wiring is best for controlling multiple lights with one switch. It ensures each light receives full voltage independently for consistent brightness.
Can Smart Switches Control Multiple Lights At Once?
Yes, smart switches can control multiple lights. They connect to your home Wi-Fi and allow remote or voice control for all linked lights.
Is It Safe To Connect Many Lights To One Switch?
Yes, it is safe if the circuit’s amperage rating is not exceeded. Always check switch and wire ratings before connecting multiple lights.
Conclusion
Controlling multiple lights with one switch saves time and effort. It makes your space neat and easy to manage. You can choose simple wiring or smart switches to fit your needs. Always follow safety rules to avoid problems. Try these tips to improve your home lighting today.
Small changes can make a big difference. Enjoy the convenience and comfort of better light control.