Changing the code on your Yale Keyless Deadbolt might seem tricky at first, but it’s easier than you think. Imagine having full control over who can enter your home, simply by updating your lock’s code whenever you want.
Whether you’re moving into a new place, sharing access with family, or boosting your home security, knowing how to change the code is a must. You’ll get clear, step-by-step instructions that anyone can follow. By the end, you’ll feel confident managing your lock and keeping your home safe without any hassle.
Ready to take control of your Yale Keyless Deadbolt? Let’s get started!
Prepare Your Tools
Before changing the code on your Yale keyless deadbolt, get ready with the right tools. This step saves time and avoids frustration. Preparing well helps the process go smoothly and safely.
Gather Necessary Items
Start by collecting all items needed for the task. You will need a small flathead screwdriver. Keep the new code or pin ready. Have a clean cloth to protect the lock and your hands. These simple tools make the job easier.
Check Battery Level
Check your lock’s battery before starting. A weak battery can stop the process. Look for a battery indicator light on the keypad. Replace batteries if the light is low or flashing. Use fresh AA alkaline batteries for best results.
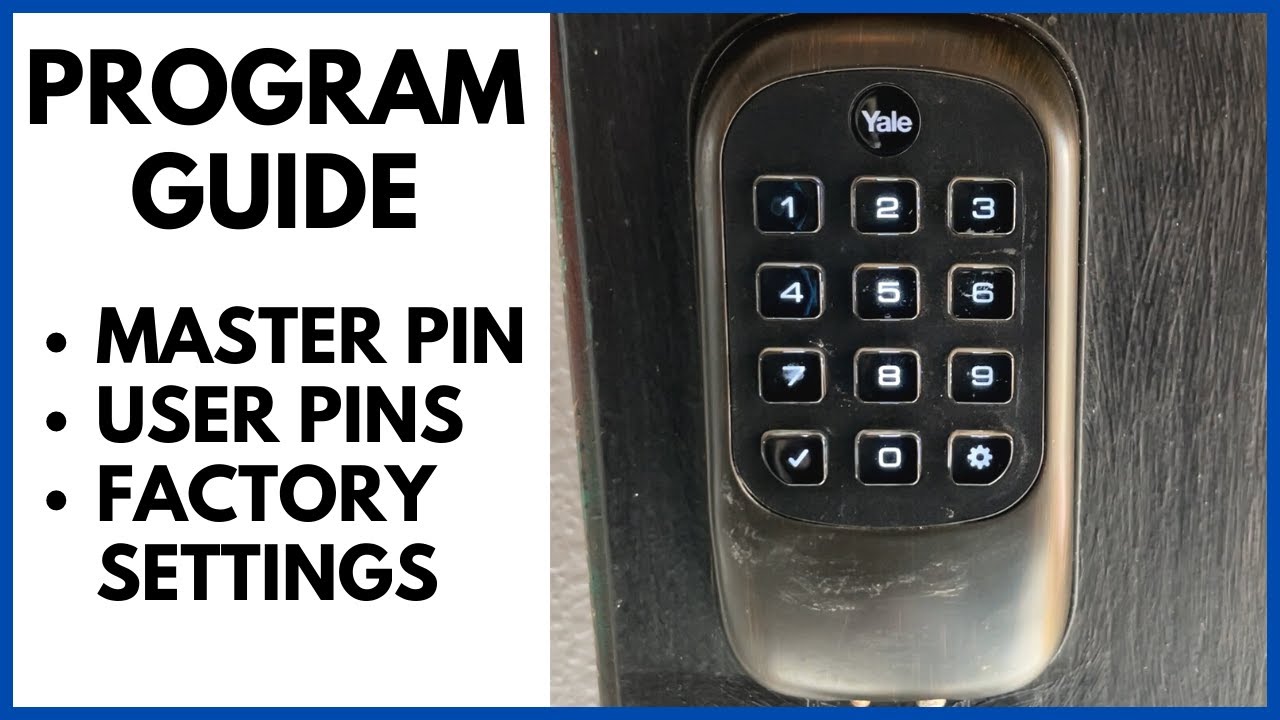
Credit: www.youtube.com
Locate Programming Button
Finding the programming button on your Yale Keyless Deadbolt is the first step to change its code. This button controls the lock’s settings and allows you to set a new access code. Knowing where it is helps you manage your lock easily.
The programming button is inside the lock’s interior assembly. You need to open the lock from the inside to reach it. Take your time and follow the steps carefully to avoid damage.
Access Interior Assembly
Start by removing the battery cover on the inside of the lock. This cover usually slides or snaps off without tools. After that, unscrew the mounting screws holding the interior panel.
Carefully pull the interior assembly away from the door. Keep the wires connected to avoid disconnection. You now have clear access to the lock’s internal parts.
Identify The Program Button
Look for a small, usually red or black button inside the assembly. This is the programming button. It may be labeled as “Program” or “Set.”
The button is near the battery compartment or circuit board. Pressing this button lets you enter programming mode to change your code. Remember its exact location for easy future use.
Enter Programming Mode
Entering programming mode is the first step to change the code on your Yale keyless deadbolt. This mode allows you to make changes to the lock settings safely. Follow the simple steps to access programming mode quickly. This process is straightforward and does not require special tools.
Press The Program Button
Locate the program button on the inside part of your deadbolt. Usually, it is a small black or red button. Press and hold this button for about three seconds. Release it after you hear a beep or see a light flash. This action puts the lock into programming mode.
Listen For Confirmation Tone
After pressing the program button, listen carefully for the confirmation tone. A beep or series of beeps shows the lock is ready for new settings. No tone means you need to try again. The confirmation tone ensures the lock accepted your input.
Change The Access Code
Changing the access code on your Yale keyless deadbolt keeps your home safe. It is simple and fast. Follow clear steps to set a new code. Make sure to choose a code you can remember easily.
Enter New Code
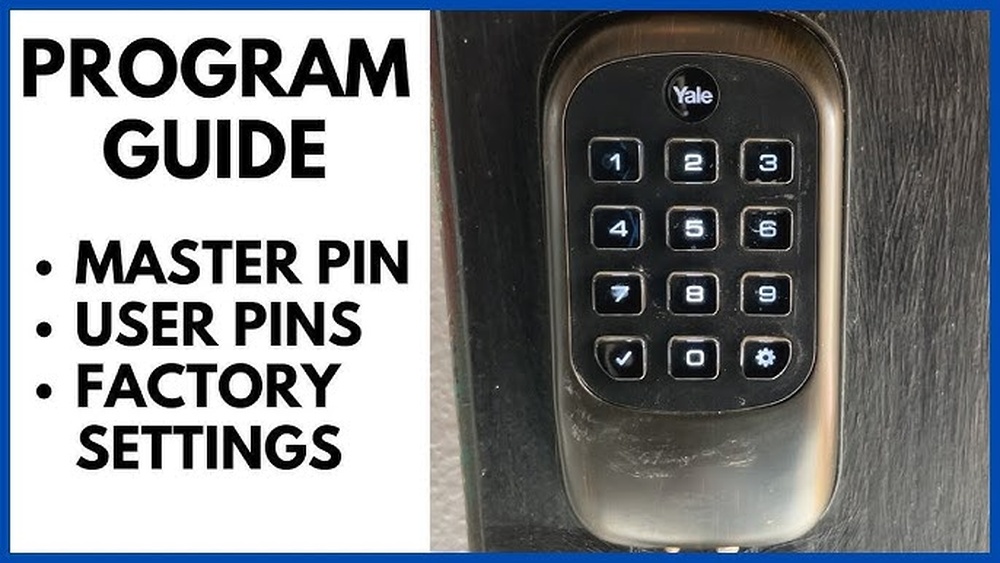
Start by pressing the lock’s keypad. Enter the current master code first. Then, press the program button. Now, type your new access code carefully. Use numbers that are easy to recall but hard to guess.
Confirm New Code
After entering the new code, press the lock button again. Re-enter the new code to confirm it. This step makes sure you typed it correctly. If the lock beeps, the new code is set. Test the code by locking and unlocking the door.
Test The New Code
After changing the code on your Yale keyless deadbolt, testing the new code is very important. This step ensures the lock works perfectly with the new combination. It also confirms your security is intact and you can enter your home without problems.
Lock And Unlock Door
Start by closing the door firmly. Enter your new code on the keypad. Press the lock button or turn the thumb turn to lock the door. Next, try unlocking the door using the same new code. Check if the lock opens smoothly without any delay. Repeat this process a few times to be sure the code works every time.
Troubleshoot Common Issues
If the lock does not respond, first check the batteries. Weak batteries can stop the lock from working properly. Make sure you entered the new code correctly. Sometimes pressing buttons too fast can cause errors. Reset the lock and try entering the code again slowly. If problems continue, consult the Yale user manual for further steps.

Credit: support.shopyalehome.com
Additional Tips
Changing the code on your Yale keyless deadbolt is straightforward. Still, some extra tips help you keep your lock working well. These tips can save time and avoid problems. Follow them to get the best from your lock.
Reset To Factory Settings
Resetting to factory settings clears all codes. Use this step if you forget your code or want to start fresh. Find the reset button inside the battery compartment. Press and hold it for about 10 seconds. The lock will beep or flash to show it reset. After this, set a new master code and user codes.
Maintain Your Deadbolt
Keep your deadbolt clean and dry. Dirt and dust can cause the keypad to stick. Use a soft cloth to wipe the lock regularly. Check the batteries often. Replace them when the battery low signal appears. Lubricate the internal parts with a graphite spray once a year. This keeps the lock smooth and easy to use.

Credit: yalehome.co.uk
Frequently Asked Questions
How Do I Reset The Code On A Yale Keyless Deadbolt?
To reset the code, locate the reset button inside the battery compartment. Press and hold it until the keypad flashes. Enter your new code and confirm. This process updates your access code securely and quickly.
Can I Change The Master Code On A Yale Deadbolt?
Yes, you can change the master code by entering programming mode. Use the current master code, then follow the instructions to set a new one. This ensures only authorized users can add or delete codes.
What Tools Are Needed To Change The Code On Yale Lock?
No special tools are needed. You only require access to the keypad and the reset button inside the lock’s battery compartment. The process is designed for user convenience and security.
How Long Does It Take To Change The Yale Deadbolt Code?
Changing the code usually takes less than five minutes. The steps are straightforward and user-friendly. Quick code changes help maintain your home’s security without hassle.
Conclusion
Changing the code on your Yale keyless deadbolt is quick and simple. Follow each step carefully for the best results. Keep your new code safe and easy to remember. Regularly update your code to keep your home secure. This guide helps you feel confident with your lock settings.
Enjoy peace of mind knowing you control who enters your home. Stay safe, stay in control.