Have you ever tried to install a door deadbolt and found it just wouldn’t fit right? The secret to a perfect fit often lies in chiseling the door frame correctly.
Knowing how to chisel a door deadbolt can save you time, frustration, and even extra costs. In this guide, you’ll learn simple steps to make clean, precise cuts that ensure your deadbolt works smoothly and keeps your home secure. Keep reading, and you’ll discover easy tricks that make this task feel much less intimidating than it sounds.
Tools Needed
Chiseling a door deadbolt requires the right tools. Using proper tools makes the job easier and safer. Preparing these tools before starting saves time and effort.
Essential Chisels
A sharp chisel is key for clean cuts around the deadbolt. A 1-inch chisel fits most door frames well. A smaller chisel helps with detailed work. Always use chisels designed for woodwork to avoid damage.
Measuring Instruments
Accurate measurements ensure the deadbolt fits perfectly. Use a tape measure to check the door and frame size. A pencil helps mark the cut lines clearly. A square ruler keeps your marks straight and precise.
Safety Gear
Safety is important while chiseling. Wear safety glasses to protect your eyes from flying chips. Use work gloves to guard your hands from cuts. A dust mask keeps you safe from fine wood dust.

Credit: www.ebay.com
Preparing The Door
Preparing the door is the first step to chisel a deadbolt properly. It helps ensure the lock fits well and works smoothly. Careful preparation saves time and avoids damage to the door.
Start by understanding where the deadbolt will go. Take your time with measurements and markings. This makes the chiseling process easier and more accurate.
Marking The Deadbolt Position
Use a pencil and a measuring tape to mark the deadbolt position on the door edge. Measure the height from the floor to the desired lock spot. Mark this height clearly on both sides of the door.
Next, mark the outline of the deadbolt faceplate on the door edge. Use the deadbolt template or the lock itself for an exact shape. Draw clear lines to guide your chiseling.
Setting Depth And Alignment
Measure the thickness of the deadbolt faceplate to set the chiseling depth. Mark this depth on the door edge with a pencil. This prevents chiseling too deep or too shallow.
Check the alignment of the deadbolt hole with the lock cylinder hole on the door surface. Both holes must line up perfectly. Mark the cylinder hole on the door face to guide chiseling.
Chiseling Techniques
Chiseling is a key skill for fitting a door deadbolt properly. It shapes the wood so the lock sits flush and works smoothly. Good chiseling makes the door stronger and the lock more secure. Learning the right methods can save time and avoid damage.
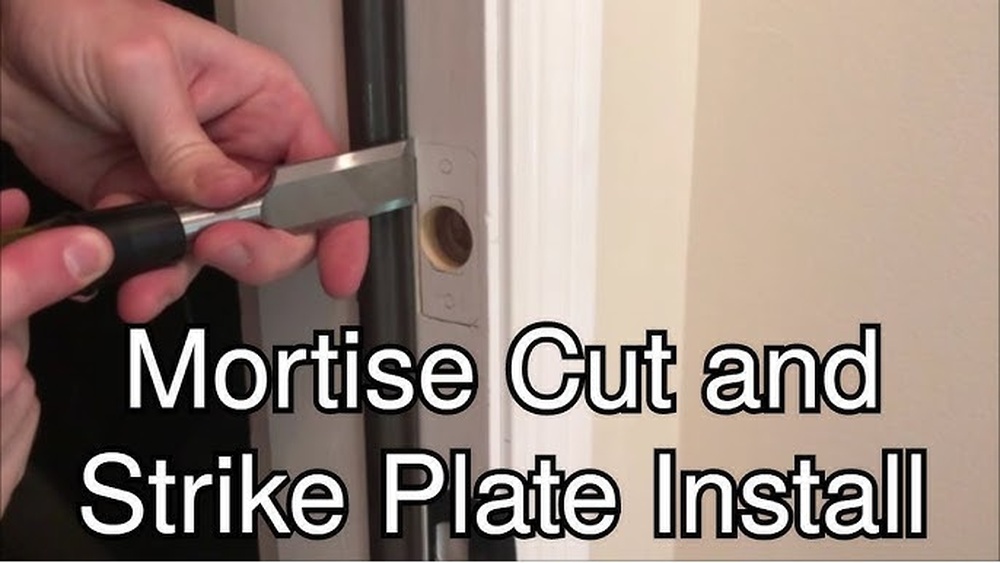
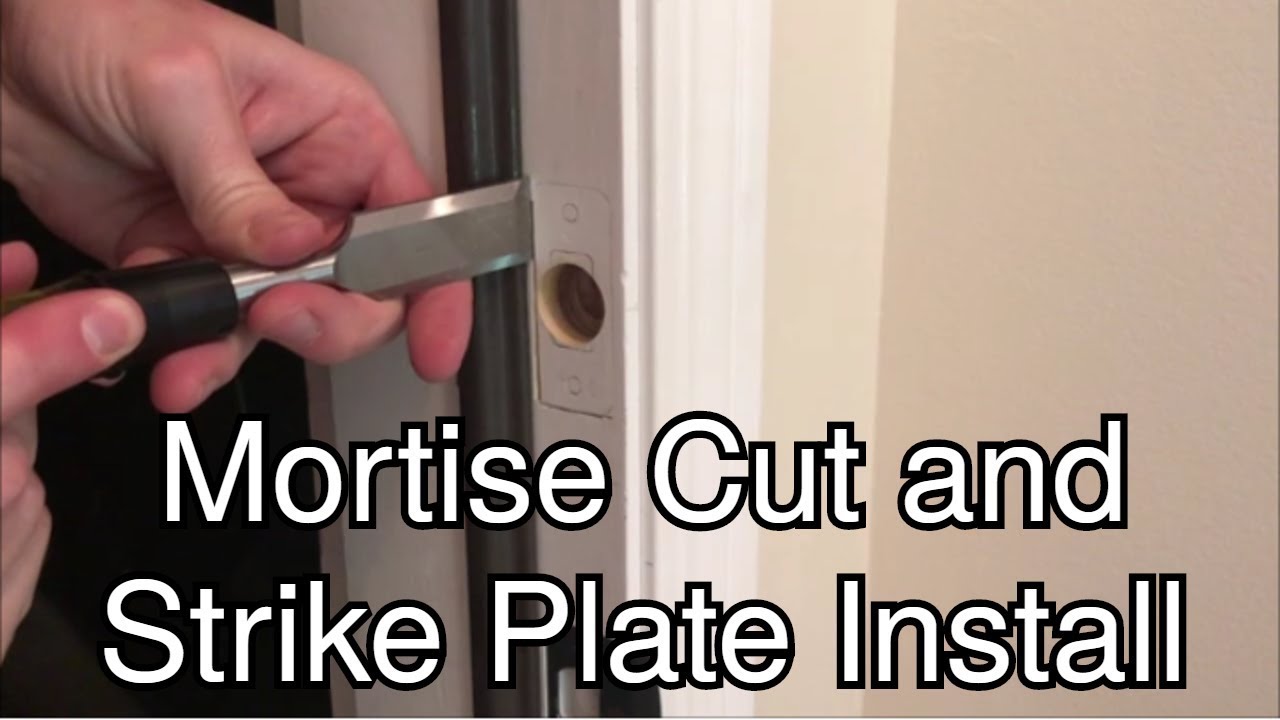
Creating The Mortise
Start by marking the area for the deadbolt on the door edge. Use a pencil and ruler for clear lines. Begin chiseling inside the marked area carefully. Remove thin layers of wood slowly to form a square cavity. Keep the chiseling within the lines for a clean fit.
Controlling Depth And Angle
Check the depth often with a ruler or the deadbolt itself. The mortise must be deep enough for the bolt to sit fully. Hold the chisel at a slight angle to remove wood smoothly. Avoid pushing too hard to prevent splitting the wood. Work patiently for a precise cut.
Avoiding Common Mistakes
Do not rush or use a dull chisel. Dull tools make rough cuts and damage the wood. Avoid chiseling outside the marked area to keep the door intact. Keep your hands steady and work in small steps. Clean the mortise edges to help the lock fit well.
Credit: www.youtube.com
Fitting The Deadbolt
Fitting the deadbolt is a key step in securing your door properly. This process ensures the lock works smoothly and fits tightly in the door. Careful fitting avoids damage to the door and keeps your home safe. Follow these steps to fit the deadbolt correctly.
Test Placement
Start by placing the deadbolt in the chiseled hole. Check if it fits without force or gaps. The bolt should slide easily in and out. Make sure the faceplate lies flat against the door edge. Mark any spots that need adjustment for a better fit.
Adjusting The Mortise
Use a chisel to deepen or widen the mortise if needed. Remove small amounts of wood at a time. Keep checking the fit after each adjustment. The goal is a snug fit without pushing or bending the lock. Smooth edges prevent the lock from sticking.
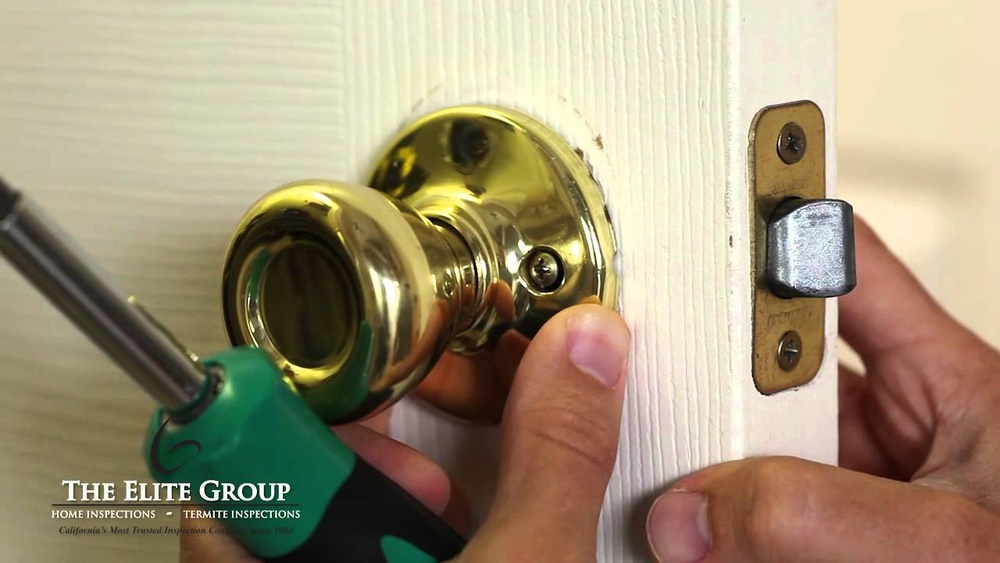
Securing The Deadbolt
Once the deadbolt fits well, screw the faceplate into the door. Tighten screws evenly to keep the plate flush. Test the lock again to ensure it moves freely. Properly secured deadbolts add strength and reliability to your door.
Finishing Touches
After chiseling the door deadbolt, the final steps improve both function and look. Finishing touches make your work neat and lasting. They protect the wood and keep the lock working well.
Smoothing The Edges
Use fine sandpaper to smooth all chiseled edges. This removes rough spots and splinters that can cause damage. Smooth edges help the deadbolt fit perfectly and work smoothly. Take your time and sand gently for the best result.
Painting Or Staining
Apply paint or stain to match the door’s finish. This protects the wood from water and wear. Use a brush or cloth for even coverage. Let the paint or stain dry fully before using the door. A good finish keeps your door looking fresh and strong.
Maintaining The Lock
Keep the deadbolt clean and lubricated for smooth action. Use a graphite or silicone spray inside the lock. Avoid oily lubricants that attract dust and dirt. Test the lock regularly to catch problems early. Proper care extends the lock’s life and keeps your door secure.

Credit: www.homedepot.com
Frequently Asked Questions
How Do You Chisel A Door Deadbolt Correctly?
Start by marking the deadbolt outline on the door edge. Use a sharp chisel to carefully remove wood inside the outline. Work gradually to create a flush, even recess. Check fit often to avoid over-chiseling. Finish by sanding edges smooth for a clean install.
What Tools Are Needed To Chisel A Door Deadbolt?
You need a sharp wood chisel, a hammer, a pencil, measuring tape, and safety goggles. Optionally, use a square for precise marking. These tools help you mark, cut, and shape the door edge accurately for deadbolt installation.
How Deep Should I Chisel For A Deadbolt?
Chisel to a depth matching the deadbolt faceplate thickness, usually around 1/8 inch. This ensures the faceplate sits flush with the door edge. Measure carefully to avoid over-chiseling, which weakens the door and affects lock security.
Can I Chisel A Door Deadbolt Without Damaging The Door?
Yes, by working slowly and carefully. Mark the area precisely, use a sharp chisel, and remove small wood layers gradually. Frequent checks help prevent mistakes. Proper technique minimizes damage and maintains door integrity for a secure deadbolt fit.
Conclusion
Chiseling a door deadbolt takes patience and the right tools. Follow each step carefully for a neat finish. Take your time to avoid mistakes or damage. A well-fitted deadbolt improves your door’s security. Keep practicing to build your confidence and skill.
Safety first—always wear protective gear when working. Now, your door looks better and locks firmly. A small effort can make a big difference. Ready for your next home project?