Are you ready to add extra storage or hang your favorite decorations without hassle? Knowing how to put screw hooks in your wall can make your space more organized and stylish in no time.
Whether you want to hang plants, keys, or pictures, the right technique will save you from damage and frustration. In this guide, you’ll learn simple, step-by-step tips to get the job done quickly and safely. Keep reading to discover how easy it is to transform your walls with screw hooks!
Choosing The Right Screw Hooks
Choosing the right screw hooks is important for a strong hold and safety. Not every screw hook fits all walls or items. Pick hooks that match your wall type and the weight you want to hang. This helps avoid damage and keeps things secure.
Types Of Screw Hooks
Screw hooks come in many shapes and sizes. Some have open ends, good for hanging ropes or wires. Closed hooks form a loop, better for heavier items. There are also cup hooks, which are curved and useful for hanging cups or small tools.
Choose the type that suits what you want to hang. Open hooks work well for light items. Closed hooks hold heavier things tightly. Cup hooks are great for small, everyday items.
Selecting Based On Wall Material
Wall types affect which screw hook to use. Drywall needs hooks with anchors for extra support. Wood walls allow direct screwing of most hooks. Concrete or brick walls require special plugs and drill holes first.
Pick hooks designed for your wall. This keeps the hook firm and stops wall damage. Use anchors with drywall for better grip. For solid walls, heavy-duty hooks are best.
Weight Capacity Considerations
Check how much weight the hook can hold. Each hook has a limit printed on the package. Choose a hook that can hold more weight than your item. This prevents the hook from bending or pulling out.
For heavy objects, use thick, strong hooks. For light items, smaller hooks work fine. Always think about the weight to keep things safe and stable.
Credit: www.manmadediy.com
Tools And Materials Needed
Preparing to put screw hooks in a wall requires the right tools and materials. Having everything ready makes the job easier and faster. This section lists what you need before starting.
Essential Tools
- Screw hooks of the correct size for your task
- A drill with drill bits to make pilot holes
- A screwdriver or a wrench to turn the screw hook
- A pencil to mark the spot on the wall
- A tape measure to measure exact placement
Optional Tools For Tough Surfaces
- A hammer to tap in anchors if needed
- Wall anchors for drywall or plaster walls
- A stud finder to locate wall studs
- A level to ensure hooks are straight
Safety Gear
- Safety glasses to protect your eyes from dust
- Work gloves to protect your hands
- A dust mask to avoid breathing dust during drilling
Preparing The Wall
Preparing the wall is an important first step before putting screw hooks. It helps ensure the hooks hold firmly and safely. Taking time to prepare protects your wall and makes the process easier. Follow these simple steps to get ready.
Locating Studs Or Anchors
Studs are the wooden beams behind your wall. Hooks hold best when screwed into studs. Use a stud finder tool to locate them. If no stud is available, use wall anchors. Anchors give extra support in drywall or plaster.
Marking The Spot
Mark the exact place where you want the hook. Use a pencil to make small marks. Measure carefully to keep hooks level and straight. Clear markings help you drill in the right spot the first time.
Checking For Obstructions
Check behind the wall for wires or pipes. Use a wire detector or be cautious with drills. Avoid hitting electrical wires or plumbing. This keeps you and your home safe during installation.
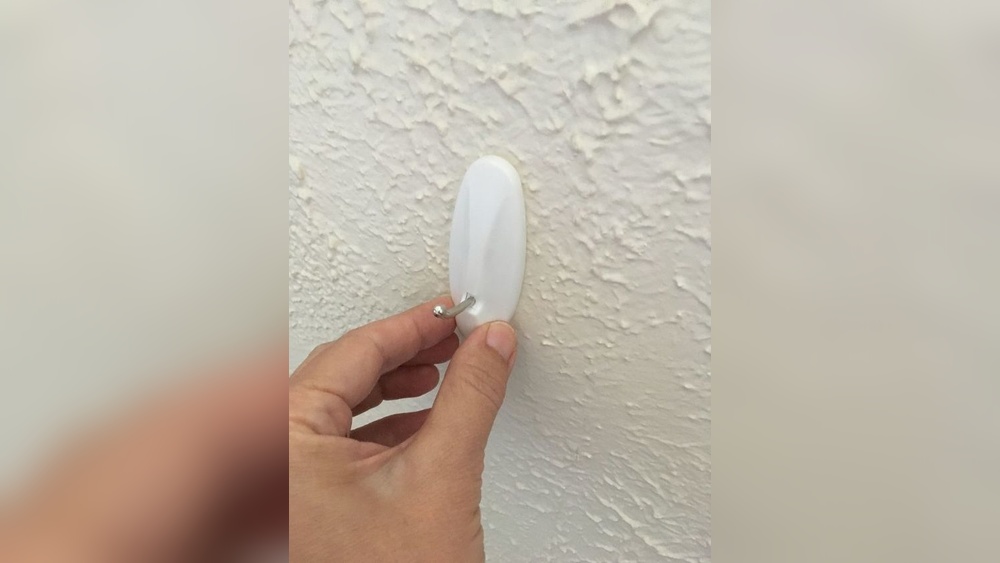
Installing Screw Hooks In Drywall
Installing screw hooks in drywall needs care and the right steps. Drywall is soft and can break if you just screw hooks directly into it. Using the right tools and methods will make sure your hooks hold strong and last long. Follow these simple steps to install screw hooks securely in drywall.
Using Wall Anchors
Wall anchors give extra support in drywall. They stop the hook from pulling out easily. Choose anchors that fit the size of your screw hook. Push or tap the anchor gently into the hole in the drywall. This makes a firm base for the hook to hold on to.
Drilling Pilot Holes
Drill a small pilot hole first. This hole guides the screw hook and stops the drywall from cracking. Use a drill bit smaller than the screw hook’s diameter. Drill straight and just deep enough for the anchor or hook. This step makes the installation smoother and safer.
Screwing In The Hooks
Turn the screw hook into the pilot hole by hand. Use steady pressure and turn slowly. If it feels hard, back it out and check the hole size. Screw the hook until it is tight and the hook curves face the right way. Avoid over-tightening, which can damage drywall.
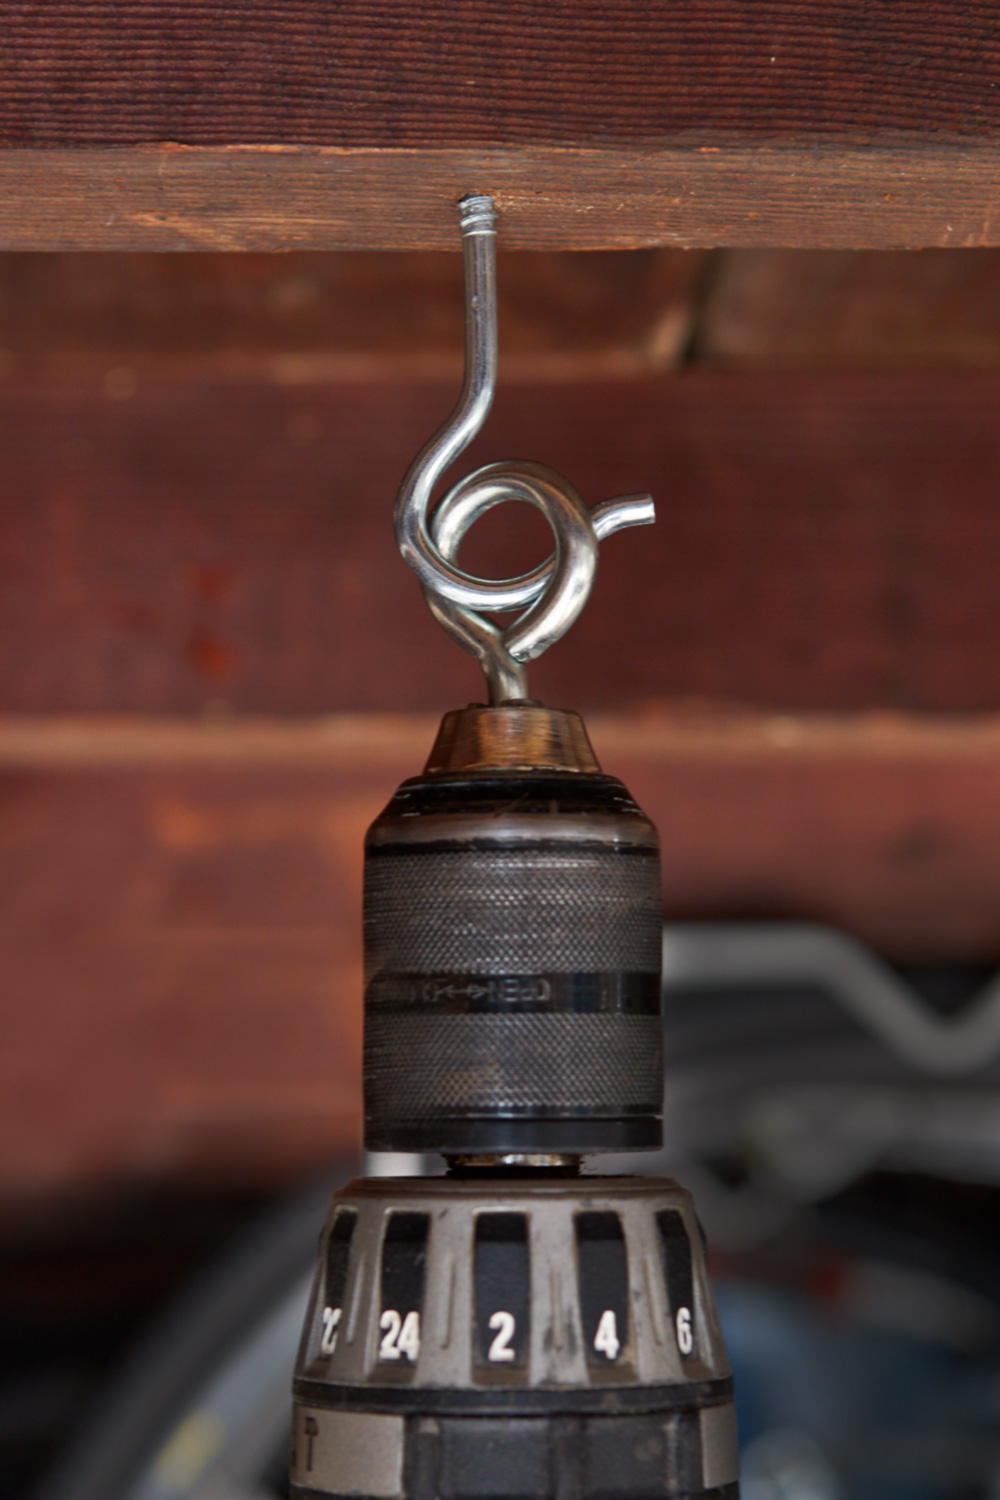
Installing Screw Hooks In Wood Walls
Installing screw hooks in wood walls is a simple task. It helps hang items securely and neatly. Wood walls hold screw hooks well because of their strong fibers. Follow clear steps to place hooks safely and firmly.
Pilot Hole Drilling
Start by drilling a pilot hole. Use a drill bit smaller than the hook’s screw part. This hole guides the screw and stops wood from splitting. Drill straight and not too deep. A clean hole makes screwing easier.
Hand Vs. Power Tools
Choose between hand tools and power tools for screwing. Hand tools give more control and reduce damage risk. Power tools save time and effort. Use low speed on power tools to avoid over-tightening. Pick the method that fits your comfort.
Securing The Hook
Insert the screw hook into the pilot hole. Turn it slowly, keeping it straight. Use pliers if the hook is hard to turn. Stop when the base of the hook touches the wall. Check if it feels firm and does not wobble.

Credit: www.wikihow.com
Installing Screw Hooks In Masonry Walls
Installing screw hooks in masonry walls requires care and the right tools. Masonry walls, like brick or concrete, are hard and need special anchors. These anchors hold the hook firmly in place. Follow simple steps to get strong and safe hooks on your wall.
Using Masonry Anchors
Masonry anchors give extra grip for screw hooks in hard walls. Choose anchors made for brick or concrete. Match anchor size with the screw hook size. Insert the anchor into the drilled hole. The anchor holds the hook tightly and stops it from falling out.
Drilling Into Brick Or Concrete
Use a hammer drill with a masonry bit to make holes. Pick a drill bit size that fits the anchor. Mark the spot where you want the hook. Drill straight into the wall slowly. Drill deep enough for the full anchor length. Clear out dust from the hole before inserting the anchor.
Inserting And Securing Hooks
Push the masonry anchor into the hole. Tap it gently with a hammer if needed. Screw the hook into the anchor by hand. Turn the hook until it is tight and secure. Check if the hook holds firm by pulling gently. Now the hook is ready to support items safely.
Tips For Perfect Hanging
Getting your screw hooks right is key to neat and safe hanging. Small steps make a big difference. Follow simple rules to keep your items secure and walls damage-free.
Ensuring Level Placement
Start by marking where the hook will go. Use a level tool to check the spot. This keeps your hangings straight. A crooked hook looks messy and may fall.
Measure twice, screw once. This avoids holes in the wall. A steady hand and patience help a lot. Level placement makes your space look tidy.
Avoiding Overloading
Check the hook’s weight limit. Do not hang items heavier than it can hold. Heavy loads cause hooks to bend or pull out.
Spread weight evenly if using multiple hooks. Keep your walls safe and hooks strong. Light to medium weight items work best.
Maintaining Hook Stability
Turn the hook fully into the wall or stud. This gives the best grip and support. Loose hooks wobble and risk falling.
Use wall anchors for drywall. They add strength and prevent damage. Tight hooks hold items firm and long.

Credit: www.youtube.com
Common Mistakes To Avoid
Putting screw hooks in the wall seems easy but often leads to mistakes. These errors can cause damage or make the hook fail. Avoiding common mistakes helps ensure a strong and safe hold. Keep these points in mind for better results.
Skipping Pilot Holes
Not drilling a pilot hole is a frequent error. Pilot holes guide the screw hook and prevent the wall from cracking. They also make it easier to twist the hook in. Always drill a small hole first to protect your wall and save effort.
Ignoring Wall Material
Different walls need different methods. Drywall, plaster, and brick all react differently to screw hooks. Using the wrong anchor or screw can cause the hook to loosen. Identify your wall type before starting to avoid damage or weak support.
Incorrect Weight Estimates
Estimating the weight wrong causes hooks to fail. Heavy items need stronger hooks and anchors. Light hooks may bend or pull out under pressure. Know the weight of your item and choose the right hook for safety and durability.
Frequently Asked Questions
How Do I Choose The Right Screw Hook Size?
Select a screw hook based on the wall material and weight load. Use larger hooks for heavy items. Check the package for weight limits to ensure safety.
What Tools Are Needed To Install Screw Hooks?
You need a drill, screwdriver, wall anchors, and a pencil. These tools help make precise holes and secure the hooks firmly.
Can I Install Screw Hooks In Drywall Without Studs?
Yes, but use wall anchors for extra support. Anchors prevent hooks from pulling out and improve load-bearing capacity on drywall.
How Deep Should I Drill Before Inserting A Screw Hook?
Drill a pilot hole about two-thirds the length of the screw hook. This ensures easier insertion and prevents wall damage.
Conclusion
Putting screw hooks in a wall is simple with the right steps. Start by choosing the correct size and type for your wall. Mark the spot carefully before drilling a pilot hole. Turn the screw hook in slowly to avoid damage.
Use tools to help if the hook is hard to twist. This method works well for hanging light to medium items. Follow these tips, and your hooks will hold strong. Enjoy your neat and organized space with ease.