Struggling to get your Command hooks to stick on textured walls? You’re not alone.
Those bumps and grooves can make hanging anything feel impossible. But don’t worry—there are simple tricks you can use to make sure your hooks stay put without damaging your walls. Keep reading, and you’ll learn exactly how to get a strong, reliable hold every time.
Your walls—and your peace of mind—will thank you.

Credit: www.onegoodthingbyjillee.com
Choosing The Right Command Hooks
Choosing the right Command hooks is key for sticking them on textured walls. Not all hooks work well on rough or bumpy surfaces. Picking hooks made for these walls improves hold and prevents damage.
Consider the wall texture and the hook design before buying. Some hooks have special adhesives or shapes that fit better on uneven surfaces. This choice makes hanging items easier and safer.
Types Suitable For Textured Walls
Command offers hooks with strong adhesives made for textured walls. Look for hooks labeled for use on brick, stucco, or rough surfaces. These hooks have adhesive strips that mold to wall bumps.
Plastic hooks with wide bases work better than small, narrow ones. The larger surface area sticks more firmly. Some hooks use foam strips that compress to fill gaps on textured walls.
Weight Limits And Size Options
Each Command hook has a weight limit. Choose a hook that supports the item’s weight. For heavier items, use larger hooks or multiple hooks.
Small hooks hold light objects like keys or cables. Medium hooks fit items like picture frames. Large hooks carry heavier things such as bags or coats. Match hook size to the wall texture and object weight.
Credit: www.reddit.com
Preparing Textured Walls
Preparing textured walls is important to make command hooks stick well. Textured walls have bumps and grooves that make sticking tricky. Proper preparation helps the hooks hold strong for a long time. Clean and dry walls are best for good adhesion.
Cleaning Techniques
Start by removing dust and dirt from the wall. Use a soft brush or cloth to wipe the surface gently. Avoid harsh scrubbing that can damage texture. A mild soap solution helps remove grease and stains. Use a damp cloth to clean the area where you will place the hook.
Do not skip cleaning. Dirt and oil reduce the hook’s grip. Make sure to clean the entire area around the spot.
Drying And Surface Inspection
After cleaning, let the wall dry completely. Use a dry cloth to speed up drying if needed. Moisture stops the hook’s adhesive from sticking properly. Check the wall for loose paint or crumbling texture. Fix or avoid damaged spots for better results. A smooth, dry surface helps command hooks stay in place longer.
Improving Adhesion
Textured walls can make it hard for Command hooks to stick properly. The rough surface reduces the hook’s grip, causing it to fall off. Improving adhesion is key to keeping hooks in place and avoiding wall damage. Simple steps can boost the stickiness and hold of these hooks on textured walls.
Using Adhesion Promoters
Adhesion promoters help prepare the wall surface for better grip. They clean and prime the area, making it easier for the hook to stick. Apply the promoter with a cotton ball or cloth. Let it dry completely before attaching the Command hook. This extra step strengthens the bond between the hook and the wall.
Applying Double-sided Tape
Double-sided tape adds another layer of stickiness to the hook. Place a strip of strong tape on the hook’s back. Press it firmly onto the textured wall. The tape fills gaps in the wall’s surface and improves contact. This method works well for heavier items and uneven textures.

Credit: www.command.com
Proper Hook Application
Proper hook application is key to making Command Hooks stick on textured walls. Textured surfaces are uneven, so careful steps help hooks stay strong and last longer. Follow simple tips to prepare and apply hooks correctly for the best hold.
Placement Tips
Choose a flat spot on the textured wall. Avoid areas with deep bumps or rough patches. Clean the wall with rubbing alcohol before applying the hook. Avoid using cleaners that leave residue or moisture. Let the wall dry completely before placing the hook. Position the hook at eye level for easy access and strength.
Pressing And Holding Time
Press the hook firmly against the wall. Hold it tight for at least 30 seconds. This helps the adhesive bond well with the surface. Avoid moving the hook during this time. After pressing, wait one hour before hanging anything. This waiting period improves the hook’s grip on the wall.
Alternative Solutions For Rough Surfaces
Textured walls make it hard for Command Hooks to stick well. The rough surface stops the adhesive from gripping tightly. This can cause hooks to fall off or hold less weight. Using alternative methods helps hooks stay strong on uneven walls. These solutions create a smooth or firmer base for the hooks.
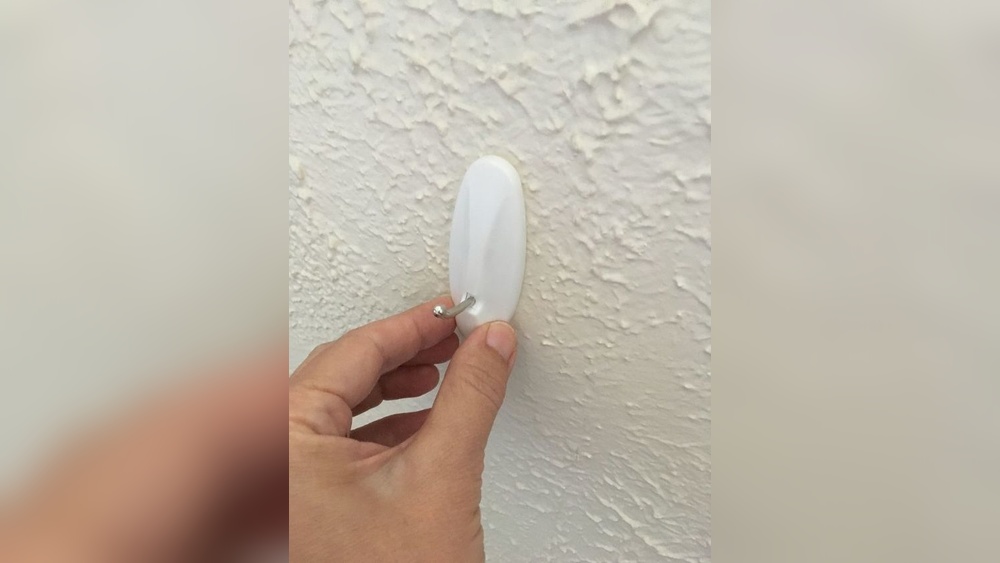
Using Mounting Strips
Mounting strips work well on rough walls. They come with strong adhesive on both sides. First, press the strip firmly on the wall. Let it sit for a few seconds. The strip acts like a flat surface for the hook. Then, attach the Command Hook to the strip. This method improves the hook’s grip and holds more weight.
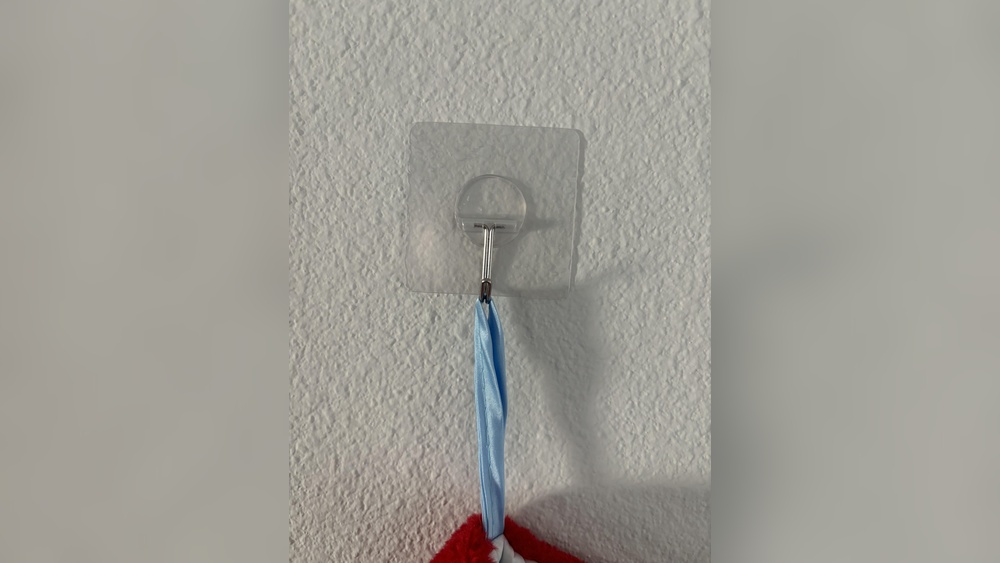
Installing Adhesive Wall Plates
Adhesive wall plates create a solid base on bumpy walls. These plates stick directly to the wall’s texture. They give a smooth area for the Command Hook to attach. Place the plate on the wall and press hard. Wait a minute for good adhesion. After that, stick the hook on the plate. This keeps hooks stable and secure on rough walls.
Maintaining Hook Strength Over Time
Maintaining the strength of command hooks on textured walls takes care and attention. Over time, hooks may lose their grip and fall. Simple steps help keep hooks secure and reliable. This section covers key tips to maintain their hold for a long time.
Avoiding Excess Weight
Command hooks have weight limits. Adding too much weight causes them to fail. Use hooks only for items within their weight range. Light objects like keys or small frames work best. Heavy items need stronger supports or other hanging methods. Keeping weight low protects the hook’s stickiness and the wall surface.
Regular Inspection And Replacement
Check hooks often to ensure they remain firm. Look for signs like loose edges or peeling tape. Replace any hook that shows wear or damage. Old adhesive loses grip and can cause falls. Swapping hooks regularly keeps your items safe and walls intact. This small habit prevents accidents and keeps hooks working well.
Frequently Asked Questions
How Do You Prepare Textured Walls For Command Hooks?
Clean the wall surface with rubbing alcohol and let it dry. Avoid using soap or water as they leave residue. This ensures better adhesive grip for Command hooks on textured walls.
Can Command Hooks Damage Textured Walls?
Command hooks are designed to remove cleanly without damage. However, on highly textured walls, some paint may peel. Use the correct size and follow removal instructions carefully to minimize any risk.
What Type Of Command Hooks Work Best On Textured Walls?
Use Command hooks labeled for textured surfaces or outdoor use. They have stronger adhesive strips designed to grip uneven textures better than standard hooks.
How Long Can Command Hooks Hold On Textured Walls?
When properly applied, Command hooks can hold for several months. Weight limits vary, so do not exceed the recommended load for your hook size.
Conclusion
Getting Command hooks to stick on textured walls takes care and the right steps. Clean the wall well and choose the right hooks made for rough surfaces. Press hooks firmly and hold for the best grip. Wait before hanging heavy items.
Small efforts keep hooks strong and your walls safe. Try these tips and enjoy neat, damage-free wall hanging. Simple, smart steps make a big difference.