Looking for a simple way to add style and function to your home? Making a wall coat hook yourself is easier than you think.
You don’t need special skills or expensive tools. In just a few steps, you can create a unique hook that fits your space perfectly. Keep reading, and you’ll discover how to turn basic materials into something both practical and eye-catching.
Your walls will thank you!
Materials Needed
Gathering the right materials is the first step to making a wall coat hook. Choose wood that fits your style and space. Pick hardware that holds strong. Prepare tools to make the process smooth and easy.
Types Of Wood
Wood choice shapes the look and strength of your coat hook. Pine wood is soft and easy to cut. Oak is harder and lasts longer. Cedar has a nice smell and resists moisture. Choose wood that matches your room’s style and needs.
Hardware Essentials
Strong hooks hold your coats safely. Metal hooks are common and reliable. Brass hooks add a classic touch. Screws must fit the wood thickness. Wall anchors help if you attach to drywall. Pick hardware that fits the wood and wall type.
Tools Required
You need a drill to make holes for screws. A saw cuts the wood to size. Sandpaper smooths rough edges. A screwdriver tightens screws firmly. A measuring tape ensures correct hook placement. Gather these tools before starting your project.
Design Ideas
Designing a wall coat hook can be fun and creative. Choosing the right style helps match your room’s look. Simple, decorative, or multi-hook designs suit different needs. Each style offers a unique way to organize coats and bags.
Simple Hooks
Simple hooks use clean lines and basic shapes. They are easy to make and fit most spaces. A single metal or wooden hook can hold one or two coats. These hooks work well in small rooms or hallways. Their simplicity makes them timeless and practical.
Decorative Shapes
Decorative hooks add style and personality to your wall. Shapes like animals, leaves, or geometric forms catch the eye. Paint or stain can enhance the design. These hooks serve as art and function at the same time. They bring charm to any room.
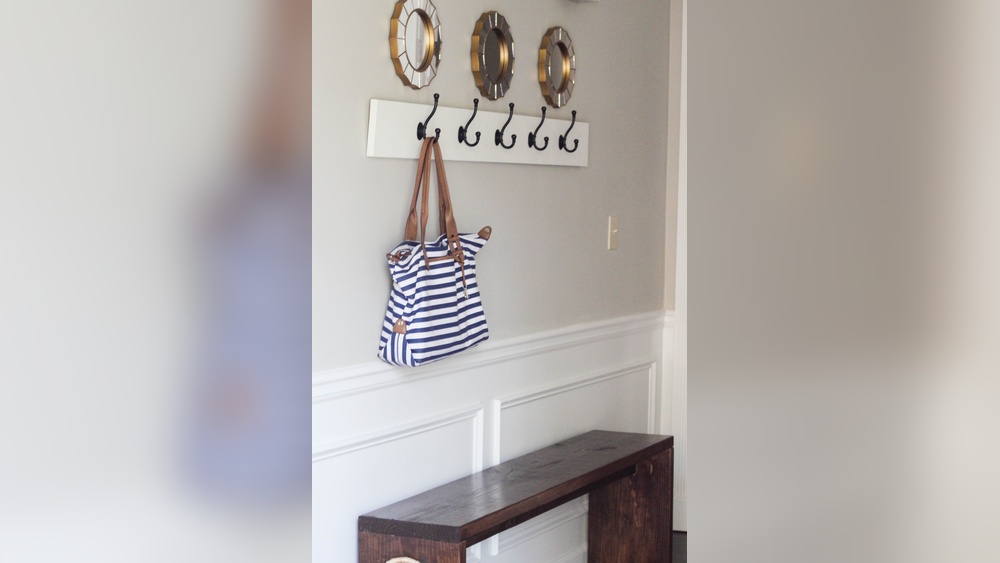
Multi-hook Boards
Multi-hook boards have several hooks on one board. They save space by holding many items together. You can arrange hooks in rows or patterns. These boards are great for families or busy entryways. They keep coats, hats, and bags neatly organized.
Measuring And Cutting
Measuring and cutting are key steps in making a wall coat hook. Accurate measurements ensure your hook fits well and looks great. Cutting the wood or material correctly helps avoid mistakes and waste. This section guides you through marking dimensions and cutting safely.
Marking Dimensions
Start by deciding the size of your coat hook. Use a ruler or measuring tape to mark the length and width on the wood. Make clear, straight lines with a pencil. Double-check each measurement before marking. Accurate marks help you cut the pieces to the right size.
Safe Cutting Techniques
Wear safety goggles and gloves before cutting. Use a sharp saw or cutting tool for clean edges. Secure the wood firmly on a stable surface. Cut slowly along the marked lines without rushing. Keep fingers away from the blade at all times. Proper safety keeps you injury-free and your project neat.

Credit: esseg.eu
Sanding And Finishing
Sanding and finishing are key steps in making a wall coat hook. They improve the wood’s look and protect it from damage. Proper sanding smooths the surface and removes rough spots. Finishing adds color and durability. These steps make your coat hook last longer and look great on any wall.
Sanding Tips
Start sanding with medium-grit sandpaper, around 120 grit. Sand in the direction of the wood grain to avoid scratches. Use finer grit, like 220, for a smooth finish. Sand all edges and corners carefully. Wipe off dust with a clean cloth before finishing.
Painting And Staining Options
Choose paint for a bold, colorful look. Use a primer first to help paint stick. Stain brings out the wood’s natural beauty. Apply stain with a brush or cloth. Let each coat dry fully before adding another. Test colors on scrap wood for best results.
Sealing For Durability
Seal the wood to protect it from moisture and wear. Use clear polyurethane or varnish for a strong finish. Apply thin coats with a brush, letting each dry before the next. Lightly sand between coats for smoothness. Sealing keeps your coat hook looking new for years.
Attaching Hooks
Attaching hooks to your wall coat rack gives it function and style. It is important to select the right hooks and install them well. This makes your coat rack strong and long-lasting. Follow simple steps to ensure your hooks hold coats and bags safely.
Choosing Hook Styles
Select hooks that fit your room’s look and your needs. Single hooks save space and hold one item. Double hooks hold more, good for busy homes. Metal hooks offer strength and a modern feel. Wooden hooks blend well with natural or rustic decor. Match hook size to the items you plan to hang. Small hooks suit hats or scarves. Large hooks hold heavy coats or backpacks.
Proper Installation
Mark the spots for hooks evenly along the wood. Use a level to keep hooks straight. Drill small guide holes to avoid splitting wood. Use screws that fit the hook holes and the wall type. Anchor screws into studs for best support. Tighten screws fully to prevent hooks from wobbling. Test each hook by gently pulling it down. Secure hooks will hold weight without moving.

Credit: www.reddit.com
Mounting On The Wall
Mounting your wall coat hook correctly is key to its strength and durability. The right placement ensures easy access and prevents damage to your walls. Secure mounting keeps the hook stable, even with heavy coats or bags. Follow simple steps to mount your hook safely and effectively.
Selecting The Right Location
Choose a spot at a comfortable height for all users. Avoid areas near doors that swing open wide. Find a wall section free of pipes or electrical wires. Use a stud finder to locate studs behind drywall. Mounting on a stud provides extra support for heavy coats.
Using Anchors And Screws
For drywall without studs, use wall anchors to hold screws firmly. Insert anchors before screwing to prevent wall damage. Choose anchors rated for the weight of your coats. Use screws that fit the anchor size perfectly. Tighten screws until the hook feels secure but avoid overtightening.
Maintenance Tips
Proper care keeps your wall coat hook looking good and working well. Small actions can extend its life and keep it strong. Follow simple maintenance steps to protect your hook from damage and wear.
Cleaning Advice
Dust your coat hook regularly with a soft cloth. Use a damp cloth for sticky spots. Avoid harsh chemicals that can damage the finish. Dry the hook completely after cleaning to prevent rust or stains. Clean it often to keep it fresh and neat.
Repairing Scratches
Light scratches can be fixed with a touch-up marker matching the hook’s color. For deeper scratches, sand lightly with fine sandpaper before applying paint or finish. Use wood filler for wooden hooks to fill big scratches. Fix scratches soon to keep the hook looking new and prevent further damage.
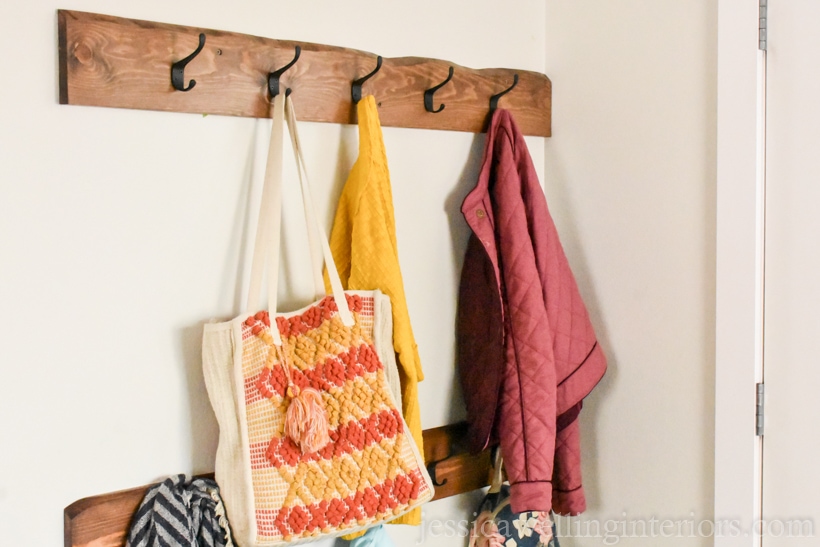
Credit: jessicawellinginteriors.com
Frequently Asked Questions
What Materials Do I Need To Make A Wall Coat Hook?
You need wood, screws, wall anchors, a drill, a saw, and hooks. Choose durable wood like oak or pine for lasting strength and aesthetics.
How Do I Attach A Wall Coat Hook Securely?
Use wall anchors with screws to secure the hook. Drill pilot holes first to prevent wood splitting and ensure stability.
Can I Customize The Design Of My Wall Coat Hook?
Yes, customize by choosing different wood shapes, sizes, and paint finishes. Personalize hooks with decorative knobs or metal hooks for style.
What Tools Are Essential For Making A Wall Coat Hook?
Essential tools include a saw, drill, screwdriver, measuring tape, and sandpaper. These help cut, assemble, and finish the coat hook smoothly.
Conclusion
Making a wall coat hook is simple and fun. You only need a few tools and materials. Follow the steps carefully and take your time. Your new hook will keep coats and bags neat. It also adds a nice touch to your wall.
Try making different styles to fit your space. Small projects like this bring satisfaction and help your home stay tidy. Give it a try today!