Are you struggling to hang something heavy on your wall without worrying it might fall? Installing a plastic anchor is the simple solution you need.
It gives your screws extra grip and keeps everything secure. In this guide, you’ll learn exactly how to install a plastic anchor quickly and correctly, so your shelves, frames, or hooks stay firmly in place. Keep reading, and you’ll gain the confidence to tackle this common home project like a pro.
Choosing The Right Plastic Anchor
Choosing the right plastic anchor is key for a strong hold. Different anchors suit different walls and weights. Picking the correct type avoids damage and keeps your items secure.
Types Of Plastic Anchors
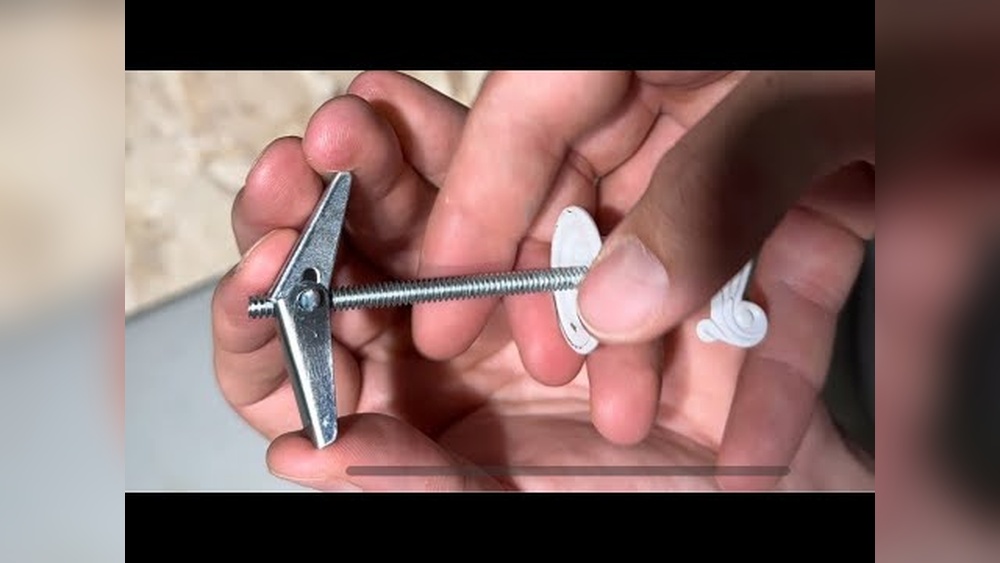
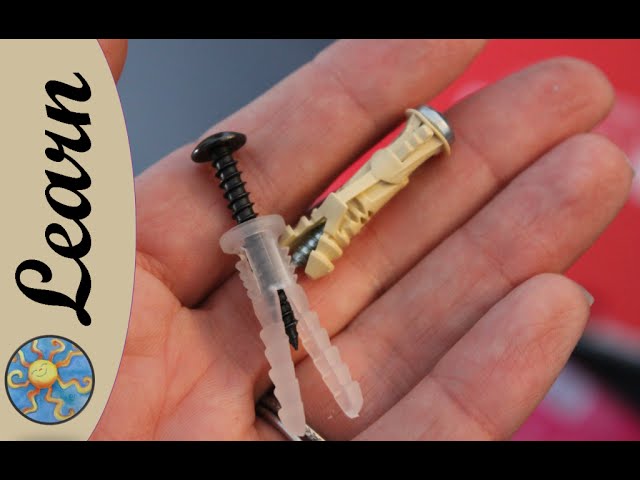
Plastic anchors come in many shapes and sizes. The most common types are expansion anchors, self-drilling anchors, and hollow wall anchors. Expansion anchors spread out inside the wall for a tight fit. Self-drilling anchors cut their own hole as you screw them in. Hollow wall anchors open behind the wall for support in drywall or plaster. Each type fits a specific use and load capacity.
Matching Anchors To Wall Materials
Wall material affects the choice of anchor. Drywall needs hollow wall anchors for better grip. Concrete or brick walls work best with expansion anchors. For soft materials, self-drilling anchors provide easier installation. Using the wrong anchor weakens the hold and may cause damage. Identify your wall type before buying anchors. This step saves time and ensures safety.
Credit: www.youtube.com
Tools And Materials Needed
Before installing plastic anchors in the wall, gather all necessary tools and materials. Having the right items makes the job easier and safer. Prepare these items to ensure smooth installation.
Essential Tools
- Drill with a drill bit sized for the anchor
- Screwdriver matching the screw head type
- Hammer to tap anchors gently into the wall
- Measuring tape for accurate placement
- Level to keep installations straight
- Pencil for marking drill points
Safety Gear
- Safety goggles to protect your eyes from dust
- Dust mask to avoid inhaling particles
- Work gloves to protect your hands
- Ear protection if you use loud power tools
Preparing The Wall
Preparing the wall is the first step to installing a plastic anchor. This step helps ensure the anchor fits securely and holds the object well. Careful preparation prevents damage to the wall and helps the anchor last longer.
Locating The Spot
Find the exact place on the wall where you want to install the anchor. Use a level or tape measure to check the height and alignment. Make sure the spot is free of pipes, wires, or studs inside the wall. This avoids accidents and keeps the wall intact.
Marking The Drill Point
Mark the drilling point clearly on the wall with a pencil. A small dot is enough to guide the drill bit. Double-check the mark to confirm the right position. Accurate marking helps the drill bit stay steady and makes the hole clean.
Drilling The Hole
Drilling the hole is an important step when installing a plastic anchor in the wall. The hole must be the right size and clean for the anchor to hold firmly. A well-drilled hole ensures the anchor fits snugly and supports the weight properly.
Careful drilling helps avoid wall damage and makes the installation strong. Prepare your tools and focus on accuracy to get the best results.
Selecting The Drill Bit Size
Choose a drill bit that matches the size of the plastic anchor. Check the anchor package for the recommended drill bit size. Using a drill bit too large creates a loose hole. Too small, and the anchor won’t fit inside.
Measure the anchor diameter and pick a bit of the same size. This step ensures a tight fit for the anchor. Use a high-quality drill bit for clean holes.
Drilling Techniques
Start drilling slowly to prevent cracking the wall. Hold the drill steady and keep it straight. Drill straight into the wall at a 90-degree angle.
Remove the drill bit occasionally to clear dust and debris. This keeps the hole clean and allows the anchor to fit better. Stop drilling once you reach the needed depth.
Installing The Plastic Anchor
Installing a plastic anchor is a key step for securing screws in walls. It helps hold weight without damage. The process is simple but needs care. Follow the steps closely for a strong hold.
Inserting The Anchor Properly
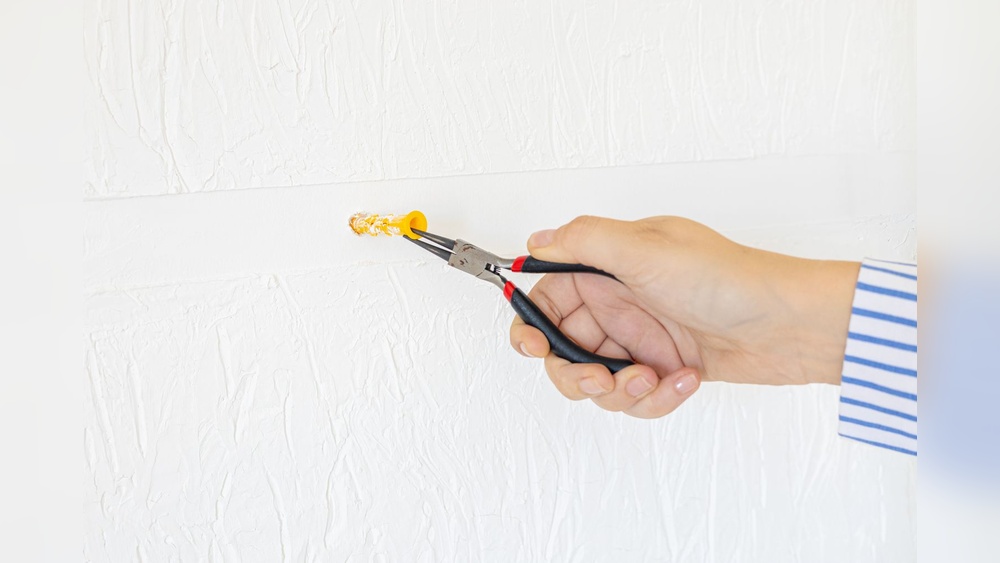
Start by drilling a hole that fits the anchor size. The hole should be clean and free of dust. Push the plastic anchor gently into the hole. Do not force it hard to avoid breaking. The anchor must sit firmly in the wall.
Ensuring A Flush Fit
Check if the anchor is level with the wall surface. It should not stick out or sink inside. Use a small hammer to tap it lightly if needed. The anchor needs to be flush for the screw to hold well. A proper fit prevents damage and loosening.

Credit: www.youtube.com
Securing The Fixture
Securing the fixture properly is key to a strong and lasting hold. The plastic anchor needs the right screw and careful tightening to keep the fixture steady. This step ensures the fixture stays safe and does not damage the wall.
Choosing The Right Screw
Select a screw that fits the plastic anchor snugly. The screw should be long enough to go through the fixture and fully into the anchor. Avoid screws that are too thin or too thick. A proper fit helps the anchor expand and grip the wall tightly. Use screws made for the wall type and the fixture weight.
Tightening Without Damage
Turn the screw slowly and steadily to avoid cracking the wall or anchor. Stop tightening as soon as the fixture feels secure. Over-tightening can break the anchor or strip the hole. Use a screwdriver or drill with a clutch setting for better control. Check the fixture’s stability by gently pulling on it after tightening.
Tips For Stronger Support
Plastic anchors help hold items safely on walls. Strong support depends on correct installation and care. Follow simple tips to improve anchor strength. This keeps your items secure and avoids damage.
Avoiding Common Mistakes
Pick the right size anchor for the weight. Drill a hole that fits the anchor snugly. Too big or small holes weaken the hold. Insert the anchor straight, not at an angle. Push it fully into the wall for tight grip. Use a screwdriver, not a drill, to screw in fasteners. Over-tightening can break the anchor or wall. Choose anchors made for your wall type, like drywall or concrete.
Maintaining The Anchor Over Time
Check anchors regularly for loosening or damage. Tighten screws gently if they feel loose. Avoid putting extra weight on old anchors. Replace anchors if the wall shows cracks or crumbles. Keep the wall area clean and dry. Moisture can weaken plastic anchors and wall material. Care extends anchor life and keeps your items safe.

Credit: www.picturehangsolutions.com
Frequently Asked Questions
What Tools Do I Need To Install Plastic Anchors?
To install plastic anchors, you need a drill, drill bit, hammer, screwdriver, and the plastic anchors themselves. These tools help create a proper hole and secure the anchor firmly in the wall.
How Do I Choose The Right Drill Bit Size?
Choose a drill bit that matches the anchor’s diameter exactly. This ensures a snug fit, preventing the anchor from being loose or too tight in the wall.
Can Plastic Anchors Hold Heavy Items On Drywall?
Plastic anchors are suitable for light to medium loads on drywall. For heavy items, use stronger anchors like metal or toggle bolts to ensure safety and stability.
Should I Drill A Pilot Hole Before Inserting The Anchor?
Yes, drilling a pilot hole is essential. It prevents wall damage and allows the anchor to fit securely, ensuring proper support for the item you want to hang.
Conclusion
Installing a plastic anchor in a wall is simple and useful. Start by drilling a hole that fits the anchor size. Push the anchor gently into the hole until it is flush with the wall. Then, insert the screw to hold your item firmly.
This method helps hang pictures, shelves, and more safely. With practice, the process becomes quick and easy. Keep these steps in mind for your next project. A strong hold and neat finish make your space look better. Try it yourself and see the difference today.