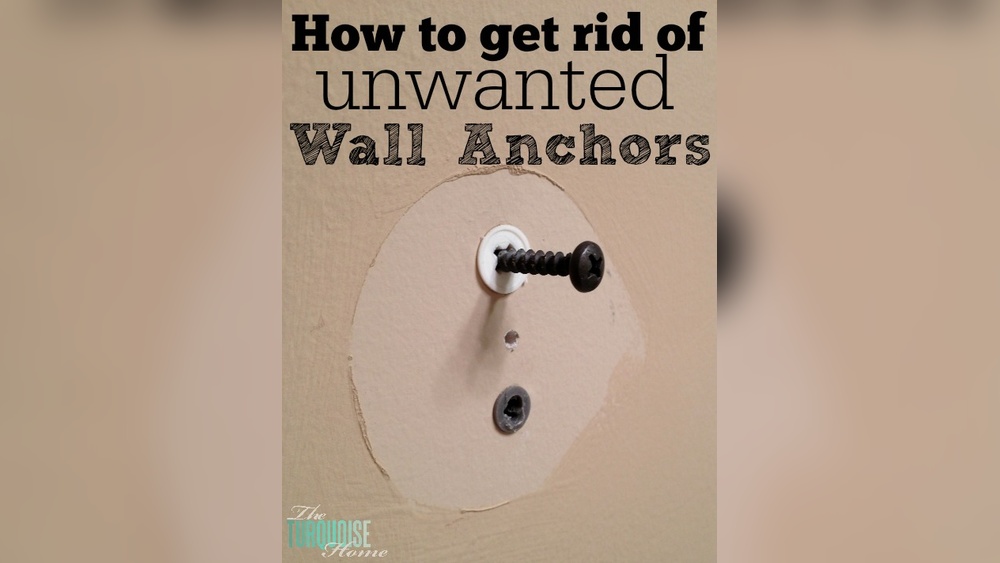
Are you struggling to hang shelves, pictures, or heavy items on your walls without worrying about them falling down? Installing wall anchors with a round end is the simple fix you need.
These anchors provide extra support and keep your items secure, even on drywall or plaster. In this guide, you’ll learn exactly how to install them quickly and safely, so you can get your projects done right the first time. Keep reading to discover the easy steps that will boost your confidence and protect your walls.
Choosing The Right Wall Anchors
Choosing the right wall anchors is key to a strong, safe hold. Different walls and objects need different anchors. Picking the right one prevents damage and keeps things secure. Understanding types and uses helps you pick the best anchor for your project.
Types Of Wall Anchors
Wall anchors come in many types. Plastic anchors work well with light loads. Metal anchors hold heavier items firmly. Toggle bolts spread weight on hollow walls. Molly bolts expand inside the wall for a tight grip. Each type fits different wall materials and weight needs.
When To Use Round End Anchors
Round end anchors suit drywall and plaster walls. Their shape helps them hold tight in hollow spaces. Use them for medium weight items like shelves or frames. They resist pulling out better than some other anchors. Ideal for walls that can’t hold screws alone.
Tools And Materials Needed
Before installing wall anchors with round ends, gather the right tools and materials. Proper tools ensure a smooth and safe installation. Using the correct items makes the job easier and the results stronger.
Essential Tools
You need a drill with a bit matching the anchor size. A screwdriver helps to tighten the anchor securely. A hammer may be required to tap the anchor into the wall gently. A tape measure ensures accurate placement. A pencil marks the drilling spots precisely.
Safety Gear
Wear safety glasses to protect your eyes from dust and debris. Use gloves to keep your hands safe from sharp edges. Ear protection is useful if you use a loud drill. A dust mask prevents inhaling particles during drilling. Safety gear keeps you safe while working on the wall.
Preparing The Wall Surface
Preparing the wall surface is an important step before installing wall anchors with round ends. This process helps ensure a strong hold and prevents damage to your wall. Taking time to prepare will make your installation easier and more secure.
Two main tasks are needed: finding the right spots on the wall and cleaning the area. Each task helps create the best conditions for your wall anchors.
Locating Studs And Marking Spots
Start by finding the studs behind the wall. Studs provide strong support for heavy items. Use a stud finder or tap the wall to hear solid sounds. Mark the spots with a pencil where you want to install the anchors. These marks guide your drilling and keep your work precise.
Cleaning The Area
Clean the wall surface around the marked spots. Use a dry cloth to remove dust and dirt. A clean surface helps the anchor grip better. Avoid using water or wet cloths as they can weaken the wall material. A neat area ensures a stable and lasting installation.
Credit: allsafepool.com
Drilling The Hole
Drilling the hole is the first key step when installing wall anchors with a round end. A properly drilled hole ensures the anchor fits tightly and holds well. Taking care during this step prevents damage to the wall and makes the anchor more secure.
Focus on choosing the right tools and using the correct technique. This helps create a clean hole that matches the size of your anchor perfectly. Below are important tips to guide you through drilling the hole.
Choosing The Right Drill Bit
Select a drill bit that matches the size of the wall anchor. The bit should be the same diameter as the anchor’s body. Using a bit that is too large causes a loose fit. A bit that is too small makes it hard to insert the anchor.
Use a drill bit designed for the wall material. For drywall, a standard twist bit works well. For concrete or brick, use a masonry bit. This prevents damage to both the wall and the bit.
Drilling Techniques
Mark the spot where you want to drill. Hold the drill steady and straight to avoid angled holes. Start drilling slowly to create a guide hole.
Once the guide is made, increase the speed. Apply gentle pressure without forcing the drill. Pull the bit out occasionally to clear dust and debris.
Stop drilling once you reach the depth needed for the anchor. Check the hole size and depth before inserting the anchor.
Inserting The Round End Anchor
Inserting the round end anchor is a key step in securing objects to walls. This type of anchor offers strong support in drywall or plaster. The process is simple but requires care to ensure a firm hold. Follow the steps below for a smooth installation.
Aligning The Anchor
First, hold the anchor so the round end faces the wall. Place it directly over the hole you drilled. Make sure the anchor is straight and fits snugly. Proper alignment prevents damage and ensures the anchor works well. Take a moment to check the position before moving on.
Pushing And Setting The Anchor
Push the anchor gently into the hole. Use your thumb or a small tool to press it in. Apply steady pressure until the round end is flush with the wall surface. Avoid forcing the anchor too hard, which can cause cracks. Once set, the anchor is ready to hold screws securely.

Credit: livewellhs.com
Securing The Fixture
Troubleshooting is important when installing wall anchors with round ends. Problems can happen during installation. Fixing these issues helps keep your wall safe and your anchor strong. Understanding common problems saves time and effort.
Anchor Slipping
Anchor slipping happens when the anchor does not hold tight. The hole might be too big or not deep enough. Use a drill bit that matches the anchor size exactly. Push the anchor in firmly until it fits snugly.
Check the wall material. Some walls need special anchors. If the anchor slips, try a different type made for your wall. Tighten screws slowly to avoid loosening the anchor.
Wall Damage Prevention
Wall damage occurs if you drill too deep or use the wrong tools. Use a drill with a depth stop to avoid holes that are too deep. Avoid drilling near pipes or wires by checking with a detector.
Insert anchors gently. Do not force them in. For fragile walls, use lightweight anchors. These reduce the risk of cracking or breaking the wall surface.

Credit: www.amazon.com
Frequently Asked Questions
What Tools Are Needed To Install Wall Anchors With Round Ends?
You need a drill, drill bit, screwdriver, wall anchors with round ends, and a hammer for installation. Choose the drill bit size matching the anchor diameter for a proper fit.
How Do I Prepare The Wall Before Installing Anchors?
Mark the anchor position and drill a hole matching the anchor size. Clear dust from the hole to ensure a secure grip for the anchor.
Can I Use Round End Anchors On Drywall?
Yes, round end anchors work well on drywall. They expand behind the drywall to hold screws firmly, providing strong support for lightweight to medium objects.
How Deep Should I Drill Holes For Round End Anchors?
Drill holes slightly deeper than the anchor length. This allows the anchor to fit fully and expand properly for maximum holding strength.
Conclusion
Installing wall anchors with round ends is simple and effective. Start by choosing the right size for your wall and item. Drill a hole carefully, then insert the anchor until it sits flush. Tighten the screw gently to secure the anchor in place.
This method keeps your items strong and steady on the wall. Practice makes perfect. Soon, you will do it quickly and confidently. Enjoy your secure hanging without worry or damage.