Have you ever wondered why your occupancy sensor light switch turns off too quickly or stays on longer than you want? Getting the settings just right can save you energy and make your space more comfortable.
In this guide, you’ll learn simple steps to adjust your occupancy sensor light switch easily, so it works exactly how you need it to. Keep reading, and you’ll discover quick tips that anyone can follow to take full control of your lighting.
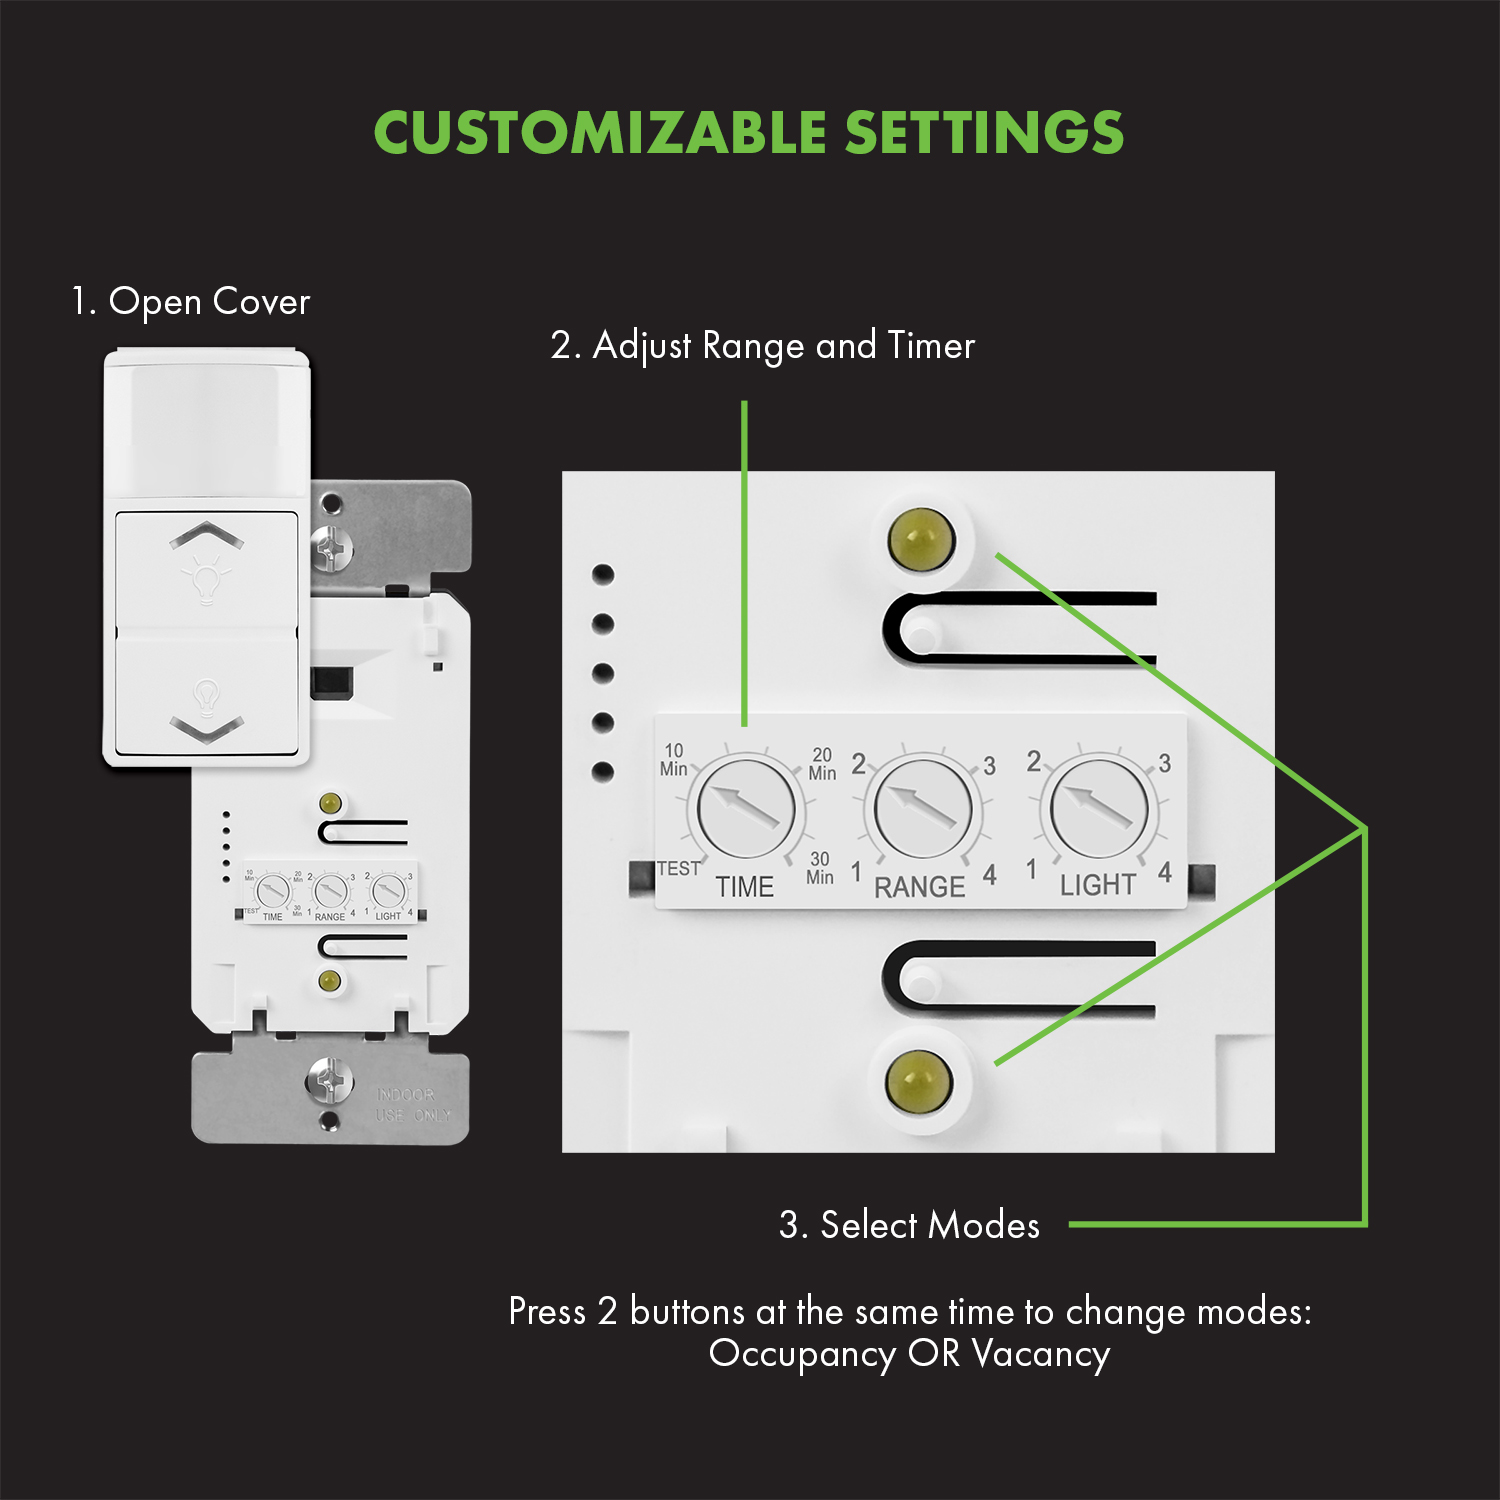
Credit: topgreener.com
Choosing The Right Occupancy Sensor
Choosing the right occupancy sensor is key for effective light control. The right sensor saves energy and improves convenience. Picking a sensor depends on the space and how people move there. Understanding sensor types and placement helps make the best choice.
Types Of Occupancy Sensors
There are two main types: motion and ultrasonic sensors. Motion sensors detect movement using infrared light. They work well in rooms with clear sight lines. Ultrasonic sensors use sound waves to sense motion. They detect movement even behind objects or doors. Some sensors combine both methods for better accuracy. Choose based on room layout and activity level.
Sensor Placement Tips
Place sensors where they see most activity. Avoid spots blocked by furniture or walls. Mount them high for wider coverage. Corners often work best to cover large areas. Keep sensors away from heat sources like vents. Test placement before final installation for best results.

Credit: diy.stackexchange.com
Preparing For Installation
Preparing for the installation of an occupancy sensor light switch is important. It helps ensure a smooth process and safe setup. Taking time to get ready can save frustration and mistakes.
Start by gathering all necessary tools. Also, follow safety steps carefully. This preparation helps you install the switch correctly and avoid accidents.
Gathering Necessary Tools
Collect all tools before you begin. You will need a screwdriver, wire stripper, and voltage tester. A drill might be useful for some wall types. Have electrical tape and wire nuts ready. These help secure connections safely. Having tools at hand speeds up the work.
Safety Precautions
Turn off the power at the circuit breaker. Use a voltage tester to confirm no electricity flows. Wear insulated gloves for extra protection. Avoid working in wet or damp places. Follow all local electrical codes. Keep children and pets away during installation. Safety reduces risks and ensures a safe home environment.
Installing The Sensor Light Switch
Installing an occupancy sensor light switch is a simple way to save energy. This device turns lights on and off automatically based on room activity. The installation process requires a few careful steps to ensure safety and proper function. Follow these instructions for a smooth setup.
Turning Off Power
Start by switching off the power at the circuit breaker. This stops electricity from flowing to the switch. Double-check that the power is off using a voltage tester. This step is very important to avoid electric shocks.
Wiring The Sensor
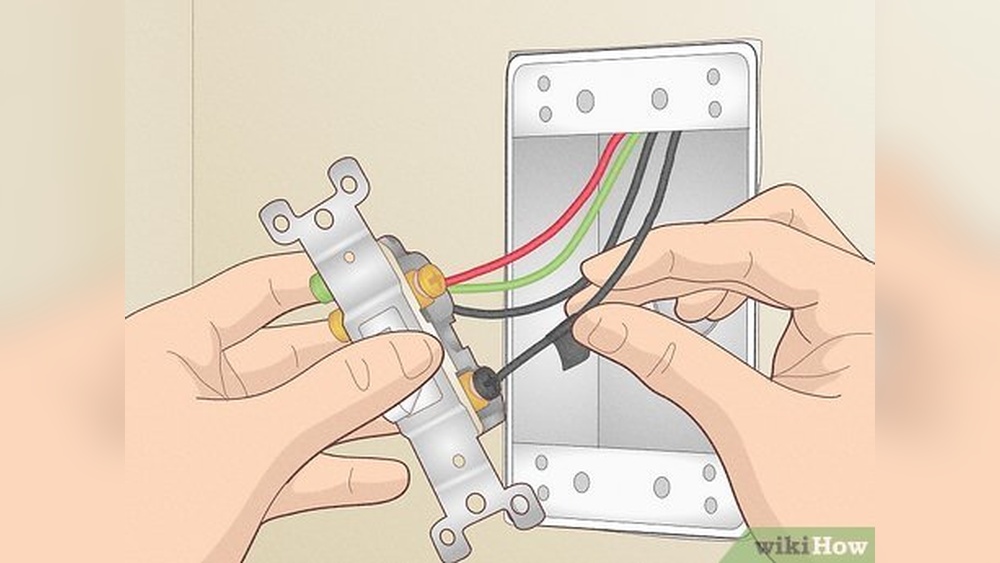
Remove the old switch from the wall box. Identify the wires: live, load, neutral, and ground. Connect the sensor wires to the matching wires in the wall. Use wire nuts to secure the connections tightly. Follow the sensor’s wiring diagram carefully to avoid mistakes.
Securing The Switch
Push the wires back into the wall box gently. Attach the sensor switch to the box with screws. Make sure the switch fits flush with the wall. Finally, turn the power back on and test the sensor light switch. Adjust settings if needed for best performance.

Credit: www.youtube.com
Adjusting Sensitivity Settings
Adjusting the sensitivity settings of your occupancy sensor light switch helps control how it detects movement. Proper settings reduce false triggers and save energy. It also ensures the light turns on only when needed. Two main settings to adjust are detection range and motion sensitivity.
Setting Detection Range
The detection range controls how far the sensor can “see” movement. You can set it to cover a small area or a larger space. Turn the range dial or switch on the sensor to increase or decrease the distance. A shorter range works well for small rooms or hallways. A longer range is good for big rooms or open areas. Test the range by walking around and watching if the light activates.
Adjusting Motion Sensitivity
Motion sensitivity decides how much movement triggers the sensor. Higher sensitivity detects small movements like hand waves. Lower sensitivity reacts only to big movements like walking. Adjust the sensitivity knob or button to fit your needs. For busy areas, lower sensitivity avoids constant switching. For quiet spots, higher sensitivity helps catch any motion. Try different levels to find the best setting for your space.
Configuring Light Duration
Configuring the light duration on your occupancy sensor switch helps save energy and improve convenience. It controls how long the light stays on after no movement is detected. Setting the right duration avoids lights turning off too soon or staying on too long.
Setting Time Delay
Time delay means how long the light stays on after you leave. Most sensors let you set this delay from a few seconds up to 30 minutes or more. Choose a delay that fits the room’s use. Short delays work well for quick trips, like closets. Longer delays suit living rooms or kitchens where you move around more.
To set the time delay, find the adjustment dial or buttons on the switch. Turn the dial or press buttons to increase or decrease the delay time. Test the setting by walking away and seeing when the light turns off. Change it if needed to match your preference.
Customizing Lighting Periods
Some sensors allow different lighting times for day and night. You can make the light stay on longer at night for safety. During the day, set a shorter time to save energy. Check your switch manual to see if this feature is available.
Customize lighting periods based on your daily routine. For example, set longer lighting in the evening when you use the room more. Adjust settings for less use during the day. This helps balance comfort and energy savings effectively.
Optimizing Ambient Light Detection
Optimizing ambient light detection is key to using occupancy sensor light switches well. It helps the sensor know when to turn lights on or off based on natural light. This saves energy and keeps rooms comfortable.
Good ambient light detection stops lights from turning on during the day. It also makes sure the space stays bright when needed. Small adjustments can improve how the sensor reads light.
Adjusting Light Threshold
The light threshold is the level of natural light that controls the sensor. Set it too low, and lights turn on unnecessarily. Set it too high, and rooms might stay dark when needed.
To adjust, find the sensor’s dial or button for light sensitivity. Turn it up to make the sensor less sensitive to daylight. Turn it down to make it more sensitive. Test the setting in different light conditions.
Balancing Daylight And Sensor Activation
Balance is important between daylight and sensor activation. Too much daylight can stop the sensor from turning lights on. Too little can cause lights to stay on all day.
Check the sensor’s placement to avoid shadows or direct sunlight. Adjust the angle if needed. This helps the sensor detect true ambient light levels accurately.
Try different settings and observe how the lights respond. Find a balance that saves energy but keeps rooms well-lit. Small changes can have a big impact.
Testing And Troubleshooting
Testing and troubleshooting an occupancy sensor light switch is key to ensure it works properly. Faulty sensors can cause lights to stay on or fail to turn on. Checking the sensor helps find problems early and saves energy. Follow simple steps to test and fix common issues.
Conducting Initial Tests
Start by turning on the power to the sensor. Walk slowly in front of the sensor to see if the light turns on. Stand still and check if the light stays on for the set time. Adjust the timer dial if the light turns off too quickly.
Test different distances from the sensor. The sensor should detect motion within its range. Try waving your hand to check sensor sensitivity. Use the light switch’s manual to set sensitivity and timer settings.
Common Issues And Fixes
Lights not turning on might mean the sensor is blocked or dirty. Clean the sensor lens gently with a soft cloth. Check if furniture or curtains block the sensor’s view.
If lights stay on all the time, adjust the sensitivity lower. Faulty wiring can cause the sensor to malfunction. Turn off power and check wire connections are tight and correct.
Sometimes, the sensor fails due to incompatible bulbs. Use bulbs recommended by the switch manufacturer. Replace old or incompatible bulbs with LED or CFL types compatible with sensors.
Maintenance Tips For Sensor Switches
Proper maintenance keeps your occupancy sensor switch working well. Clean and check it often for best results. Simple steps help avoid errors and improve sensor life.
Cleaning The Sensor
Dust and dirt block the sensor’s view. Wipe the sensor gently with a soft, dry cloth. Avoid using water or cleaning sprays. Clean every few weeks to keep it clear. A clear sensor detects motion better and saves energy.
Regular Performance Checks
Test the sensor switch regularly. Walk in front of it to see if lights turn on. Check if lights turn off after no movement. Adjust settings if the sensor is too slow or too fast. Fix problems early to avoid bigger issues later.
Frequently Asked Questions
How Do I Adjust The Sensitivity Of Occupancy Sensor Lights?
To adjust sensitivity, locate the sensor dial on the switch. Turn it clockwise to increase sensitivity or counterclockwise to decrease. This controls how much motion triggers the light, helping save energy and improve performance.
What Is The Best Way To Set The Timer On Occupancy Sensors?
Set the timer dial to control how long the light stays on after no motion. Choose a shorter time for high-traffic areas and longer for low-traffic spaces to balance convenience and energy efficiency.
Can I Change The Detection Range Of My Occupancy Sensor?
Yes, the detection range can often be adjusted using a dial or switch on the sensor unit. Refer to your model’s manual to increase or decrease the sensing area to fit your room size.
Why Isn’t My Occupancy Sensor Light Turning Off Properly?
Check if the timer setting is too long or the sensor is detecting constant motion. Clean the sensor lens and ensure no objects block its view. Adjust settings to fix the issue.
Conclusion
Adjusting an occupancy sensor light switch is simple and useful. You control when the light turns on and off. Set the time and sensitivity to fit your needs. This saves energy and makes your space safer. Small changes can make a big difference.
Try different settings until it feels right. Enjoy a smarter, more efficient lighting system every day.