
Are you ready to make your home smarter and more convenient? Adding a Z Wave light switch is easier than you might think, and it can transform the way you control your lighting.
Imagine turning your lights on or off with just a tap on your phone or even with your voice. In this guide, you’ll discover simple, step-by-step instructions to install a Z Wave light switch yourself—no need to call a professional.
Keep reading to find out how you can upgrade your home lighting quickly and safely, and start enjoying smarter control today.
Credit: www.zwaveoutlet.com
Benefits Of Z Wave Light Switches
Z Wave light switches bring many benefits to any home. They offer more control and save energy. These switches connect wirelessly to your smart home system. This lets you manage your lights easily and smartly.
Energy Efficiency
Z Wave switches help reduce electricity use. You can set schedules to turn lights off automatically. This prevents lights from staying on when not needed. Lower energy use means smaller electricity bills. It also helps protect the environment.
Remote Control Convenience
Control your lights from anywhere using a phone or tablet. Turn lights on before you get home. Switch off lights you forgot to turn off. This convenience adds comfort and saves energy. No need to walk around the house to check switches.
Integration With Smart Home Systems
Z Wave switches work with many smart home devices. They connect with sensors, alarms, and thermostats. This creates a connected system that improves home safety. You can automate lighting based on your daily routine. It makes your home smarter and easier to manage.
Tools And Materials Needed
Adding a Z Wave light switch needs the right tools and materials. Prepare well for a smooth installation. This section lists what you need to start safely and effectively.
Essential Tools
You need a few basic tools for the job. A flathead screwdriver helps remove old switches. A Phillips screwdriver fits most screws. Wire strippers cut and strip wires cleanly. A voltage tester checks if power is off. Needle-nose pliers help twist wires together.
Required Safety Gear
Safety is key when working with electricity. Use insulated gloves to protect your hands. Safety goggles shield your eyes from sparks or debris. Wear closed-toe shoes to avoid injury. Turn off power at the circuit breaker. Double-check with a voltage tester before starting.
Choosing The Right Z Wave Switch
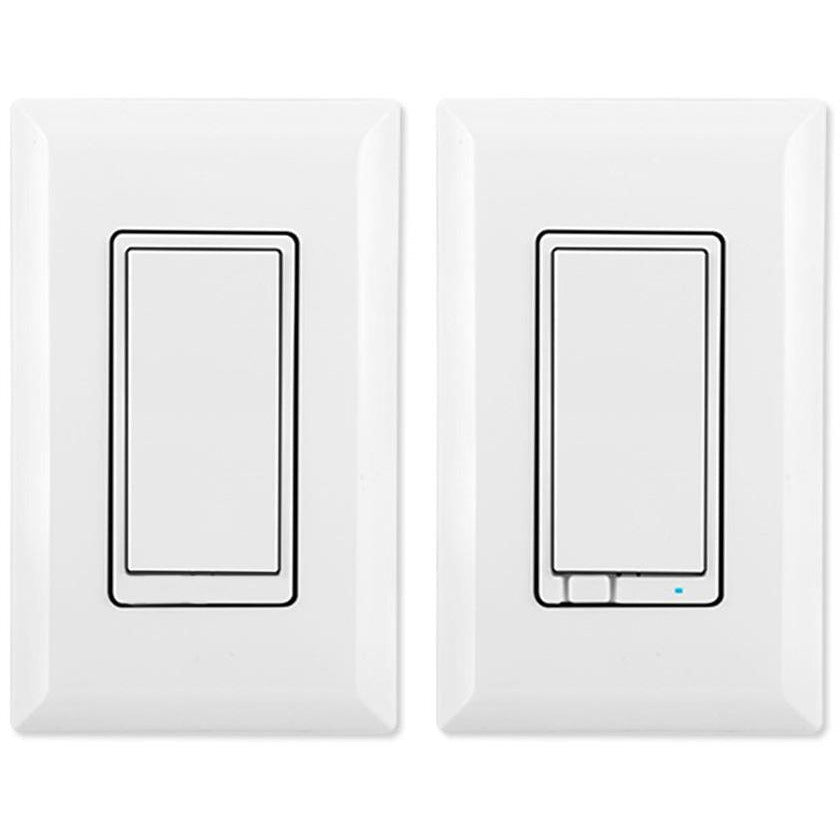
Select a switch that matches your home wiring and needs. Check if your home uses neutral wires, needed for most Z Wave switches. Pick a switch compatible with your smart home hub. Consider the switch style—toggle or rocker. Confirm the switch supports the correct load type, like LED or incandescent bulbs.
Preparing For Installation
Preparing for the installation of a Z Wave light switch is an important step. It ensures safety and a smooth process. Proper preparation helps avoid mistakes and damage. Follow these steps carefully before you start the installation.
Turning Off Power Safely
First, turn off the power at the circuit breaker. Do not rely on the wall switch alone. Use a voltage tester to check if wires have power. This step protects you from electric shock. Always confirm the power is off before touching wires.
Removing The Existing Switch
Remove the cover plate by unscrewing it. Unscrew the switch from the wall box carefully. Gently pull the switch out to see the wires. Remember the wire connections or take a picture. This helps during the new switch installation.
Identifying Wiring Types
Look at the wires connected to the old switch. Common wires include live, neutral, and ground. The live wire carries current to the switch. The neutral wire completes the circuit. Ground wires provide safety. Knowing each wire type is crucial for correct installation.
Credit: www.thesmartesthouse.com
Wiring The Z Wave Switch
Wiring the Z Wave switch is an important step in the installation process. Proper wiring ensures the switch works safely and correctly. Pay close attention to each wire connection. This helps avoid electrical problems and keeps your home safe.
Connecting The Load Wire
The load wire carries power to your light or fixture. Locate the load wire in your wall box. Attach it to the load terminal on the Z Wave switch. Use a screwdriver to tighten the connection. Make sure the wire is secure and does not move.
Attaching The Neutral Wire
The neutral wire completes the electrical circuit. Find the neutral wires in the wall box, usually white. Connect these wires to the neutral terminal on the switch. Twist wires together if needed and use a wire nut. A solid connection is crucial for the switch to function.
Securing The Ground Wire
The ground wire protects against electrical faults. It is usually green or bare copper. Attach the ground wire to the green ground screw on the switch. Tighten the screw firmly to hold the wire in place. Confirm all wires are connected correctly before finishing.
Setting Up The Switch
Setting up your Z Wave light switch is simple and quick. This step is important to ensure your switch works well with your smart home system. Follow each part carefully for the best results.
Mounting The Switch
Turn off the power at the circuit breaker before starting. Remove the old switch by unscrewing it from the wall. Disconnect the wires carefully. Connect the wires to the new Z Wave switch as shown in the manual. Secure the switch to the wall box using screws. Make sure the switch sits flush with the wall. Avoid loose connections to prevent future issues.
Restoring Power
Turn the power back on at the circuit breaker. Check the switch to see if the light turns on or off. The switch may flash or show a light to indicate it is powered. Test the switch manually to confirm it works. If it does not work, turn off the power and check the wiring again.
Pairing With The Z Wave Hub
Put your Z Wave hub into pairing mode. Press the button on the switch as instructed by the manual. The switch will send a signal to the hub. Wait for the hub to confirm the connection. The switch is now part of your smart home network. Test the switch using your app to ensure control works remotely.
Testing And Troubleshooting
Testing and troubleshooting your Z Wave light switch ensures it works smoothly and fits your needs. This step helps find any problems early. It also improves your switch’s performance and your home’s smart system.
Verifying Switch Functionality
Start by turning the switch on and off manually. Check if the connected light responds immediately. Use your Z Wave controller or app to control the switch remotely. Confirm the switch shows the correct status in the app. Test all buttons and features to ensure they work. A good sign is a quick and accurate reaction to commands.
Resolving Common Issues
If the light does not respond, check the wiring connections first. Make sure the switch is properly powered. Restart your Z Wave hub or controller if the app does not update. Replace dead batteries in battery-powered devices. Remove and re-add the switch to the network if needed. Look for interference from other wireless devices nearby. These steps fix most common problems quickly.
Adjusting Settings For Optimal Use
Use the Z Wave app to fine-tune switch settings. Set up timers to automate lighting schedules. Adjust dimming levels if your switch supports it. Enable notifications for switch status updates. Group switches together for easy control. Customize scenes to match your lifestyle. These tweaks make your smart lighting system more useful and convenient.
Tips For Maintaining Smart Lighting
Maintaining your smart lighting system keeps it reliable and efficient. Proper care helps avoid common problems. It also extends the life of your Z Wave light switches. Simple steps can improve your experience and save time.
Follow these tips to keep your smart lights working well. These small actions make a big difference in daily use.
Regular Firmware Updates
Check for firmware updates often. Updates fix bugs and add new features. They improve security and device performance. Use the manufacturer’s app or hub to find updates. Install them as soon as possible. This keeps your smart switches running smoothly and safely.
Enhancing Network Stability
Smart lights depend on a strong network. Place your Z Wave hub in a central spot. Avoid placing it near metal objects or walls. These can block the signal. Use a Wi-Fi extender or mesh system if needed. Keep your router’s firmware updated. A stable network ensures quick response and fewer dropouts.
Expanding Your Smart Lighting System
Adding more Z Wave switches increases convenience. Start with a few rooms and grow slowly. Test each switch before adding another. Use compatible devices to avoid issues. A larger system offers more control and flexibility. Plan your expansion to keep the network strong.

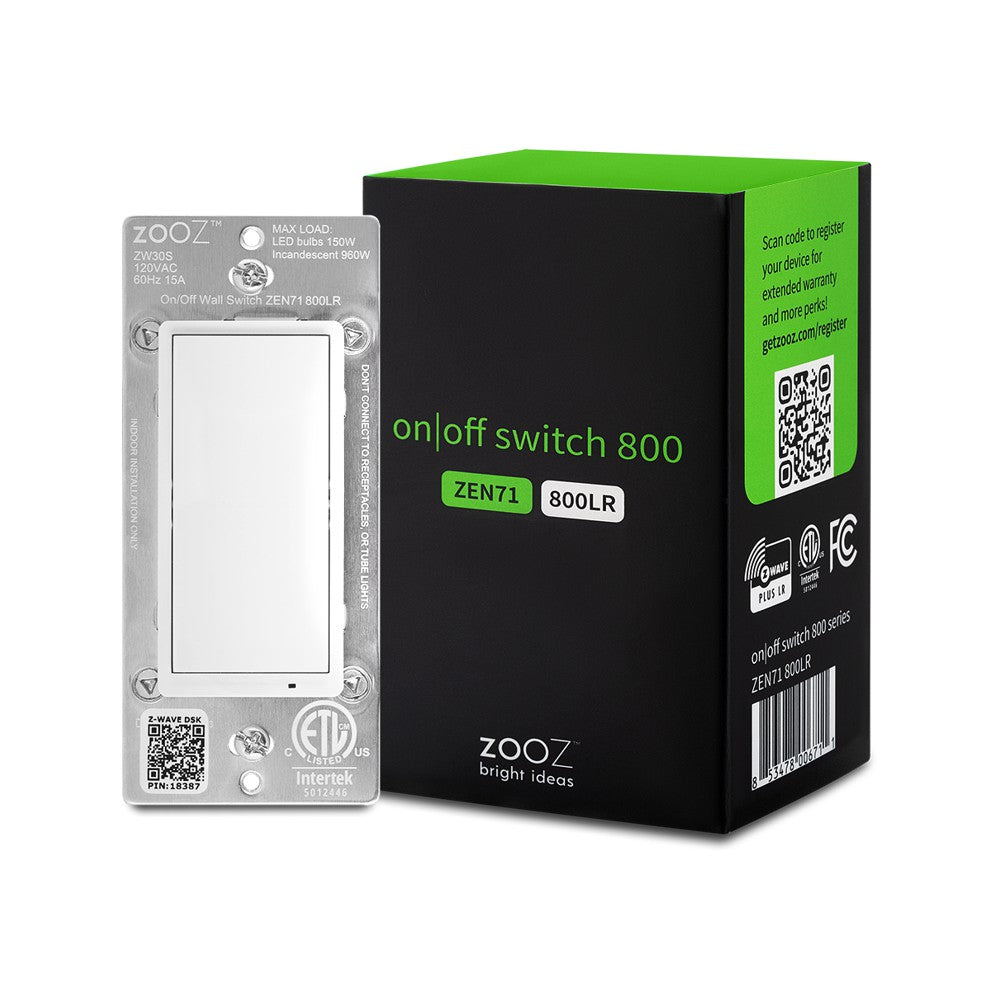
Credit: www.amazon.com
Frequently Asked Questions
What Tools Are Needed To Install A Z Wave Light Switch?
You need a screwdriver, voltage tester, wire stripper, and electrical tape. Turn off power before installation to ensure safety. Having these tools ready simplifies the process and protects you from electrical hazards.
How Do I Connect A Z Wave Light Switch To My Hub?
Put your hub in pairing mode, then press the switch’s inclusion button. The hub will detect and add the switch automatically. Follow your hub’s specific instructions for best results.
Can I Replace A Traditional Switch With A Z Wave Switch?
Yes, you can replace most standard switches with a Z Wave switch. Ensure your wiring supports a neutral wire, which many Z Wave switches require. Check compatibility before buying to avoid installation issues.
Is Professional Help Necessary For Installing Z Wave Switches?
Not always. If you understand basic electrical wiring and safety, you can install it yourself. However, if unsure, hiring a licensed electrician is safer and ensures code compliance.
Conclusion
Adding a Z Wave light switch brings smart control to your home. It saves energy and adds convenience. The steps are simple and clear to follow. You can enjoy remote control and automation easily. Take your time to install it safely.
Soon, your lighting will be smarter and more efficient. Give your home a small upgrade with this device. Smart living starts with easy changes like this.


