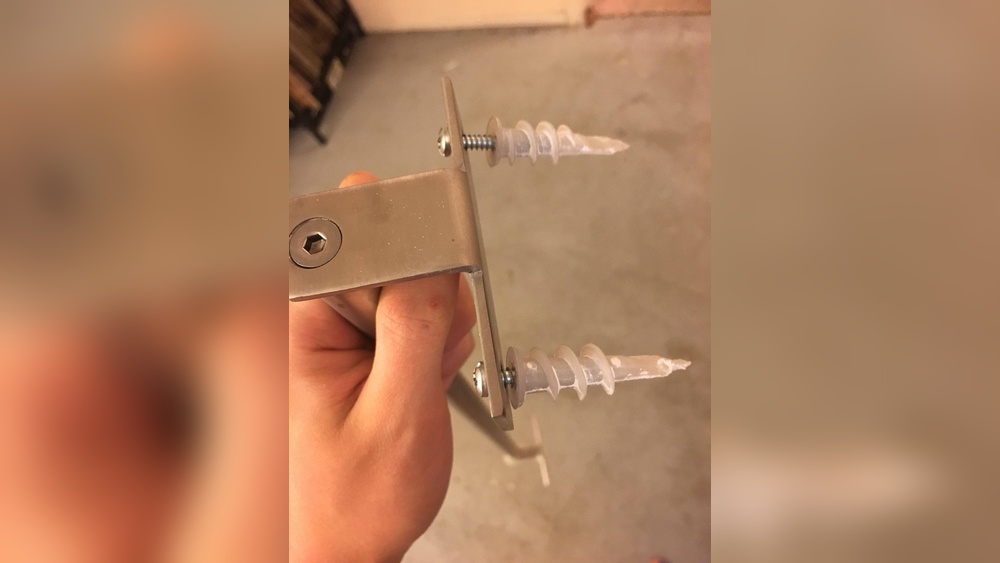
Have you ever removed a hollow wall anchor only to be left with an annoying hole in your wall? Those small but stubborn holes can ruin the smooth look of your space.
You might be wondering how to fix them quickly and easily without calling a pro. This guide will show you exactly how to fill holes from hollow wall anchors step by step. By the end, your wall will look as good as new, and you’ll gain the confidence to handle these repairs on your own.
Keep reading to discover simple tricks that save you time and money!
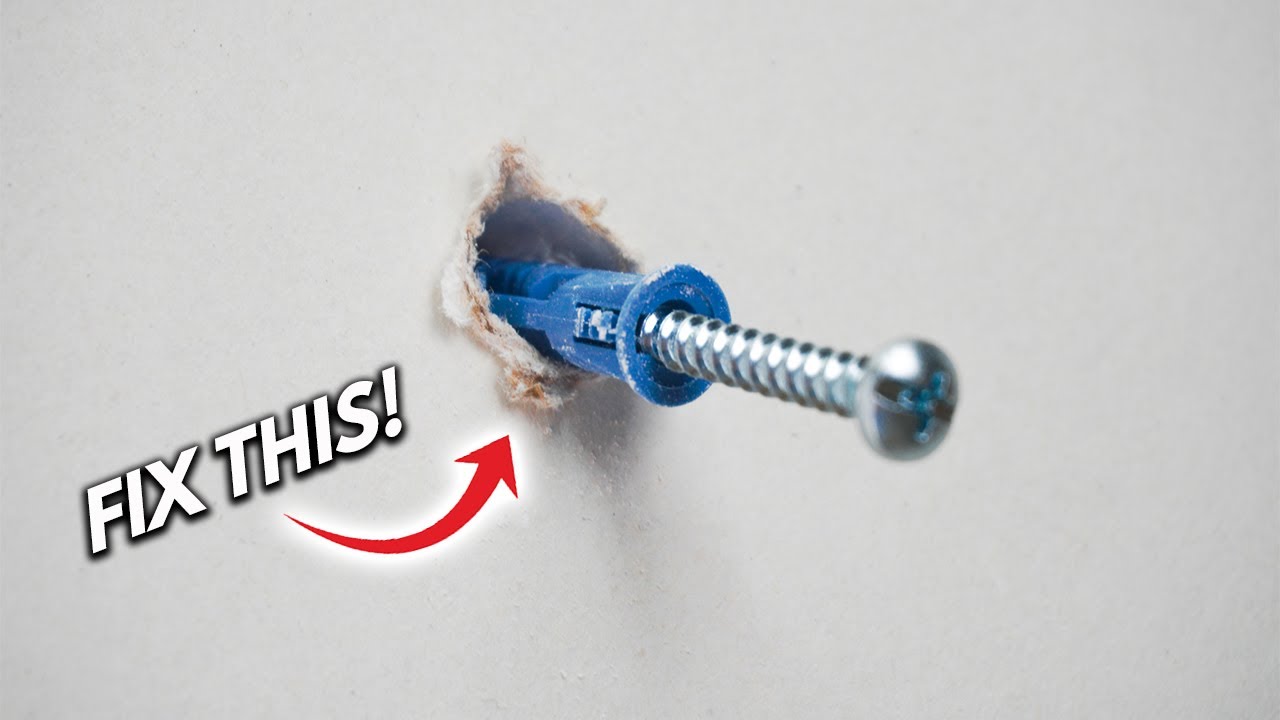
Credit: www.youtube.com
Tools And Materials Needed
Fixing holes from hollow wall anchors needs the right tools and materials. Using proper items makes the repair smooth and strong. It helps the wall look neat and ready for painting or decorating. Below is a list of what to prepare before starting the work.
Essential Repair Tools
A putty knife is key for filling holes evenly. Sandpaper smooths the surface after filling. A utility knife helps to clean loose edges around the hole. A small paintbrush or cloth can remove dust from the hole. A sanding block holds sandpaper for easier handling. Safety goggles protect your eyes from dust and debris. A vacuum cleaner or brush helps clear dust from the repair area.
Recommended Filling Materials
Spackling paste works well for small to medium holes. Lightweight joint compound is ideal for larger holes. Ready-mixed filler saves time and is easy to apply. For deep holes, use expanding foam before applying filler. Primer seals the filled area before painting. Choose fillers that dry fast and sand smoothly. Avoid materials that crack or shrink after drying.
Credit: www.thehandymansdaughter.com
Preparing The Hole
Preparing the hole is an important step before filling it. It helps the filler stick well and last longer. Taking time here saves work later. Follow simple steps to make the hole ready for repair.
Removing The Anchor
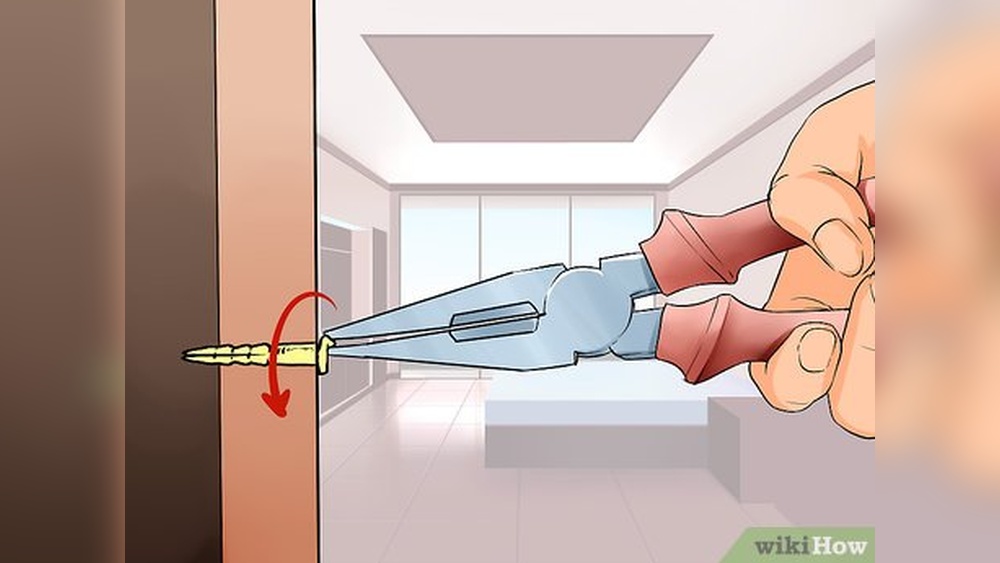
Start by taking out the hollow wall anchor carefully. Use pliers to grip the anchor firmly. Pull it straight out with steady force. If it resists, wiggle slightly to loosen it. Avoid pushing the anchor further inside the wall. A clean hole is easier to fill.
Cleaning The Area
Clear out dust and loose bits inside the hole. Use a small brush or a vacuum to clean it well. Wipe around the hole with a damp cloth. This removes grease and dirt that block adhesion. Let the area dry completely before filling.
Choosing The Right Filler
Choosing the right filler is key for fixing holes left by hollow wall anchors. The filler must match the hole size and wall type. The right choice makes repair simple and strong. It also helps the wall look smooth and neat. Two common fillers work well for these repairs. Each has its own benefits and best uses.
Spackle Vs. Joint Compound
Spackle is a quick-drying filler made for small holes and cracks. It is easy to apply and sands smoothly. Spackle works best for holes smaller than an inch. It dries fast, so you can paint soon after.
Joint compound is thicker and used for larger holes or wall repairs. It takes longer to dry but fills bigger gaps better. Joint compound is good for hollow wall anchor holes that are wide or deep. It creates a strong, even surface.
Spackle is best for small fixes. Joint compound suits bigger repairs. Both sand and paint well once dry.
Using Expanding Foam
Expanding foam fills large, deep holes quickly. It expands to fill the space inside the wall cavity. This stops air leaks and adds strength behind the wall surface.
After the foam dries, trim the excess and cover it with joint compound or spackle. This makes the wall smooth and ready for paint.
Use expanding foam for holes left by large anchors or multiple holes close together. It supports the wall and stops future damage.
Filling The Hole
Filling the hole left by a hollow wall anchor is key to a smooth, finished look. It also helps keep the wall strong and ready for painting or decoration. The process uses special filler materials that harden and blend with the wall surface.
Choosing the right method depends on the hole’s size and depth. Small holes need simple filling. Deep holes require a careful layering process. Both methods ensure the hole disappears and the wall stays solid.
Applying The Filler
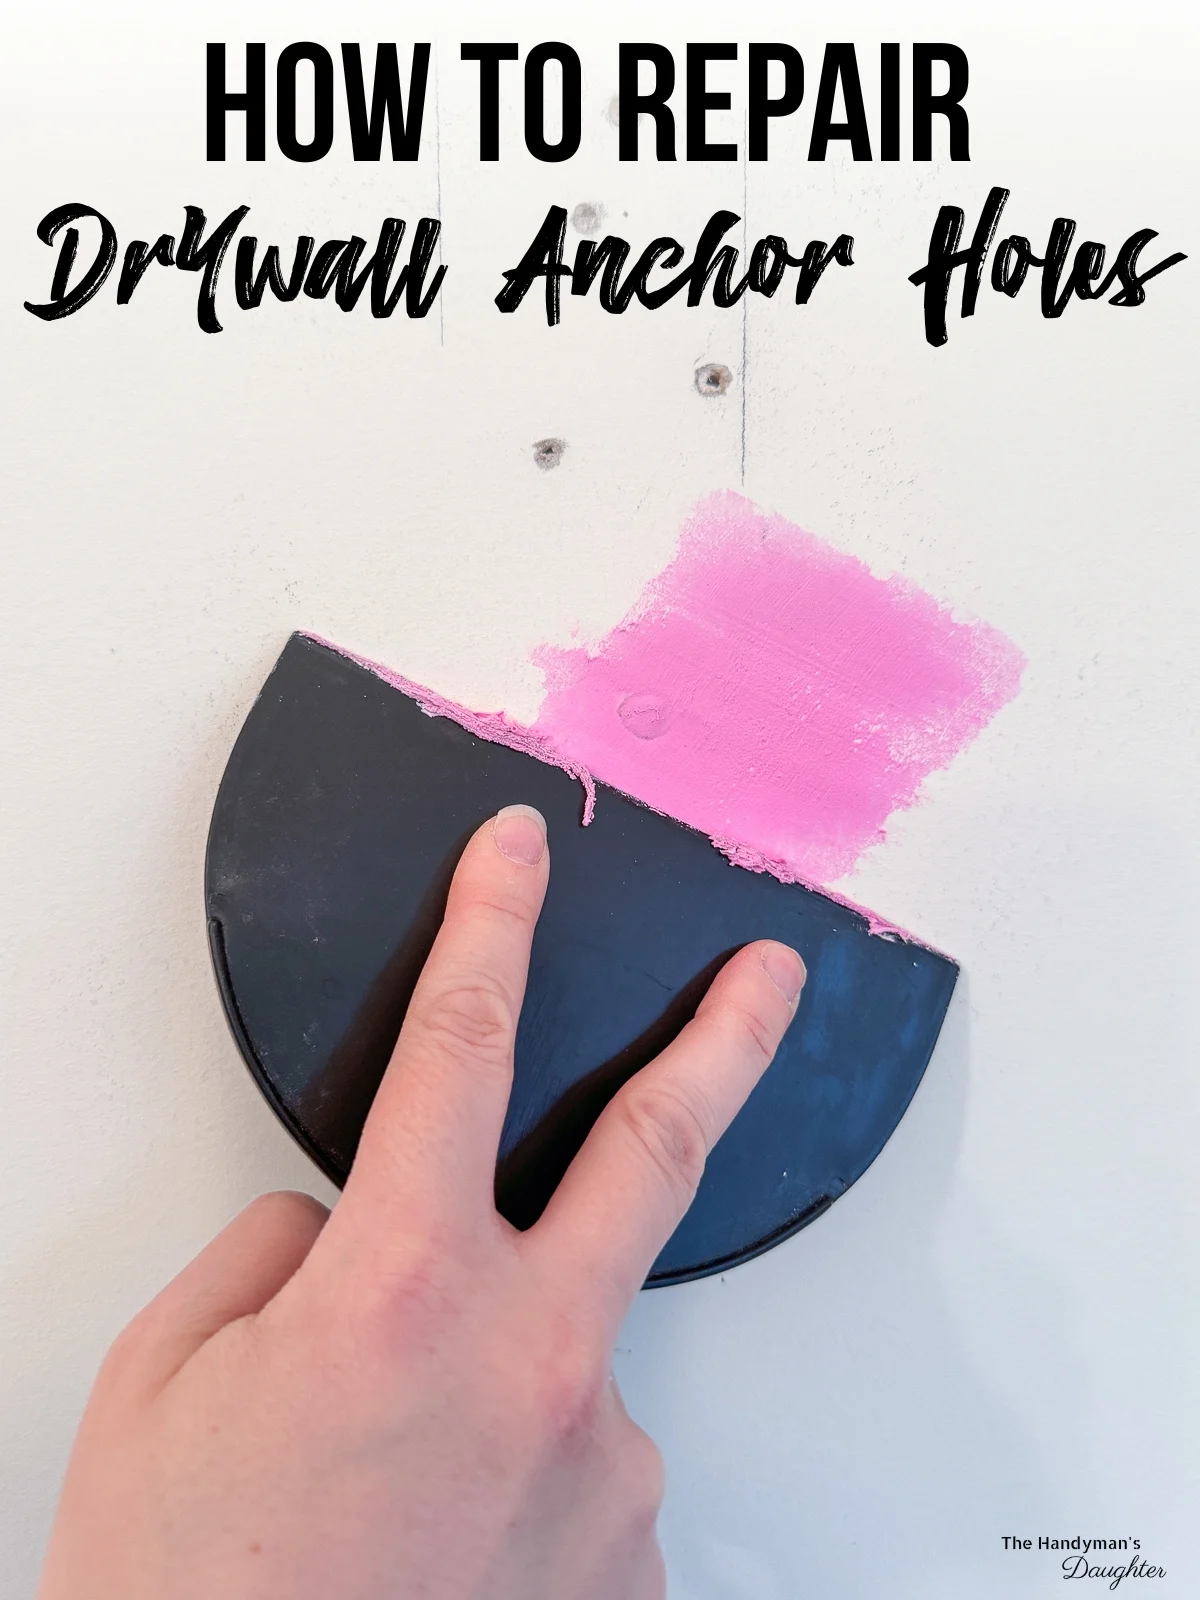
Start by cleaning the hole from dust and loose debris. Use a brush or vacuum for a clean surface. Take a putty knife and scoop some filler. Press it firmly into the hole, filling all gaps. Smooth the surface with the knife blade. Remove any extra filler around the hole. Let it dry according to the product instructions. Dry filler becomes strong and ready for sanding.
Layering For Deep Holes
Deep holes need more than one layer of filler. Apply the first layer and fill the hole halfway. Wait for it to dry fully. Add a second layer to fill the rest of the hole. Each layer must dry before adding the next. This prevents cracking and shrinking of the filler. After the final layer, smooth the surface well. Dry and sand it to match the wall texture perfectly.
Sanding And Smoothing
Sanding and smoothing are key steps after filling holes from hollow wall anchors. These steps ensure the patch blends seamlessly with the wall surface. A smooth finish also prepares the area for painting or wallpapering. Proper sanding removes bumps and uneven edges, creating a clean and professional look.
Drying Time Tips
Let the filler dry completely before sanding. Drying times vary by product and thickness. Usually, it takes a few hours to dry fully. Check the instructions on your filler package for exact times. Avoid rushing this step to prevent cracking or crumbling. A dry surface sands much easier and gives better results.
Sanding Techniques
Use fine-grit sandpaper for the best smoothness. Start with a light touch to avoid removing too much filler. Sand in circular motions to blend the edges well. Keep checking the surface by touch to feel for bumps. Clean the dust off with a dry cloth before painting. Proper sanding makes the patch invisible and neat.
Painting And Finishing
Painting and finishing holes left by hollow wall anchors is the last step to restore your wall. This step helps the patch blend with the rest of the surface. Proper painting and finishing make the repair less visible and keep your wall looking fresh.
Matching Wall Texture
Matching the wall texture is important for a smooth finish. Use a small brush or sponge to mimic the existing texture. Dab gently to create a similar pattern on the patch. For rough textures, apply a thin layer of joint compound first. Let it dry, then use a brush to add texture. Take your time to match the wall’s look closely.
Choosing Paint Types
Choose paint that matches the wall’s original color and finish. Use the same type of paint, like matte or satin, for consistency. Test the paint on a small area before covering the patch. Use a small roller or brush for even coverage. Paint multiple thin coats instead of one thick coat. This helps the patch blend perfectly with the rest of the wall.
Preventing Future Damage
Preventing future damage is important for maintaining strong walls and saving repair time. Hollow wall anchors can cause holes that grow larger or crack the wall. Fixing these problems starts with using the right methods and tools. Careful planning and proper installation help keep walls safe and damage-free.
Alternative Anchoring Methods
Choose anchors that suit the wall type and weight. Plastic anchors work for light items. Metal anchors hold heavier objects safely. Toggle bolts spread weight over a larger area. These options reduce stress on the wall. Avoid using anchors that are too large or small. Match the anchor size to the item’s weight and wall material.
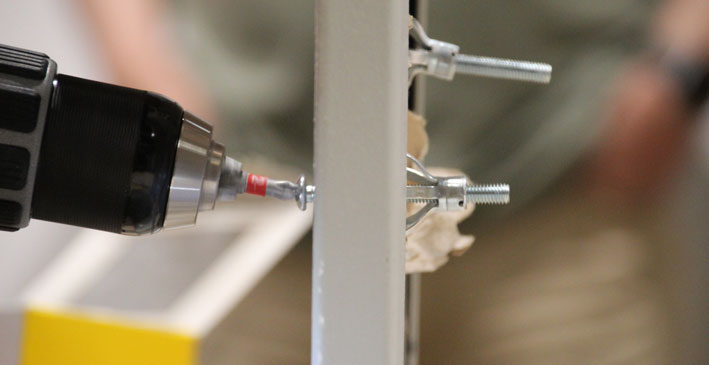
Proper Anchor Installation
Drill holes carefully and to the right size. Use a level to keep anchors straight. Insert anchors gently to avoid wall cracks. Tighten screws without forcing them. Over-tightening can damage the wall and anchor. Check the anchor’s grip before hanging items. Secure installation prevents holes from expanding or weakening the wall.
Credit: www.celofixings.com
Frequently Asked Questions
How Do I Remove Hollow Wall Anchors Safely?
To remove hollow wall anchors, unscrew them gently using a screwdriver. If stuck, use pliers to pull them out carefully. Avoid damaging the wall surface to make patching easier.
What Materials Fill Holes Left By Hollow Wall Anchors?
Use spackling paste, joint compound, or lightweight filler to fill holes. These materials dry quickly and sand smoothly for a flawless finish.
How Long Does It Take For Filler To Dry?
Drying time varies by product but usually takes 1 to 4 hours. Always check manufacturer instructions for best results before sanding or painting.
Can I Paint Over Repaired Holes From Anchors?
Yes, once the filler is dry and sanded smooth, apply primer first. Then paint over with matching wall color for a seamless repair.
Conclusion
Filling holes from hollow wall anchors is simple with the right steps. Use filler that dries hard and smooth. Sand the area gently for a clean finish. Paint over to match your wall color. Taking time ensures your wall looks neat again.
Small repairs keep your home looking fresh. Try these tips for quick and lasting results. You can fix holes easily without special tools. Simple care makes a big difference in wall appearance. Keep your space tidy and damage-free.