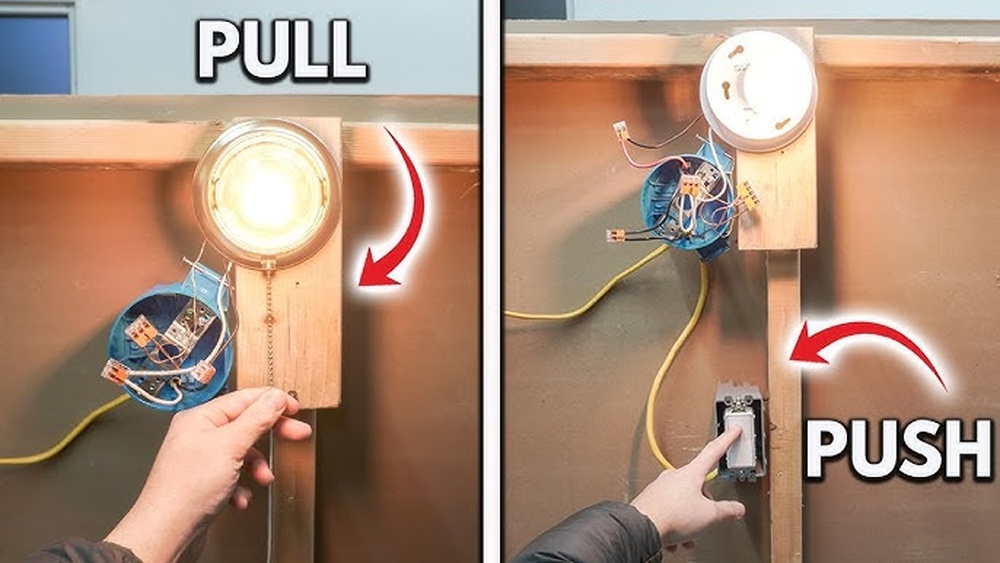
Have you ever struggled with a pull string light that just won’t turn off easily? Changing that pull string to a switch can make your life so much simpler and more convenient.
Imagine flicking a switch instead of tugging a string every time you want to turn the light on or off. In this guide, you’ll discover an easy, step-by-step way to make that change yourself—no need to call an electrician or spend a fortune.
Keep reading, and you’ll be surprised how simple it is to upgrade your lighting with just a few tools and some clear instructions. Your home will feel smarter and more comfortable in no time.

Credit: diy.stackexchange.com
Tools And Materials Needed
Changing a pull string light to a switch requires some basic tools and materials. Having these ready makes the job easier and safer. Gather everything before you start. This helps avoid interruptions during the work.
Essential Tools
- Screwdriver (flathead and Phillips)
- Wire stripper
- Voltage tester
- Drill with bits
- Pliers
- Electrical tape
- Flashlight or work light
Required Materials
- Single-pole light switch
- Wall plate cover
- Electrical box (if needed)
- Wire nuts
- Electrical cable (if extending wires)
Safety Precautions
Changing a pull string light to a switch involves working with electricity. Safety is the top priority. Taking the right precautions helps avoid injuries and accidents. Follow these simple safety steps before starting your project.
Power Shutoff
Always turn off the power at the circuit breaker. Do not rely on the light switch alone. Use a voltage tester to confirm no electricity flows. This step prevents electric shocks. Double-checking power is off keeps you safe during work.
Protective Gear
Wear safety gloves to protect your hands from cuts and shocks. Use goggles to shield your eyes from dust and debris. Avoid loose clothing that might catch on wires or tools. Proper gear reduces risks and makes the job easier.
Removing The Pull String Mechanism
Removing the pull string mechanism is the first step to change a pull string light to a switch. This process needs care to avoid damage. You will prepare the fixture for the new switch.
Start by making sure the power is off. Safety is very important when working with electrical parts.
Accessing The Fixture
Turn off the power at the circuit breaker. Use a voltage tester to confirm no electricity flows to the fixture. Remove the light bulb to prevent breakage. Take off the light cover or shade. This will give you clear access to the pull string mechanism inside.
Detaching The Pull String
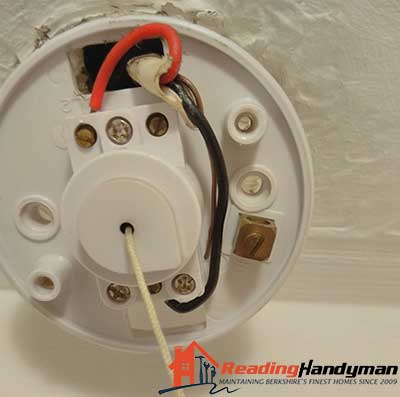
Locate the pull string switch inside the fixture. It often screws or clips into place. Carefully unscrew or unclip the switch. Pull the string gently to free it from the mechanism. Disconnect the wires attached to the pull switch. Mark the wires to remember their original position. Remove the entire pull string mechanism from the fixture.
Wiring The New Switch
Wiring the new switch is a key step in changing a pull string light. It involves identifying the existing wires and connecting them correctly to the new switch. This ensures the light works safely and properly.
Careful handling of electrical wires is important. Turn off the power at the circuit breaker before starting any work. Use a voltage tester to confirm no electricity flows through the wires.
Identifying Wires
Look inside the light fixture’s junction box. You will see several wires, usually black, white, and green or bare copper.
The black wire is the “hot” wire. It carries power from the breaker to the light. The white wire is the neutral wire. It completes the circuit by carrying power back. The green or bare wire is the ground wire. It protects against electric shocks.
Use a wire stripper to remove a small section of insulation if needed. This helps to identify the wire colors clearly.
Connecting The Switch
Connect the black “hot” wire from the power source to one terminal on the switch. Connect the other terminal to the black wire leading to the light fixture.
Join the white neutral wires together with a wire connector. Do not connect neutral wires to the switch.
Attach the green or bare ground wire to the switch’s grounding screw. If the switch has no grounding screw, connect the ground wires together.
Secure all connections tightly. Wrap electrical tape around terminal screws for safety.
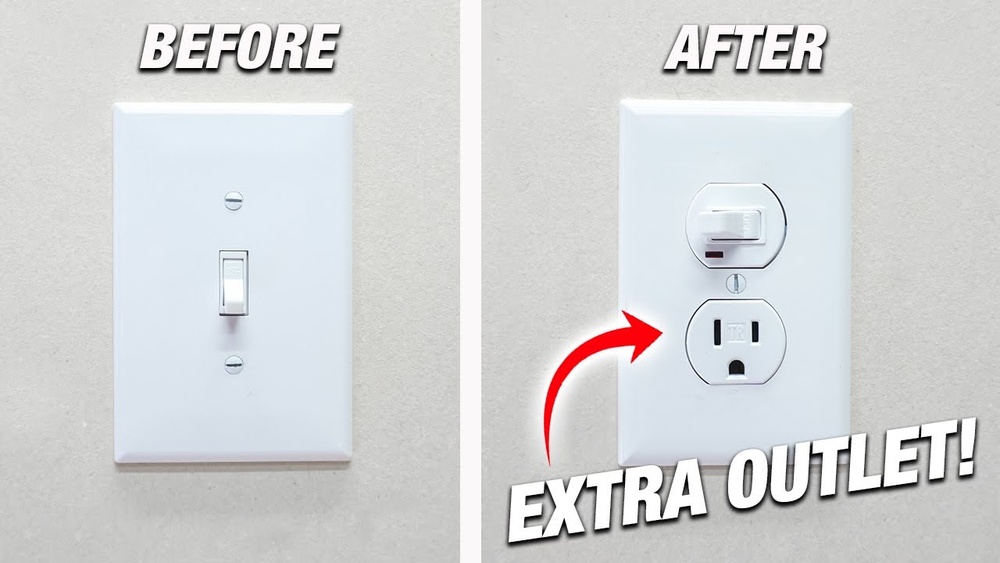
Place the switch into the electrical box. Screw the switch cover plate on. Restore power and test the new switch for proper operation.
Installing The Switch Box
Start by turning off the power to the light. Next, remove the pull string and mount the switch box where the string was. Connect the wires carefully, then attach the switch to control the light easily.
Choosing The Location
Pick a spot on the wall close to the light fixture. It should be easy to reach and use. Avoid placing the switch too high or too low. Check for studs inside the wall to mount the box securely. Make sure the location fits local electrical codes. Think about where the power source runs for easy wiring.
Mounting The Box
Use a switch box that fits the wall type and switch size. Mark the outline on the wall where the box will go. Cut the wall carefully using a drywall saw. Insert the box into the hole. Secure it firmly with screws or nails. The box must not move or wiggle. Leave enough space inside for wires and the switch. Proper mounting ensures safety and a neat finish.

Credit: www.youtube.com
Testing The New Switch
Testing the new switch is an important step after installation. It confirms the switch works properly. This step also ensures safety before regular use. Follow these simple checks to make sure everything is correct.
Restoring Power
Turn the power back on at the breaker box. Check the light fixture for any signs of power. Be cautious and avoid touching wires directly. Use a tester if available to confirm power flow to the switch. Only proceed if power returns safely.
Functionality Check
Flip the new switch on and off several times. The light should respond instantly each time. Listen for any unusual sounds like buzzing or clicking. If the light does not work, recheck your wiring connections. A properly installed switch will control the light smoothly and safely.
Tips For A Clean Finish
Achieving a clean finish is key when changing a pull string light to a switch. A neat job not only looks professional but also ensures safety. Small details make a big difference in the final appearance.
Follow these tips to keep wires tidy and the switch area neat. A clean setup helps your new switch blend smoothly into your room.
Securing Wires
Start by organizing the wires inside the switch box. Use wire nuts to connect wires firmly. Twist wires tightly before securing with nuts. This prevents loose connections and reduces fire risk.
Arrange wires so they lie flat against the box sides. Avoid crowding or bending wires sharply. Use electrical tape to wrap wire nuts for extra security. Keep wires away from sharp edges to avoid damage.
Cover Plate Installation
Choose a cover plate that fits your new switch perfectly. Align it carefully over the switch and screw it in gently. Tighten screws evenly to avoid cracking the plate.
Check that the plate sits flush against the wall. No gaps or uneven edges should show. A well-installed cover plate hides wires and gives a polished look.
Credit: www.snapperrockssurfridersclub.com
Frequently Asked Questions
How Do I Convert A Pull String Light To A Switch?
To convert, first turn off power at the breaker. Remove the pull string mechanism. Connect the wires to a wall switch following wiring codes. Secure all connections and test the switch. This upgrade improves convenience and safety.
What Tools Are Needed To Change Pull String Light?
You need a screwdriver, wire stripper, voltage tester, wire nuts, and a wall switch. These tools help safely remove the pull string and install the switch. Always ensure power is off before starting.
Is It Safe To Replace A Pull String With A Switch?
Yes, if done correctly. Always turn off power before work. Follow electrical codes and use proper tools. If unsure, hire a licensed electrician to ensure safety and compliance.
Can I Install A Dimmer Switch Instead Of A Regular Switch?
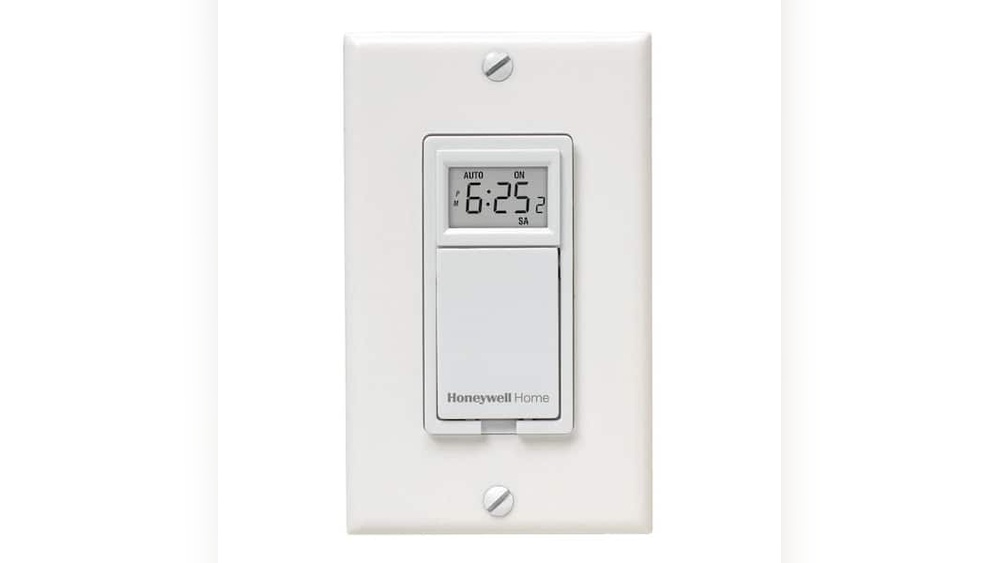
Yes, a dimmer switch can replace the pull string. Ensure your light bulbs are dimmer compatible. This allows adjustable lighting and adds more control than a simple on/off switch.
Conclusion
Changing a pull string light to a switch makes your room easier to use. You save time and avoid reaching for the string. The process is simple and safe if you follow steps carefully. Always turn off power before starting work.
Use the right tools for best results. A switch adds convenience and a modern touch. Try it yourself or ask for help if unsure. Enjoy the comfort of a light switch every day.