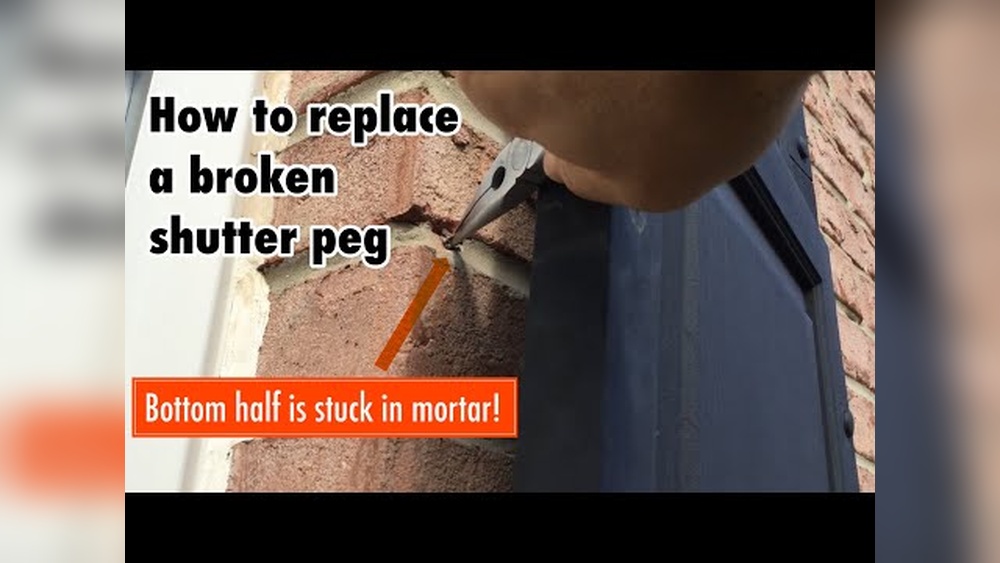
Are your shutters not staying put because the fasteners are broken? It’s frustrating when your beautiful shutters lose their charm and function.
But don’t worry—you can fix this yourself, quickly and easily. Imagine saving money and giving your home a fresh look with just a few simple steps. In this guide, you’ll learn exactly how to replace broken shutter fasteners, so your shutters stay secure and look great again.
Keep reading, and you’ll be surprised at how simple the repair can be.

Credit: www.youtube.com
Tools And Materials Needed
Replacing broken shutter fasteners is a simple task with the right tools and materials. Preparing these items before starting saves time and effort. This section explains what you need for a smooth repair job.
Essential Tools
Gather a screwdriver set with flathead and Phillips heads. A drill helps with fasteners that are hard to remove. Needle-nose pliers are useful for gripping small parts. A tape measure ensures accurate placement of new fasteners. Have a pencil ready to mark spots. Safety gloves protect your hands during work. Keep a small hammer on hand for tapping fasteners into place.
Choosing Replacement Fasteners
Select fasteners that match your shutter material and style. Common types include screws, bolts, and clips. Check the size of the old fasteners for proper fit. Choose rust-resistant metals like stainless steel for outdoor shutters. Confirm the length is enough to hold the shutter securely. Avoid fasteners that are too long or too short. Buy extra fasteners to have backups during installation.

Credit: www.reddit.com
Preparing The Shutter
Preparing the shutter is the first step to replace broken fasteners. This step makes sure the shutter is ready for new parts. It helps the fasteners fit well and last longer. Careful preparation also keeps the shutter safe from damage during the repair.
Removing The Shutter
Start by taking the shutter off the window frame. Use a screwdriver to remove screws holding the shutter. Keep the screws in a safe place. Gently pull the shutter away from the wall. This gives you clear access to the fasteners.
Cleaning The Fastener Area
Clean the area around the old fasteners. Use a brush or cloth to remove dust and dirt. Check for any leftover fastener parts. Remove old glue or rust carefully. A clean surface helps the new fasteners stick better and work properly.
Removing Broken Fasteners
Removing broken shutter fasteners is the first step to fix your shutters. This process needs care to avoid damage. It also makes sure the new fasteners fit perfectly. Follow these simple steps to remove the old fasteners safely.
Loosening Old Fasteners
Start by identifying the type of fastener you have. Use the right screwdriver or tool to avoid stripping the screws. Turn the fastener slowly to loosen it. If it feels stuck, apply a little penetrating oil. Wait a few minutes for the oil to work. Try loosening again with steady pressure. Avoid forcing the fastener too hard to prevent breaking it further.
Safely Detaching Fasteners
Once loosened, gently pull the fastener out. If the fastener is broken inside, use pliers to grip and remove it. Be careful not to damage the shutter or the frame. Clear any debris or rust around the hole. This prepares the area for the new fastener. Keep all removed parts in case you need them later.

Credit: www.amazon.com
Installing New Fasteners
Installing new fasteners is a key step in fixing broken shutter fasteners. It ensures the shutter stays in place and works well. Taking care during installation helps avoid future problems and keeps the shutters secure.
Choose fasteners that match your shutter type and size. Use the right tools for a smooth process. Follow each step carefully for the best results.
Aligning The Fasteners
Place the new fastener where the old one was. Check the shutter and frame edges. Make sure the fastener lines up with the holes. Proper alignment prevents damage and allows smooth operation.
Double-check the position before drilling or screwing. Misaligned fasteners cause the shutter to stick or wobble. Take your time to get it right.
Securing Fasteners Firmly
Use a screwdriver or drill to tighten the fasteners. Do not overtighten to avoid cracking the shutter material. Tighten just enough to hold the fastener firmly in place.
Check each fastener after installation. Ensure the shutter moves freely without any loose parts. Firm fasteners improve shutter durability and safety.
Testing And Adjustments
After replacing broken shutter fasteners, testing and adjustments are essential. Proper testing ensures your shutters open and close smoothly. Adjustments help fix any tight spots or looseness. This step saves future repairs and keeps shutters secure.
Checking Shutter Movement
Open and close the shutter several times. Watch how it moves along the frame. Look for any sticking points or unusual gaps. The shutter should move evenly without resistance. Check both sides for smooth operation. Listen for any squeaks or rattles. These signs show if adjustments are needed.
Fine-tuning Fastener Position
Loosen the screws on the new fastener slightly. Shift the fastener up or down a little. Test the shutter movement again. Repeat this until the shutter fits tightly but moves easily. Tighten the screws once the position feels right. This small adjustment improves shutter security and function.
Maintenance Tips
Maintaining shutter fasteners helps keep shutters secure and working well. Regular care stops small problems from growing. Simple steps extend the life of your fasteners and shutters.
Regular Inspection
Check shutter fasteners every few months. Look for rust, cracks, or loose screws. Tighten any loose parts to avoid damage. Early spotting of issues saves time and money.
Preventing Future Damage
Keep fasteners dry and clean to avoid rust. Use rust-resistant screws or coatings for extra protection. Avoid slamming shutters shut to reduce stress on fasteners. Proper use helps fasteners last longer.
Frequently Asked Questions
What Tools Are Needed To Replace Shutter Fasteners?
You need a screwdriver, replacement fasteners, a drill, and safety gloves. These tools ensure a safe and efficient replacement process. Having the right tools helps avoid damage to shutters and ensures fasteners fit securely.
How Do I Remove Broken Shutter Fasteners Safely?
First, wear safety gloves to protect your hands. Use a screwdriver or drill to unscrew the broken fasteners carefully. Avoid forcing them to prevent damaging the shutter or wall.
Can I Replace Shutter Fasteners Without Professional Help?
Yes, replacing shutter fasteners is a simple DIY task. With basic tools and careful steps, most homeowners can do it safely. Follow instructions carefully to avoid mistakes or damage.
How Long Does It Take To Replace Shutter Fasteners?
Replacing shutter fasteners usually takes about 15 to 30 minutes per shutter. The time depends on your experience and the fastener type. Proper preparation speeds up the process.
Conclusion
Replacing broken shutter fasteners is simple with the right tools and steps. Take your time to remove old fasteners carefully. Choose new fasteners that fit your shutters perfectly. Tighten them securely to keep shutters stable. Regular checks help catch problems early.
A little effort keeps your shutters working well for years. Fixing fasteners yourself saves money and gives satisfaction. Ready to improve your home’s look and function? Start your shutter repair today and enjoy the results.