Are you tired of spending too much time searching for the right fasteners in SolidWorks? What if you could speed up your design process and avoid common assembly mistakes?
Using smart fasteners in SolidWorks can make your work easier, faster, and more accurate. You’ll discover simple steps to master smart fasteners and boost your productivity instantly. Keep reading to unlock these powerful tools and transform the way you design assemblies.

Credit: www.youtube.com
Smart Fasteners Basics
Smart Fasteners in SolidWorks simplify the process of adding screws, bolts, and nuts to your designs. They save time and reduce errors. Knowing the basics helps you use them effectively. This section covers what smart fasteners are and their benefits in the design workflow.
What Are Smart Fasteners
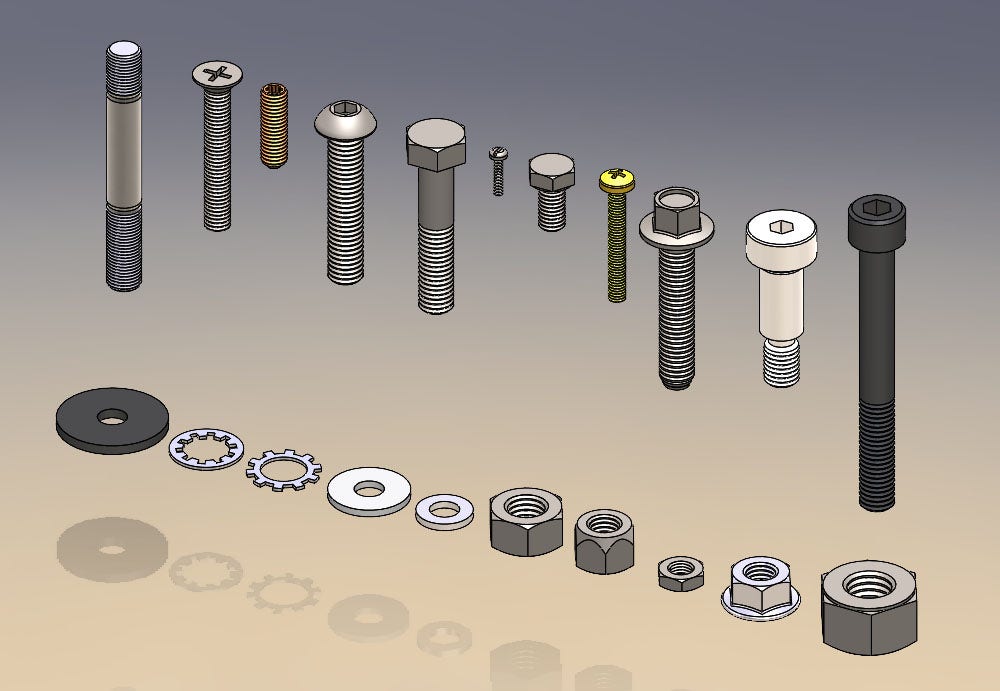
Smart Fasteners are tools in SolidWorks that automatically add fasteners to holes. They match the size and type of the hole without manual input. This means fewer mistakes and faster assembly creation. SolidWorks detects hole properties and suggests the correct fastener. You can customize fastener types and sizes easily. This tool works well with standard hole wizard features.
Benefits In Design Workflow
Smart Fasteners speed up the design process by automating fastener placement. They reduce manual work and help maintain design accuracy. Using smart fasteners ensures all holes have proper fasteners. This improves the quality of your assembly models. It also helps in generating bills of materials quickly. Designers save time and reduce rework with smart fasteners.
Credit: hawkridgesys.com
Setting Up Smart Fasteners
Setting up Smart Fasteners in SolidWorks is simple and saves time. This feature helps add bolts and screws quickly to your assembly. Proper setup ensures the tool works smoothly and matches your design needs.
Enabling The Add-in
Start by opening SolidWorks. Go to the “Tools” menu at the top. Select “Add-Ins” from the list. Find “Smart Fasteners” in the popup window. Check the box next to it to enable. Click “OK” to apply changes. Now the Smart Fasteners tool is ready to use.
Configuring Preferences
Open the Smart Fasteners options from the toolbar. Set your preferred fastener sizes and types. Choose the default hole sizes for your parts. Adjust the length and thread options as needed. Save your settings to use them in all projects. This step helps keep your work consistent and fast.
Adding Fasteners To Assemblies
Adding fasteners to assemblies in SolidWorks improves design accuracy and saves time. Fasteners connect parts securely and make the model ready for production. SolidWorks offers tools to add fasteners automatically or manually. Both methods help place the right fastener for each joint.
Automatic Fastener Placement
SolidWorks can place fasteners automatically based on hole features. The software detects holes that need bolts, screws, or pins. It then suggests suitable fasteners from its library. This saves time and reduces errors during assembly. Users can review and adjust the fasteners before finalizing the design. Automatic placement works well for simple and repetitive assemblies.
Manual Fastener Selection
Manual selection lets users pick specific fasteners for unique needs. This method is useful for custom or complex joints. Users browse the SolidWorks toolbox to find the right size and type. Fasteners can be added one by one to exact positions. Manual control ensures the assembly matches design requirements perfectly.

Credit: www.youtube.com
Customizing Fastener Properties
Customizing fastener properties in SolidWorks helps create precise and functional assemblies. It allows designers to tailor each fastener to fit specific needs. This section explains how to adjust sizes, types, and appearance to match your project requirements.
Adjusting Sizes And Types
Start by selecting the fastener in your assembly. Use the property manager to change the size, such as length and diameter. SolidWorks offers many standard fastener types like bolts, screws, and nuts. Choose the type that best fits your design. Adjust thread pitch and head style to match technical needs. These changes ensure your fastener fits perfectly and works well in the assembly.
Modifying Appearance
Appearance customization improves the visual clarity of your model. Change the color and finish to represent real-world materials. Use textures to show metal, plastic, or other surfaces. Adjust shininess and reflectivity for a more realistic look. This makes your design easier to understand and present. Appearance tweaks help in creating detailed and professional drawings.
Managing Fastener Components
Managing fastener components in SolidWorks helps keep your designs organized. It saves time and reduces errors. Fasteners connect parts and hold assemblies together. Proper management ensures your models work as expected. Learn how to use built-in tools to handle fasteners efficiently.
Using Toolbox Library
The Toolbox Library in SolidWorks has many fastener options. It includes screws, bolts, nuts, and washers. You can drag and drop parts into your assembly. The library matches sizes and types automatically. This tool speeds up the design process. It also maintains consistency across projects. You can customize the library to fit your needs. Managing fasteners becomes easier with this feature.
Updating Fastener Standards
Fastener standards define size, shape, and thread type. SolidWorks lets you update these standards easily. Choose the correct standard for your project. This keeps your fasteners accurate and reliable. You can switch between metric and imperial units. Updates apply to all fasteners in your design. Regular updates help meet industry requirements. This keeps your assemblies safe and functional.
Tips To Boost Efficiency
Using smart fasteners in SolidWorks can save time and reduce errors. Small habits improve your workflow and design process. Simple tips help you work faster and smarter. Focus on ways to boost efficiency while using smart fasteners.
These tips cover keyboard shortcuts and design automation tricks. Both make your work smoother and faster. Let’s explore easy methods to enhance your SolidWorks experience.
Keyboard Shortcuts
Keyboard shortcuts speed up your work significantly. Use shortcuts to insert smart fasteners quickly. Press “S” to open the shortcut bar and find fasteners. Assign custom shortcuts for your most used commands. This saves time searching through menus. Try to learn at least five essential shortcuts. It reduces mouse use and increases speed.
Switch between tools without clicking multiple times. Use shortcuts for zoom, pan, and rotate too. Navigating your model faster helps with placing fasteners accurately. Practice these shortcuts often to build muscle memory.
Design Automation Tricks
Automate repetitive tasks to reduce manual work. Use design tables to manage different fastener sizes. This keeps your designs consistent and accurate. Create templates with common fastener setups. Save time on new projects by reusing templates. Use configurations to switch between different fastener types easily.
SolidWorks also supports macros for custom automation. Record simple macros to insert fasteners automatically. This helps in large assemblies with many fasteners. Automate tasks that take too long manually. Small automation steps add up to big time savings.
Troubleshooting Common Issues
Troubleshooting common issues with Smart Fasteners in SolidWorks helps keep your projects on track. Problems can arise from placement errors or compatibility conflicts. Identifying these issues early saves time and frustration. This guide covers quick fixes to get you back to designing smoothly.
Fixing Placement Errors
Placement errors happen when fasteners do not align correctly. Check the hole size and type before inserting a fastener. Make sure the fastener matches the hole’s dimensions and shape. Use the “Smart Fastener” tool to auto-detect holes properly. If the fastener still misses the target, try repositioning or resizing the hole.
Another tip is to verify the assembly’s mates. Incorrect mates can shift parts and cause misalignment. Adjust mates to ensure parts stay in the right place. Finally, update your SolidWorks version. Software bugs sometimes cause placement glitches, and updates fix them.
Resolving Compatibility Problems
Compatibility issues occur when fasteners do not fit with the assembly components. Use standard fastener libraries to avoid mismatched parts. Custom fasteners might not work well without proper settings. Check the fastener’s material and size against the assembly’s requirements.
Verify that your SolidWorks add-ins are enabled and updated. Disabled or outdated add-ins can block smart fastener features. Also, confirm that the assembly uses compatible file formats and units. Mixing metric and imperial units can cause problems. Fix these issues to ensure smooth fastener integration.
Frequently Asked Questions
What Are Smart Fasteners In Solidworks?
Smart fasteners in SolidWorks automatically add bolts and nuts to assembly holes. They save time by matching correct sizes and standards.
How Do I Insert Smart Fasteners In Solidworks?
Select the smart fastener tool, click on the hole, and SolidWorks adds the right fastener automatically. Adjust settings if needed.
Can Smart Fasteners Update With Design Changes?
Yes, smart fasteners update automatically when hole sizes or positions change in your assembly model.
Are Smart Fasteners Customizable In Solidworks?
You can customize smart fasteners by selecting different standards, sizes, and appearances to fit your design needs.
Conclusion
Smart fasteners in SolidWorks save time and reduce errors. They fit easily into your designs. Using them helps keep parts secure and aligned. You can change sizes quickly without starting over. This tool makes your work smoother and more precise.
Try adding smart fasteners to your next project. They help build stronger, cleaner models. Practice often to get comfortable with the process. Smart fasteners bring efficiency to your design workflow. Simple steps lead to better results every time.