Are you ready to give your Shaker cabinets a fresh, stylish upgrade? Installing hardware might seem tricky at first, but with the right steps, you can do it yourself and get professional-looking results.
Imagine opening your cabinets and feeling proud of every detail you added. This guide will walk you through the simple process, saving you time and money while boosting your confidence. Keep reading, and you’ll discover easy tips that make installing hardware on your Shaker cabinets a breeze.
Your kitchen makeover starts here!
Credit: truepositiontools.com
Choosing The Right Hardware
Choosing the right hardware can change the look of your shaker cabinets. It adds style and makes opening doors easier. Hardware should fit the cabinet design and your room’s style. Think about the size, shape, and feel of the handles or knobs. Small details make a big difference in your kitchen or bathroom.
Types Of Cabinet Hardware
Cabinet hardware comes in many forms. The most common are knobs and pulls. Knobs are small and round or square. Pulls are longer and come in various shapes. Bar pulls and cup pulls are popular choices. Choose the type that feels comfortable and looks good on your cabinets.
Matching Hardware To Shaker Style
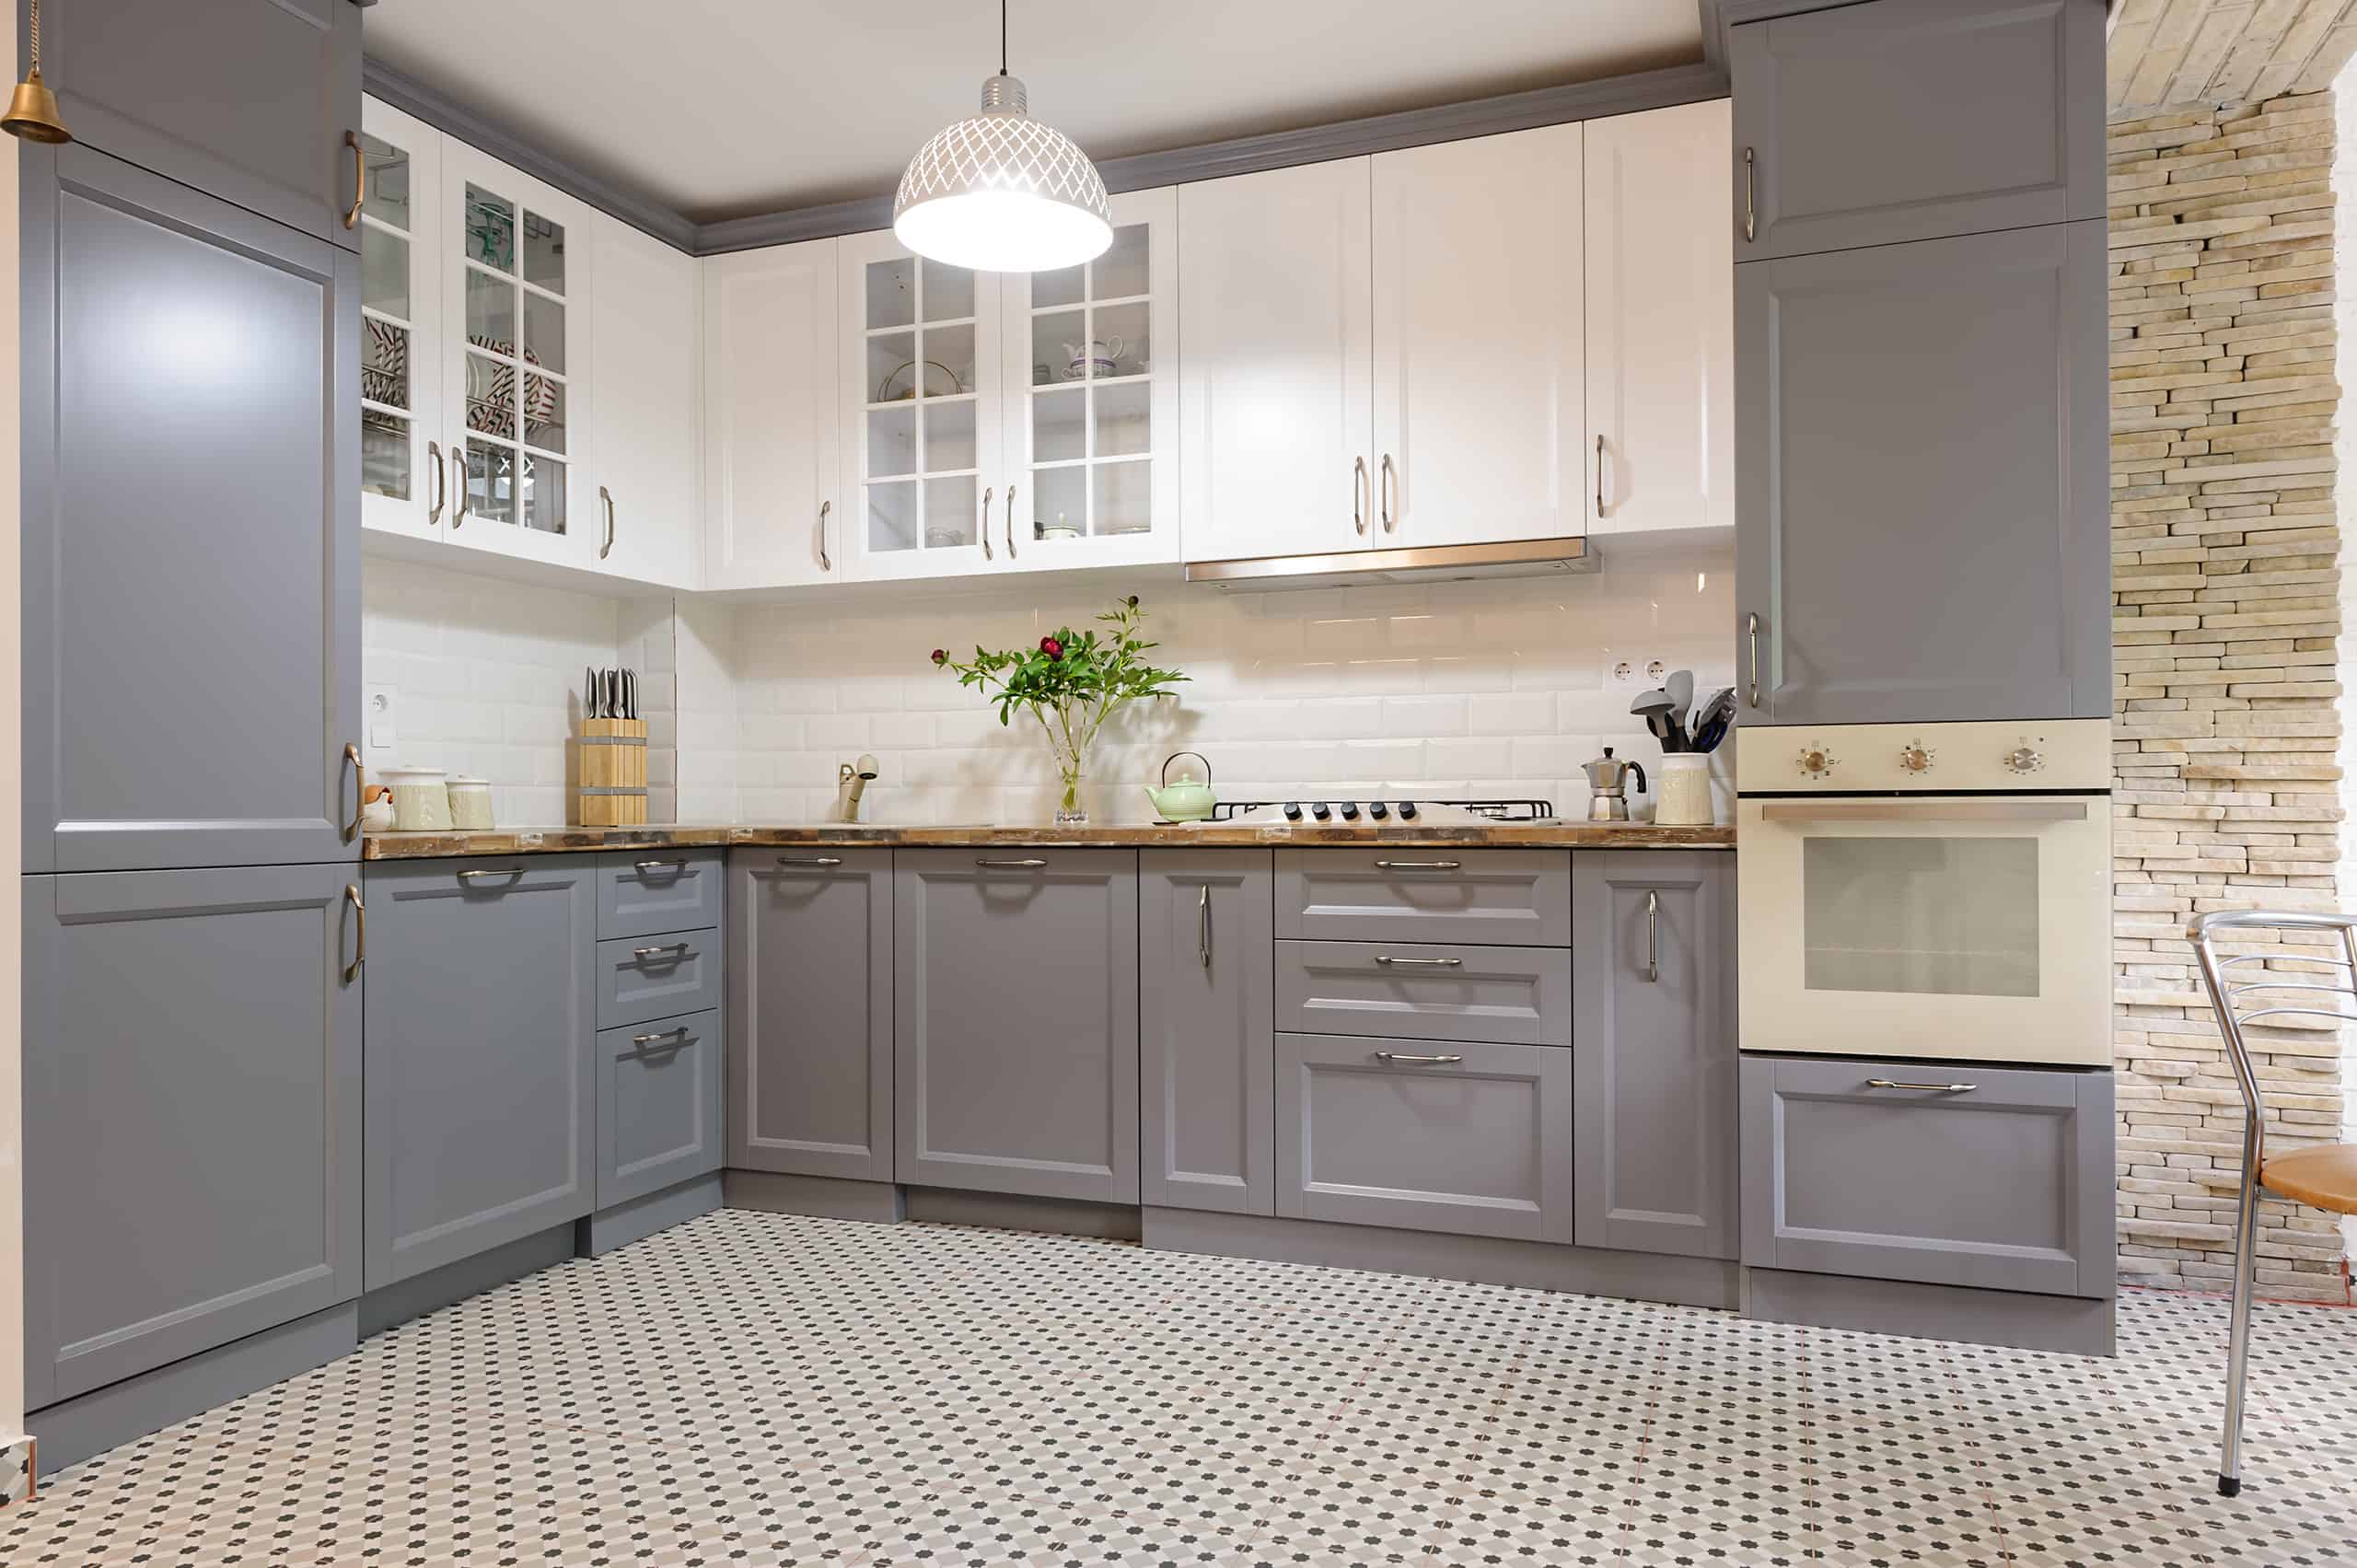
Shaker cabinets have a simple, clean look. Hardware should match this style. Simple designs with straight lines work best. Avoid overly fancy or ornate pieces. Classic shapes and smooth finishes keep the look balanced. This makes your shaker cabinets look neat and modern.
Materials And Finishes
Hardware comes in many materials like metal, wood, and plastic. Metal is the most popular for durability and style. Common finishes include brushed nickel, chrome, bronze, and matte black. Choose a finish that fits your room’s color and design. The right finish protects the hardware and keeps it looking new.
Tools And Materials Needed
Installing hardware on shaker cabinets requires the right tools and materials. Having everything ready makes the job easier and faster. It helps you avoid mistakes and damage to your cabinets. This section lists the tools, hardware, and safety gear you need.
Essential Tools
You will need a drill with drill bits to make holes. A screwdriver, either manual or electric, is important for tightening screws. A tape measure helps you mark the exact spot for each piece of hardware. Use a pencil to mark your measurements. A level ensures your hardware is straight. A ruler or combination square can help with precise alignment. Lastly, a clamp keeps the cabinet door steady while you work.
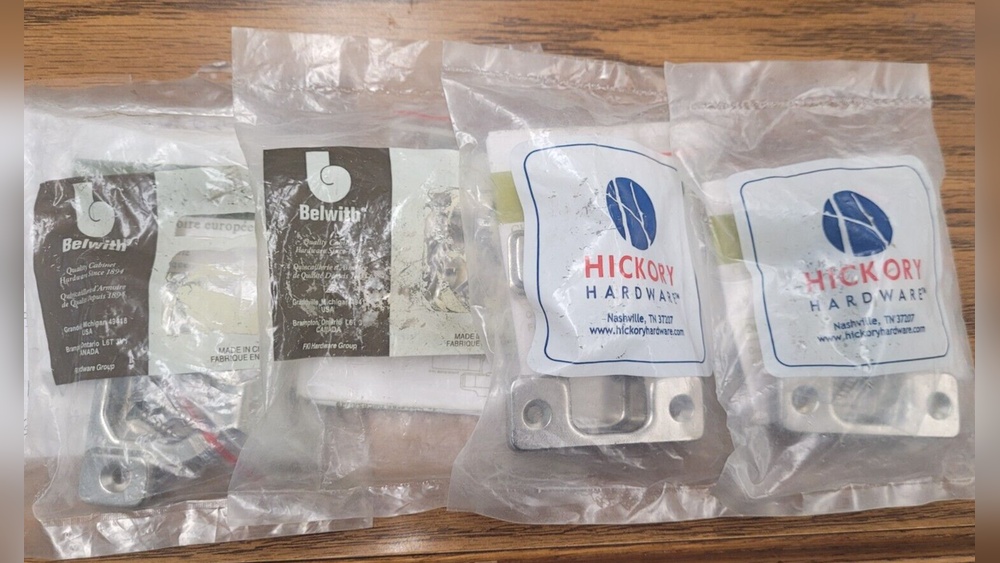
Hardware Components
Choose handles or knobs that fit your cabinet style. Screws come with the hardware but check if the length suits your cabinet door thickness. Sometimes longer screws are needed. You might also need washers for better grip and to avoid damage. Make sure all pieces are clean and free from rust before installation.
Safety Equipment
Wear safety glasses to protect your eyes from dust and wood chips. Gloves help protect your hands from sharp edges and splinters. Use ear protection if you work with loud power tools. Good lighting reduces mistakes and accidents. Keep your workspace clean to avoid trips and falls.
Preparing The Cabinets
Preparing your shaker cabinets is the first step before installing new hardware. This stage ensures the hardware fits well and lasts long. Proper preparation makes the installation smooth and precise.
Cleaning And Inspecting
Start by cleaning the cabinet surface. Use a soft cloth and mild cleaner to remove dirt and grease. Check the cabinet for any damage or loose parts. Fix any issues before moving on.
Measuring And Marking
Measure carefully to find the perfect spot for your hardware. Use a ruler or measuring tape for accuracy. Mark the spots lightly with a pencil to guide drilling. Double-check your marks before drilling.
Drilling Pilot Holes
Drill small pilot holes at your marked points. Use a drill bit slightly smaller than the screws. Pilot holes prevent the wood from splitting. Drill straight and steady to keep holes clean and precise.

Credit: truepositiontools.com
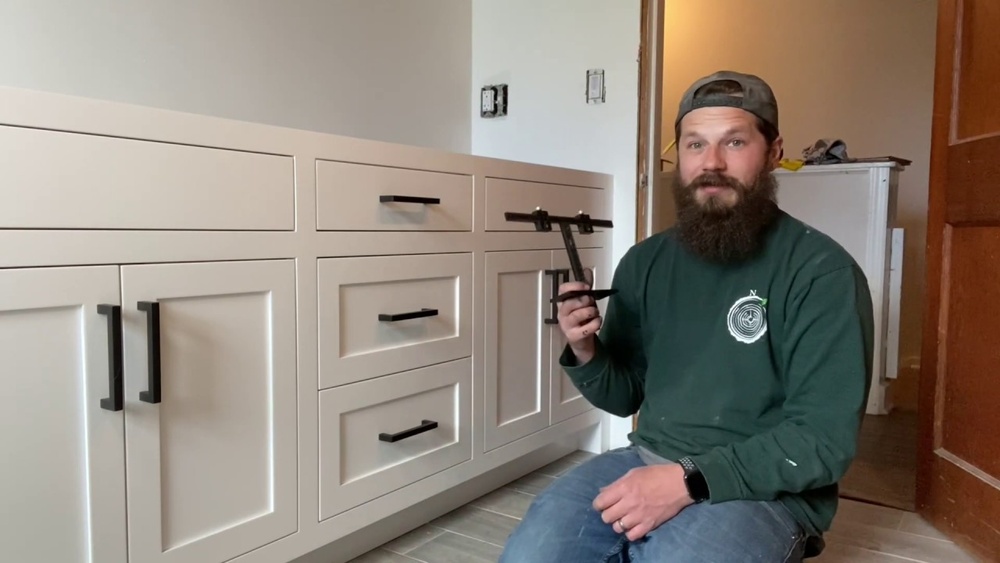
Installing Knobs And Pulls
Installing knobs and pulls on shaker cabinets enhances both style and function. The right hardware makes opening and closing smooth. Careful placement ensures a balanced look. Proper attachment keeps hardware firm and lasting. This guide explains how to position and secure knobs and pulls easily.
Positioning Hardware
Measure cabinet doors before drilling. Place knobs at a comfortable height. Common spot: 2.5 inches from the edge. For pulls, center them on drawers. Mark drill holes with a pencil. Double-check alignment for uniformity across all cabinets.
Attaching Knobs
Drill a hole where marked. Insert the screw from inside the door. Align the knob on the outside. Tighten the knob by hand or with a screwdriver. Avoid overtightening to prevent damage. Test knob for stability and ease of use.
Securing Pull Handles
Drill holes through the marked spots on drawers or doors. Insert screws through the inside surface. Line up the pull handle with the screws. Fasten screws firmly with a screwdriver. Check that the pull does not wiggle. Adjust tightness for a secure hold.
Adjusting And Aligning
Adjusting and aligning hardware on shaker cabinets ensures a neat, professional look. Proper alignment makes handles and knobs easy to use. Small changes can improve both appearance and function. Follow these simple steps to get the perfect fit for your cabinet hardware.
Checking Alignment
Start by closing all cabinet doors and drawers. Look at each handle or knob from the front. Check if they line up evenly across the cabinets. Use a level or ruler for accuracy. Uneven hardware can make cabinets look off-balance.
Tightening Screws
Once aligned, secure the hardware by tightening screws. Use a screwdriver that fits well to avoid stripping. Tighten screws gently and evenly. Over-tightening can damage the cabinet or hardware. Make sure each piece feels solid and stable.
Making Final Adjustments
After tightening, test each door and drawer. Open and close them to check smooth movement. Adjust hardware slightly if needed. Loosen screws a bit to shift position. Then retighten carefully to keep alignment intact. Repeat until everything fits perfectly.
Tips For A Professional Finish
Installing hardware on shaker cabinets can change the look of your kitchen or bathroom. A professional finish makes a big difference in the final appearance. Small details matter. Follow simple tips for a clean, neat, and lasting result.
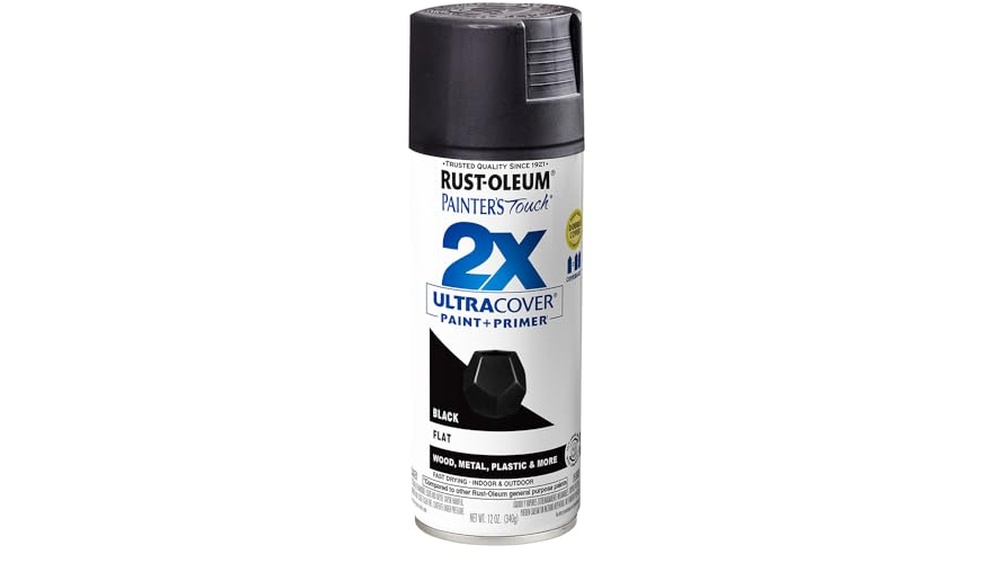
Avoiding Damage
Use a drill with a low setting to prevent cracks. Place painter’s tape on cabinet surfaces before drilling. This protects the wood and stops chips. Always measure twice before making holes. A steady hand keeps screws straight and secure.
Consistent Spacing
Use a ruler or template for equal distance between handles. Align handles at the same height on every door and drawer. Consistency looks polished and professional. Mark spots lightly with a pencil to guide drilling. Check measurements again before drilling holes.
Maintaining Hardware
Clean handles regularly to keep shine and prevent dirt build-up. Use mild soap and water with a soft cloth. Avoid harsh chemicals that can damage finishes. Tighten screws every few months to keep handles secure. Proper care extends hardware life and keeps cabinets looking new.

Credit: www.youtube.com
Frequently Asked Questions
How Do I Measure For Hardware On Shaker Cabinets?
Measure the cabinet door width and height accurately. Mark the drill holes carefully to ensure hardware aligns perfectly. Use a template for consistent placement on all doors and drawers.
What Tools Are Needed To Install Shaker Cabinet Hardware?
You need a drill, measuring tape, screwdriver, pencil, and hardware template. These tools help ensure precise installation and prevent damage to the cabinets.
Can I Install Hardware On Shaker Cabinets Myself?
Yes, installation is simple with proper measuring and tools. Follow step-by-step instructions and take your time for accurate placement.
What Type Of Hardware Suits Shaker Cabinets Best?
Simple, clean-lined knobs and pulls complement shaker cabinets well. Choose finishes like brushed nickel, matte black, or bronze for a classic look.
Conclusion
Installing hardware on Shaker cabinets is simple with clear steps. Measure carefully and mark where each handle or knob goes. Use the right tools to avoid mistakes and damage. Take your time to align everything properly for a neat look.
Once done, your cabinets will look fresh and stylish. Enjoy the new feel in your kitchen or room. Small changes can make a big difference in your space. Keep practicing, and hardware installation will become easier each time.