If you’ve ever struggled with installing cabinet hardware evenly, you know how frustrating it can be to measure and drill holes by hand. What if you could save time, avoid mistakes, and get perfect results every single time?
That’s exactly what a cabinet hardware jig helps you do. In this guide, you’ll learn how to make your very own jig quickly and easily—no fancy tools or complicated steps required. By the end, you’ll have a simple, reliable tool that makes your cabinet upgrades look professional and flawless.
Ready to take your DIY skills to the next level? Let’s get started!
Tools And Materials
Building a cabinet hardware jig starts with gathering the right tools and materials. This step ensures accuracy and ease during your project. Having all essentials ready saves time and avoids interruptions. Below, find a clear list of what you need for this DIY task.
Essential Tools
Begin with a reliable drill for making holes. A drill press works best for precision. Marking tools like a pencil and ruler help set exact hole positions. Clamps keep your jig steady while you work. A screwdriver will assist in assembling parts. Sandpaper smooths edges for a clean finish.
Choosing Wood And Hardware
Select wood that is sturdy and easy to work with. Plywood or hardwood pieces are good choices. The thickness should support stable drilling. For hardware, use cabinet handles or knobs you plan to install. Include screws that fit your chosen handles. This ensures your jig matches the hardware perfectly.
Additional Supplies
Gather wood glue for stronger joints. Measuring tape helps verify dimensions. Drill bits should match the screw sizes. A square tool ensures right angles in your jig. Safety gear like gloves and goggles protects you while working. These extras make your project safer and more precise.
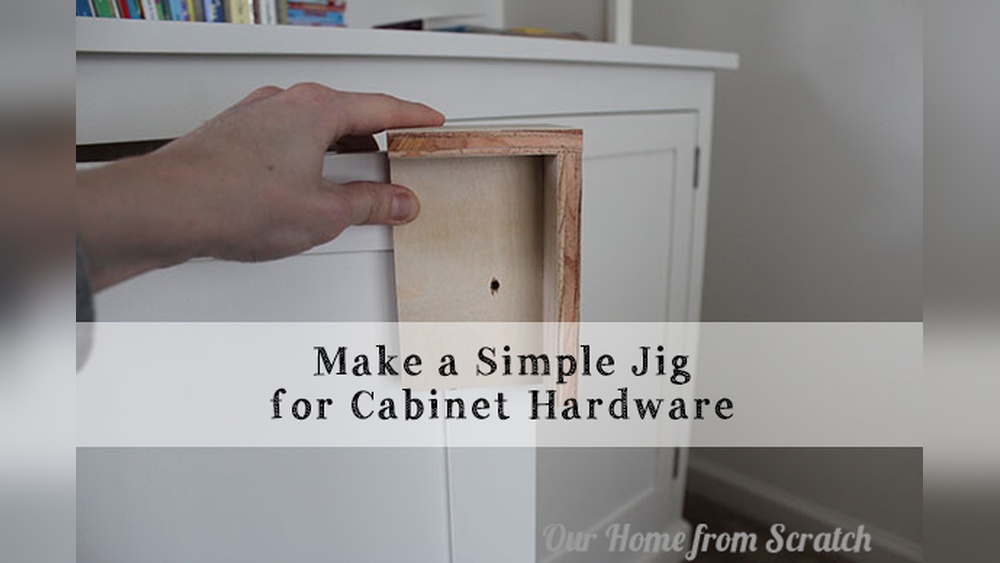
Credit: www.youtube.com
Planning Your Jig
Planning your cabinet hardware jig sets the foundation for accurate and consistent results. This step helps avoid mistakes and saves time during installation. Careful planning ensures each handle fits perfectly and looks professional.
Measuring Cabinet Doors
Start by measuring the height and width of each cabinet door. Use a tape measure and record the dimensions carefully. Note any doors that differ in size. Accurate measurements help create a jig that fits all doors well.
Marking Handle Placement
Decide where each handle will be placed on the door. Mark the spots with a pencil for drilling holes. Keep marks clear and easy to see. Consistent handle placement improves the cabinet’s look.
Designing For Consistency
Design your jig to hold handles in the same spot on every door. Use a sturdy piece of wood or metal as your base. Drill guide holes that match your handle’s screw spacing. A consistent jig speeds up installation and reduces errors.
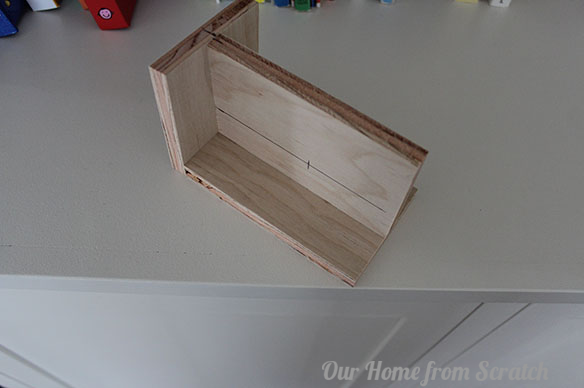
Building The Base
Building the base is the first important step in making a cabinet hardware jig. The base holds all parts together and ensures precise drilling. A strong, smooth base helps you work faster and with better results. Follow these steps to create a solid foundation for your jig.
Cutting The Wood
Choose a piece of wood that is flat and sturdy. A 3/4 inch thick plywood or hardwood board works well. Cut the wood to a size that fits your cabinet doors, usually around 12 by 6 inches. Use a saw to make straight, clean cuts. Accurate cutting makes the jig easier to use.
Sanding And Preparing Surface
Sand the wood surface with medium-grit sandpaper to remove rough spots. Then, use fine-grit sandpaper to smooth it completely. A smooth surface prevents scratches on cabinet doors. Clean off dust with a dry cloth. This step helps the jig sit flat and hold securely during drilling.
Adding Stability Features
Add rubber pads or small strips of non-slip material to the bottom of the base. These stop the jig from sliding on the cabinet door. You can also attach small wooden blocks to the sides for extra support. Check that the base does not wobble. Stability ensures accurate holes every time.

Credit: www.youtube.com
Creating Drill Guides
Creating drill guides is essential for making a cabinet hardware jig. Drill guides help you place holes precisely and consistently. This section explains how to mark, drill, and reinforce these guides. Follow these steps to ensure perfect hardware placement every time.
Marking Drill Holes
Start by measuring the exact spots for your drill holes on the jig board. Use a pencil to mark each position clearly. Double-check measurements to avoid mistakes. Precise markings keep your hardware aligned on every cabinet door.
Drilling Guide Holes
Choose a drill bit that matches your hardware screws. Drill slowly through the marked points on the jig. Keep the drill straight to ensure clean, accurate holes. These guide holes will control the drill during actual cabinet work.
Reinforcing Guide Edges
Edges around guide holes can wear out from repeated use. Strengthen them by adding small metal or wooden inserts. Secure these inserts with glue or screws for lasting durability. Reinforced edges keep your jig reliable for many projects.
Assembling The Jig
Assembling the cabinet hardware jig is a key step in ensuring precise hole placement for your cabinet handles. This process involves carefully putting together the jig components to create a reliable guide. Proper assembly will help you drill straight holes every time, making your hardware installation smooth and accurate.
Attaching Guide Blocks
Start by positioning the guide blocks on the base piece of wood. These blocks serve as the stops for your drill bit. Align them carefully to match the hole spacing of your cabinet hardware. Use clamps to hold the blocks firmly in place before fastening.
Securing With Glue And Screws
Apply wood glue to the bottom of the guide blocks for a strong bond. Then, drill pilot holes to avoid splitting the wood. Secure the blocks with screws for extra stability. This combination keeps the blocks from moving during drilling, ensuring consistent results.
Final Adjustments
Check the alignment of the guide blocks once they are attached. Make sure the holes line up perfectly with your cabinet hardware. Sand any rough edges to prevent splintering. Test the jig on a scrap piece of wood before using it on your cabinets.
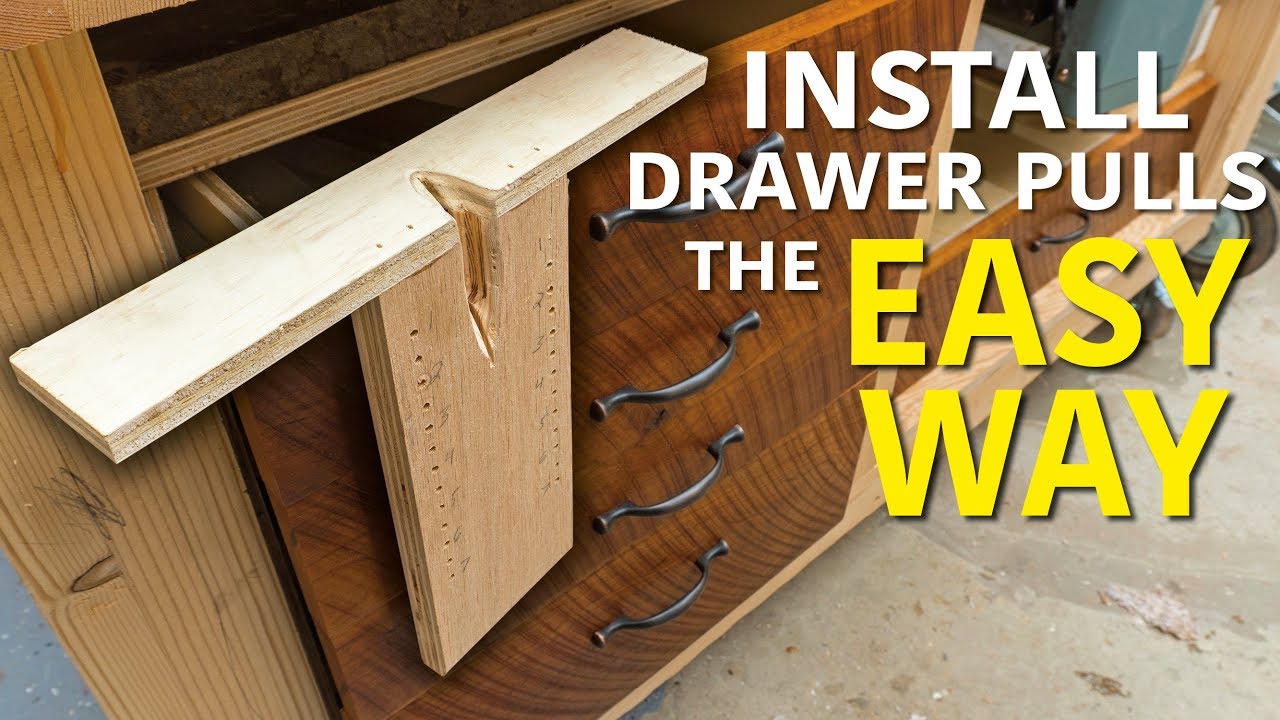
Using The Jig
Using the cabinet hardware jig makes installing handles easier and more accurate. The jig holds the drill in place, ensuring holes go exactly where needed. This tool saves time and reduces mistakes during cabinet upgrades.
Positioning On Cabinet Doors
Place the jig flat against the cabinet door surface. Align its edges with the door’s edges for consistent hole placement. Use clamps to hold the jig steady if needed. This setup prevents slipping and keeps holes uniform across doors.
Drilling With Precision
Insert the drill bit into the jig’s guide holes. Drill straight down to avoid angled holes. Keep steady pressure and control the drill speed. The jig guides the bit, making holes at the exact spot every time.
Checking Alignment
After drilling, remove the jig and inspect the holes. Check that holes align with the hardware’s screw holes. Test fit the handle to confirm accuracy. Adjust the jig or technique if holes are off before continuing.
Tips For Accuracy
Creating a cabinet hardware jig requires precision. Accurate drilling ensures handles align perfectly. Small errors can ruin the look and function of your cabinets. Follow these tips to improve your jig’s accuracy. Proper clamping, avoiding mistakes, and regular maintenance all help achieve precise results.
Clamping Techniques
Secure the jig firmly before drilling. Use clamps that hold the jig tight without shifting. Position clamps on stable surfaces to avoid movement. Check the jig’s alignment after clamping. Tighten clamps gradually to keep the jig steady. Use multiple clamps if the jig is large. Proper clamping prevents holes from misaligning or slipping.
Avoiding Common Mistakes
Measure twice, drill once. Double-check your measurements before marking. Avoid rushing through the process. Mark your drill points clearly on the jig. Do not force the drill; let it cut smoothly. Use the right drill bit size for hardware screws. Keep the jig clean from sawdust or debris. Small mistakes add up and cause misaligned handles.
Maintaining Jig Over Time
Inspect the jig regularly for wear and tear. Tighten any loose screws or bolts on the jig. Sand rough edges that might affect clamping or alignment. Store the jig in a dry place to avoid warping. Replace worn parts to keep the jig accurate. Clean the jig after each use to remove dust. Proper maintenance extends the jig’s lifespan and accuracy.
Credit: ourhomefromscratch.com
Frequently Asked Questions
What Is The 1 3 Rule For Cabinet Hardware?
The 1-3 rule for cabinet hardware means placing handles 1 inch from the edge and spacing holes 3 inches apart. This ensures balanced, ergonomic placement.
How To Make A Jig For Kitchen Handles?
Cut a wooden block matching handle spacing. Mark hole positions on the block. Drill precise guide holes. Clamp jig on cabinet door. Drill through guide holes to install handles accurately and consistently.
Can I Make My Own Pocket Hole Jig?
Yes, you can make a simple pocket hole jig using scrap wood, drill angled holes, and reinforce them for durability.
How To Make Your Own Drilling Jig?
To make your own drilling jig, cut a wooden base, mark hole positions, drill guide holes, and add clamps for stability. Ensure holes align with your hardware for accuracy. Sand smooth and test on scrap wood before use.
Conclusion
Making a cabinet hardware jig saves time and improves accuracy. With simple materials and steps, anyone can create one. This jig helps drill holes perfectly every time. It reduces mistakes and keeps hardware aligned. Try building your own jig for easier cabinet projects.
Small effort brings great results and more confidence. Start today and enjoy smoother, faster installations.