Are you ready to upgrade your cabinets but unsure how to drill the perfect hole for your new hardware? Drilling holes might seem tricky, but with the right steps, you can do it quickly and accurately.
Imagine avoiding costly mistakes and having your cabinet handles or knobs fit just right the first time. In this guide, you’ll learn simple, clear tips that make drilling holes easier than you think. Keep reading, and you’ll gain the confidence to tackle this project like a pro.
Tools Needed
Drilling holes for cabinet hardware needs the right tools. Using proper tools helps make clean, precise holes. This section covers the main tools to prepare and use.
Drill Types
A cordless drill is common for cabinet hardware. It offers ease and control. A drill with adjustable speed helps prevent wood damage. Choose a drill with a comfortable grip. Also, use drill bits sized for screws and bolts.
Measuring Tools
Accurate measuring tools are key for perfect hole placement. A tape measure or ruler works well. A combination square helps keep measurements straight. Use a caliper for small, precise distances. Always measure twice before drilling.
Marking Supplies
Marking tools show exact drill spots. A pencil or fine-tip marker works best. A center punch creates a small dent to guide the drill. This helps prevent the bit from slipping. Clear marks save time and avoid mistakes.
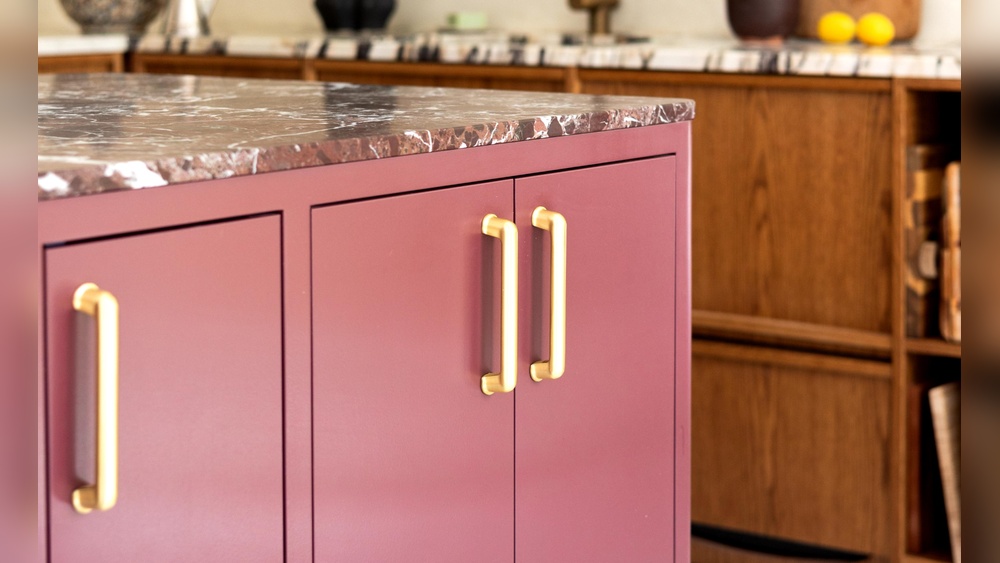
Choosing Hardware Placement
Choosing the right spot for cabinet hardware is key for both look and function. Proper placement makes opening drawers and doors easy. It also gives your cabinets a neat, balanced style. This section covers standard positions and tips for custom placement. Learn where to drill for the best results.
Standard Positions
Most cabinet handles go in common spots. For drawers, place the handle in the center, horizontally and vertically. For doors, place the knob or handle near the top corner, 2 to 3 inches from the edge. This spot is easy to reach and looks clean. Handles on lower cabinets should be near the top edge. These rules help keep a uniform look across all cabinets.
Custom Placement Tips
Sometimes, cabinets need unique hardware placement. Measure carefully and mark spots before drilling. Use a ruler or tape measure for accuracy. Test the spot by holding the hardware in place. Make sure it feels comfortable and looks good. Avoid placing handles too close to the edge. Leave enough space for fingers to grab easily. Remember, small shifts can improve both comfort and style.
Measuring And Marking
Measuring and marking are key steps before drilling holes for cabinet hardware. Accurate measurements ensure the hardware fits perfectly. Marking drill points guides you to drill in the right spot. These steps prevent mistakes and save time.
Accurate Measurements
Use a tape measure or ruler to get exact dimensions. Measure twice to avoid errors. Note the position of each hole carefully. Check the distance from edges and between holes. Consistency matters for a neat look. Keep your measuring tools steady and straight.
Marking Drill Points
Mark the drill points with a pencil or fine-tip marker. Make small, clear dots where the holes will go. Use a square or template to keep marks aligned. Avoid large marks that can cause confusion. Confirm each point before you start drilling. This step ensures precision and a professional finish.

Credit: www.youtube.com
Drilling Techniques
Drilling holes for cabinet hardware requires careful technique. Proper drilling ensures a clean hole and a perfect fit. Taking time to use the right method makes the job easier and prevents damage to your cabinets.
Drill Bit Selection
Choose the right drill bit size for your hardware screws. Use a bit slightly smaller than the screw diameter. This helps the screw grip the wood firmly. For softwood, standard twist bits work well. For hardwood, brad point bits give cleaner holes.
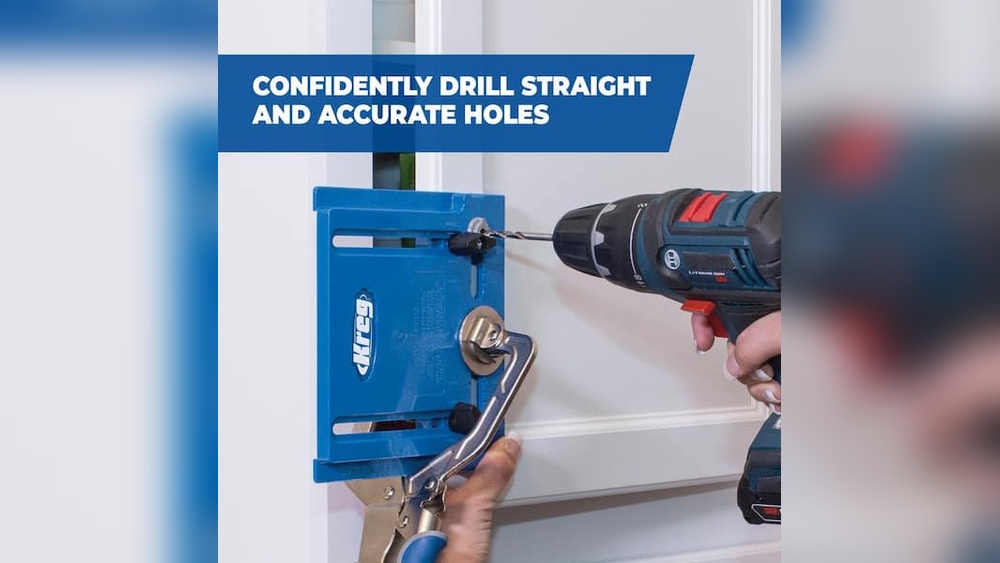
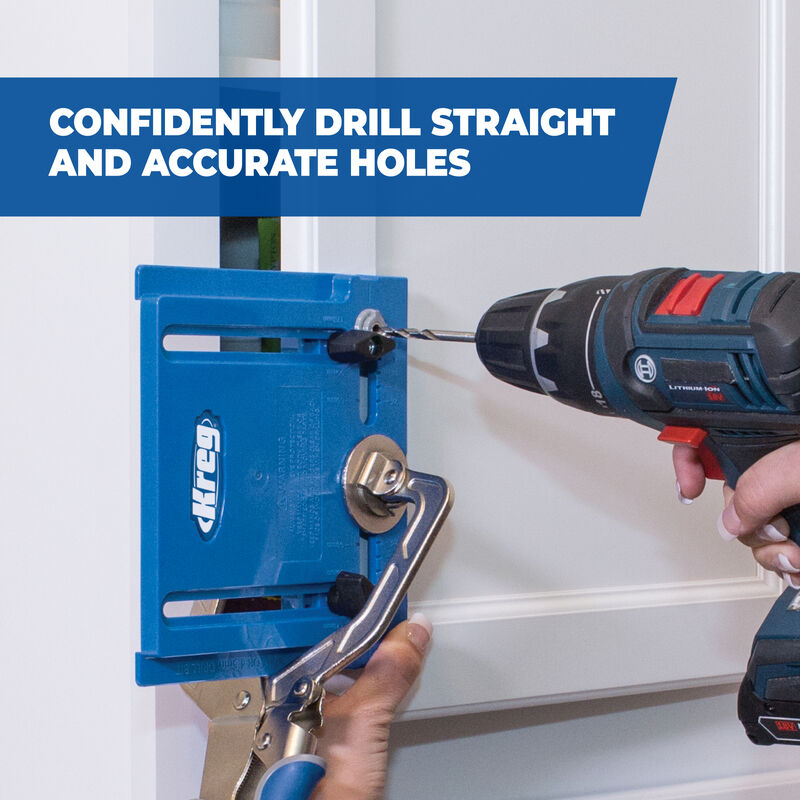
Drilling At Correct Angle
Hold the drill straight and steady. Keep the drill bit perpendicular to the cabinet surface. Angled holes can cause misaligned hardware and poor fit. Use a guide or square to check the angle. Steady pressure keeps the drill bit from slipping.
Avoiding Splintering
Place a piece of masking tape over the drilling spot. This tape helps reduce splintering on the wood surface. Drill slowly and steadily to avoid tearing the wood. Backing the hole with scrap wood also prevents splinters. Clean, smooth holes make hardware installation easier.
Checking Hole Alignment
Checking hole alignment is a key step when drilling for cabinet hardware. It ensures the hardware fits well and looks neat. Poor alignment can cause handles to sit crooked or not fit at all. Taking time to check prevents costly mistakes.
Test Fitting Hardware
After drilling, gently place the hardware over the holes. See if the screws go through easily. Check if the handle or knob sits straight. This test shows if the holes are in the right spot. It also helps spot any small errors early.
Adjusting If Needed
If the hardware does not fit well, do not worry. Slight shifts can fix alignment. Mark the correct spot with a pencil. Drill a new hole carefully next to the old one. Fill the wrong hole with wood filler for a smooth finish. Let it dry before sanding and painting.
Credit: www.kregtool.com
Finishing Touches
After drilling holes for cabinet hardware, the job is almost done. Finishing touches ensure your cabinets look neat and last longer. Taking time to clean and protect the surface makes a big difference.
Cleaning Drill Holes
Remove dust and wood chips from the holes. Use a soft brush or a small vacuum to clear debris. Wipe around the hole with a damp cloth to remove fine dust. Clean holes help hardware fit tightly and prevent damage.
Protecting Cabinet Surface
Apply a small amount of clear nail polish or wood sealer around each hole. This stops moisture from entering and protects wood from splitting. Be careful not to use too much. Let the sealer dry fully before installing hardware. This step keeps your cabinets looking fresh and strong.
Common Mistakes To Avoid
Drilling holes for cabinet hardware may seem simple. Many people make avoidable mistakes that cause problems. These errors waste time and materials. Knowing what to avoid helps get the job right the first time.
This section highlights common mistakes. Avoiding these will improve your results and save frustration.
Incorrect Measurement And Marking
One big mistake is measuring poorly. Marking the wrong spot leads to uneven holes. Use a ruler or tape measure carefully. Double-check marks before drilling. Small errors can ruin the cabinet’s look.
Using The Wrong Drill Bit
Choose the right drill bit size for your hardware screws. Too large or too small bits cause loose or tight holes. A drill bit designed for wood is best. Avoid metal bits that can damage the surface.
Drilling Too Fast
Drilling fast can crack wood or splinter edges. Slow, steady pressure gives cleaner holes. Take your time and keep the drill steady for smooth results.
Not Using A Pilot Hole
Skipping a pilot hole is risky. Pilot holes guide screws and prevent wood from splitting. Always drill a small pilot hole before the main hole for better accuracy and safety.
Ignoring Depth Control
Drilling too deep or too shallow causes issues. Use a depth stop or tape on the drill bit. This step ensures the hole fits the screw perfectly and avoids damage behind the cabinet.

Credit: plankhardware.com
Frequently Asked Questions
How Do I Measure For Drilling Cabinet Hardware Holes?
Measure the hardware’s screw hole distance accurately. Mark the drilling spot with a pencil. Use a template for consistency. Always double-check measurements before drilling.
What Drill Bit Size Is Best For Cabinet Hardware?
Use a drill bit matching the screw size. Typically, 3/16 inch bits suit most cabinet hardware. Ensure the bit is sharp for clean holes. Avoid oversized bits to prevent loose fittings.
How Can I Avoid Splitting Wood When Drilling?
Drill a pilot hole smaller than the screw diameter. Use a sharp drill bit and steady pressure. Clamp the wood securely to prevent movement. Drill slowly near edges to avoid splitting.
What Is The Best Drill Speed For Cabinet Hardware?
Use a low to medium drill speed for control. High speeds may cause wood splintering or bit slipping. Adjust speed based on wood hardness and drill bit size.
Conclusion
Drilling holes for cabinet hardware is simple with the right steps. Measure carefully and mark the spots clearly. Use a drill bit that fits your screws well. Take your time to avoid mistakes or damage. A steady hand makes the job easier and neater.
This small task can improve your cabinets’ look a lot. Practice makes perfect, so don’t rush. Soon, you will feel confident adding hardware yourself. Enjoy the new style and function you create.